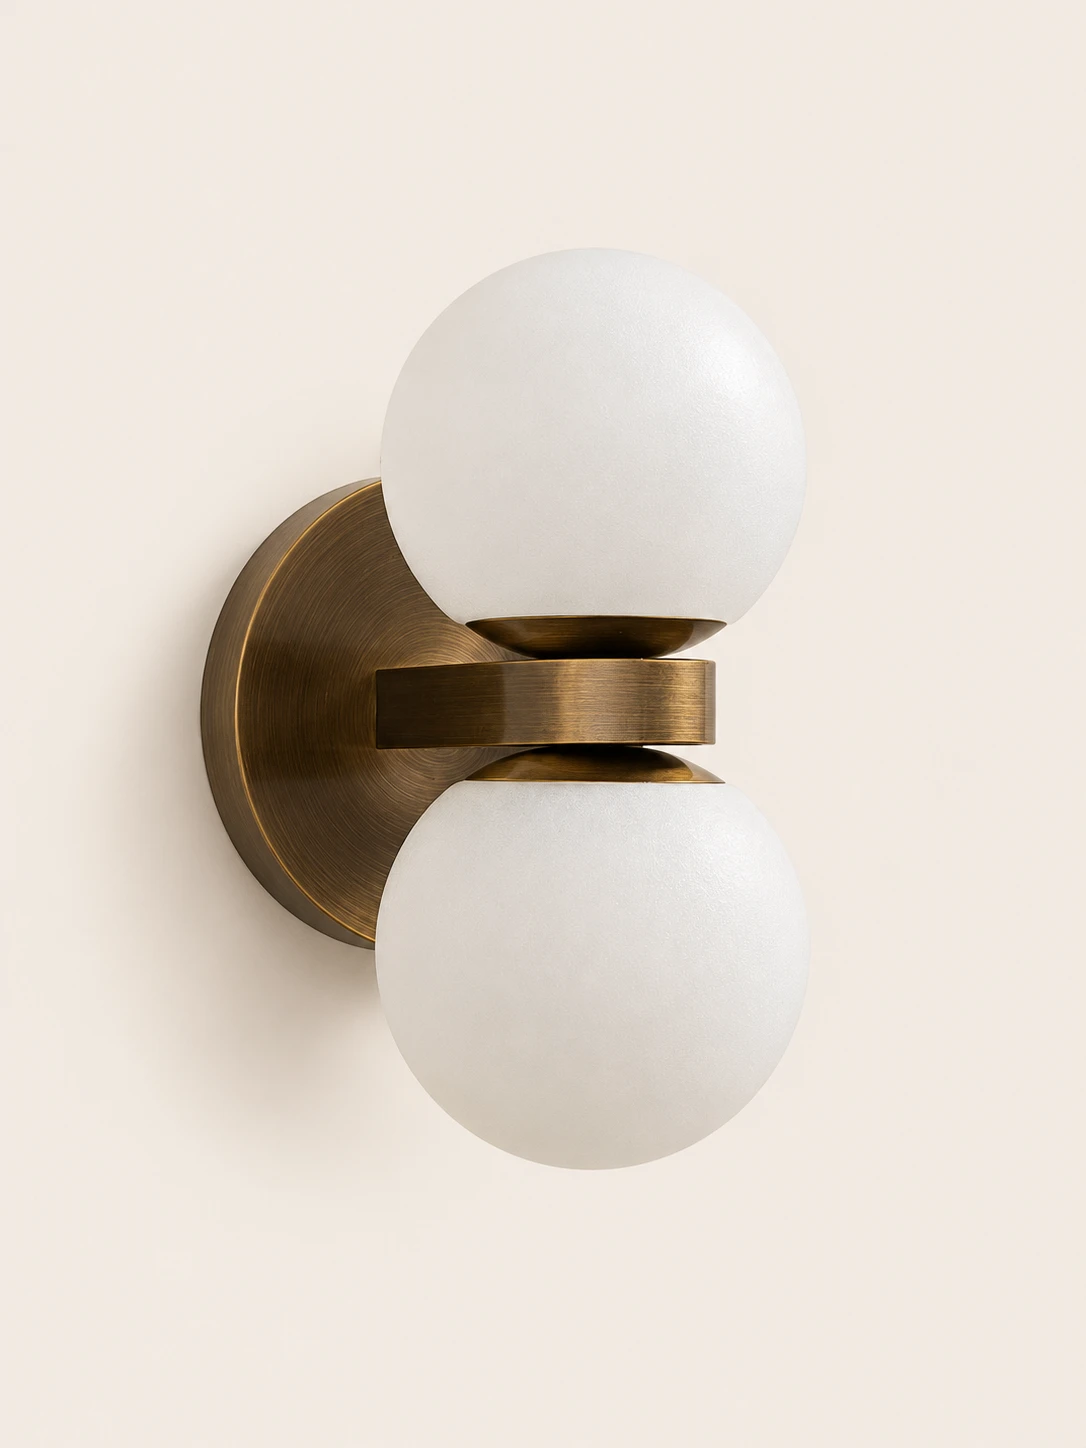
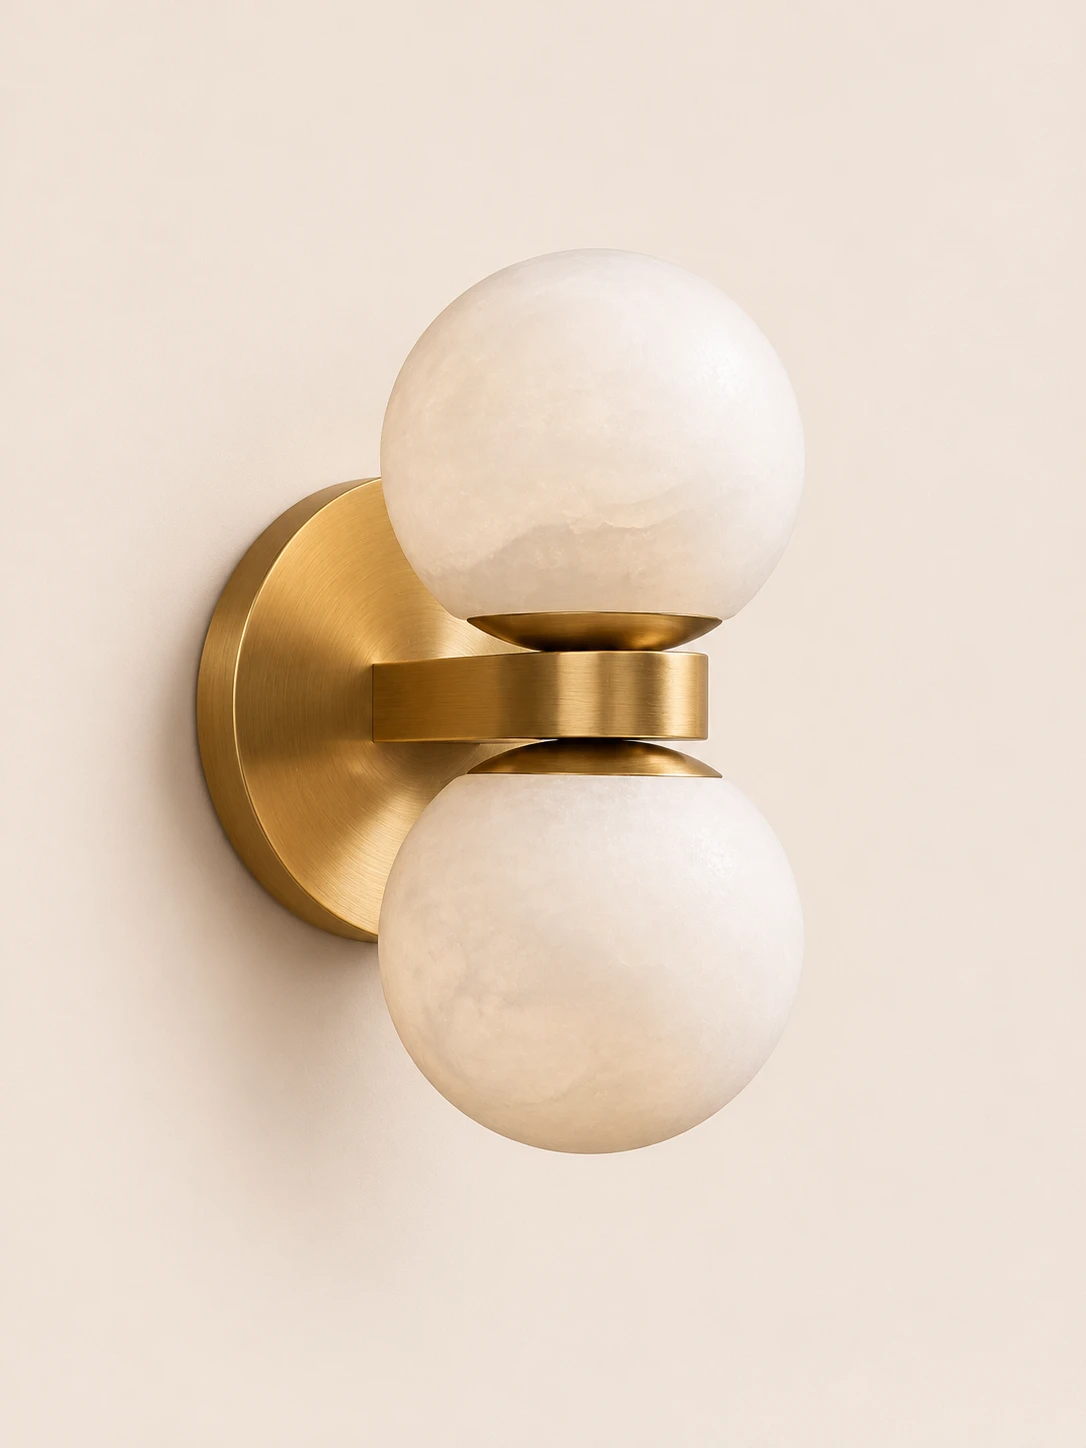
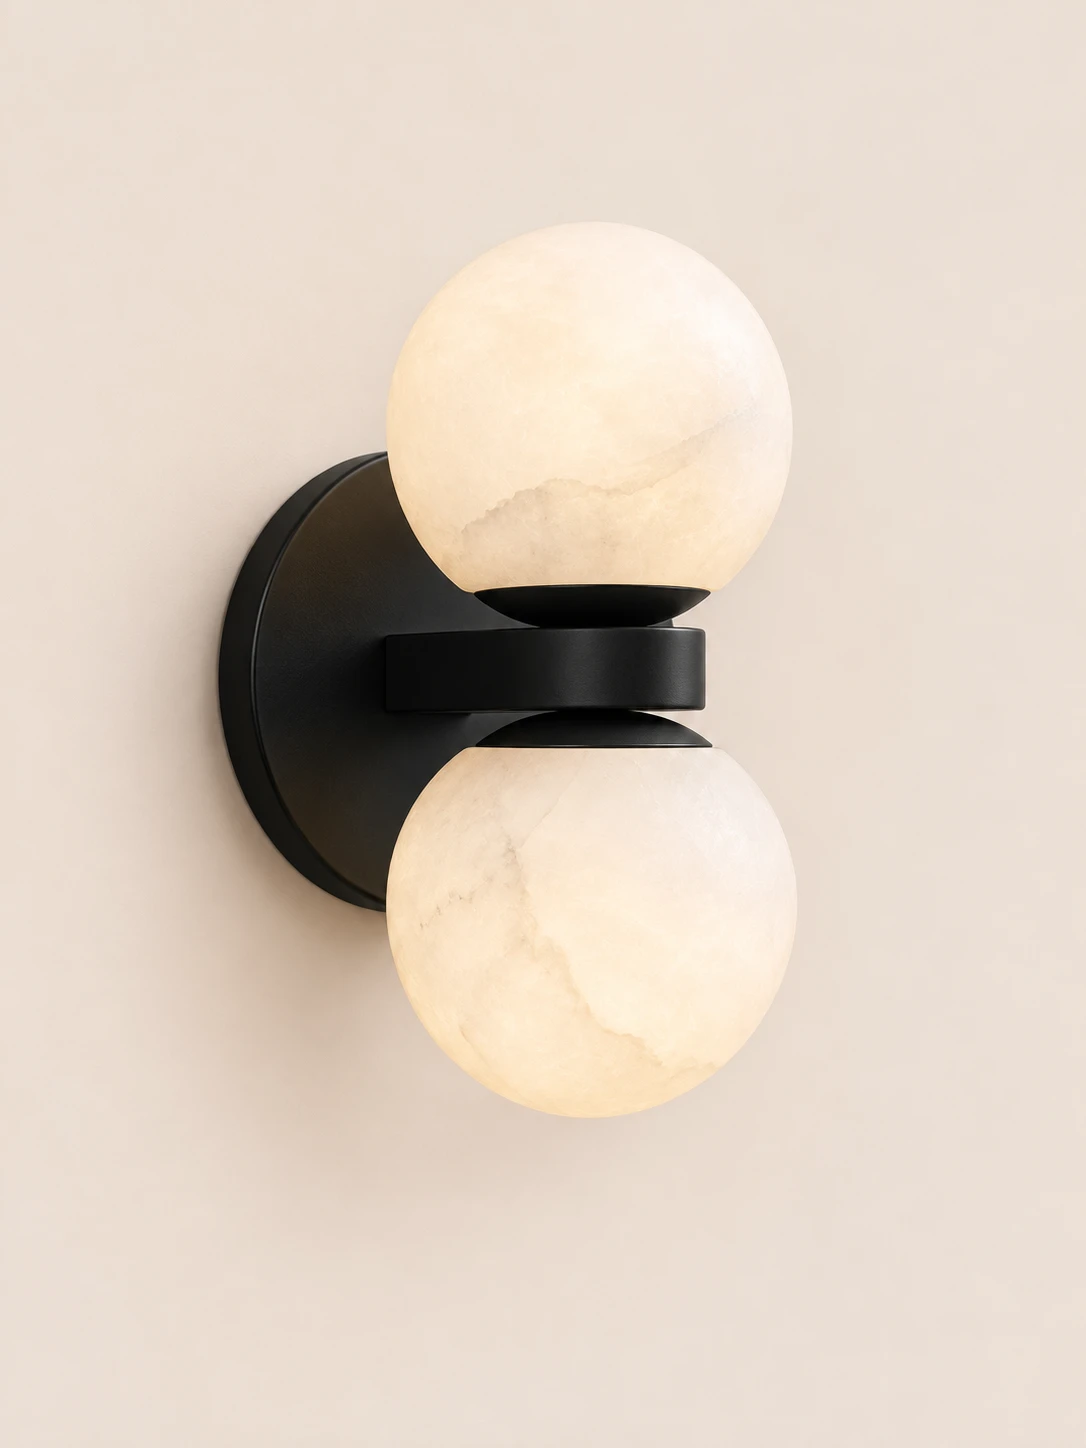
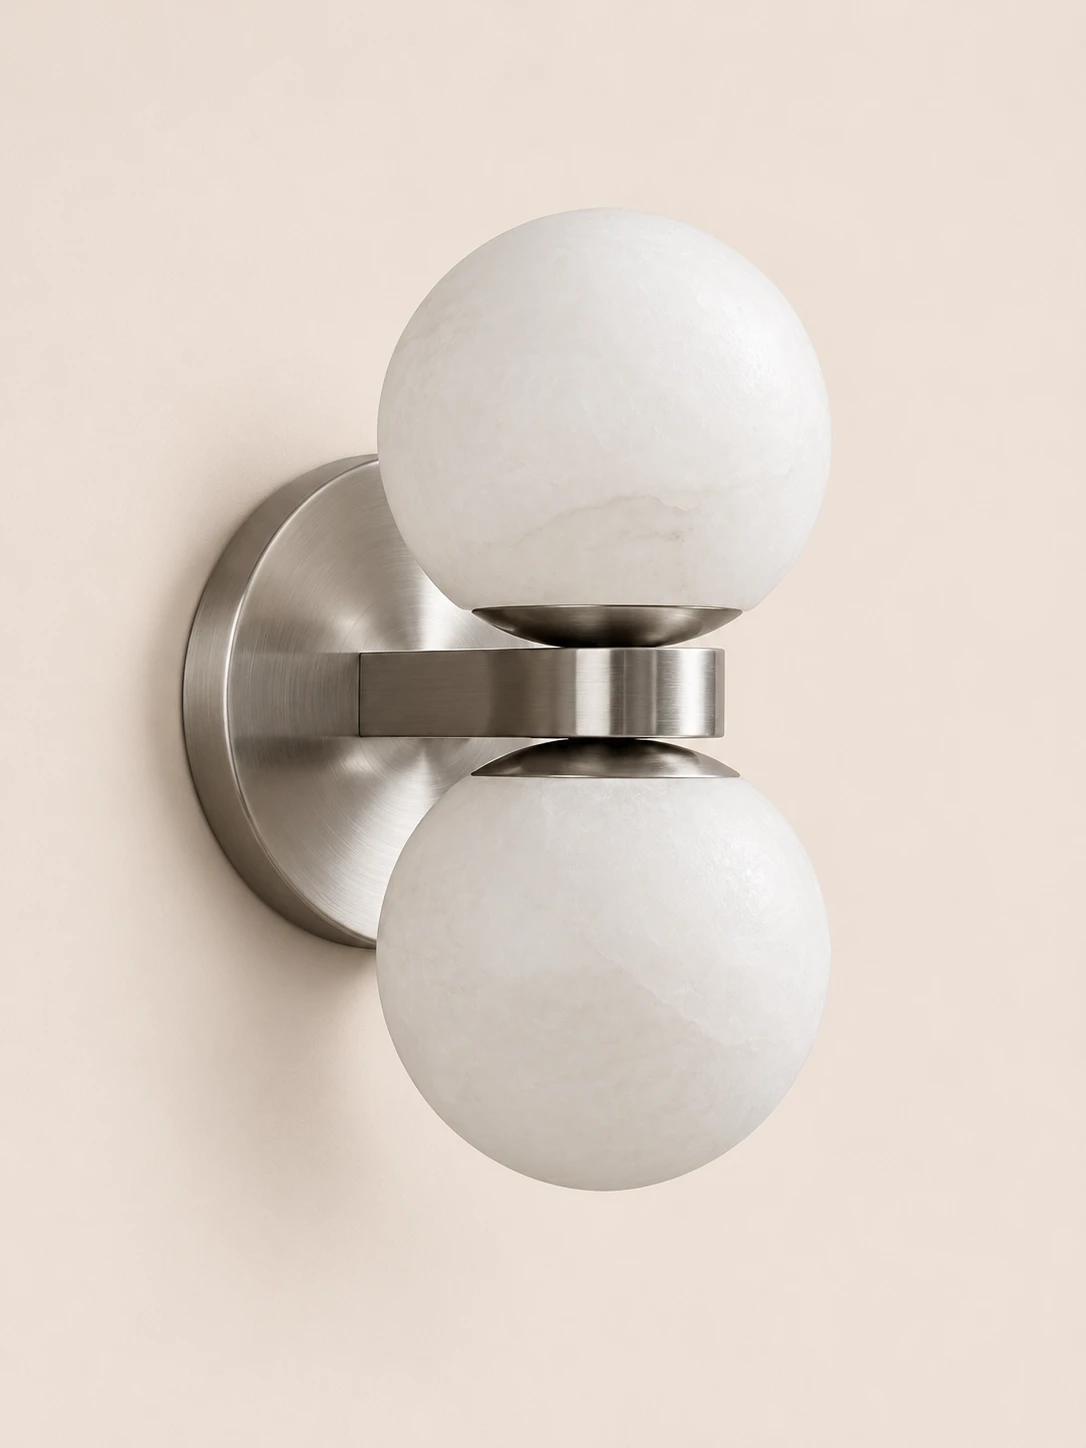
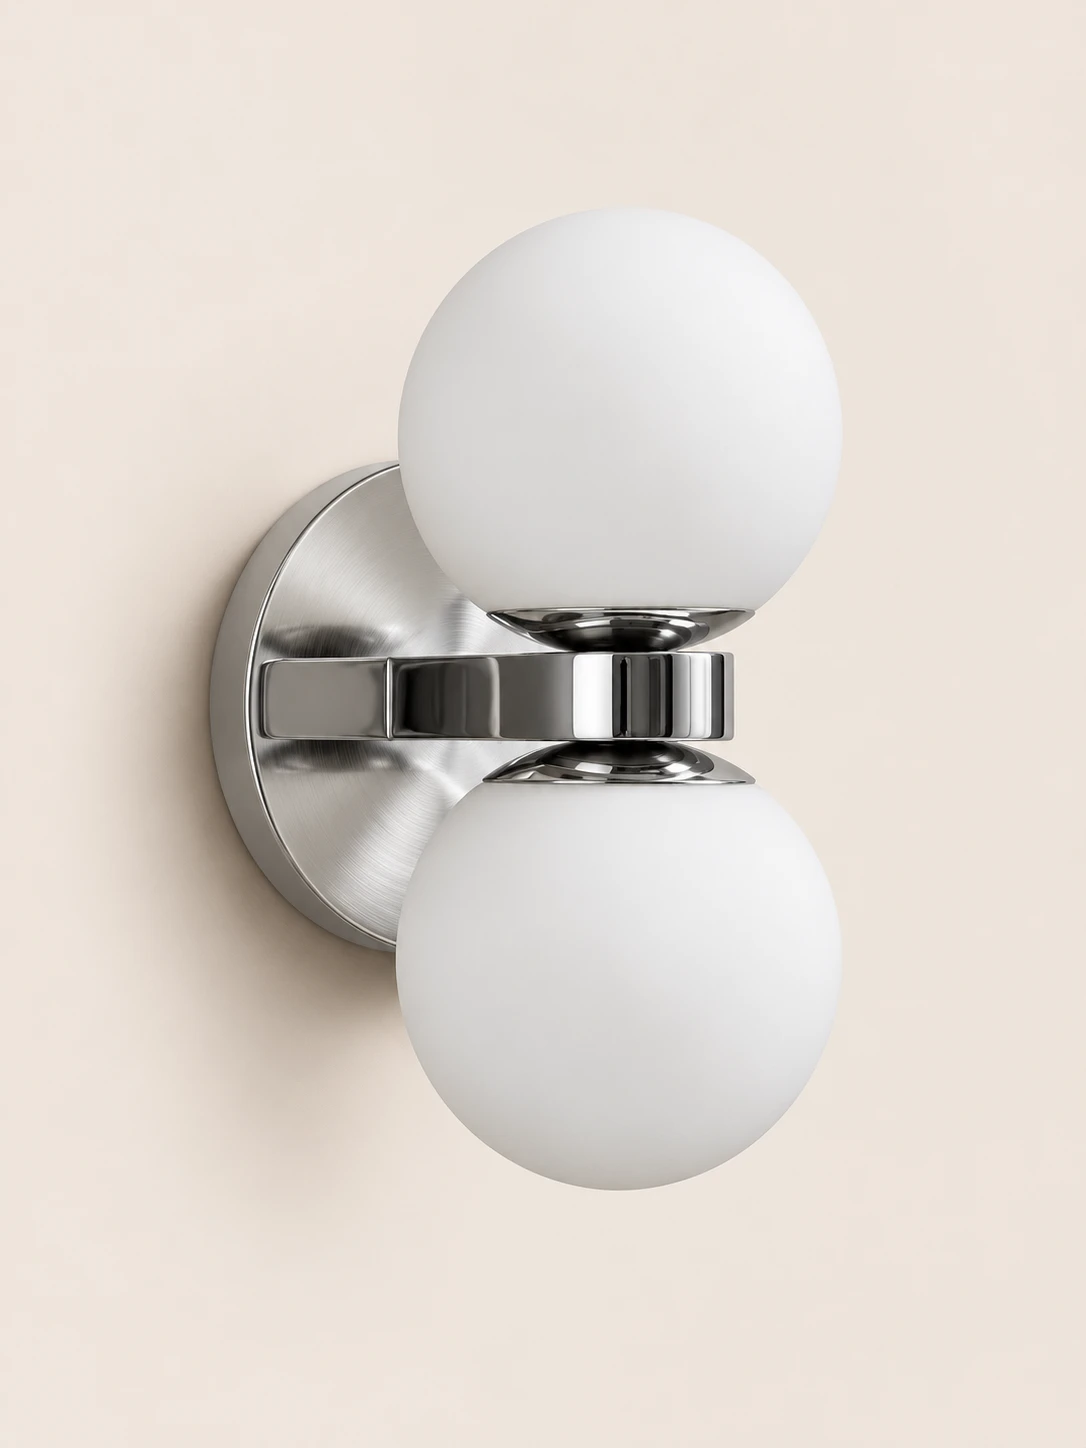
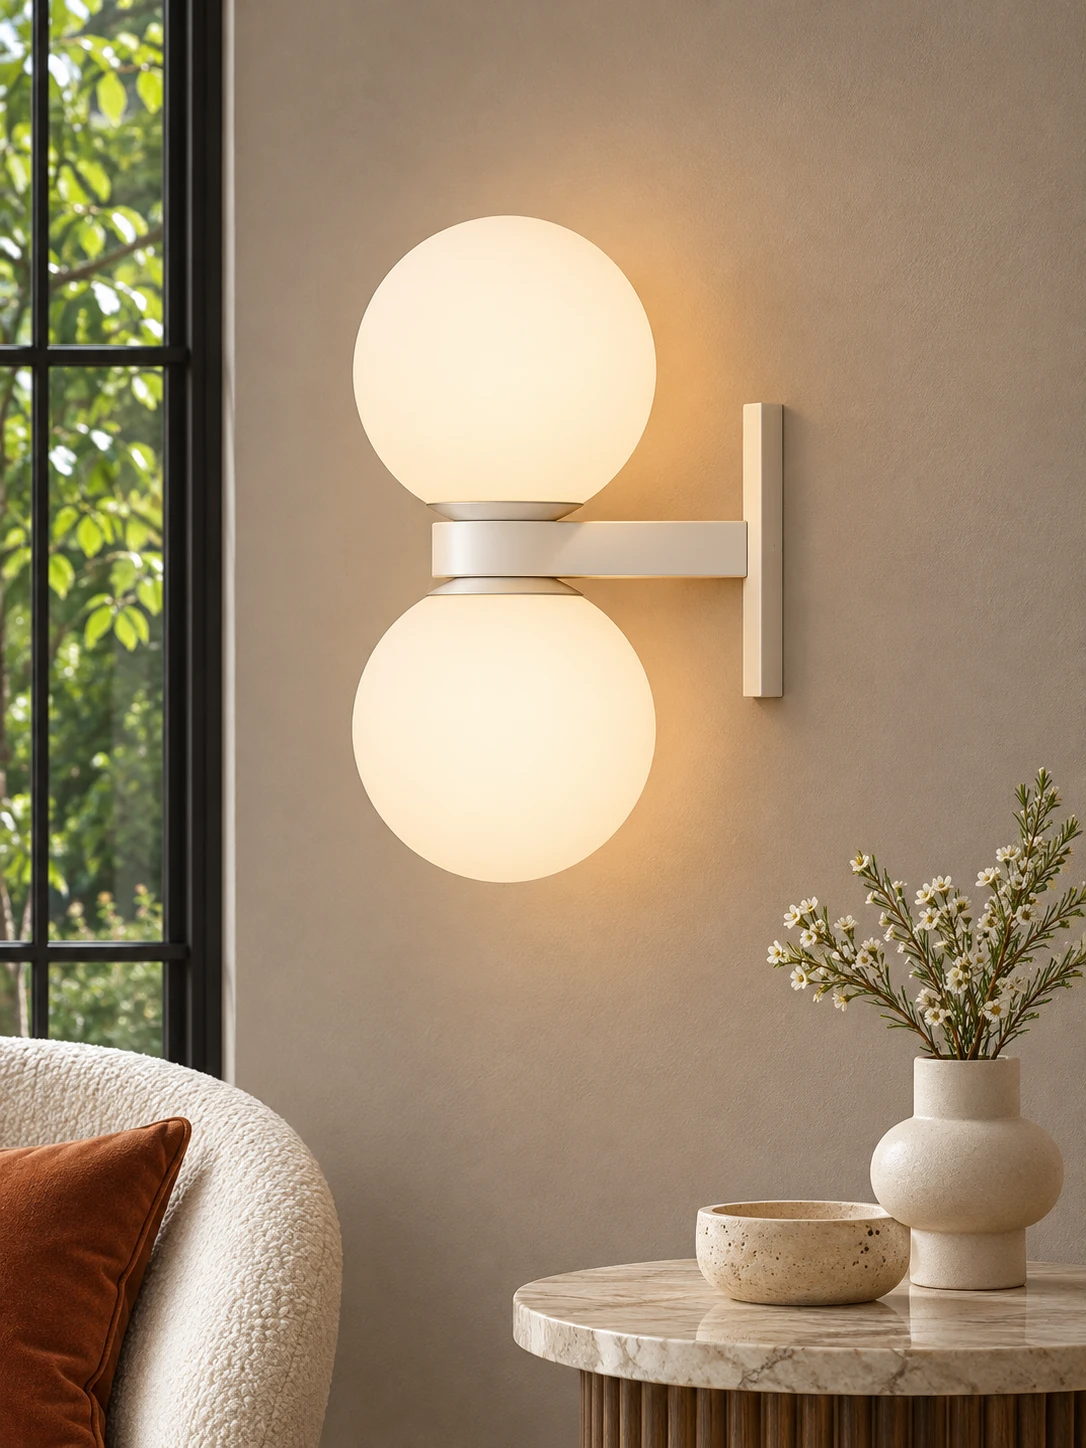
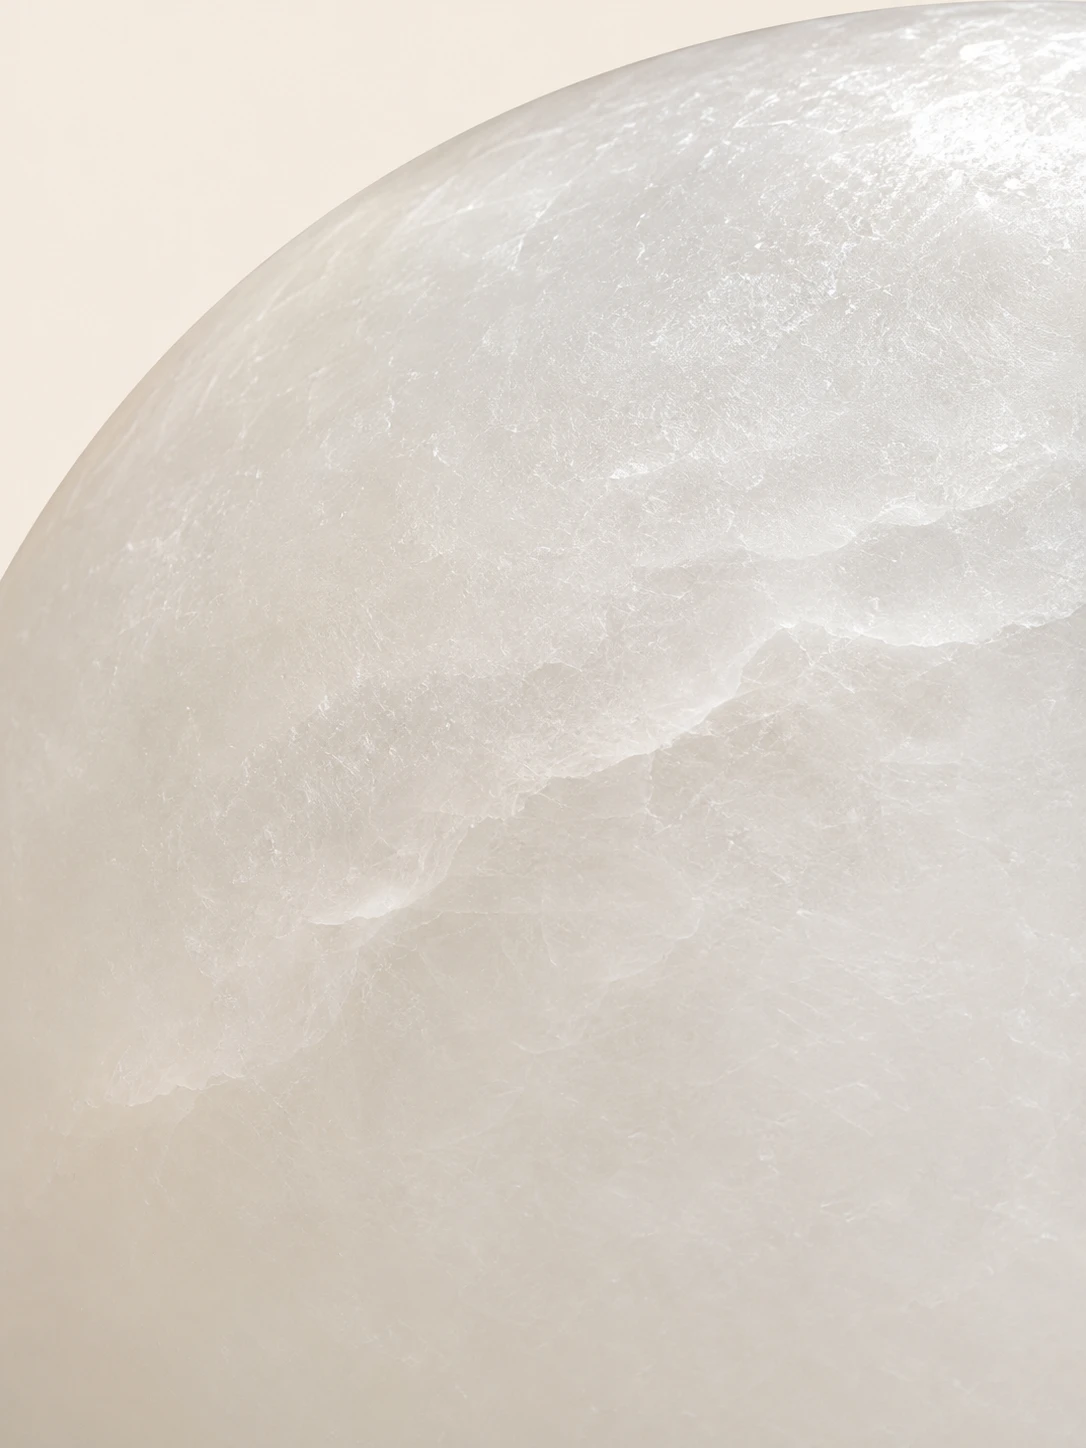
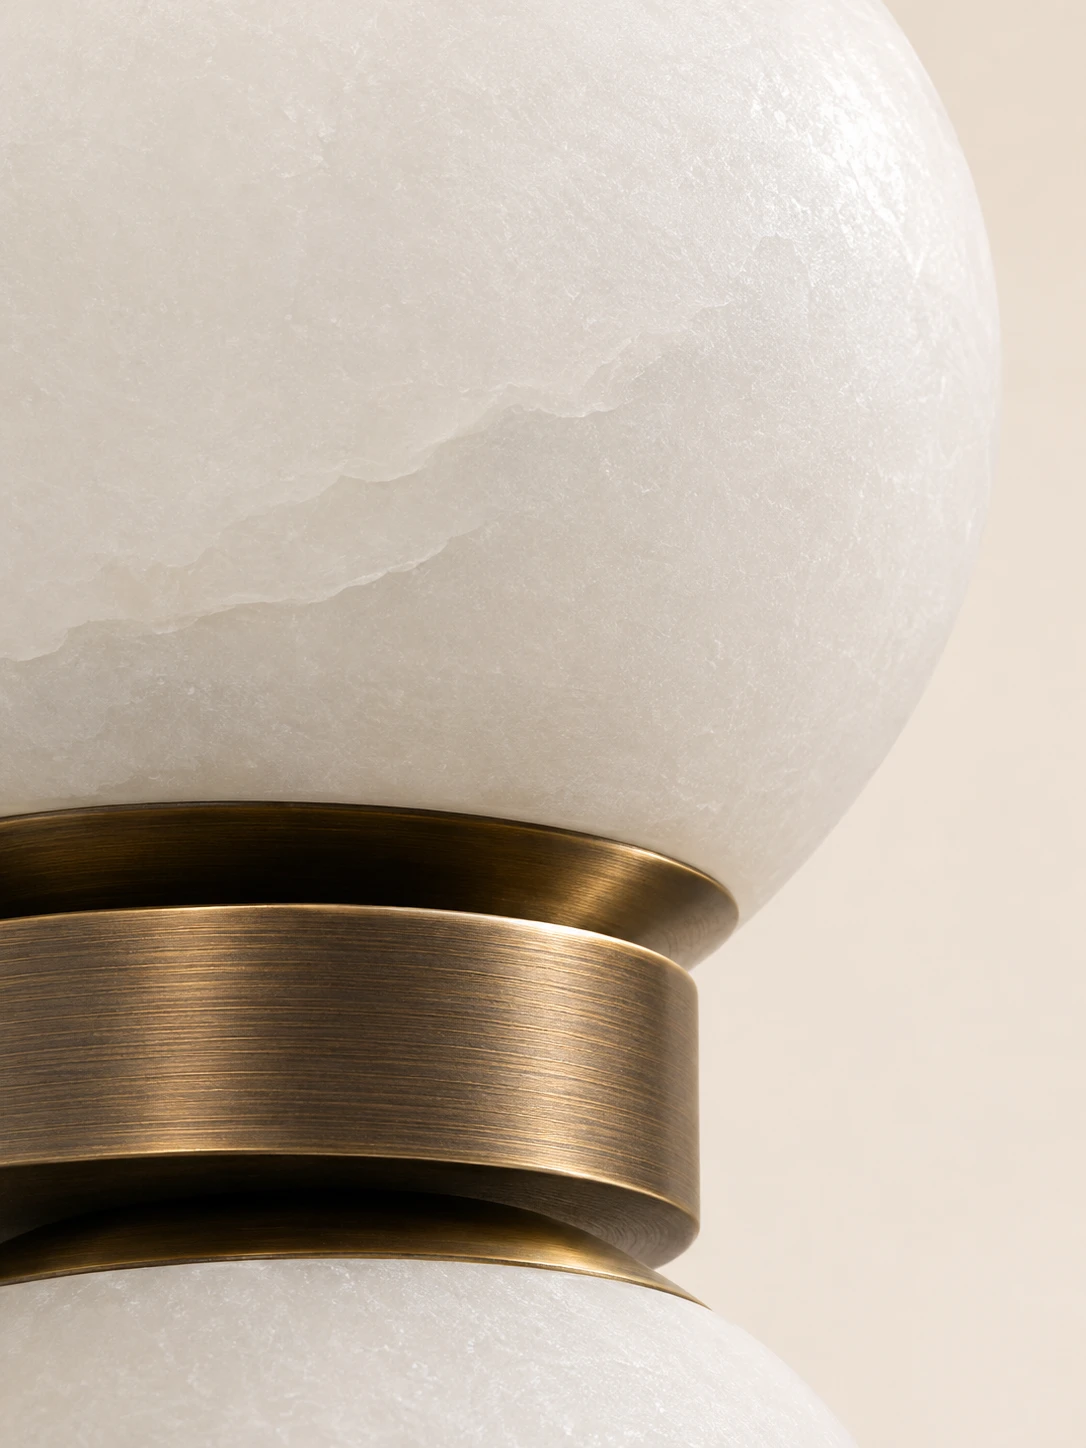
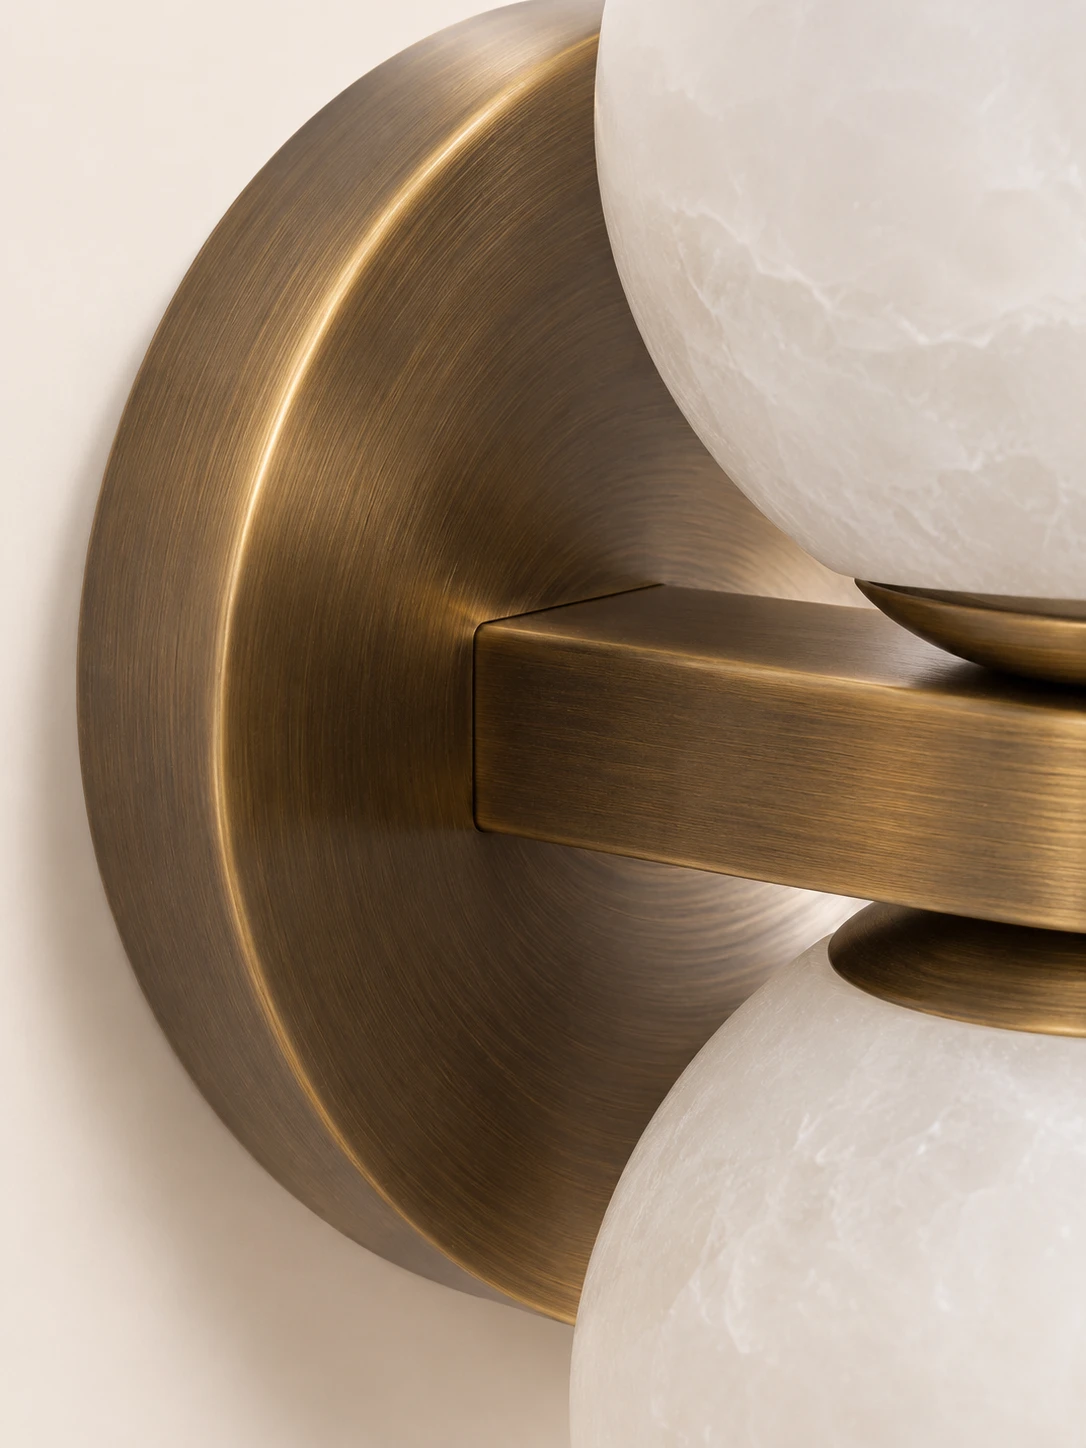
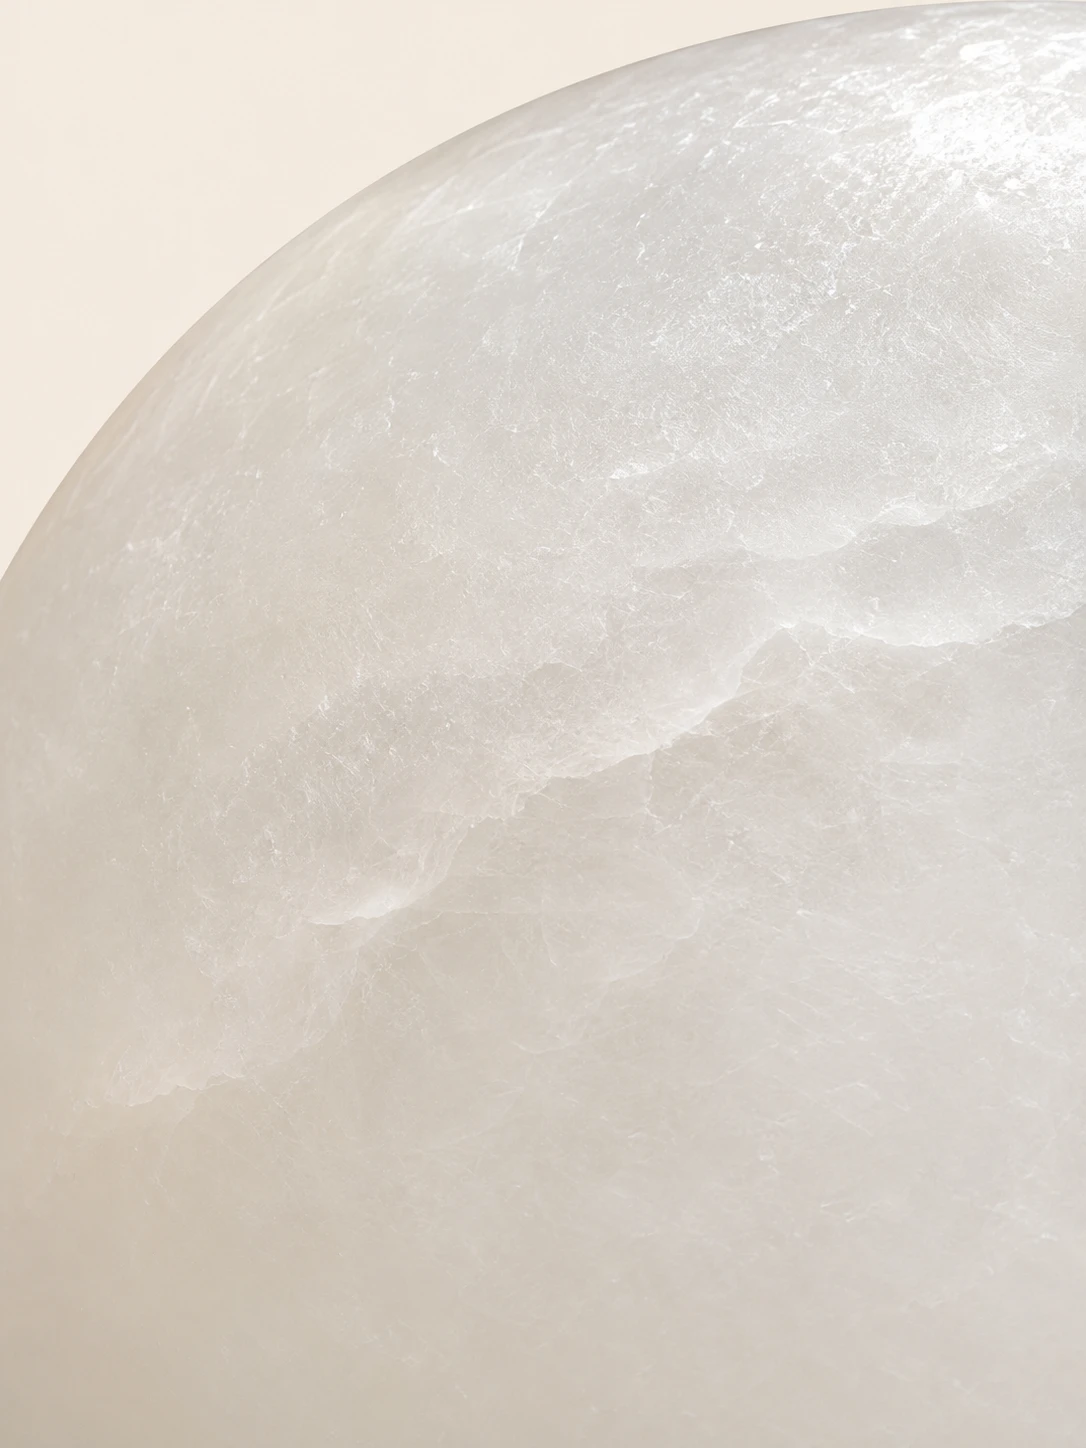
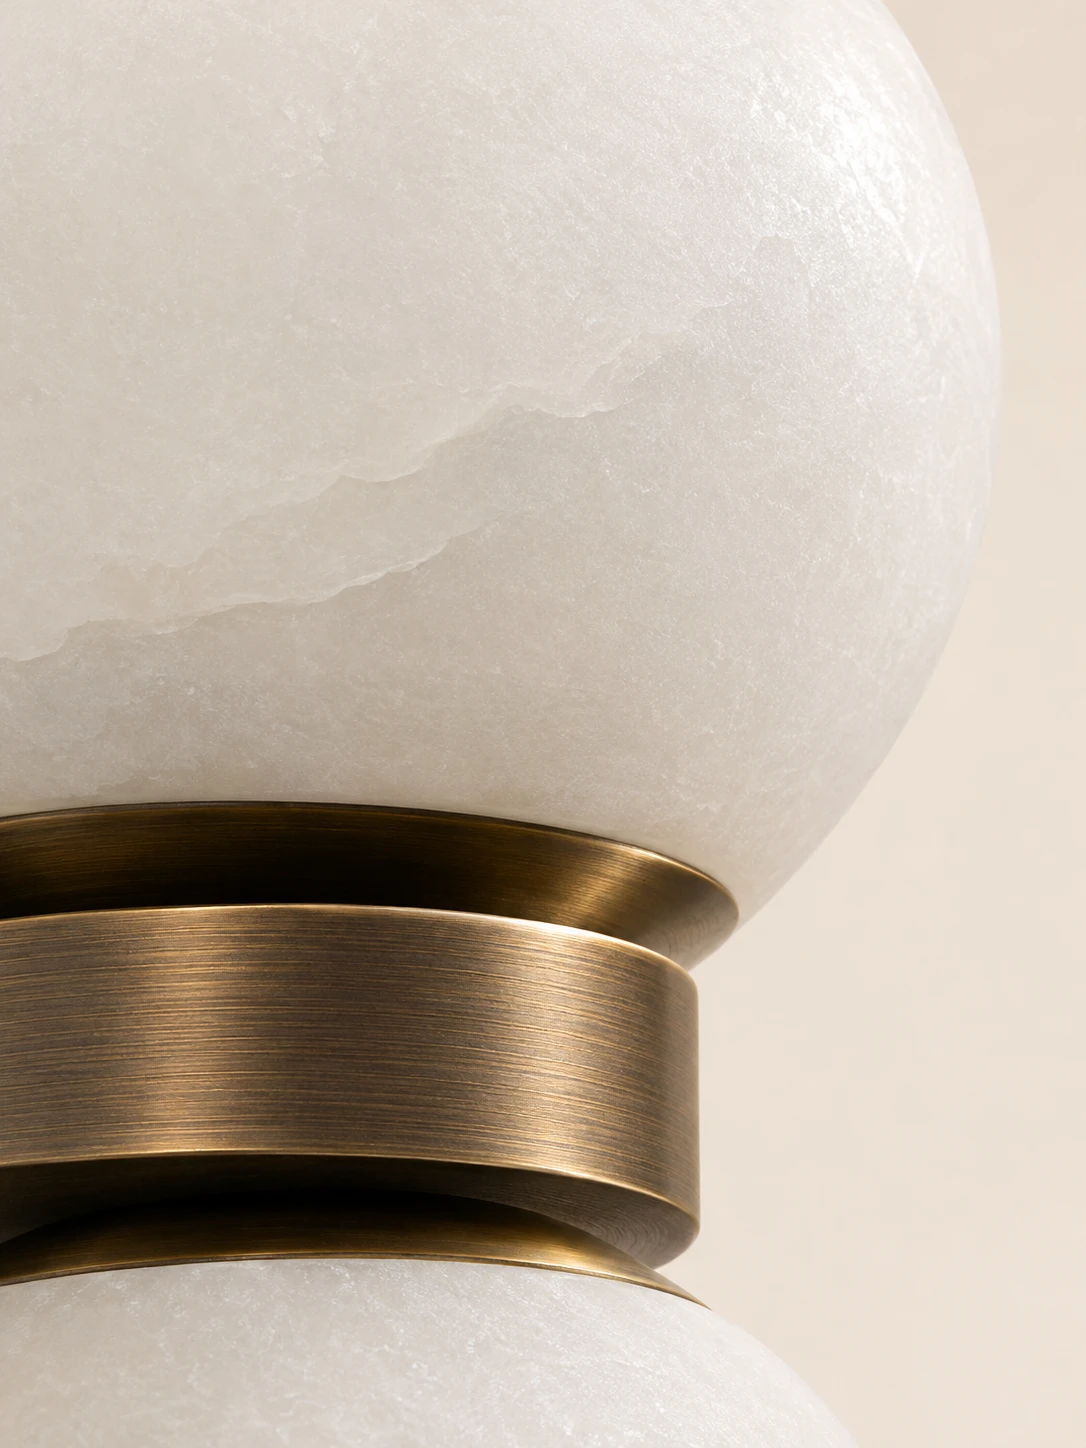
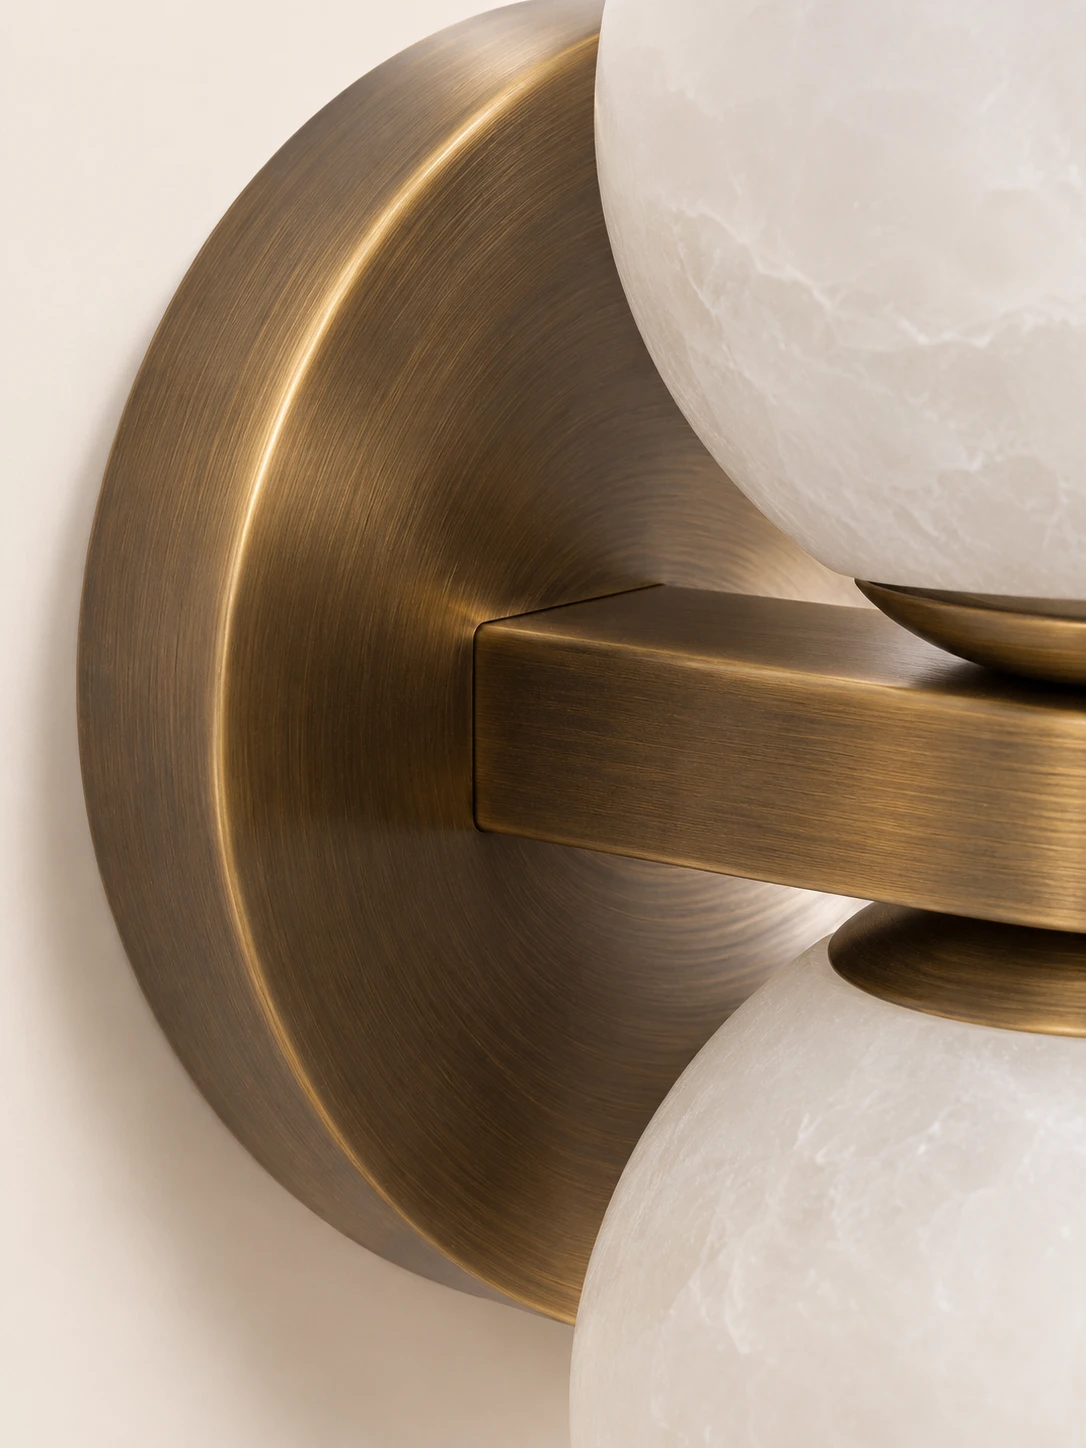
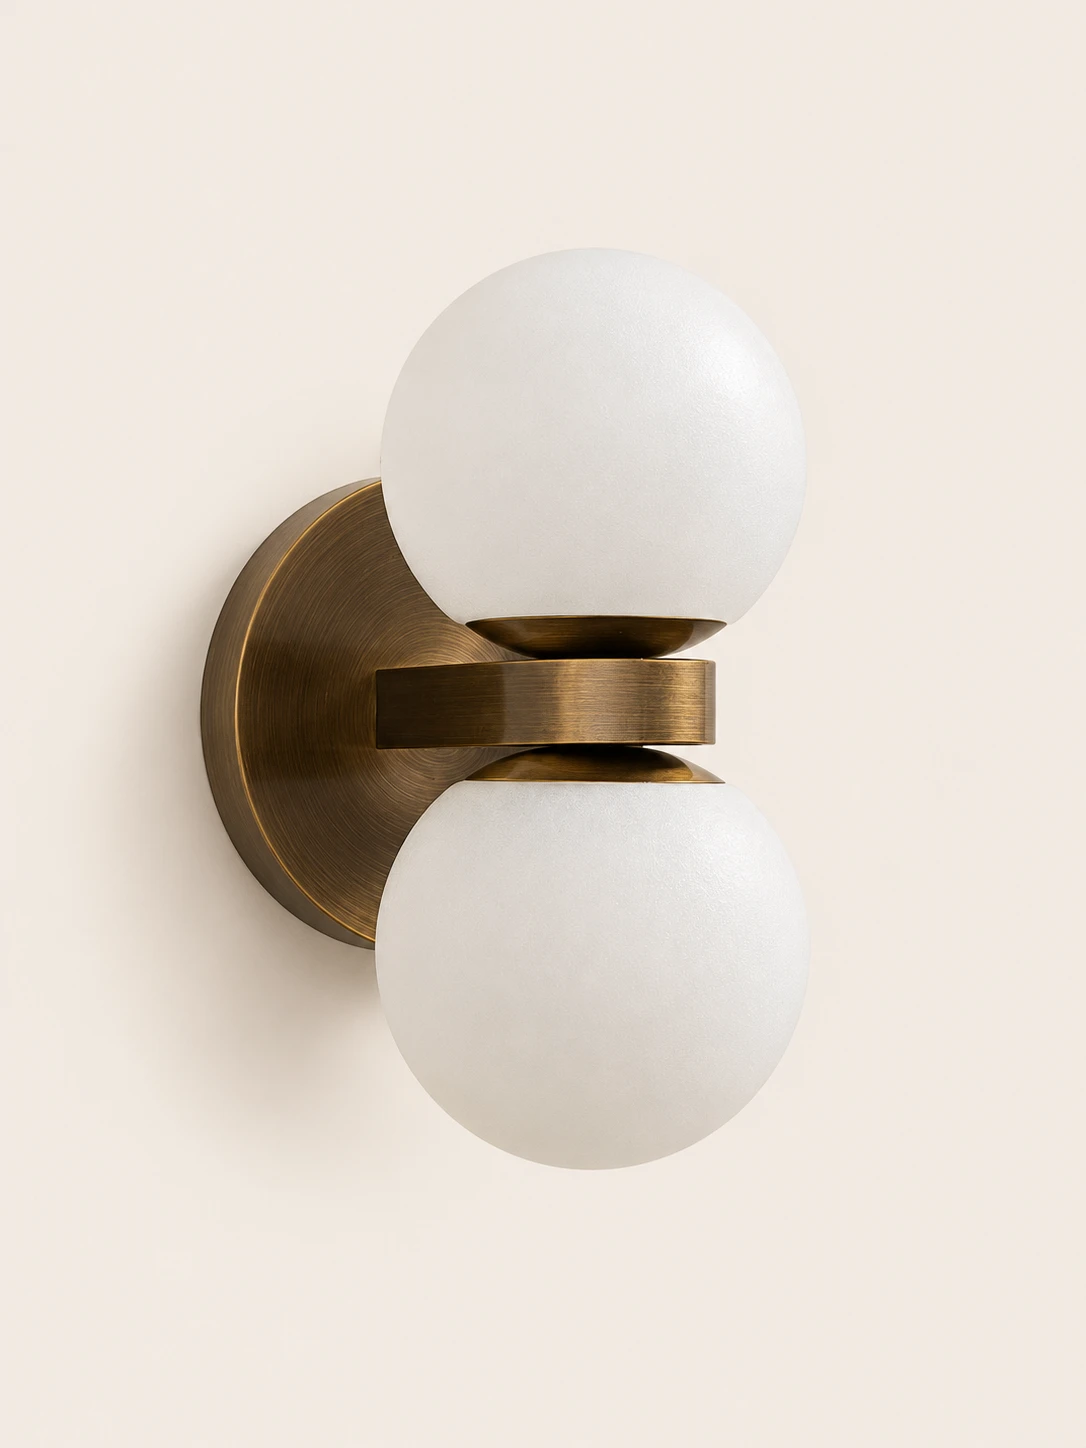
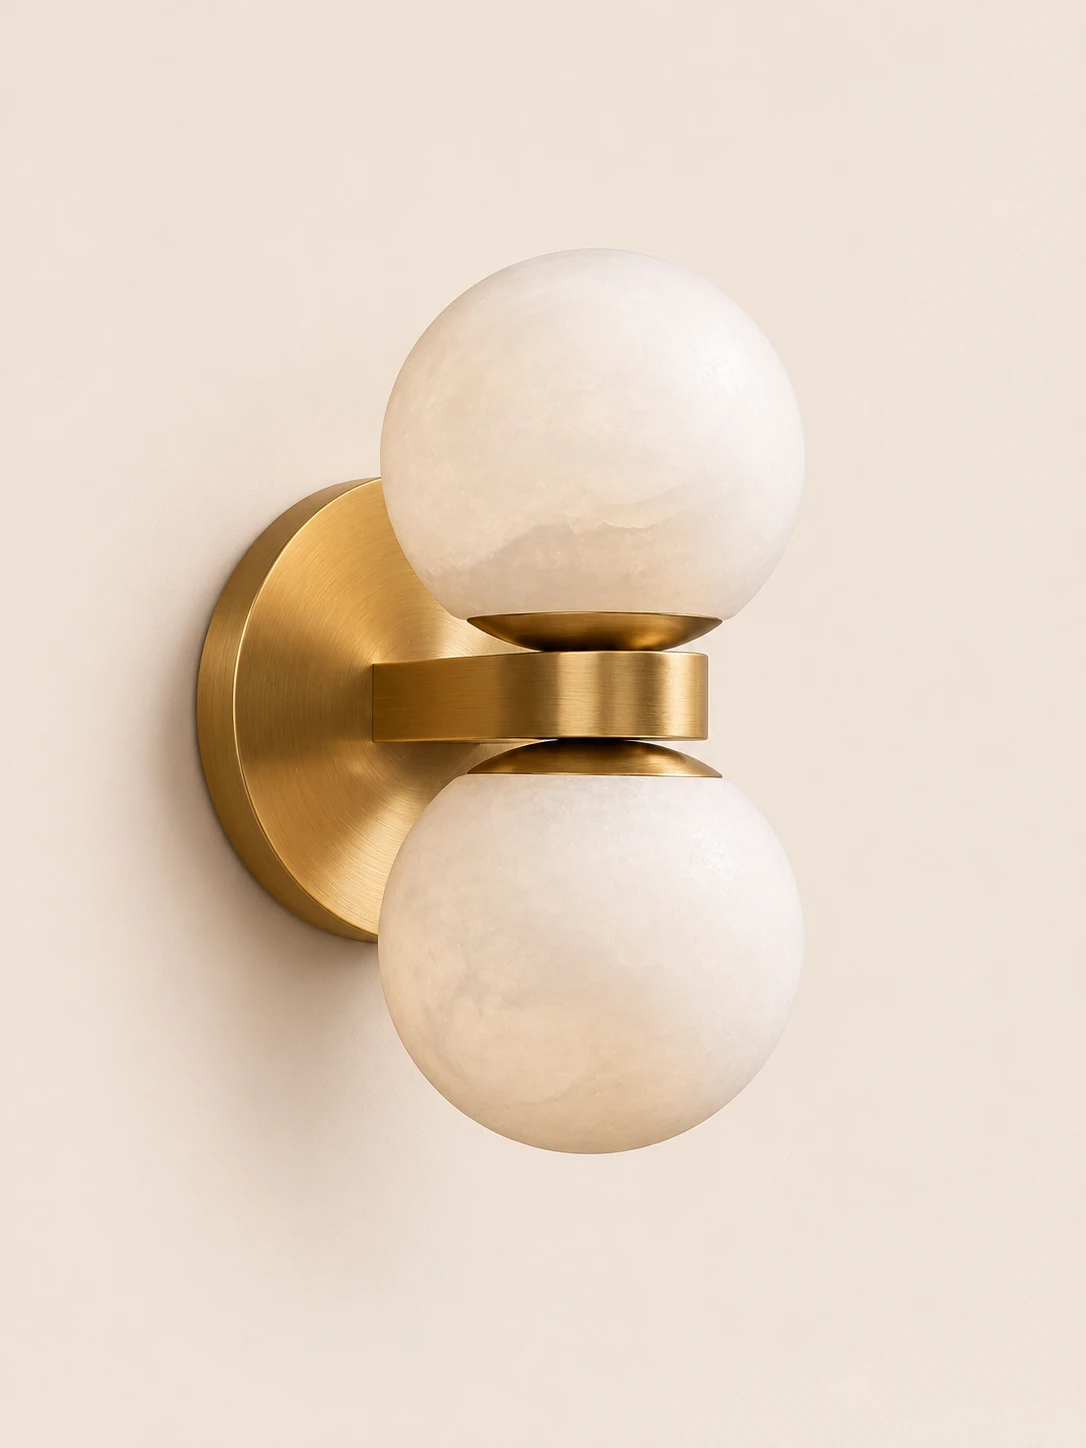
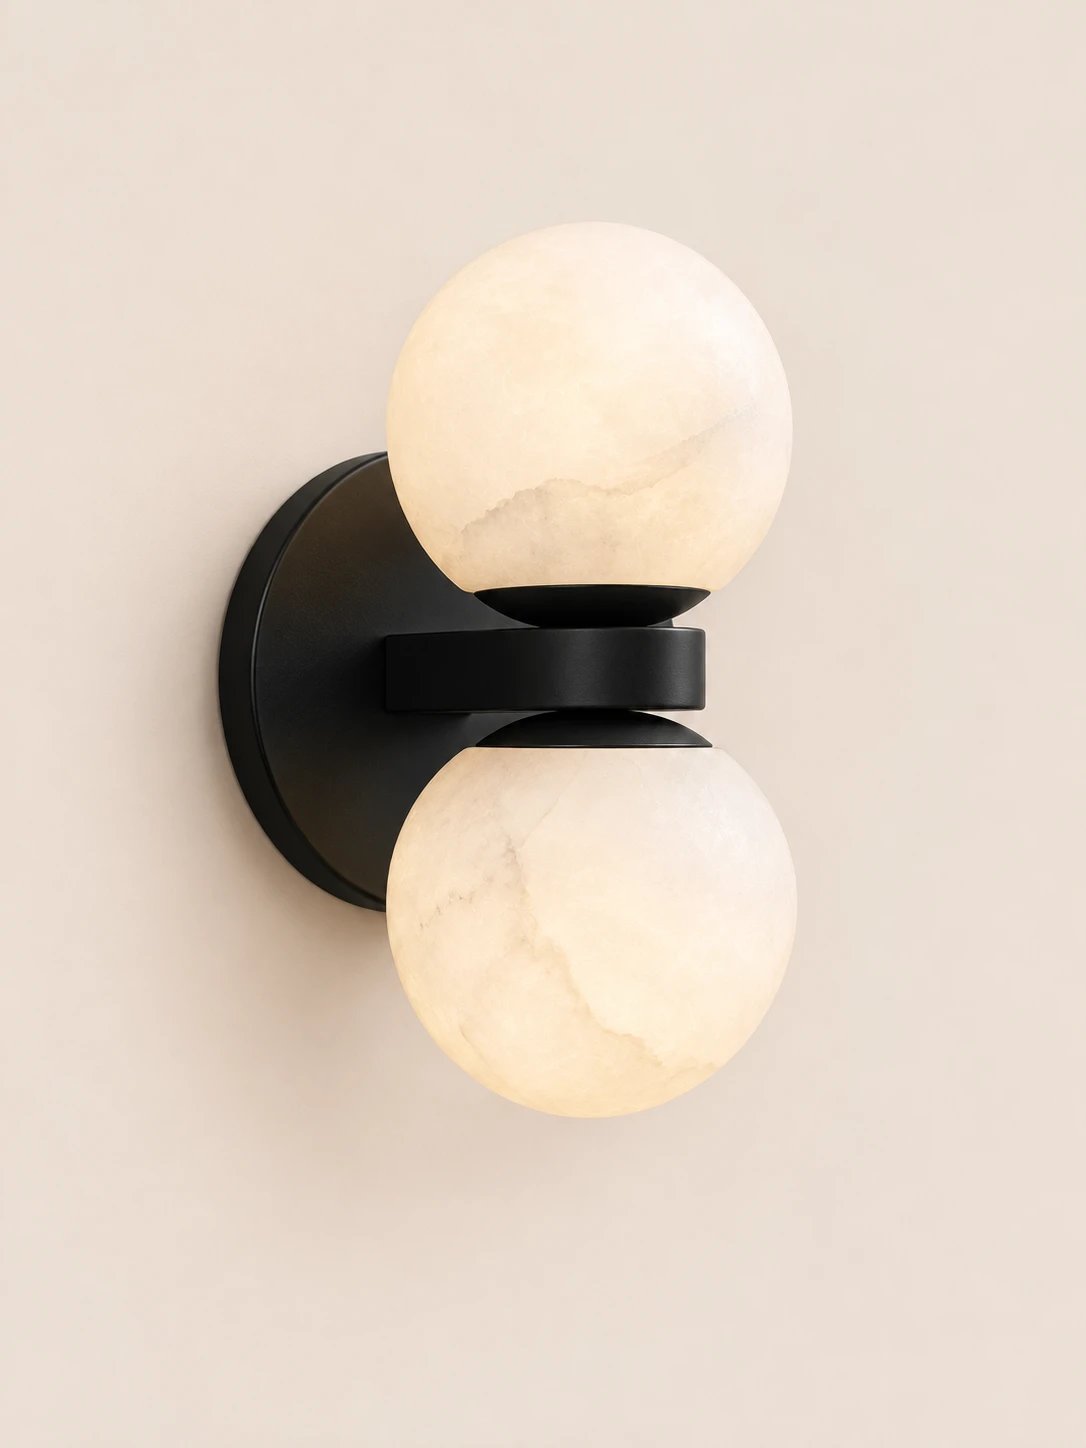
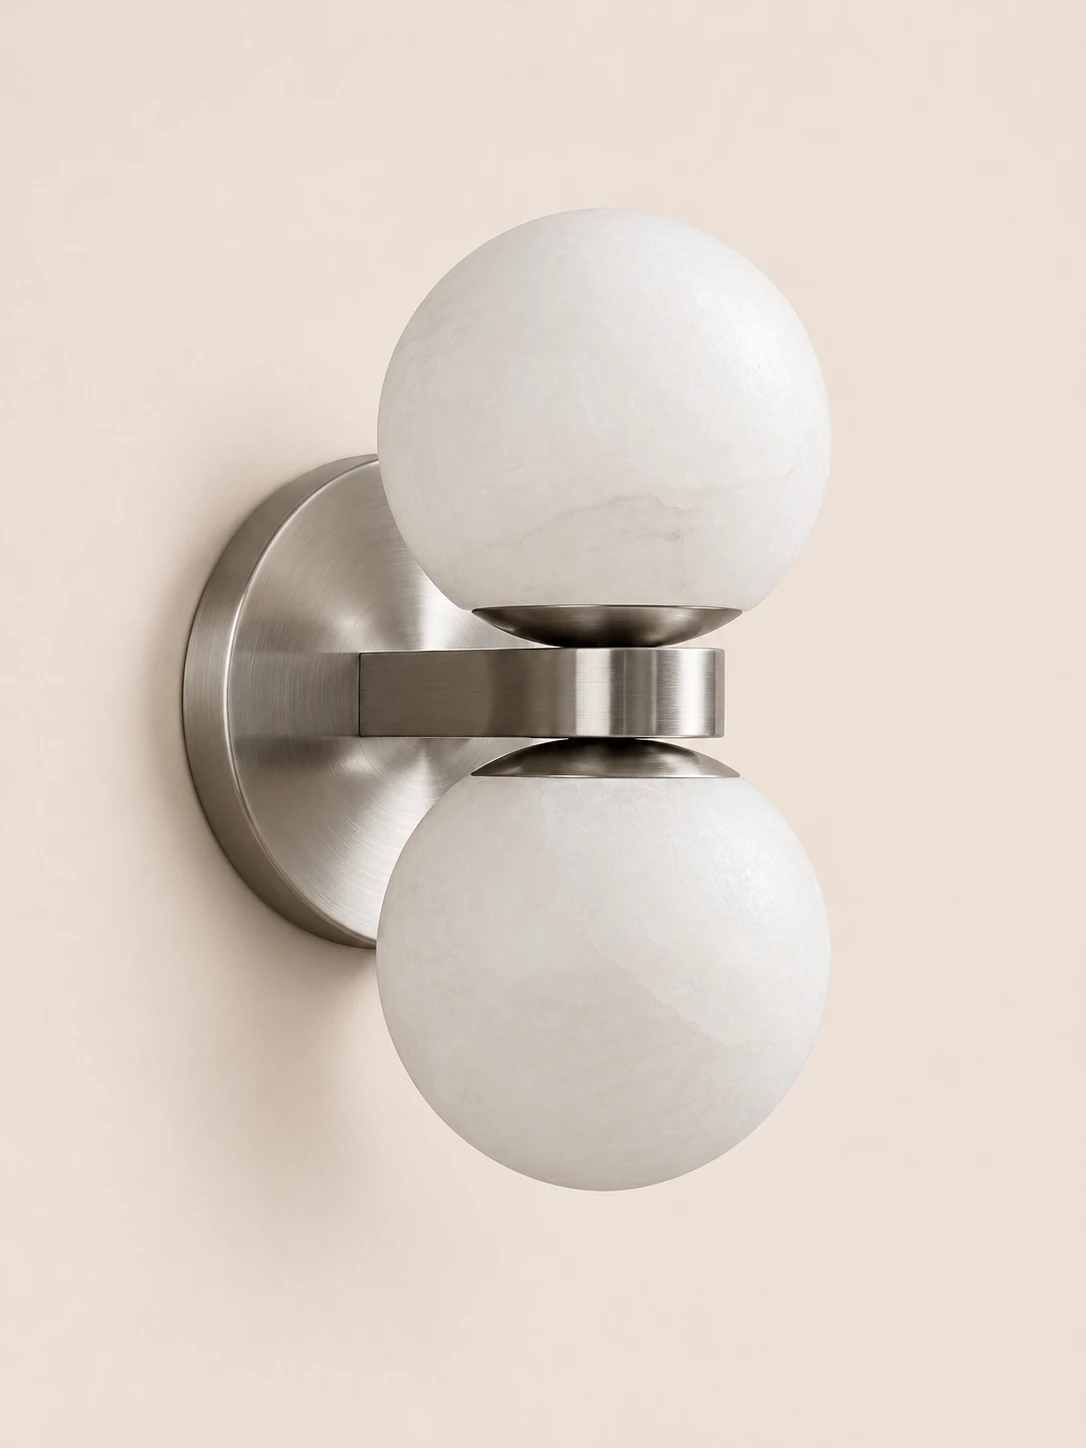
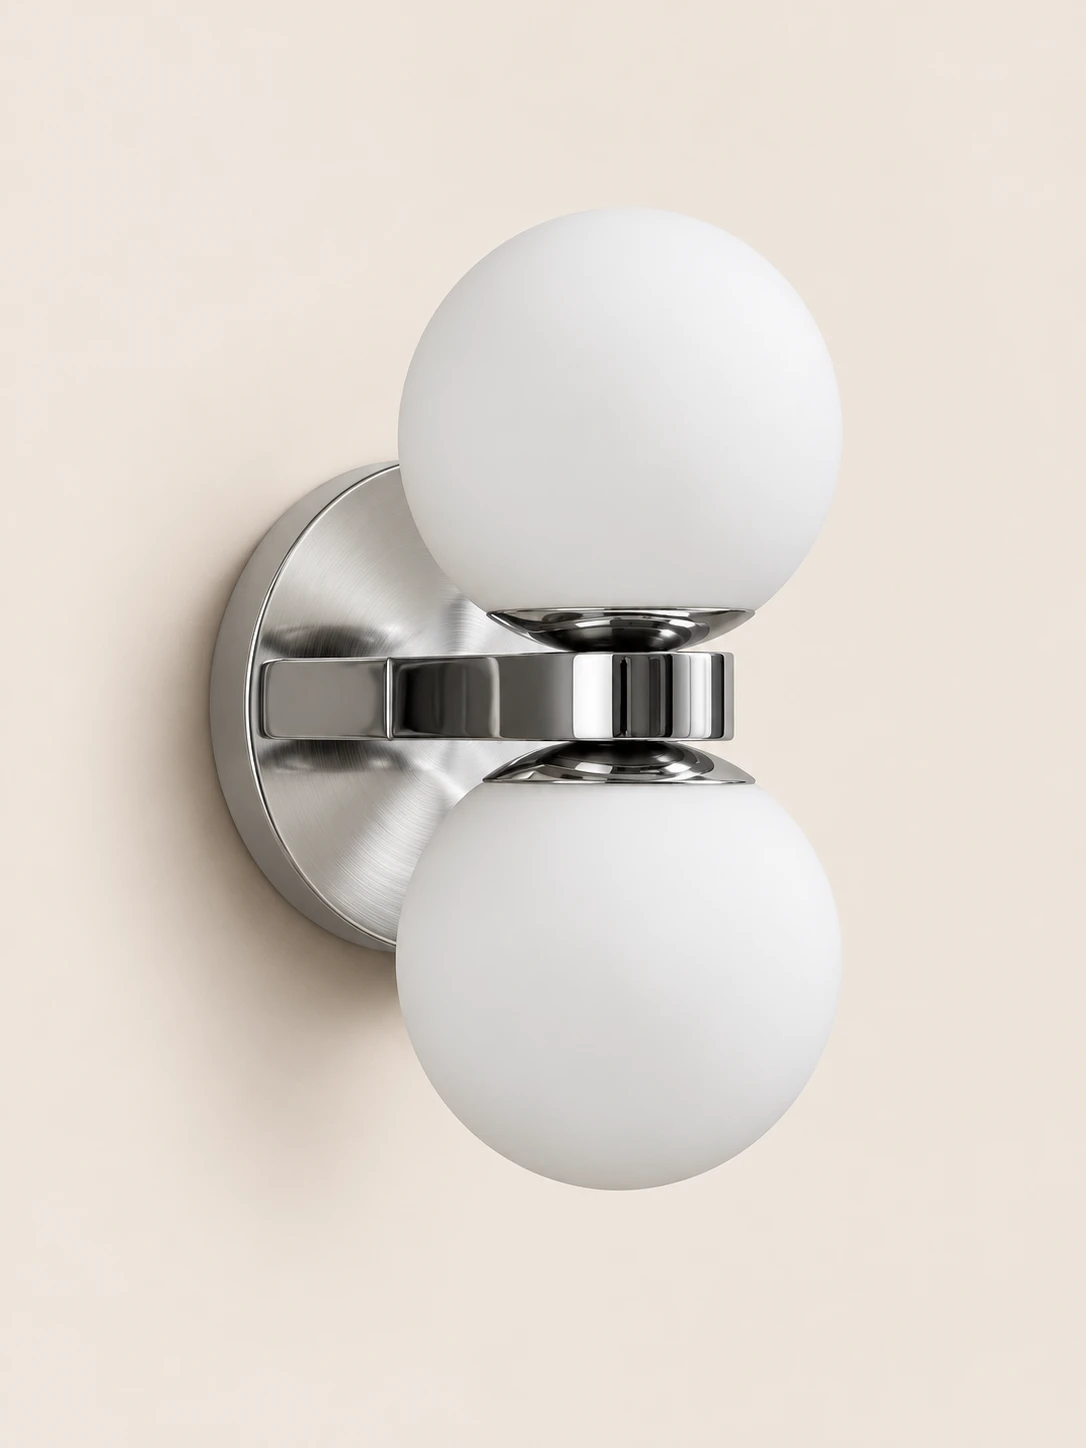
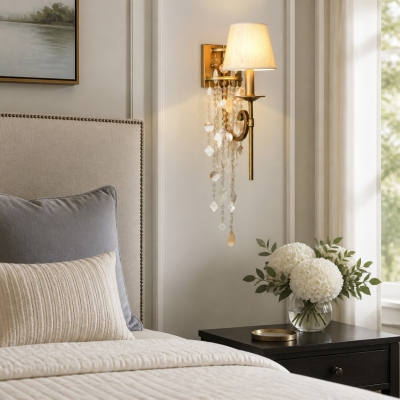
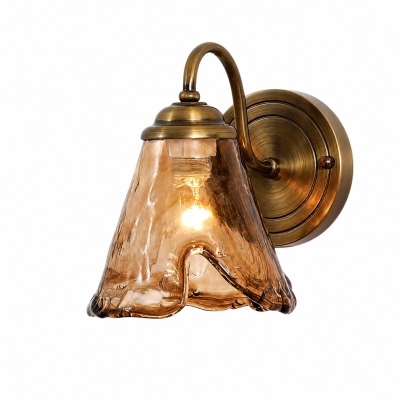
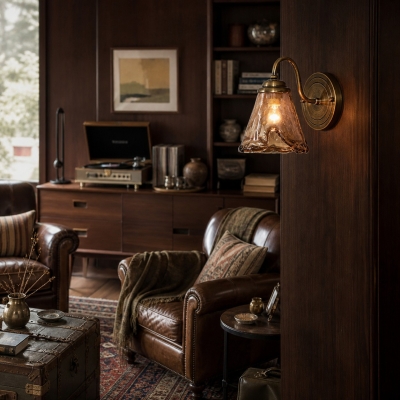
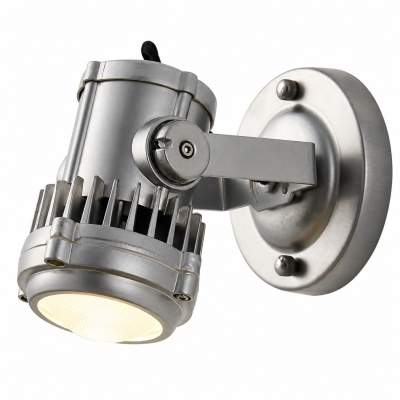
Three close views show the alabaster surface, the meeting of the two globes, and the brass mount against the wall
01The alabaster reads as milky white and softly translucent, with cloudy veining and a fine, uneven crystalline texture across the shade02A brushed brass collar separates the two globes, where the curved edge of the upper stone meets the metal and the top of the globe below03The circular brass backplate sits against a pale wall, its brushed surface catching light as a rectangular arm extends toward the globes
Dual globe wall lamp
Two globes,
soft alabaster light
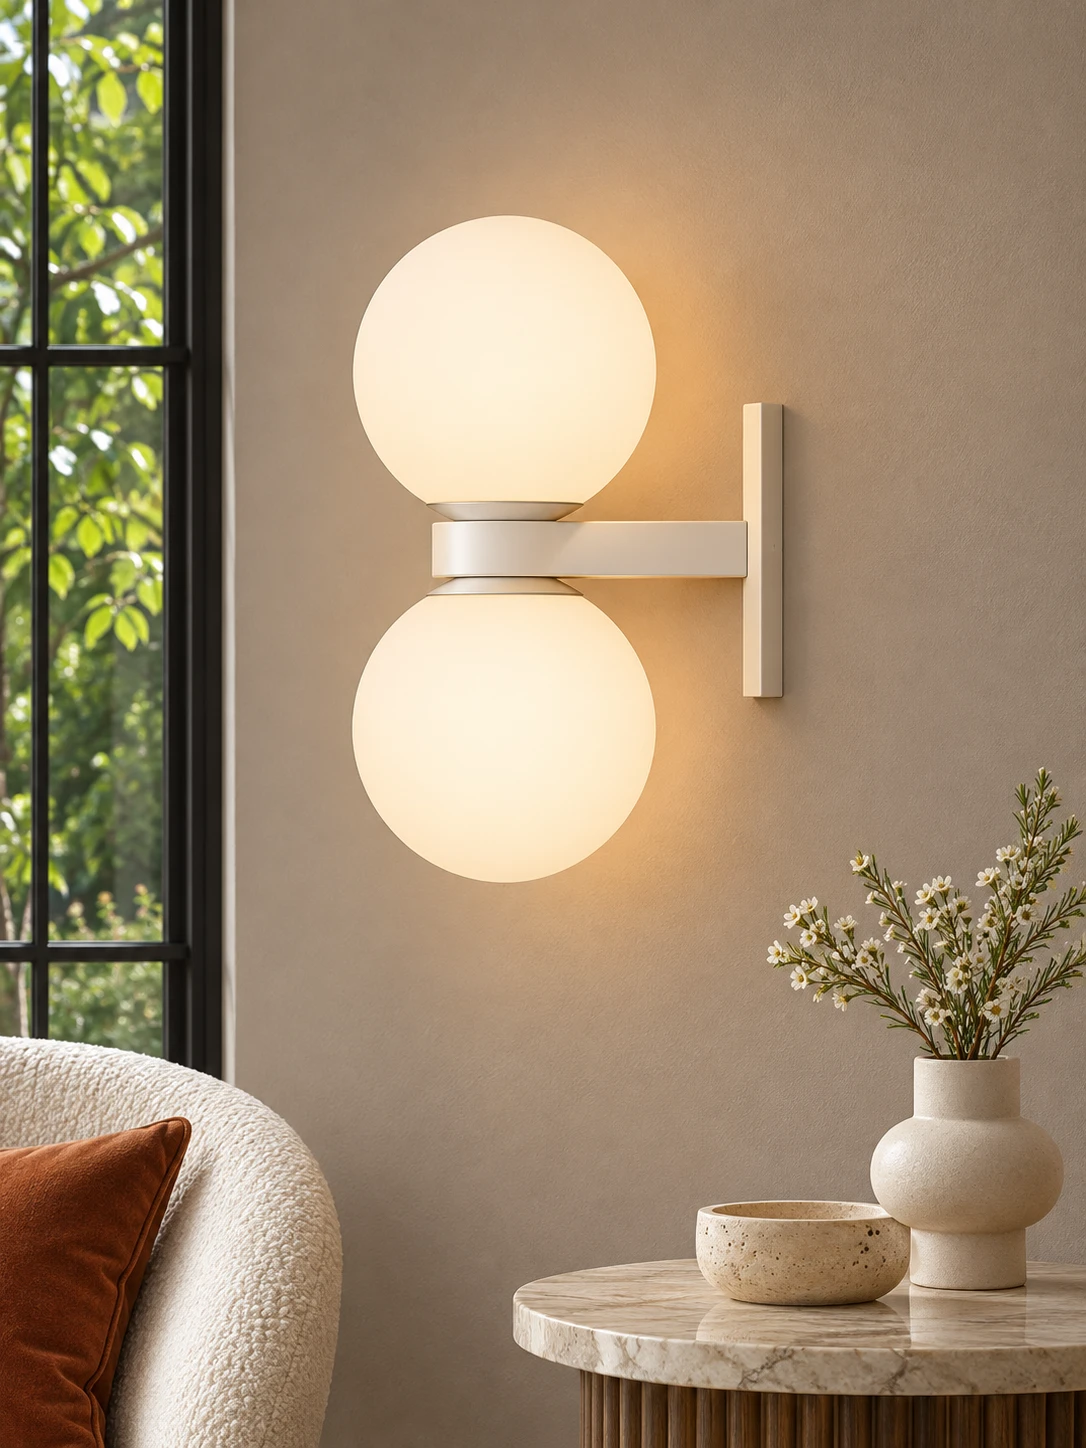
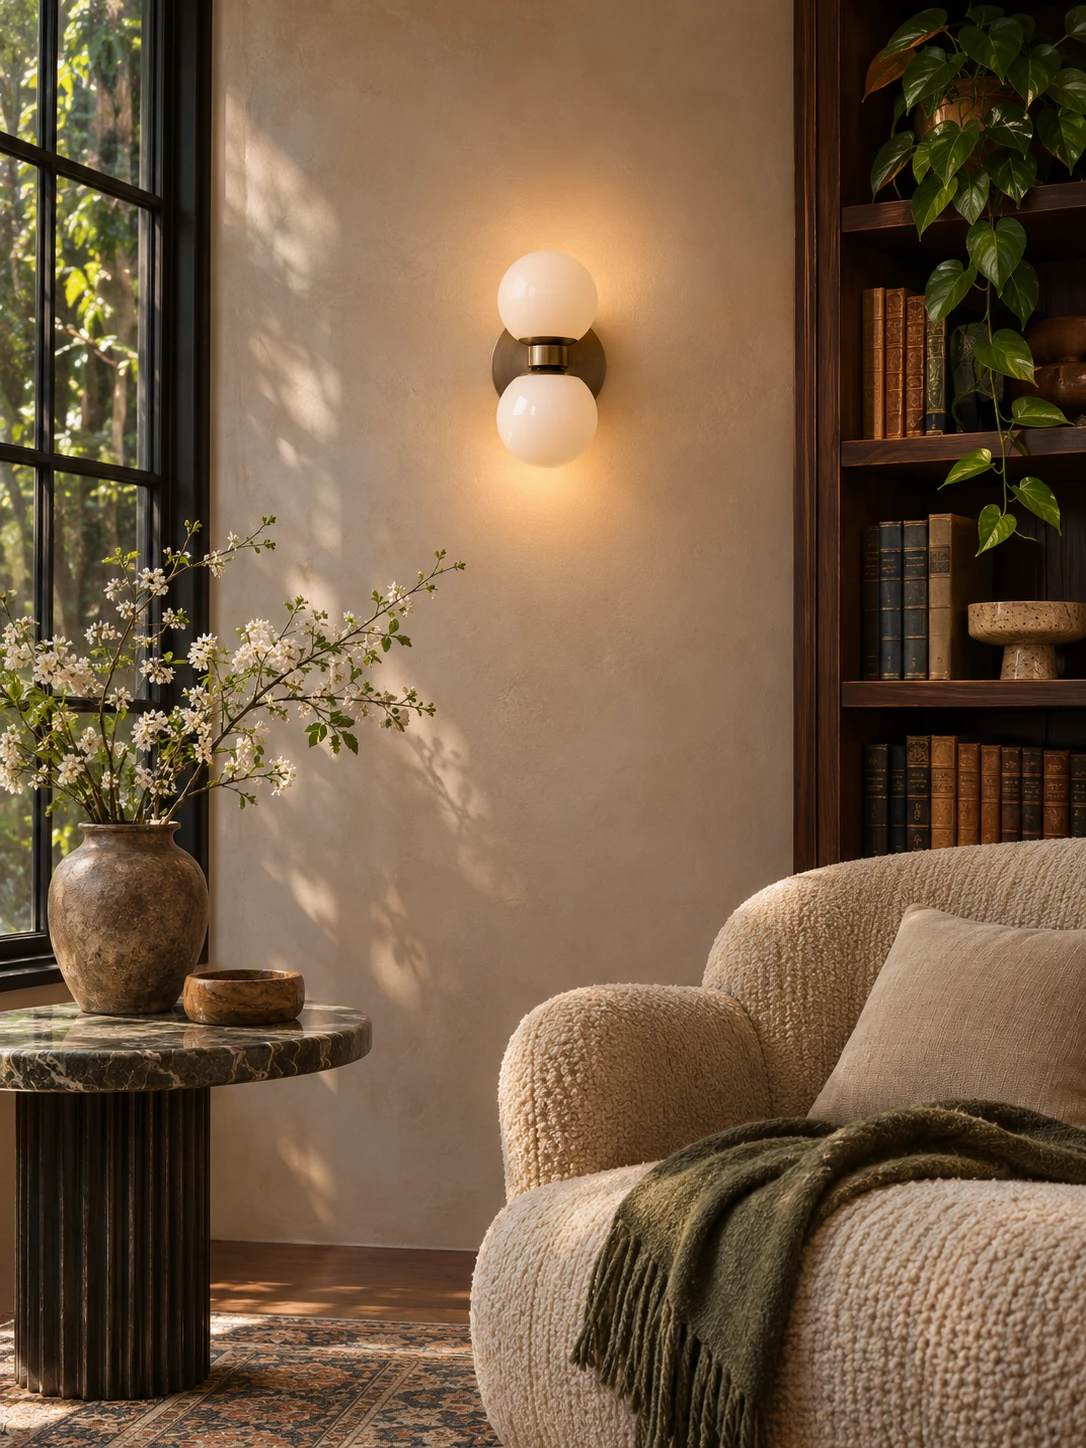
A sleek brass body holds two alabaster globes against the wall, with a warm metallic tone beside pale stone. Each shade shows its own natural veining and softly diffuses light into the room. The glow stays gentle and even, suited to a refined interior
Highlights
Stone, metal, and a soft glow
Natural alabaster, a brass body, and a choice of finishes shape this compact wall lamp
01
Natural alabaster
The lampshade is natural alabaster, and each piece shows unique veining as it softly diffuses the light
02
Brass body
A brass lamp body gives the dual globes a sleek line and a warm metallic presence
03
Finish choices
Available in White, Antique Bronze, Satin Nickel, Natural Brass, Black, and Polished Chrome
04
G9 light source
The lamp uses a G9 socket, and bulbs are not included
Specifications
Size and light
Depth
× ×: ∅ 3.9″ (10 cm)
Width
× ×: 5.9″ (15 cm)
Height
× ×: 9.1″ (23 cm)
Socket
G9
Bulbs
Not included
Shade
Natural alabaster, softly diffused
White & Antique BronzeD 10cm x W 15cm x H 23cm / ∅ 3.9″ x W 5.9″ x H 9.1″
White & Natural BrassD 10cm x W 15cm x H 23cm / ∅ 3.9″ x W 5.9″ x H 9.1″
White & BlackD 10cm x W 15cm x H 23cm / ∅ 3.9″ x W 5.9″ x H 9.1″
White & Satin NickelD 10cm x W 15cm x H 23cm / ∅ 3.9″ x W 5.9″ x H 9.1″
White & Polished ChromeD 10cm x W 15cm x H 23cm / ∅ 3.9″ x W 5.9″ x H 9.1″
HOZO Installationsanleitung
Planen Sie Ihre Beleuchtung.
Raumweise Startwerte für Leuchtengröße, Montagehöhe, Abstand und Durchgangshöhe. Tippen Sie ein Kapitel an.
01
Esstisch
Größe und Mitte vom Tisch aus festlegen, dann die Sicht von jedem Sitz prüfen.
So messen
Tischlänge und -breite messen. Bei runden Tischen den Durchmesser nehmen.
Startbereich
Runde Leuchten: etwa 1/2 bis 2/3 der Tischbreite. Längliche Leuchten: 1/2 bis 2/3 der Tischlänge.
Platzierung
Die Leuchte über dem Tisch zentrieren, nicht zwingend über dem Raum.
Abstand
76–91 cm über der Tischplatte beginnen.
Bei langen Tischen wirken zwei kleinere Pendel oft natürlicher als eine übergroße Leuchte.
Vor dem Bohren
Eine Papierschablone an die Decke kleben und vom Türrahmen sowie sitzend prüfen.
MessenPlatte bis Unterkante
Hängehöhe76–91 cm
AusrichtenMitte des Tisches
02
Kücheninsel
Die nutzbare Insel messen und die Pendel auf der Mittellinie halten.
So messen
Nutzbare Länge und Breite der Insel messen.
Startbereich
Eine Linienleuchte: 1/2 bis 2/3 der Insel-Länge. Mehrere Pendel: erst den Durchmesser, dann die Anzahl wählen.
Platzierung
Pendelmitten gleichmäßig auf der Insel-Mittellinie.
Abstand
76–91 cm über der Arbeitsplatte. Äußere Pendel nicht an den Inselenden.
Die komplette Reihe mocken, nicht nur ein Pendel.
Vor dem Bohren
Drei Papierkreise über der Insel zeigen Abstandsprobleme schneller als ein einzelnes Muster.
MessenPlatte bis Unterkante
Hängehöhe76–91 cm
AusrichtenGleiche Mitten
03
Raummitte
Länge plus Breite ergibt den Startdurchmesser. Deckenhöhe und visuelle Schwere machen die Entscheidung fertig.
So messen
Raumlänge und -breite in Metern plus fertige Deckenhöhe.
Startbereich
Länge + Breite (m) × 8,3 ergibt einen üblichen Startdurchmesser in cm. Beispiel: 3,7 + 3,0 → ca. 56 cm.
Platzierung
Die architektonische Mitte nur nutzen, wenn sie vom Eingang und vom Möbelplan her Sinn ergibt.
Abstand
Mindestens 2,10 m lichte Höhe unter dem tiefsten Punkt im Laufbereich.