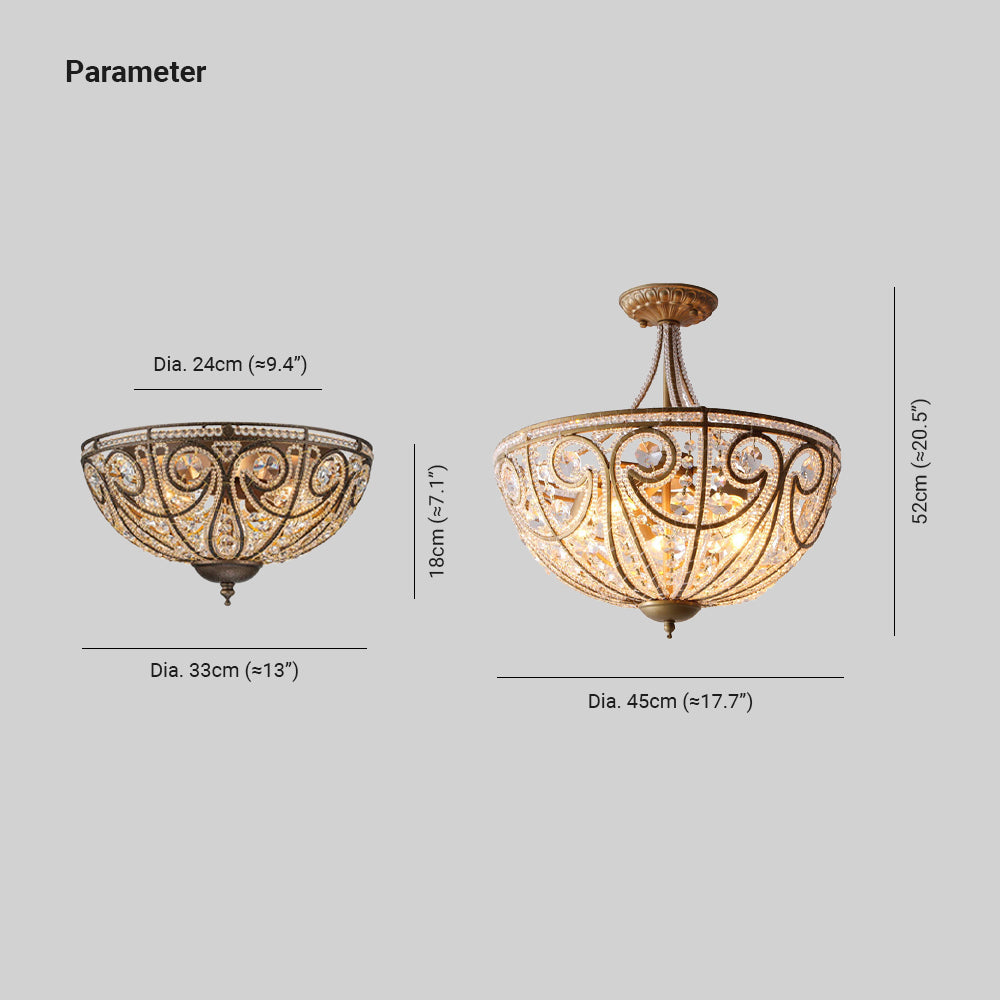
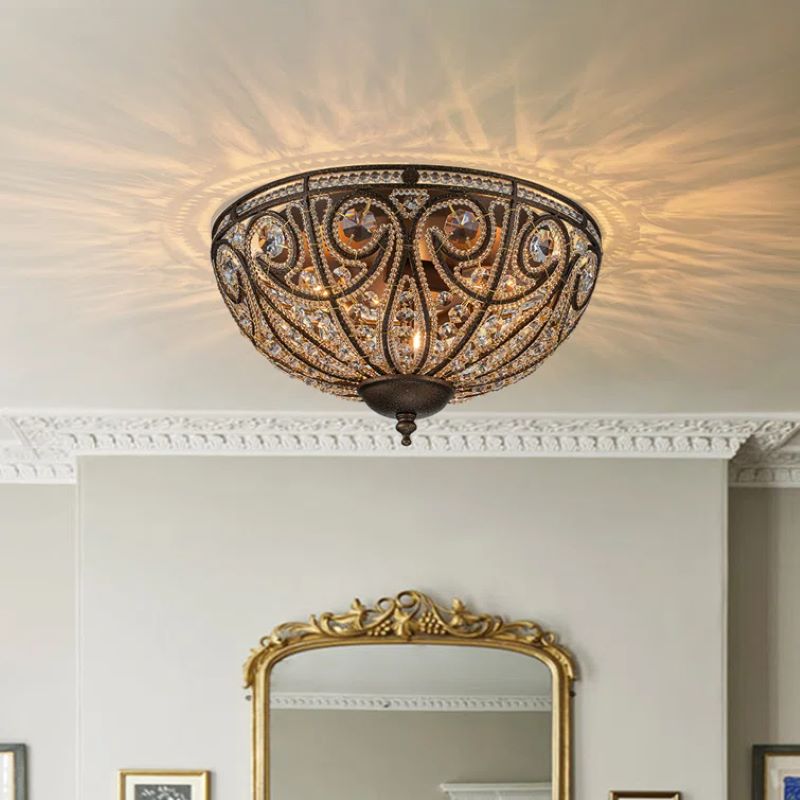
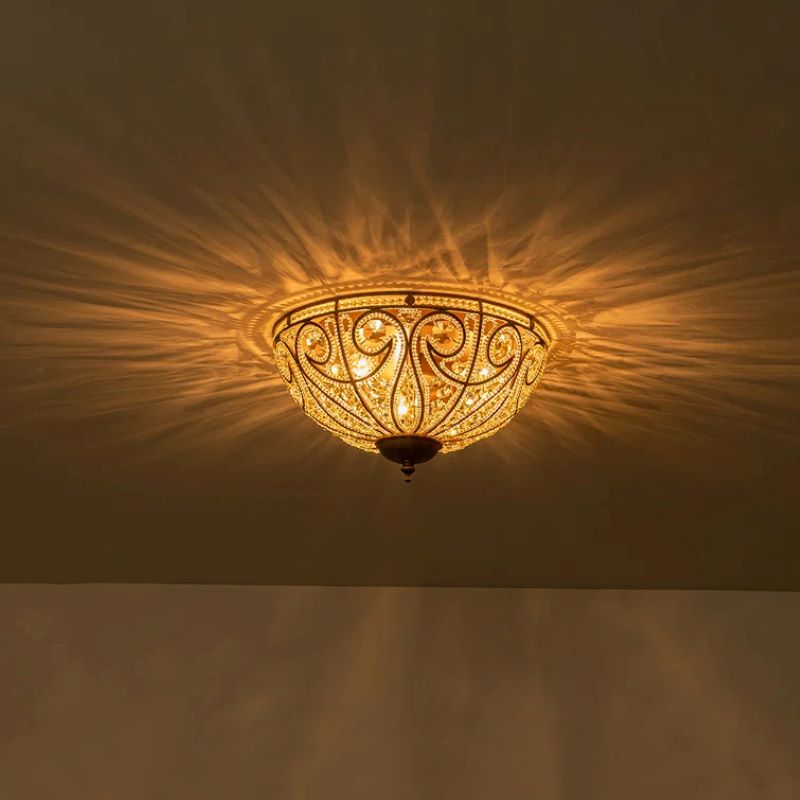
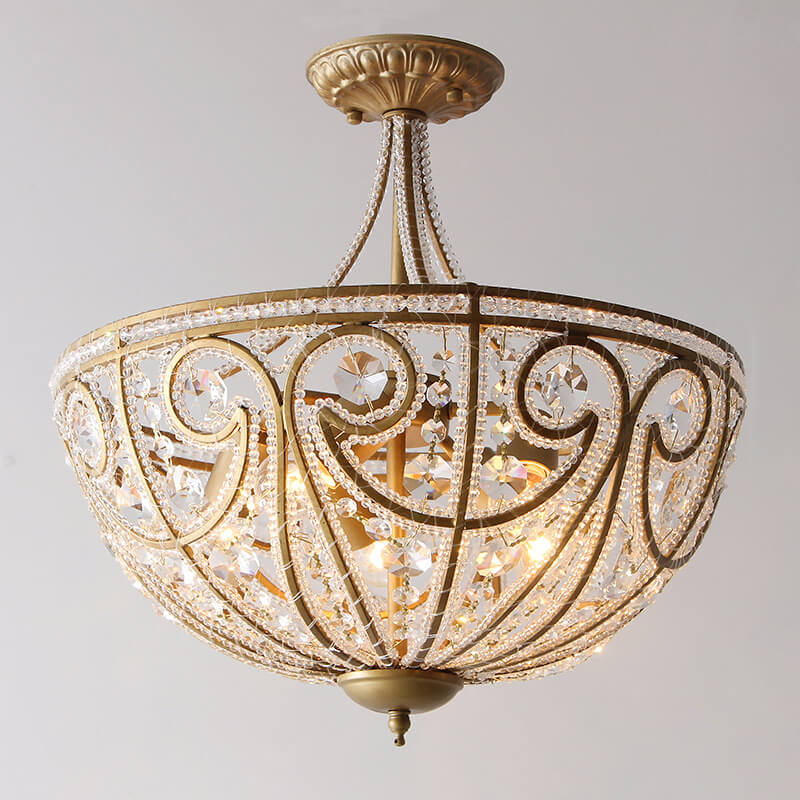
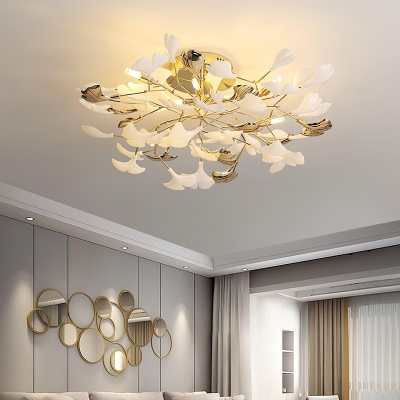
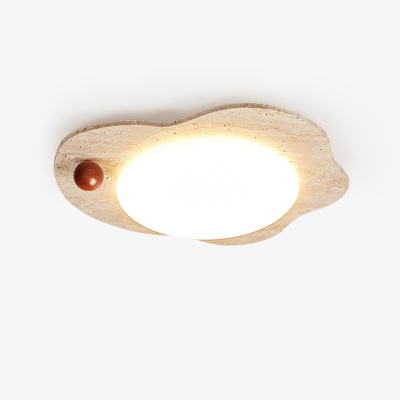
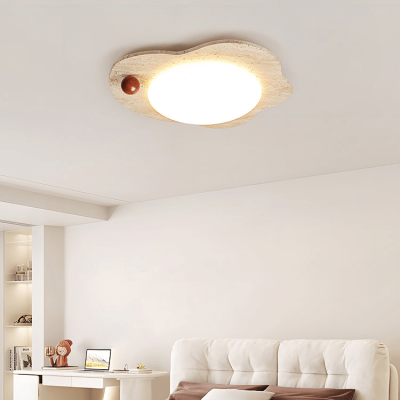
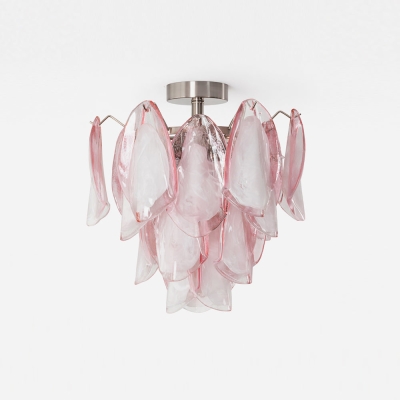
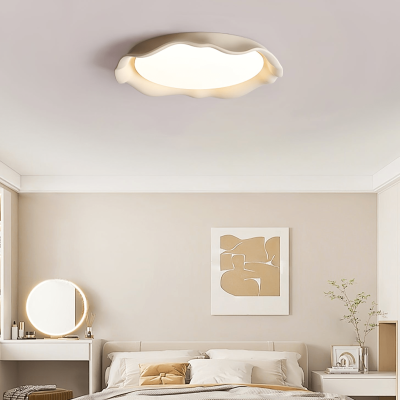
Please kindly note that there may be an error of 1-3cm of the size due to manual measurement.The pictures may have slight chromatism due to the light and the monitor.Your understanding is appreciated.It's recommended that the installation of the lamp is performed by a professional electrician.
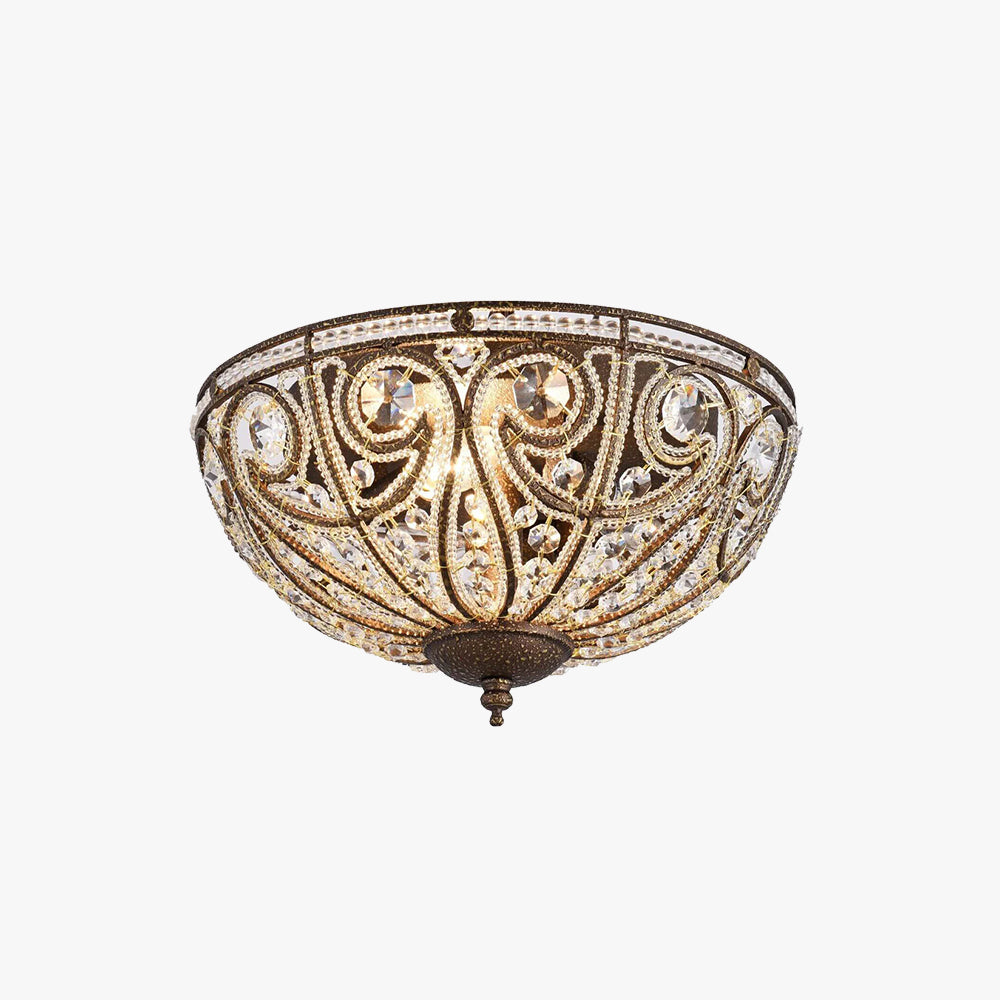
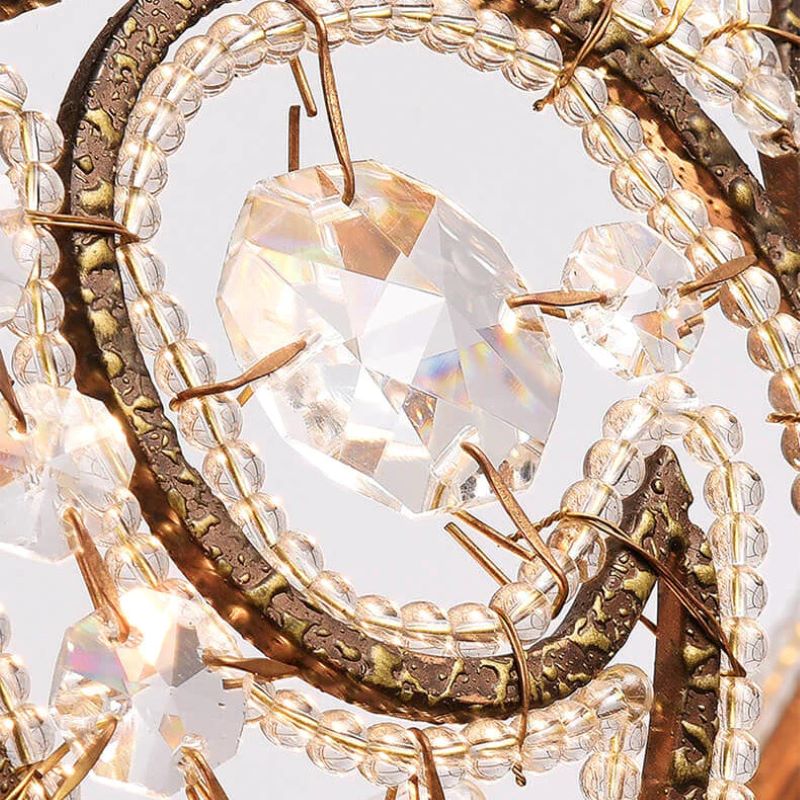
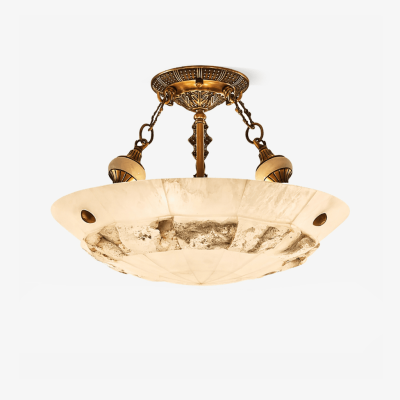
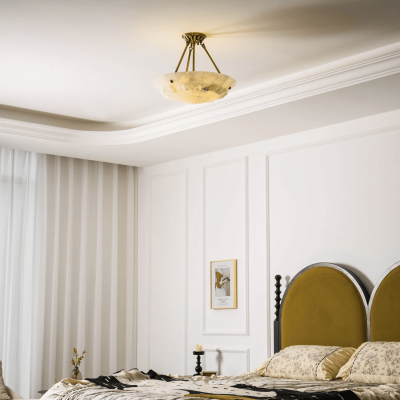
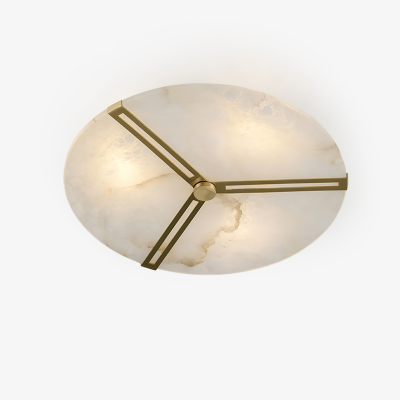
Made of high-quality metal and glass materials, our Kristy Retro Lead Flush Mount Light not only ensures its durability but also showcases its classic look. The glass bowl provides structural integrity and sturdiness, while containing the LED lights that produce a warm and appealing sparkling effect. By combining top-notch workmanship and detail concern, this ceiling light gives retro-styled luxury and elegance.
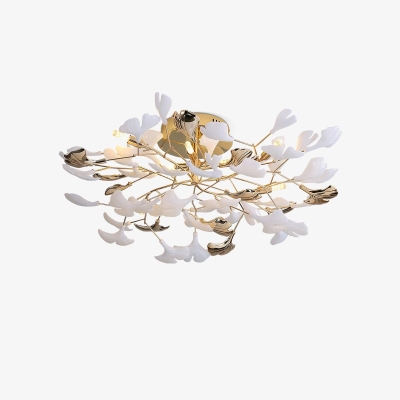
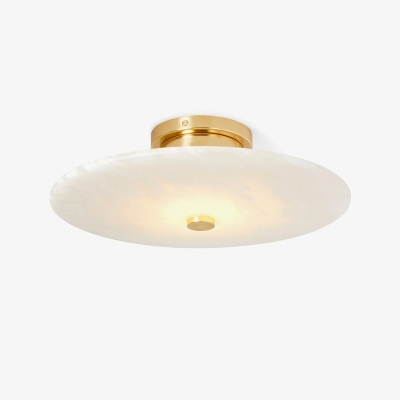
Designed in a luxurious gold color, the Kristy Flush Mount Ceiling Light provides a look of distinction and shine to the room. The gold finish builds an element of dignified and sophisticated style that helps in bringing out the vintage design of the fixture.
Sporting the contemporary bowl form, it is obvious that the Kristy Flush Mount Ceiling Light is not only retro-inspired but also timelessly elegant. The rounded shape of the glass bowl gives the fixture a visual dimension and uniqueness, and the little details of metal accents enhance the elegance of the lamp. The bowl design ensures this soft light spreads evenly, thus creating a cozy and relaxing glow in the room.
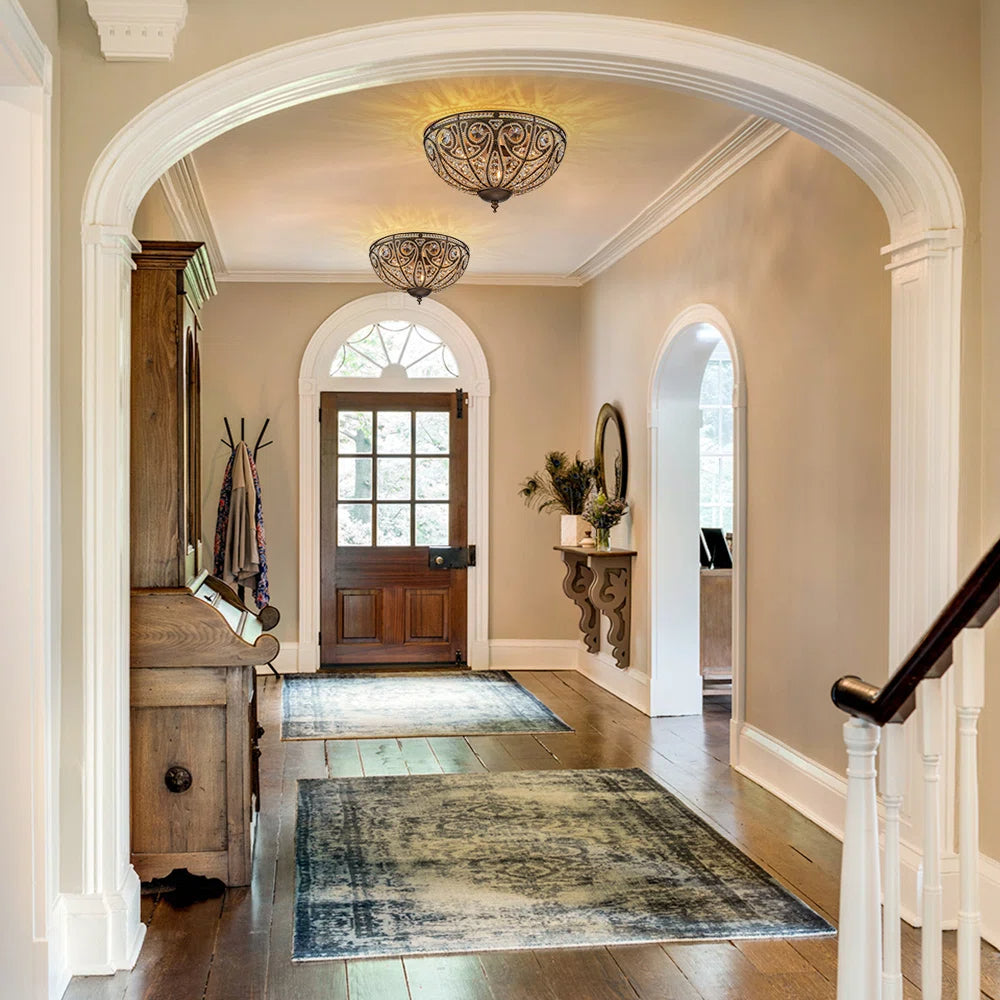
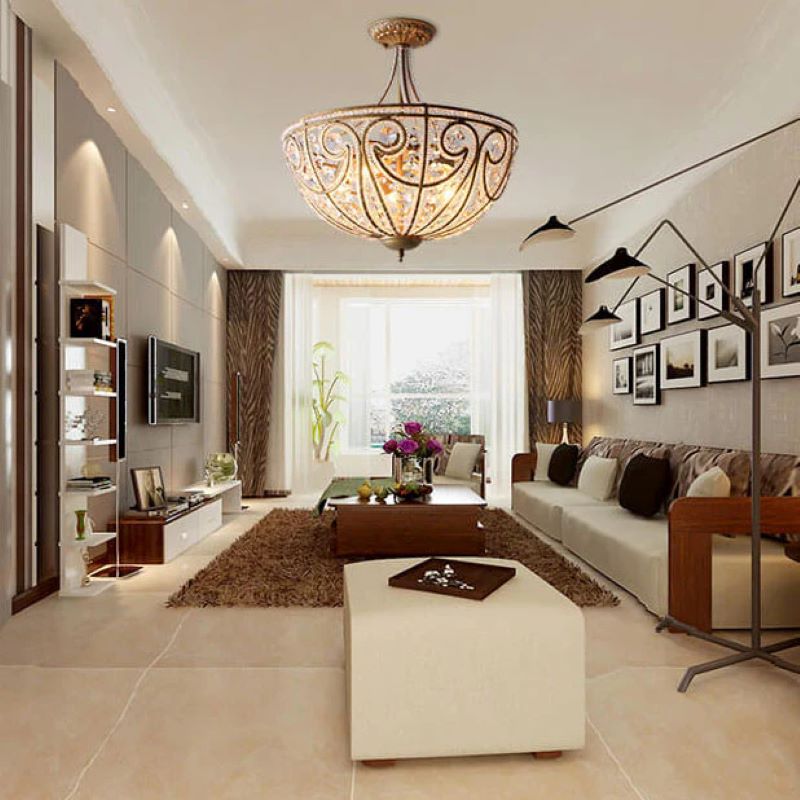
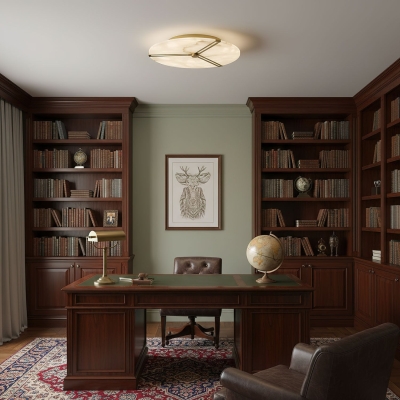
Great for bedrooms, living rooms and dining rooms, Kristy Retro LED Flush Mount Ceiling Light is a perfect option when it comes to functionality, and style. Whether it helps as the main light or a decorative piece, it creates a warm and welcoming effect that contributes to the ambiance of the room.
The Kristy Retro LED flush mount ceiling light successfully merges retro-inspired style with contemporary functionality in a way that produces a masterpiece that completes the interior of the room with some class and personality. The elegant curvature of the bowl in sync with the golden finish provides a hint of ancient luxury and elegance.
HOZO Installationsanleitung
Planen Sie Ihre Beleuchtung.
Raumweise Startwerte für Leuchtengröße, Montagehöhe, Abstand und Durchgangshöhe. Tippen Sie ein Kapitel an.
01
Esstisch
Größe und Mitte vom Tisch aus festlegen, dann die Sicht von jedem Sitz prüfen.
So messen
Tischlänge und -breite messen. Bei runden Tischen den Durchmesser nehmen.
Startbereich
Runde Leuchten: etwa 1/2 bis 2/3 der Tischbreite. Längliche Leuchten: 1/2 bis 2/3 der Tischlänge.
Platzierung
Die Leuchte über dem Tisch zentrieren, nicht zwingend über dem Raum.
Abstand
76–91 cm über der Tischplatte beginnen.
Bei langen Tischen wirken zwei kleinere Pendel oft natürlicher als eine übergroße Leuchte.
Vor dem Bohren
Eine Papierschablone an die Decke kleben und vom Türrahmen sowie sitzend prüfen.
MessenPlatte bis Unterkante
Hängehöhe76–91 cm
AusrichtenMitte des Tisches
02
Kücheninsel
Die nutzbare Insel messen und die Pendel auf der Mittellinie halten.
So messen
Nutzbare Länge und Breite der Insel messen.
Startbereich
Eine Linienleuchte: 1/2 bis 2/3 der Insel-Länge. Mehrere Pendel: erst den Durchmesser, dann die Anzahl wählen.
Platzierung
Pendelmitten gleichmäßig auf der Insel-Mittellinie.
Abstand
76–91 cm über der Arbeitsplatte. Äußere Pendel nicht an den Inselenden.
Die komplette Reihe mocken, nicht nur ein Pendel.
Vor dem Bohren
Drei Papierkreise über der Insel zeigen Abstandsprobleme schneller als ein einzelnes Muster.
MessenPlatte bis Unterkante
Hängehöhe76–91 cm
AusrichtenGleiche Mitten
03
Raummitte
Länge plus Breite ergibt den Startdurchmesser. Deckenhöhe und visuelle Schwere machen die Entscheidung fertig.
So messen
Raumlänge und -breite in Metern plus fertige Deckenhöhe.
Startbereich
Länge + Breite (m) × 8,3 ergibt einen üblichen Startdurchmesser in cm. Beispiel: 3,7 + 3,0 → ca. 56 cm.
Platzierung
Die architektonische Mitte nur nutzen, wenn sie vom Eingang und vom Möbelplan her Sinn ergibt.
Abstand
Mindestens 2,10 m lichte Höhe unter dem tiefsten Punkt im Laufbereich.