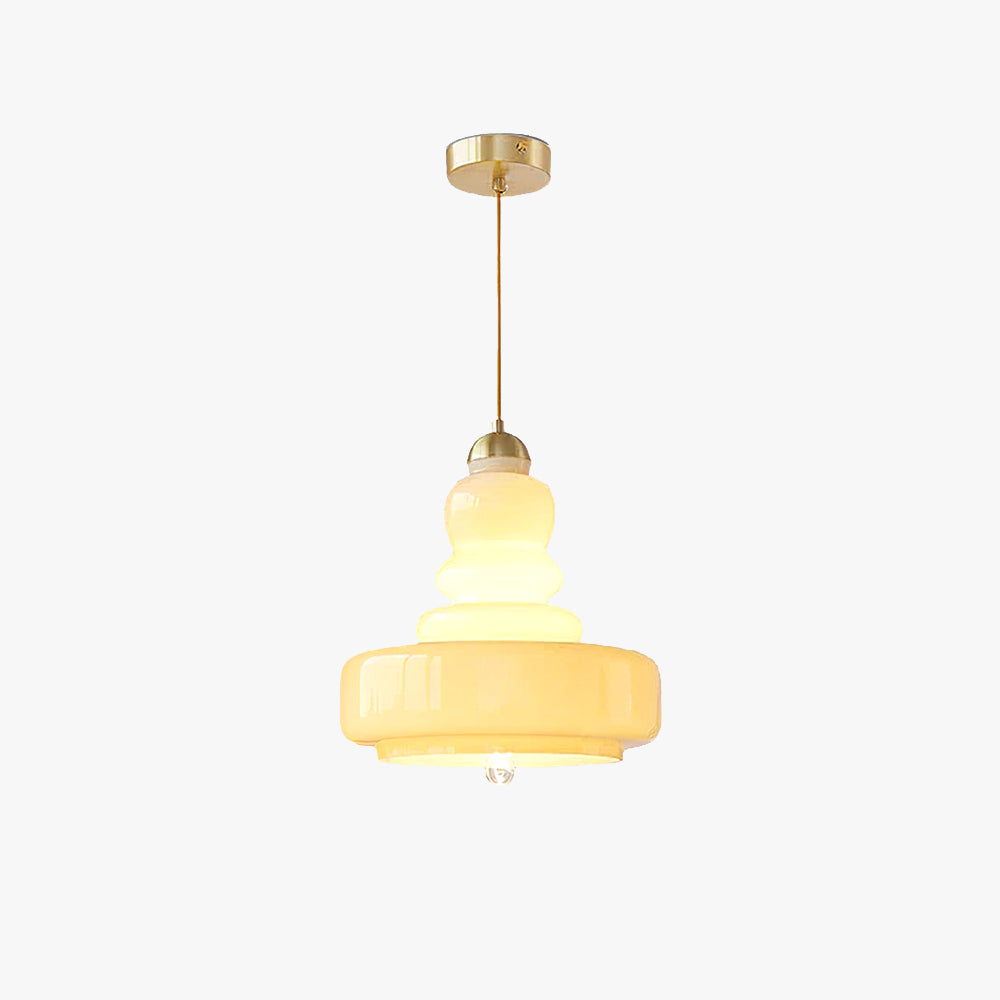
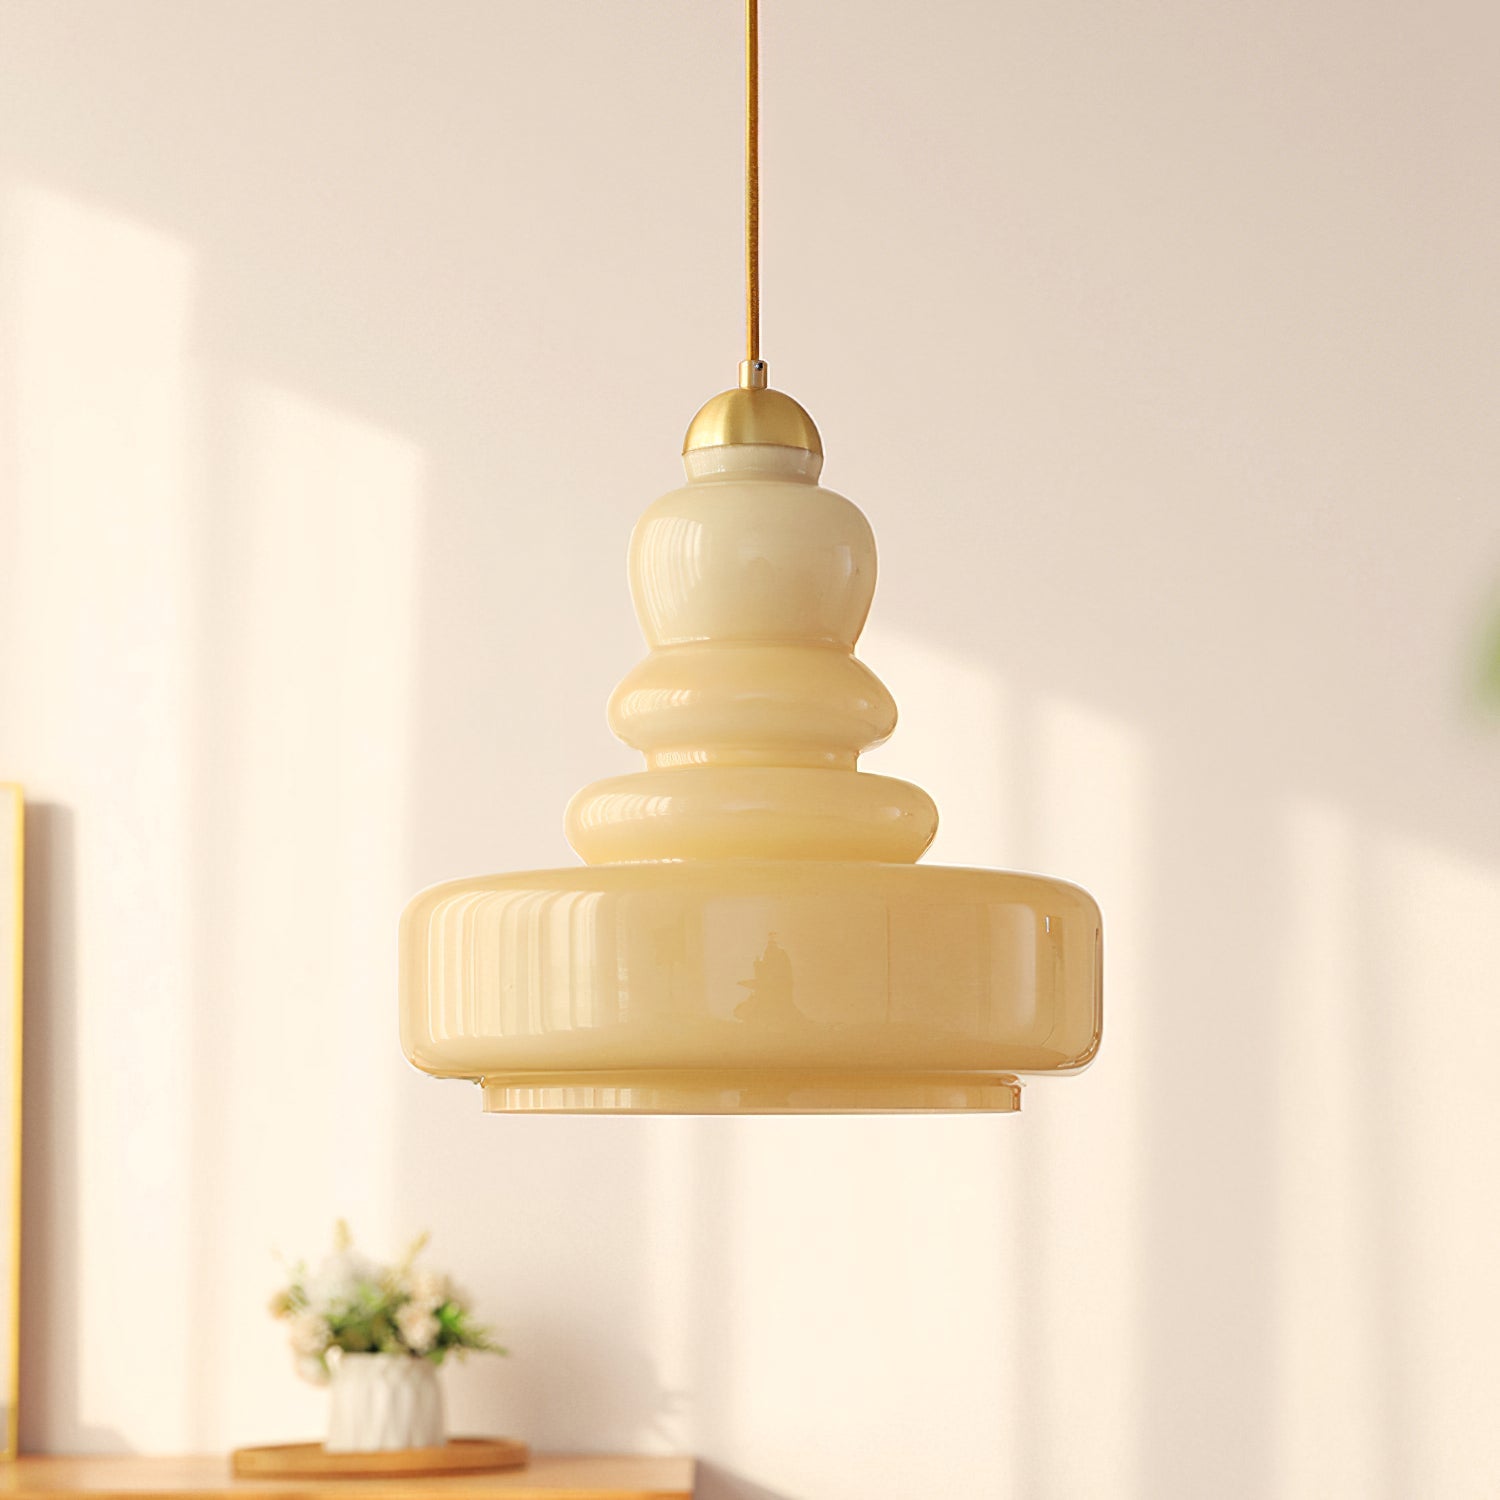
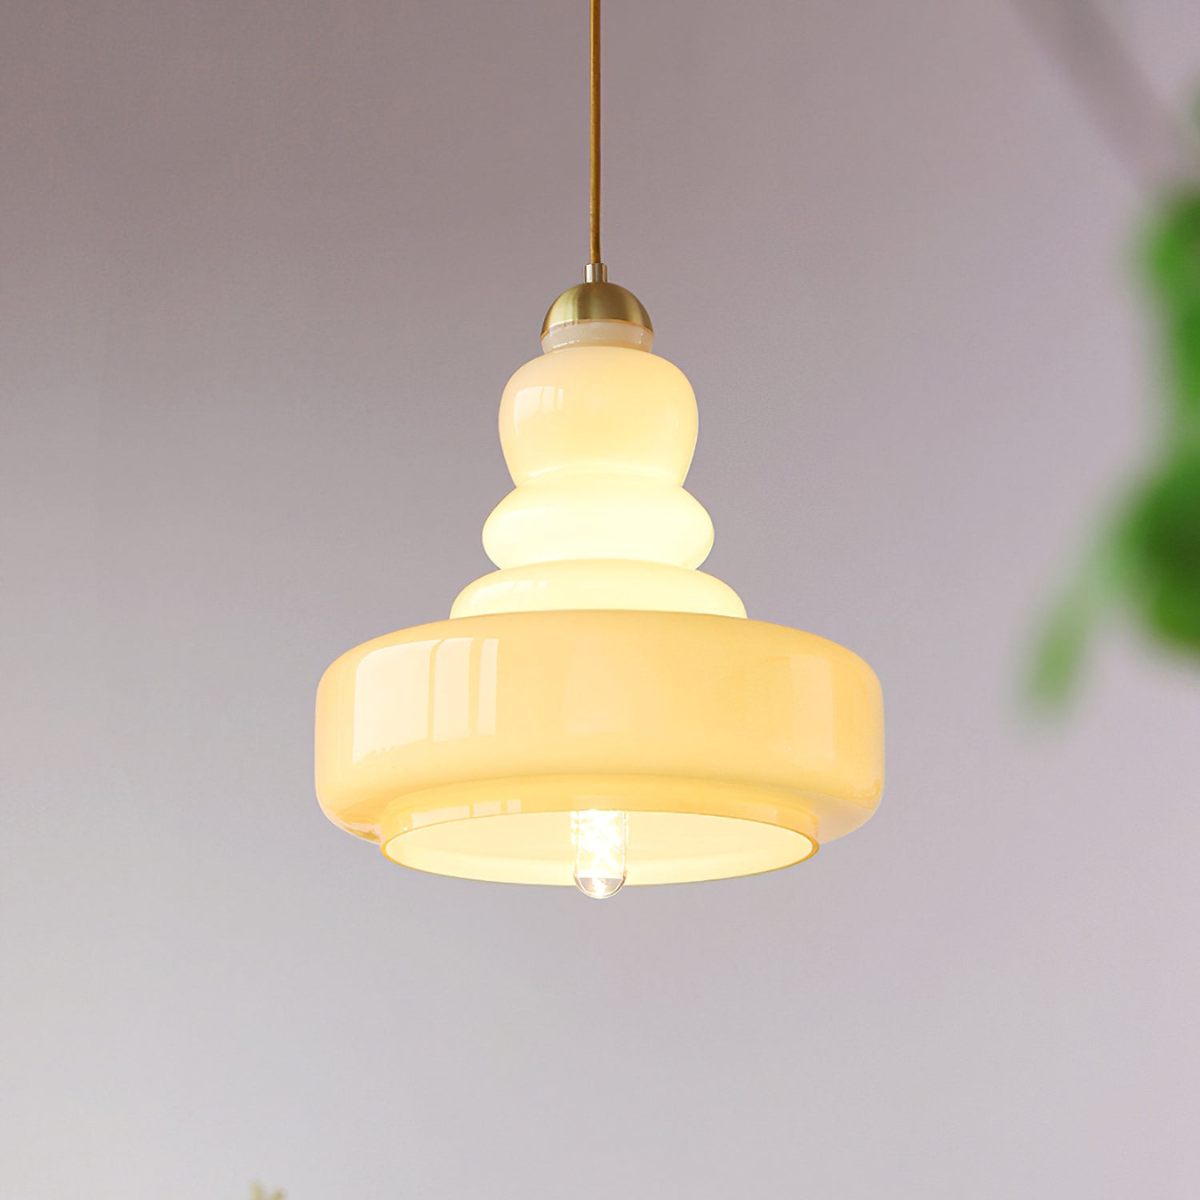
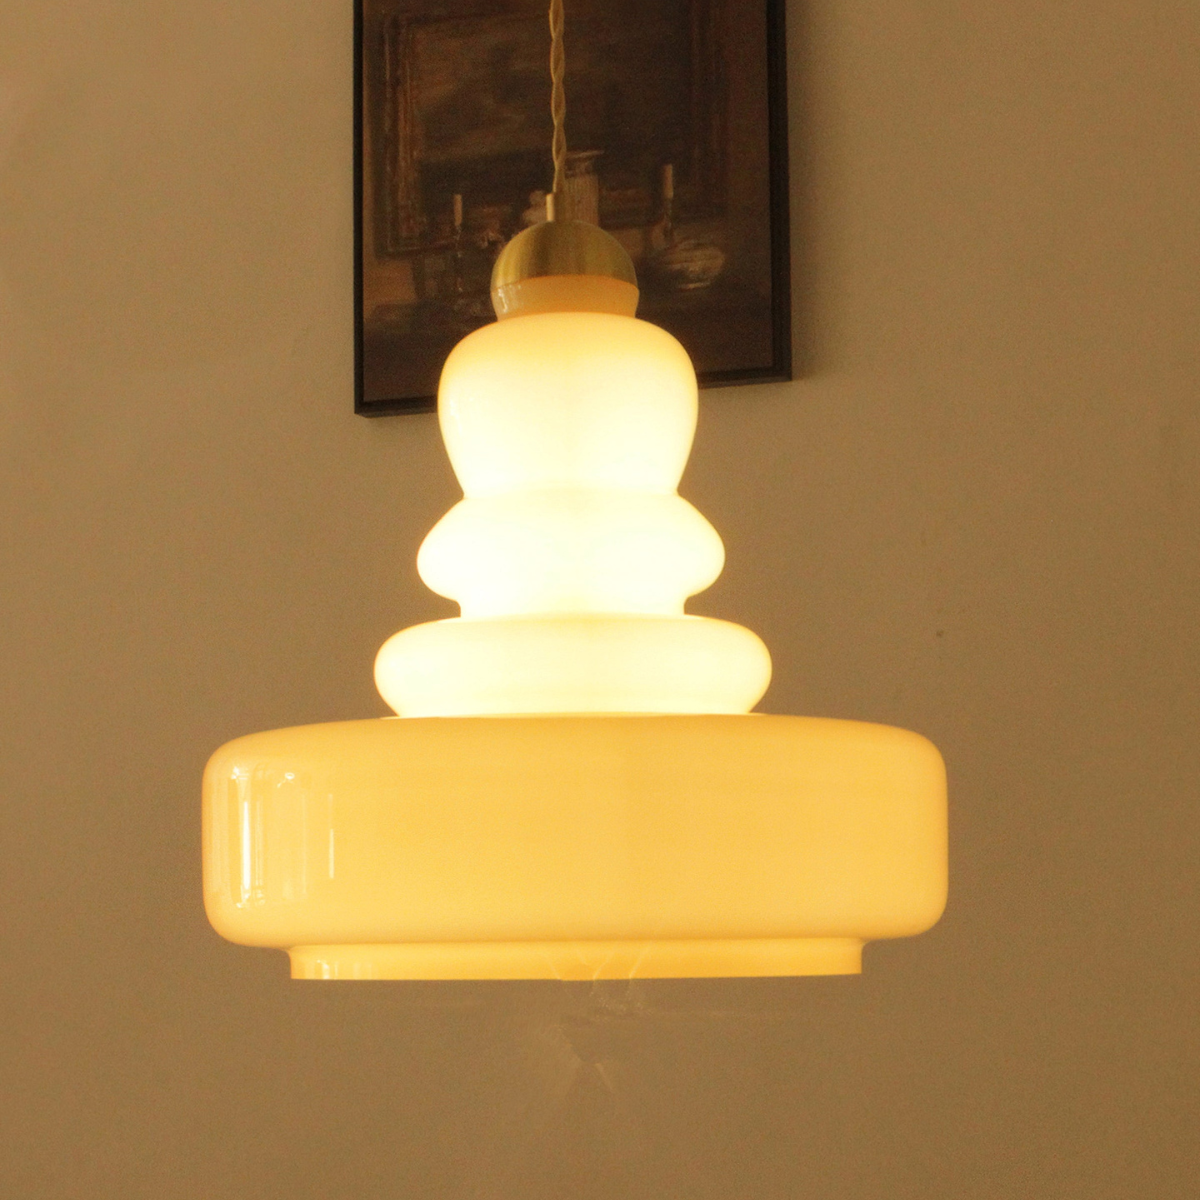
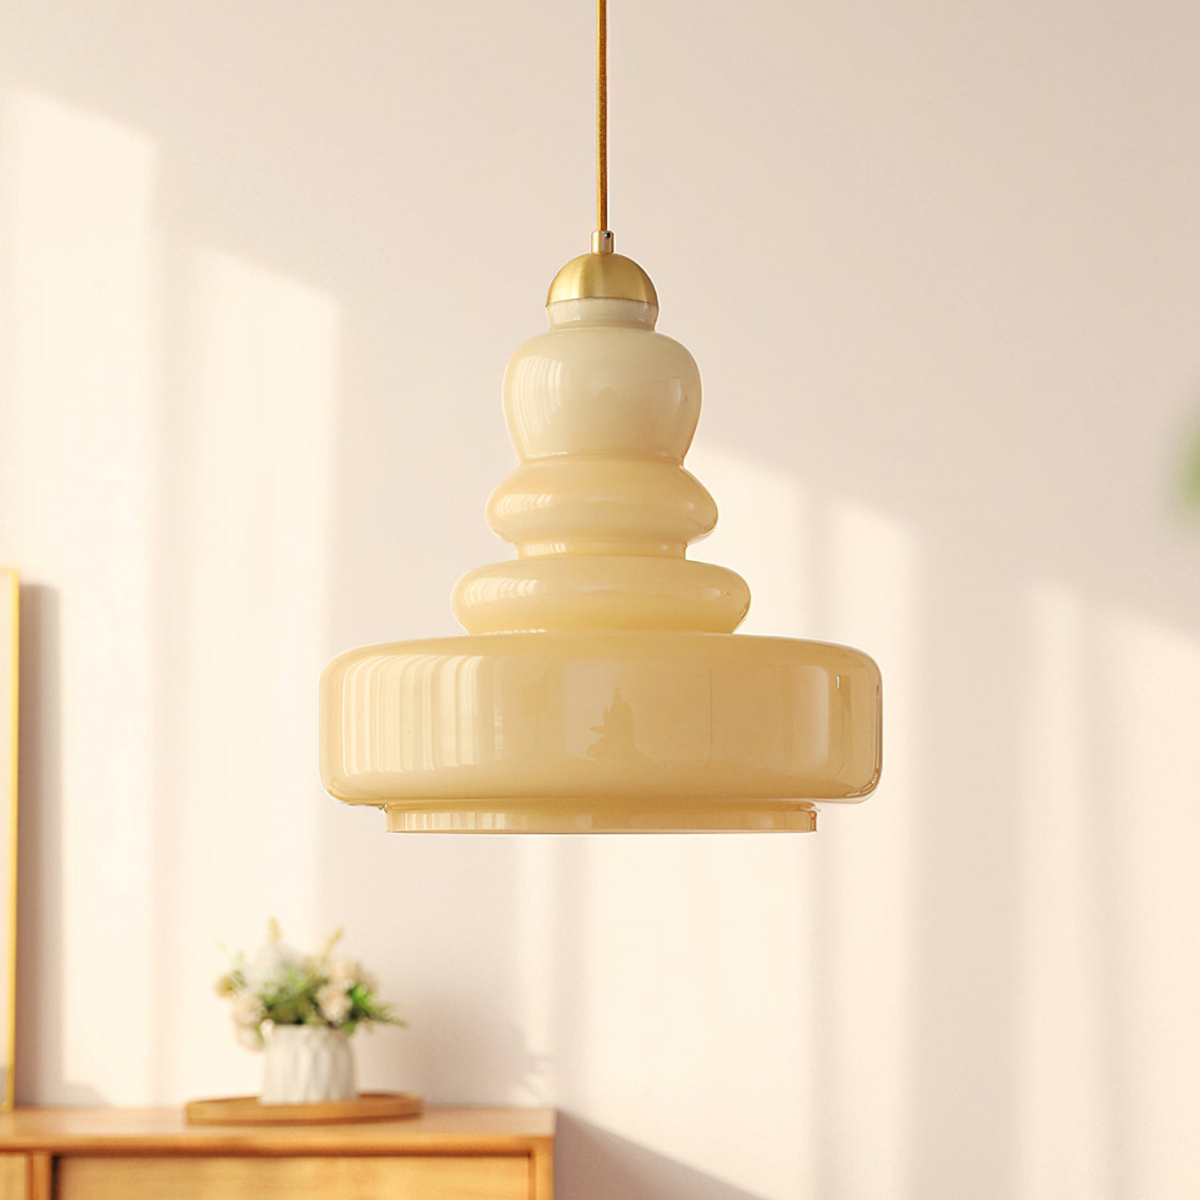
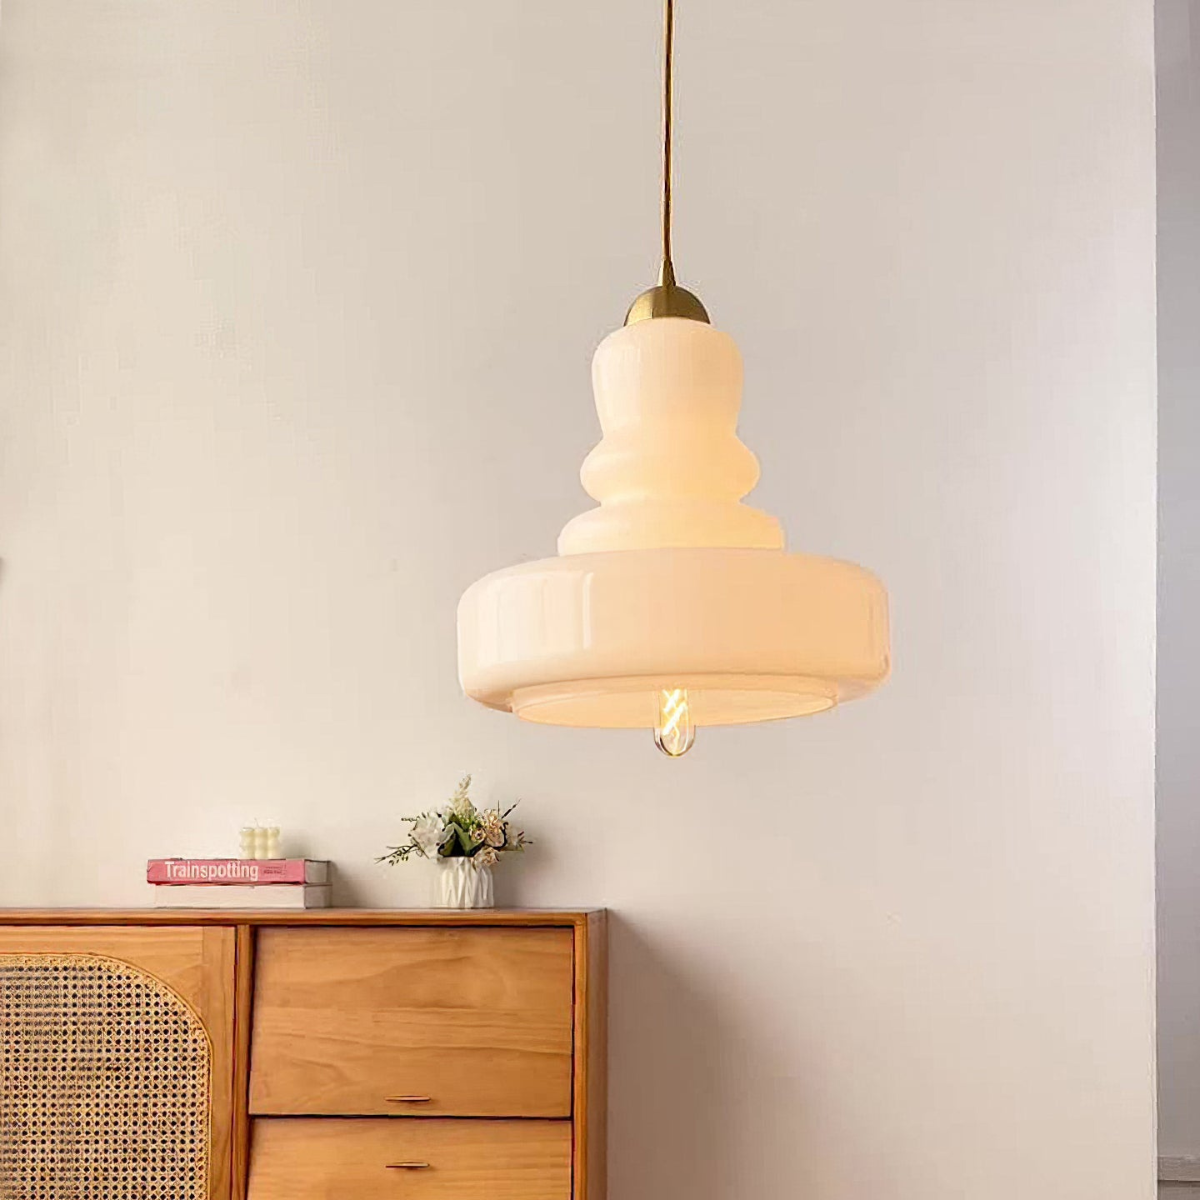
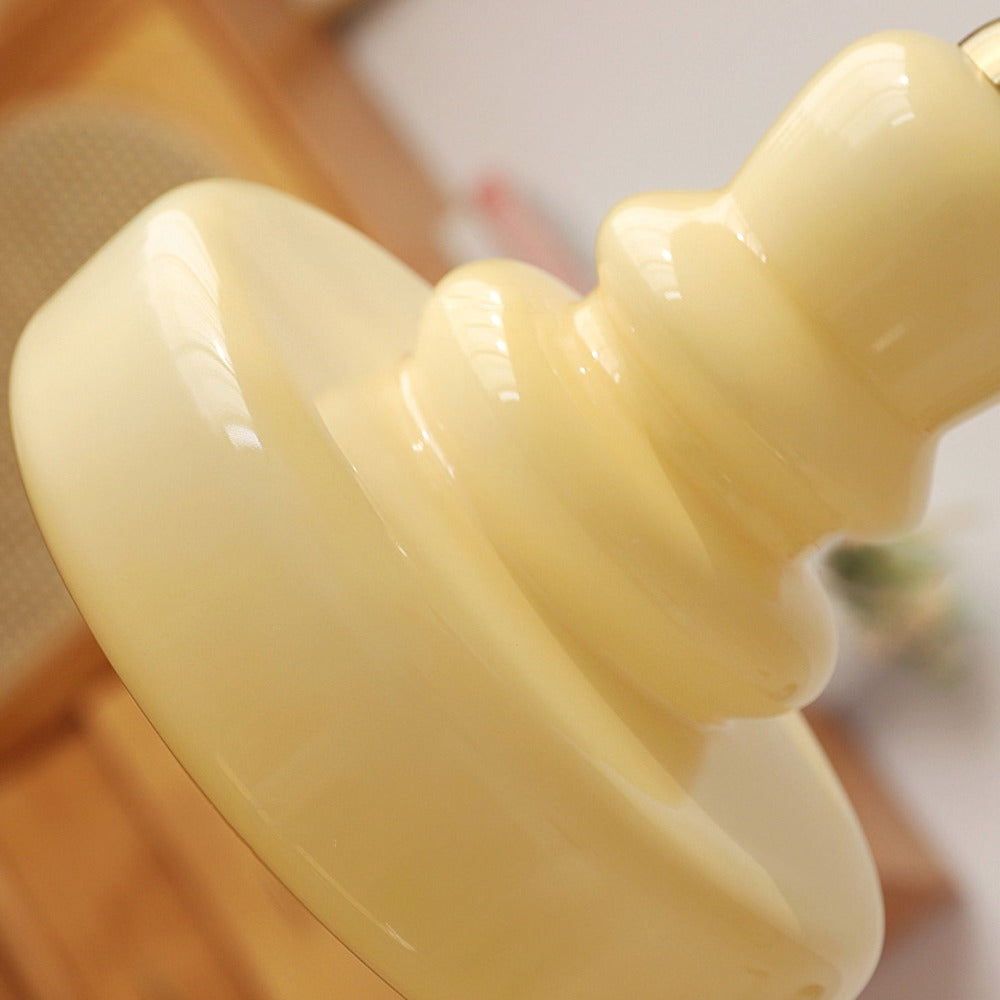
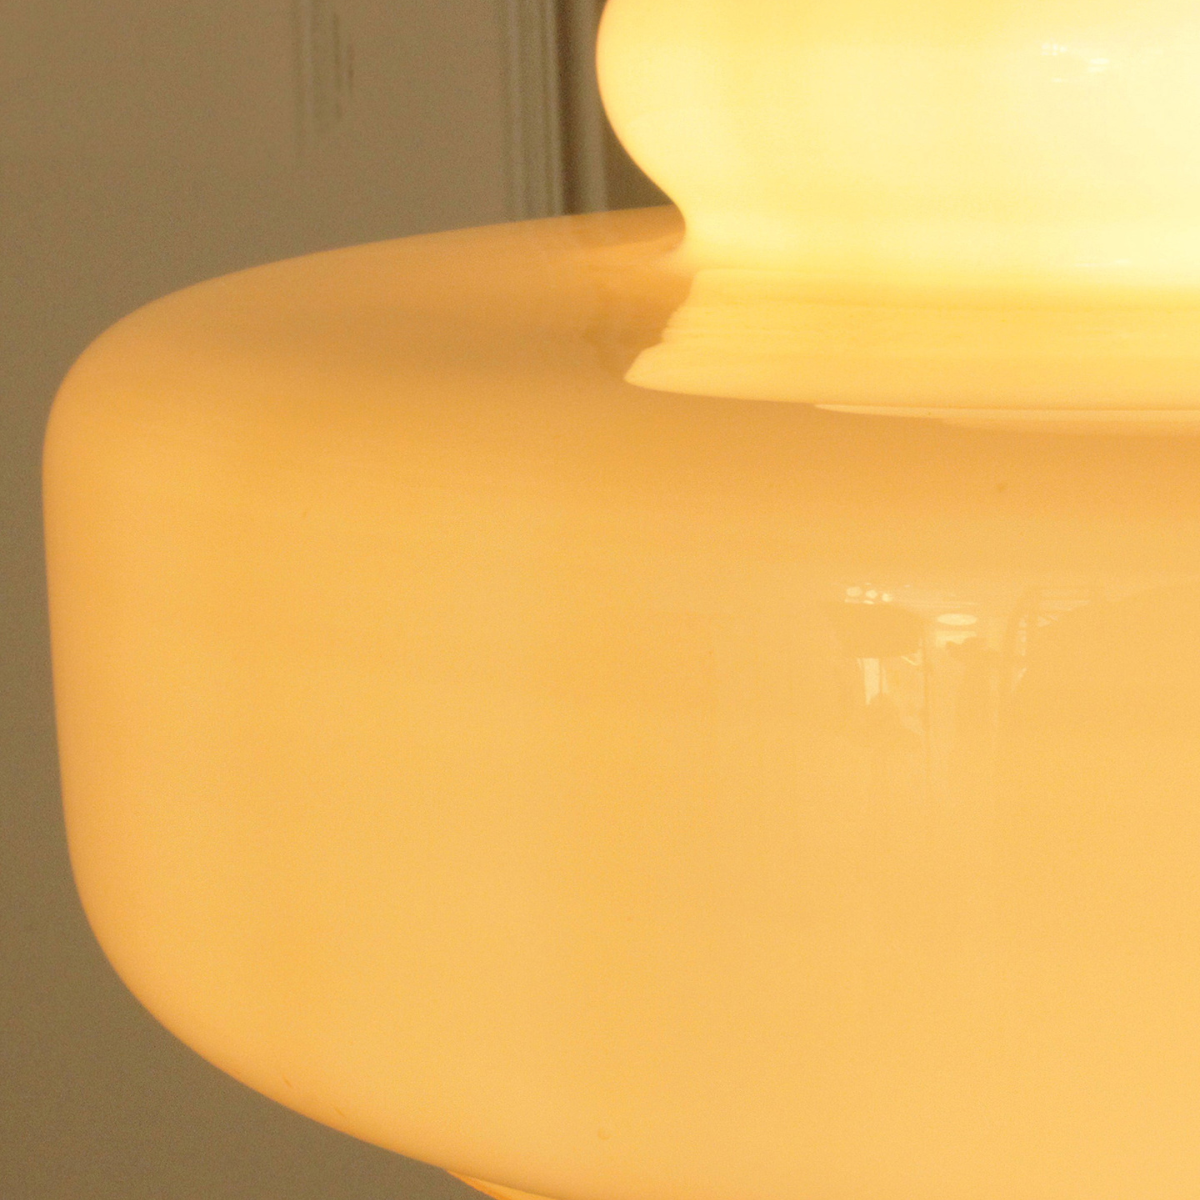
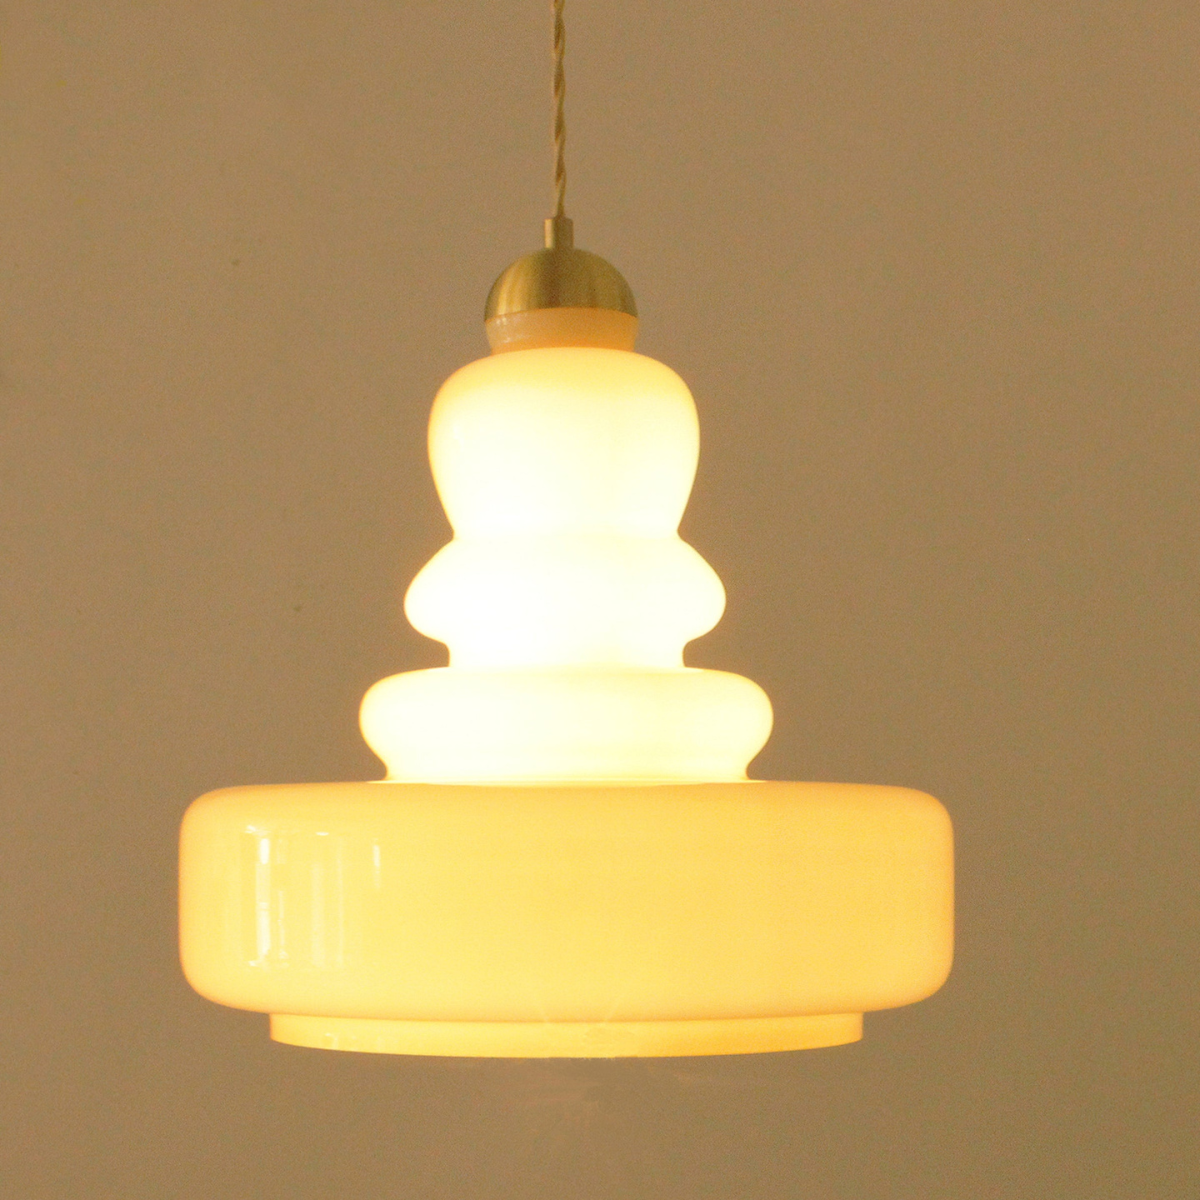
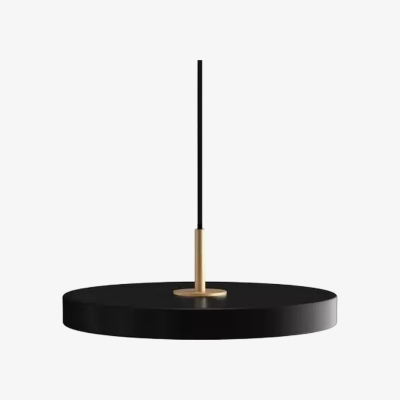
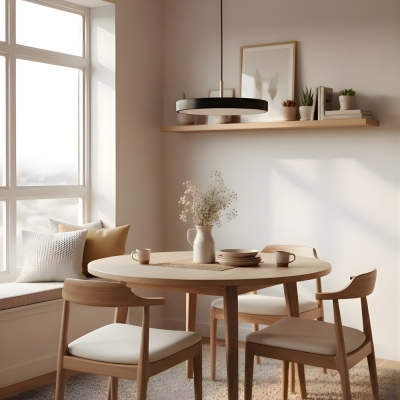
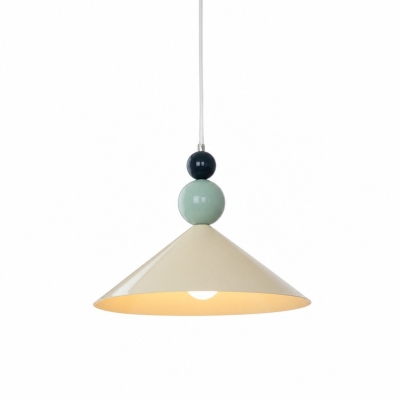
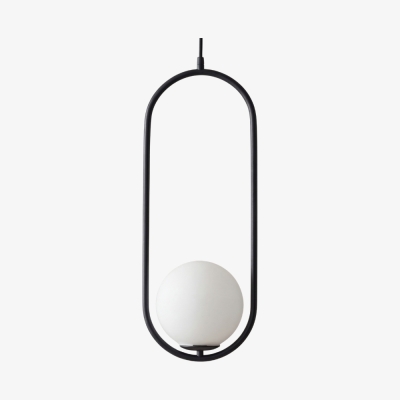
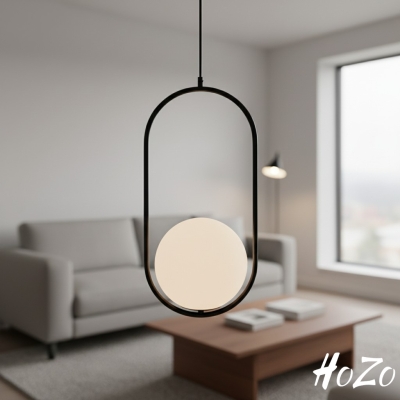
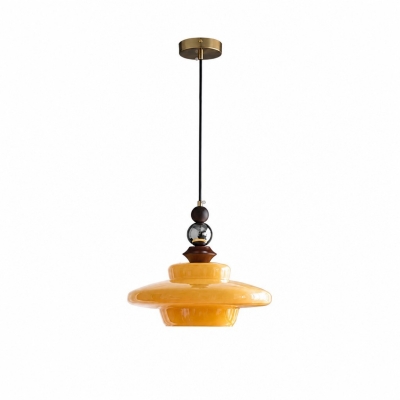
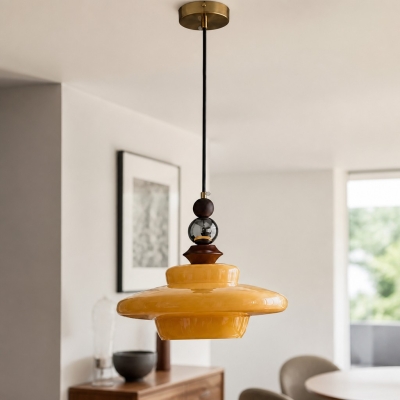
Indulge in the understated luxury of the Morandi Pendant Light, a luminary masterpiece meticulously crafted from premium glass. This exquisite material not only enhances the overall aesthetics of your living space but also radiates a timeless charm that transcends trends. The glass composition adds a touch of sophistication to your interior, ensuring that your lighting fixture is not just functional but also a statement piece that stands the test of time.
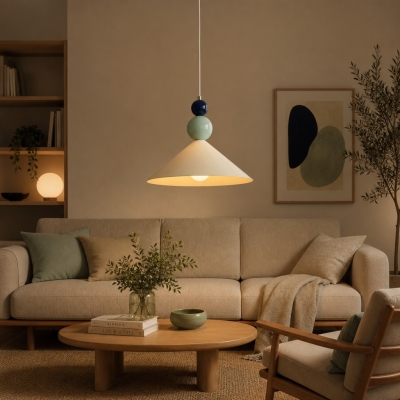
Immerse your room in a warm and inviting ambiance with the Morandi Pendant Light's soothing beige color palette. This subtle yet impactful hue effortlessly complements various interior styles, creating a harmonious blend of modernity and classic charm. As the soft beige tones gently dance across the room, you'll find yourself immersed in an atmosphere of tranquility, turning your bedroom, living room, or dining room into a haven of relaxation and style.
Step into a world of timeless elegance with the Morandi Pendant Light's captivating round shape. The harmonious curves of this luminary not only provide a visually pleasing focal point but also distribute light evenly, creating a welcoming and comfortable environment. The round design adds a touch of fluidity to your space, effortlessly enhancing the overall aesthetic and ensuring that your lighting fixture becomes a conversation starter in any room.
Experience the freedom to infuse style into every corner of your home with the Morandi Pendant Light. Ideal for the bedroom, living room, and dining room, this versatile lighting solution transcends traditional boundaries, effortlessly adapting to different spaces. Whether you desire a cozy ambiance in the bedroom, a vibrant atmosphere in the living room, or an intimate setting in the dining room, the Morandi Pendant Light is your ticket to transforming every room into a personalized sanctuary.
Product Info
Product Type
Pendant Lights
Product Style
Morandi
Best Match With
Bedroom, Living Room
Perfect with Room Size Around (Sq)
10㎡-15㎡
Indoor/Outdoor
Indoor
Dimmable
No
Smart Control
/
Assembly Required
Yes
IP Rate
IP20
Power Source
Hardwire
Power Info
Bulb Included
No
Bulb Type
LED/Incandescent/Fluorescent
Bulb Base
E26
Number of Bulbs
/
Voltage (V)
110V-240V
Maximum Wattage(W)
/
Product Material
Primary Material
Metal + Glass
Fixture Material
Metal
Shade Material
Glass
Product Measurements & Weights
Product Weight (lbs)
/
Chain/Cord Adjustable
Yes
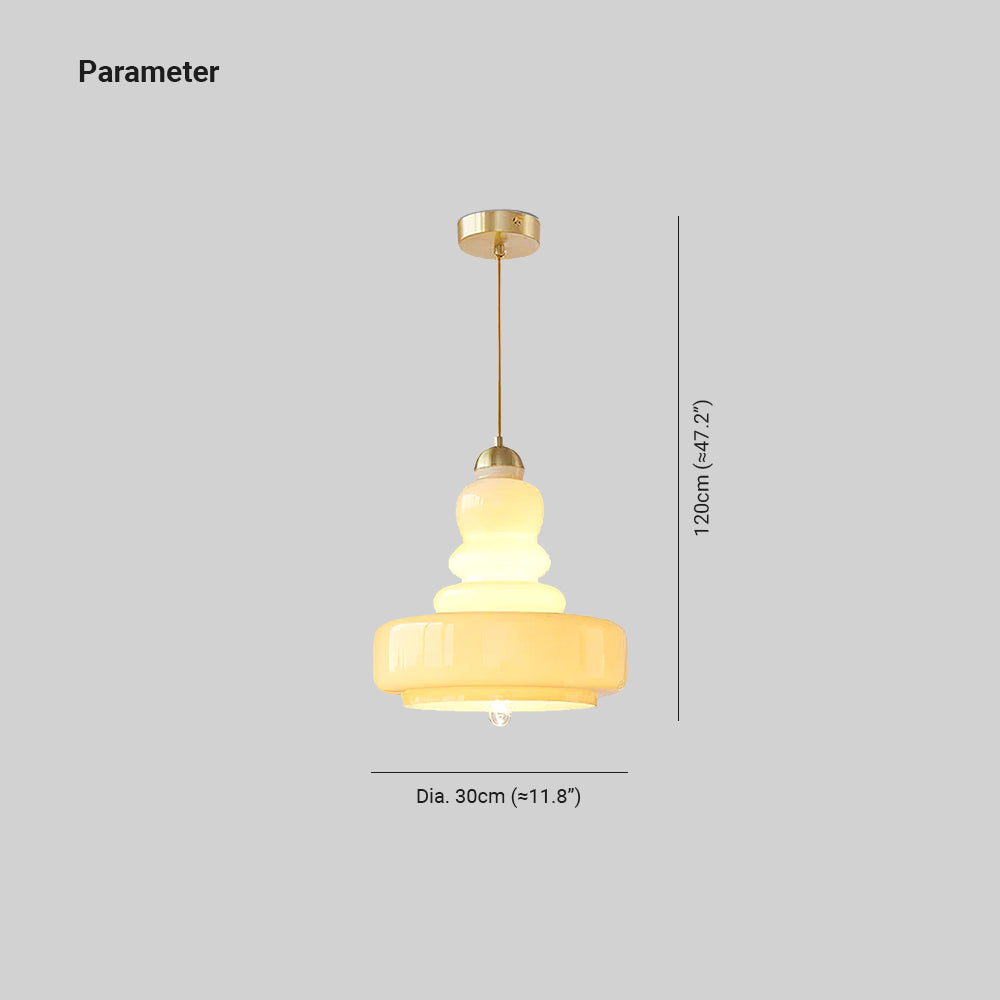
Size
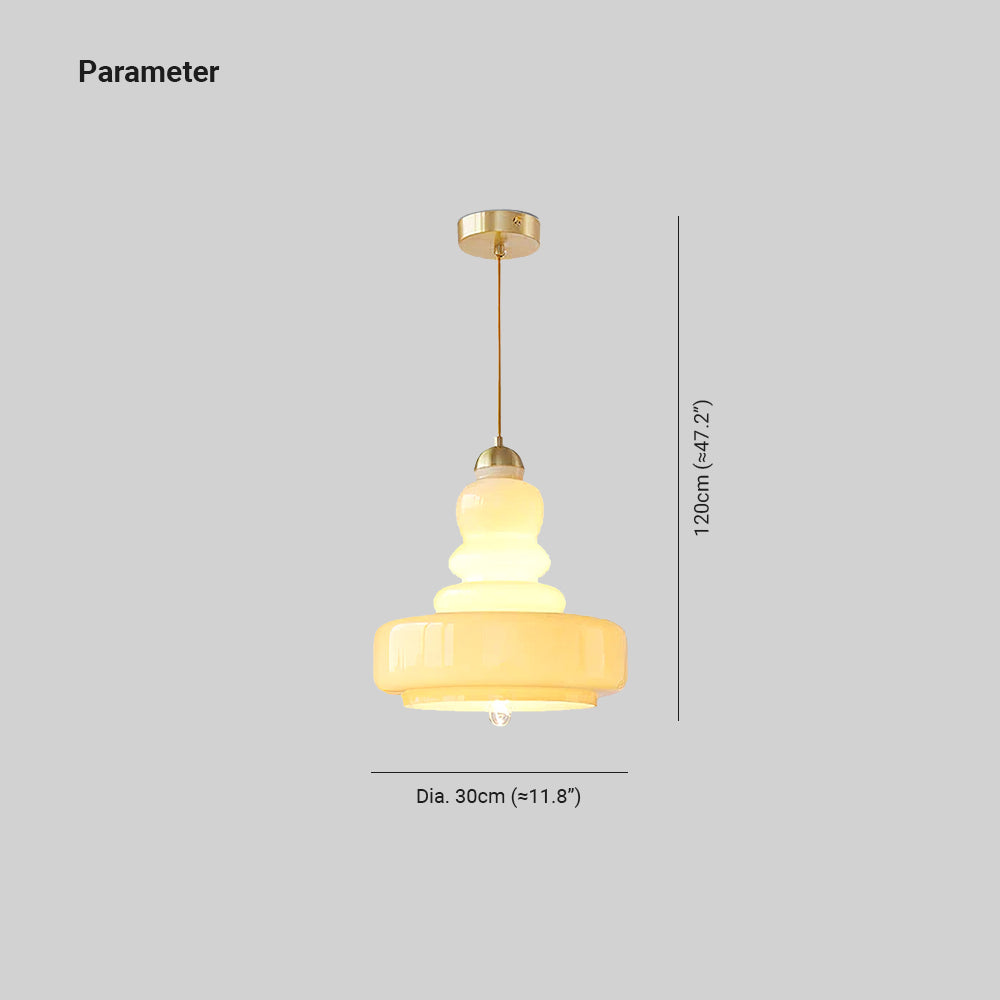
See Images
Included Components
1* Pendant Lights
Note
Please kindly note that there may be an error of 1-3cm of the size due to manual measurement. The pictures may have slight chromatism due to the light and the monitor. Your understanding is appreciated It's recommended that the installation of the lamp is performed by a professional electrician.
HOZO Installationsanleitung
Planen Sie Ihre Beleuchtung.
Raumweise Startwerte für Leuchtengröße, Montagehöhe, Abstand und Durchgangshöhe. Tippen Sie ein Kapitel an.
01
Esstisch
Größe und Mitte vom Tisch aus festlegen, dann die Sicht von jedem Sitz prüfen.
So messen
Tischlänge und -breite messen. Bei runden Tischen den Durchmesser nehmen.
Startbereich
Runde Leuchten: etwa 1/2 bis 2/3 der Tischbreite. Längliche Leuchten: 1/2 bis 2/3 der Tischlänge.
Platzierung
Die Leuchte über dem Tisch zentrieren, nicht zwingend über dem Raum.
Abstand
76–91 cm über der Tischplatte beginnen.
Bei langen Tischen wirken zwei kleinere Pendel oft natürlicher als eine übergroße Leuchte.
Vor dem Bohren
Eine Papierschablone an die Decke kleben und vom Türrahmen sowie sitzend prüfen.
MessenPlatte bis Unterkante
Hängehöhe76–91 cm
AusrichtenMitte des Tisches
02
Kücheninsel
Die nutzbare Insel messen und die Pendel auf der Mittellinie halten.
So messen
Nutzbare Länge und Breite der Insel messen.
Startbereich
Eine Linienleuchte: 1/2 bis 2/3 der Insel-Länge. Mehrere Pendel: erst den Durchmesser, dann die Anzahl wählen.
Platzierung
Pendelmitten gleichmäßig auf der Insel-Mittellinie.
Abstand
76–91 cm über der Arbeitsplatte. Äußere Pendel nicht an den Inselenden.
Die komplette Reihe mocken, nicht nur ein Pendel.
Vor dem Bohren
Drei Papierkreise über der Insel zeigen Abstandsprobleme schneller als ein einzelnes Muster.
MessenPlatte bis Unterkante
Hängehöhe76–91 cm
AusrichtenGleiche Mitten
03
Raummitte
Länge plus Breite ergibt den Startdurchmesser. Deckenhöhe und visuelle Schwere machen die Entscheidung fertig.
So messen
Raumlänge und -breite in Metern plus fertige Deckenhöhe.
Startbereich
Länge + Breite (m) × 8,3 ergibt einen üblichen Startdurchmesser in cm. Beispiel: 3,7 + 3,0 → ca. 56 cm.
Platzierung
Die architektonische Mitte nur nutzen, wenn sie vom Eingang und vom Möbelplan her Sinn ergibt.
Abstand
Mindestens 2,10 m lichte Höhe unter dem tiefsten Punkt im Laufbereich.