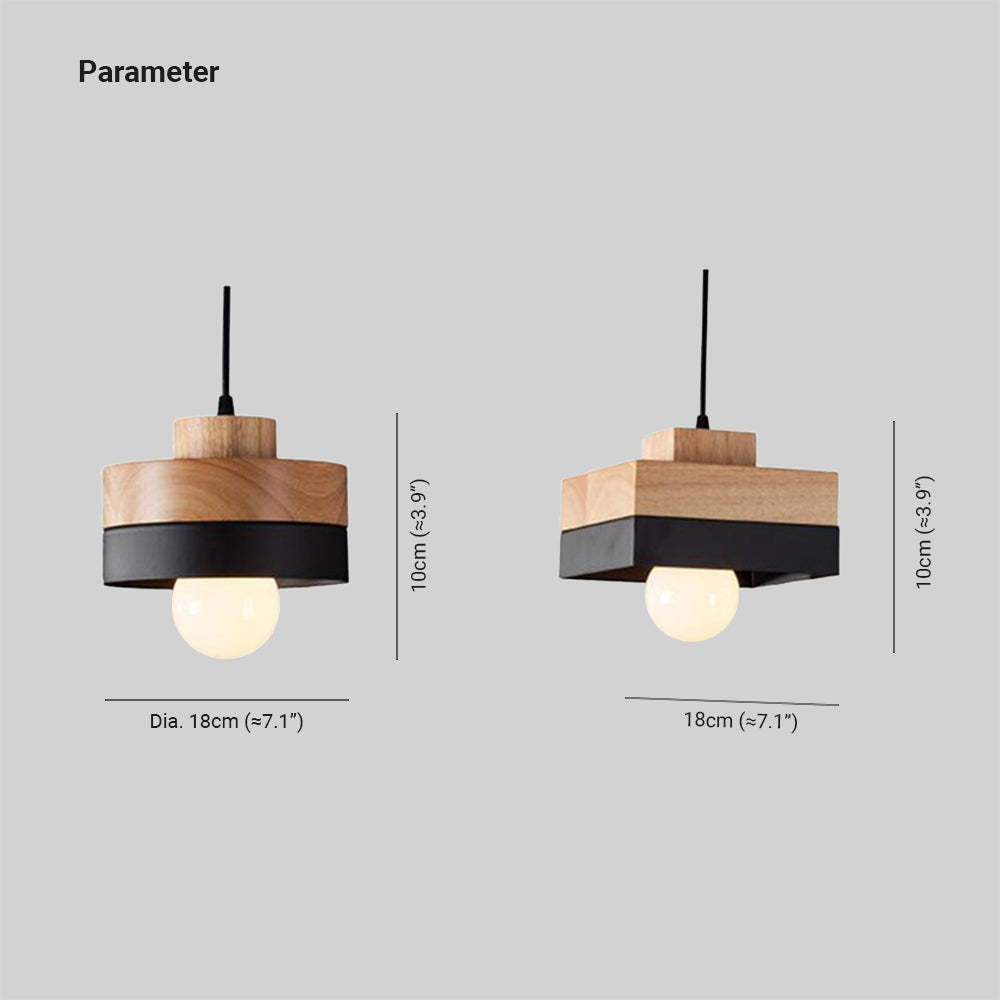
Please kindly note that there may be an error of 1-3cm of the size due to manual measurement. The pictures may have slight chromatism due to the light and the monitor. Your understanding is appreciated . It's recommended that the installation of the lamp is performed by a professional electrician
Inspiration
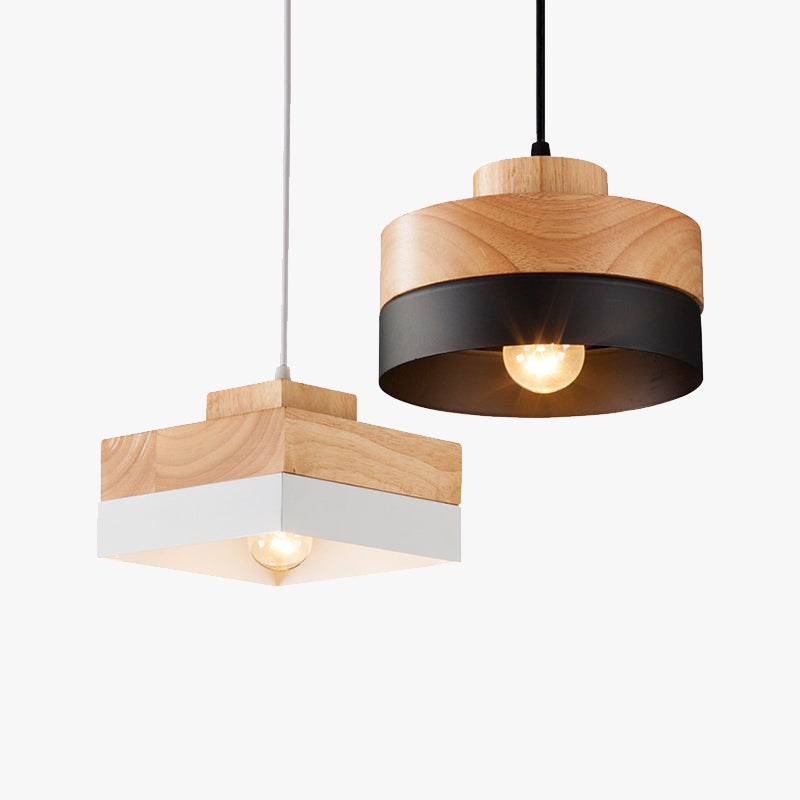
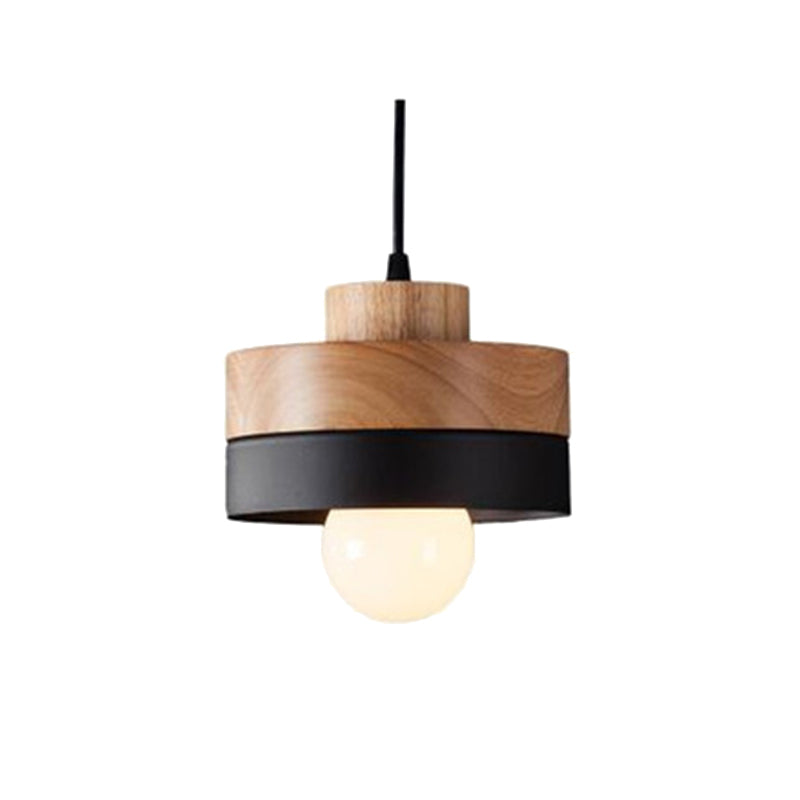
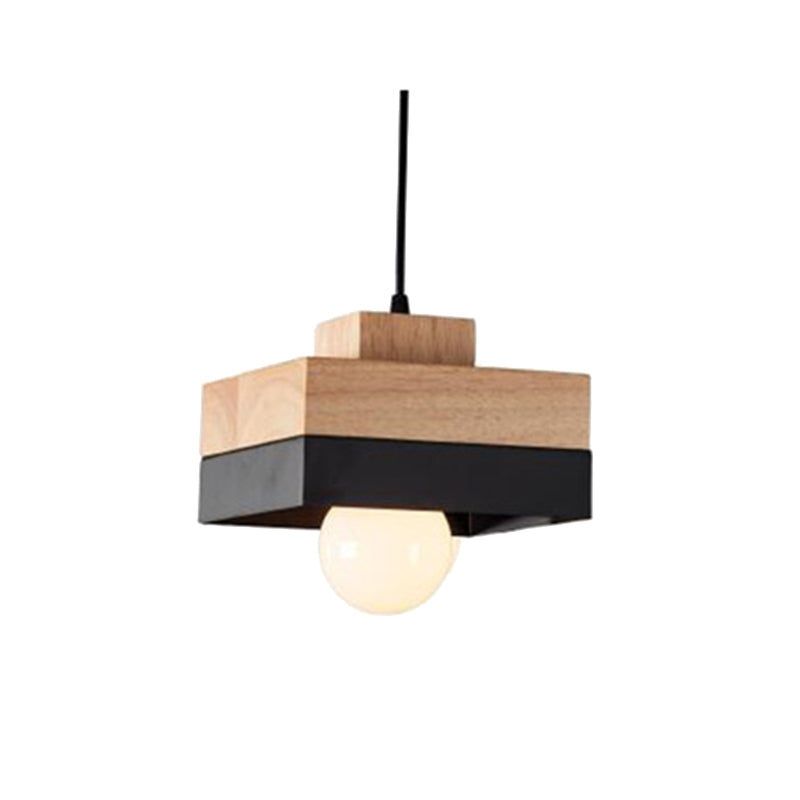
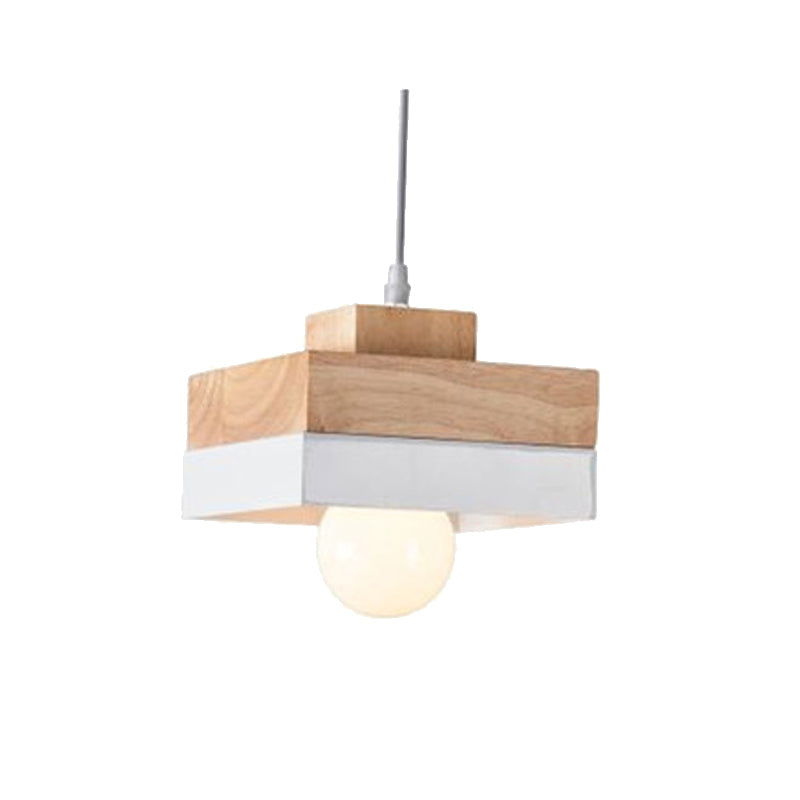
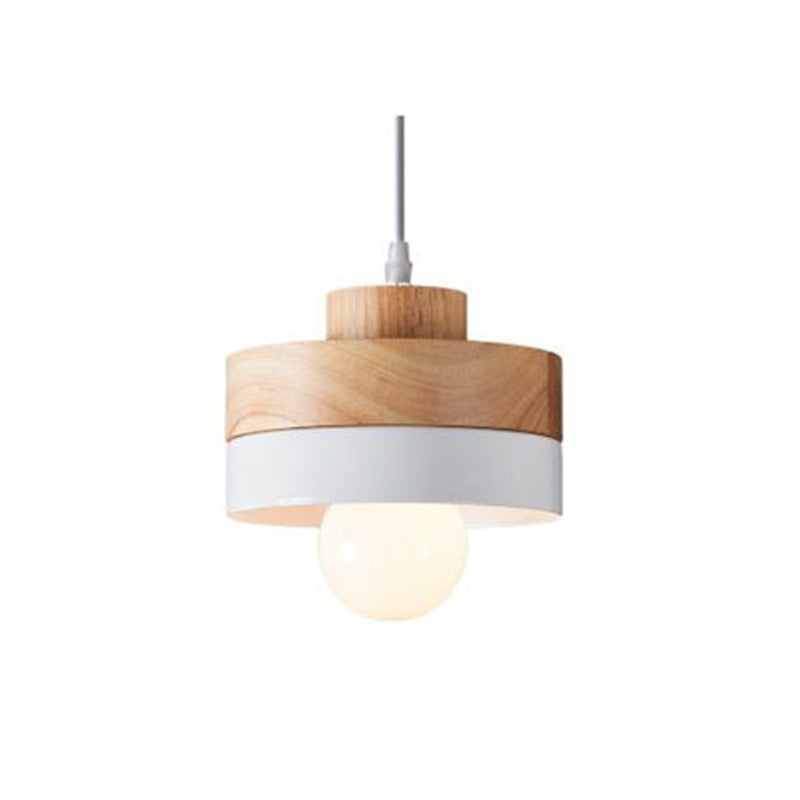
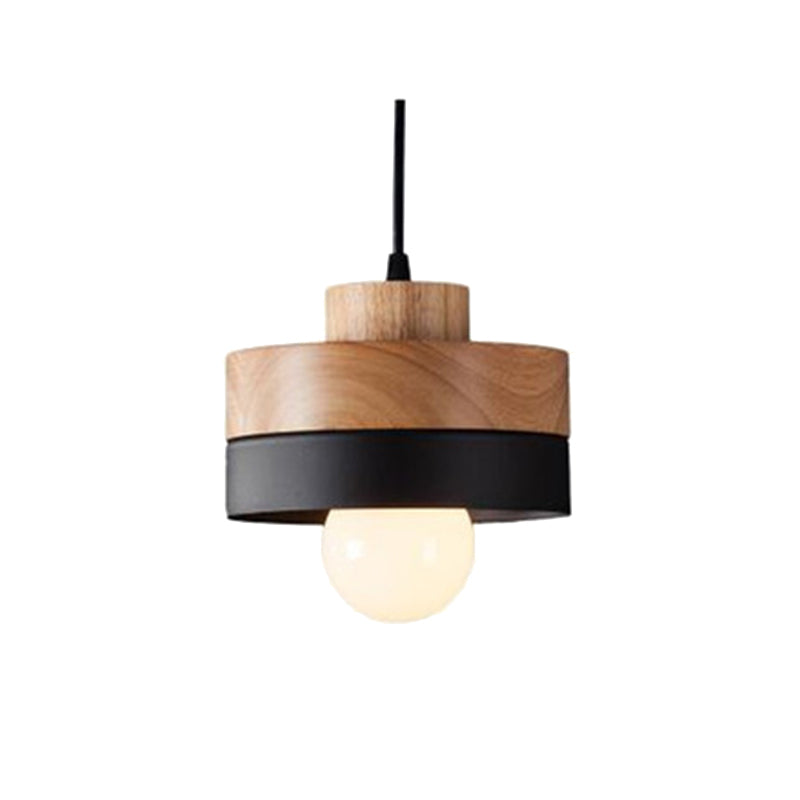
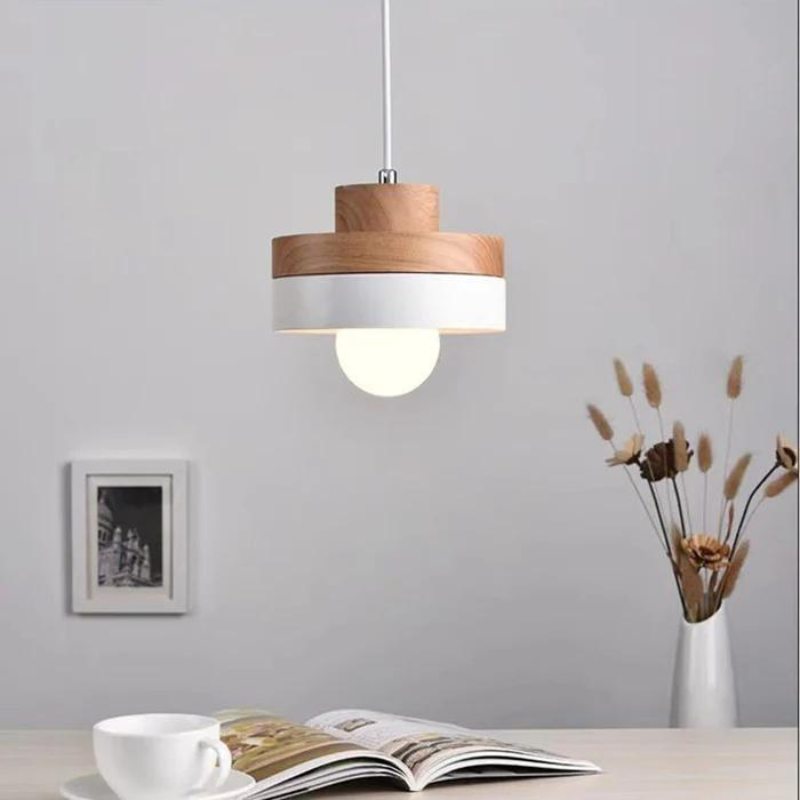
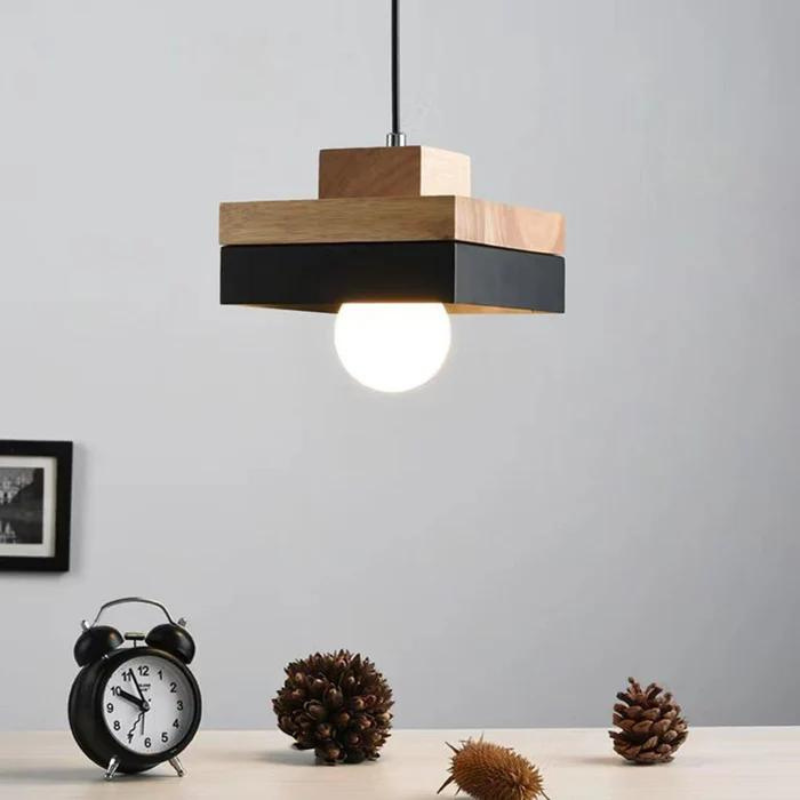
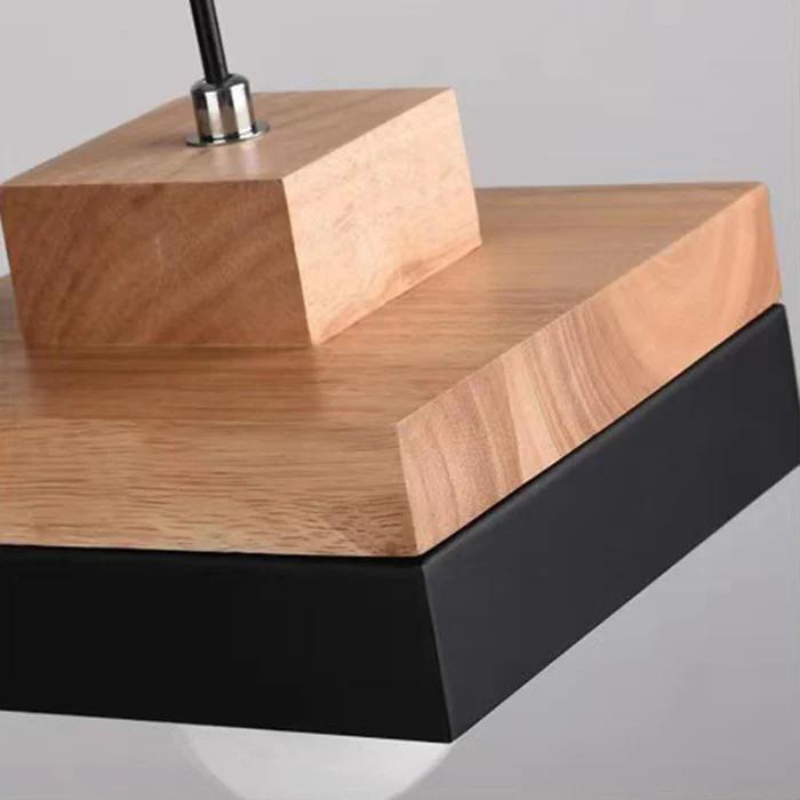
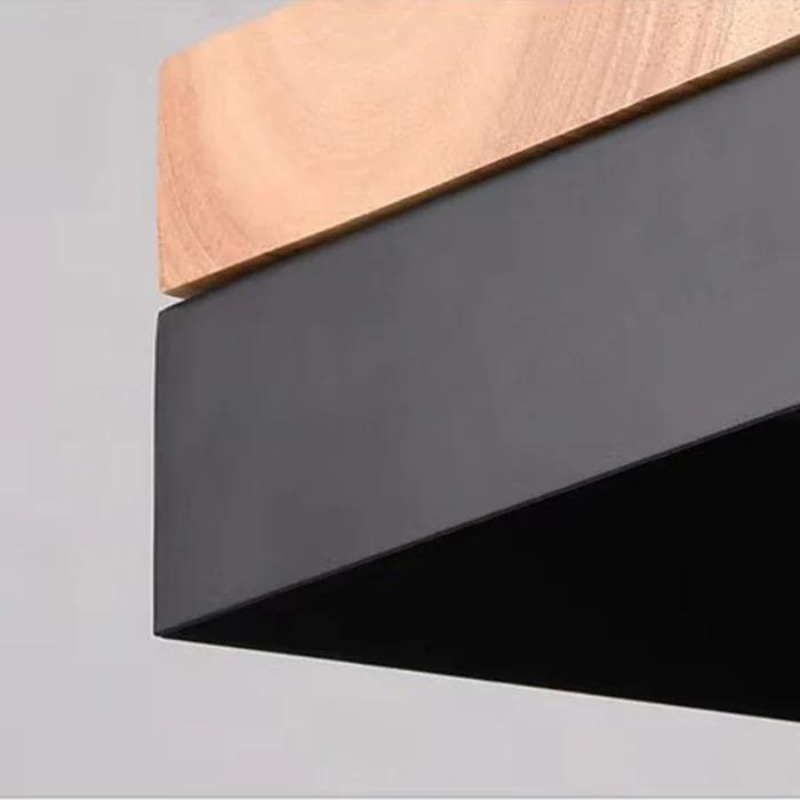
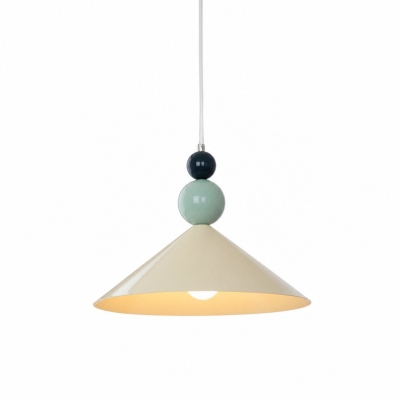
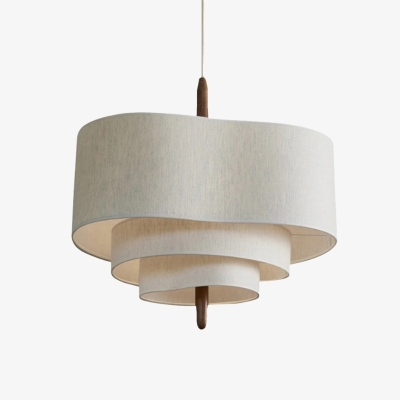
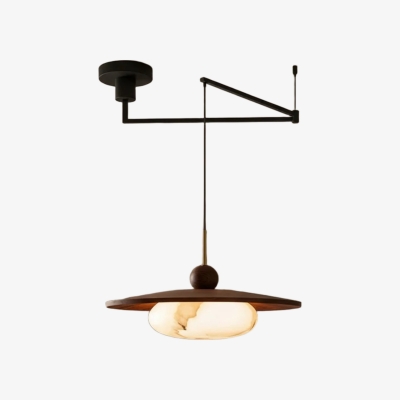
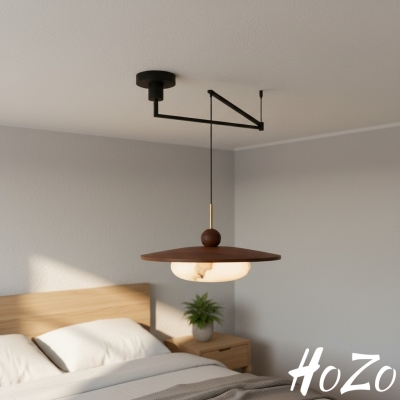
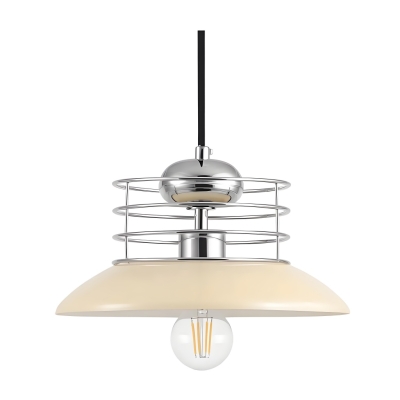
Lift your living space with the captivating Morandi Pendant Light, made with a concordant combination of common wood and smooth acrylic. The steady integration of wood and acrylic incorporates a touch of progressed advancement to your décor, promising both classy ask and utilitarian significance.
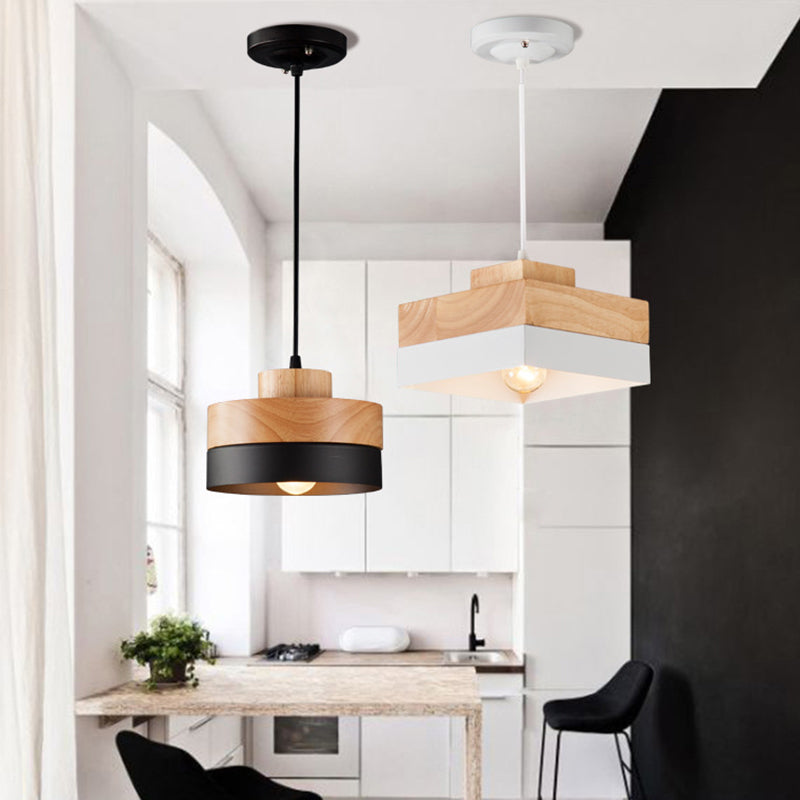
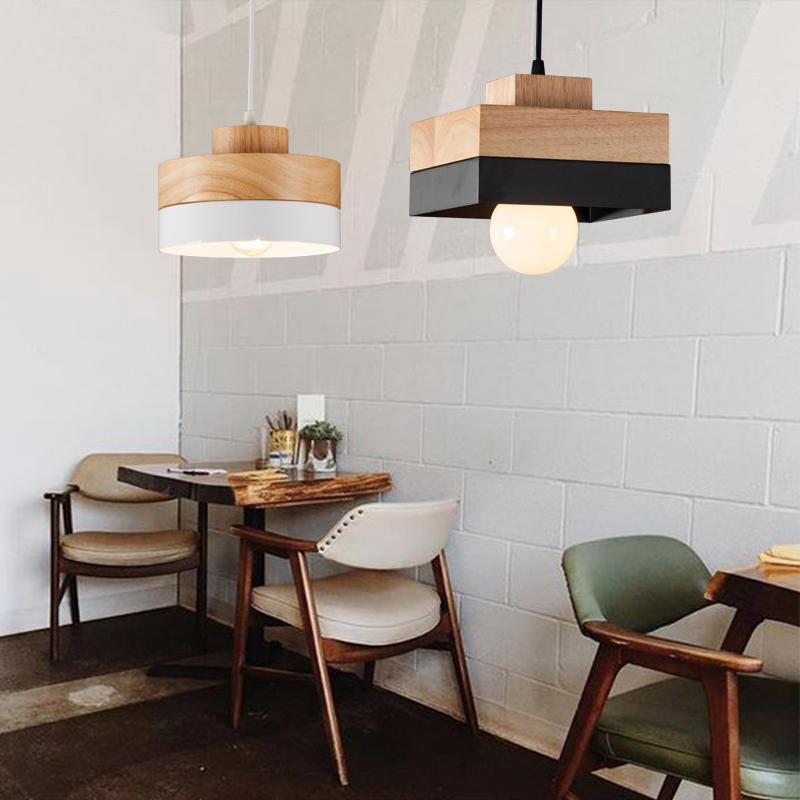
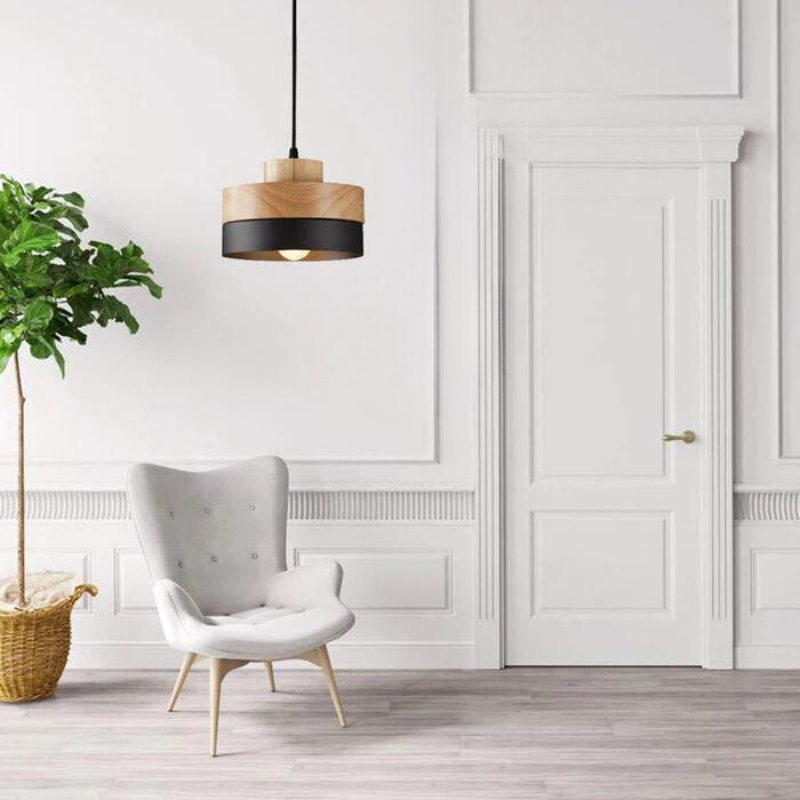
Dive into a world of wealthy separate with the Morandi Pendant Light, available in a godlike palette of white or dull. Whether you favor the immaculate immaculateness of white or the striking innovation of dim, these refined tints effortlessly complement any internal parts arrange plot.
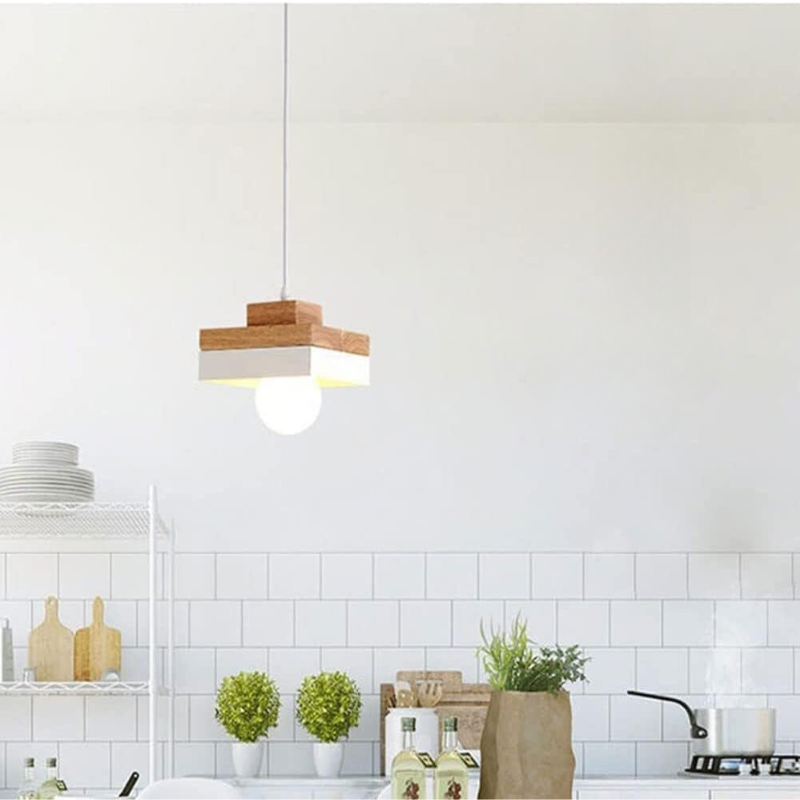
Get a handle on the imagination of arrange with the Morandi Pendant Light, promoting a choice between a chic square or a classic circular layout. Whether you select the clean lines of the square pendant or the imperishable lesson of the circular arrange, both shapes emanate a sense of made light of luxury and cutting edge spirit.
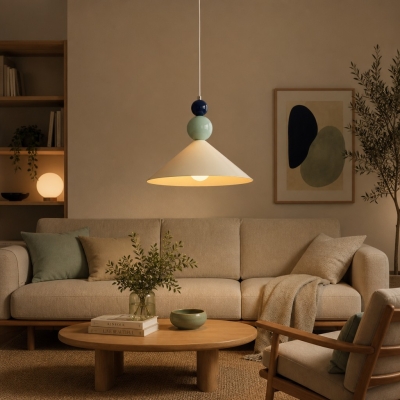
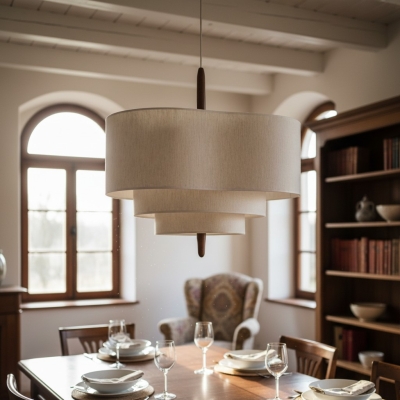
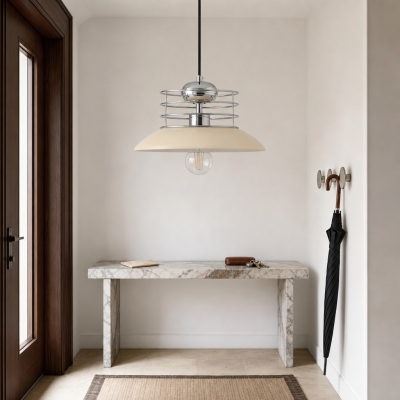
Alter your living room or devouring room into a captivating forsake cultivate of light and design with the Morandi Pendant Light. Whether suspended over a devouring table to move forward imply get-togethers or gracing the living room with its brilliant sparkle, the Morandi Pendant Light is the representation of adaptable lighting.
HOZO Installationsanleitung
Planen Sie Ihre Beleuchtung.
Raumweise Startwerte für Leuchtengröße, Montagehöhe, Abstand und Durchgangshöhe. Tippen Sie ein Kapitel an.
01
Esstisch
Größe und Mitte vom Tisch aus festlegen, dann die Sicht von jedem Sitz prüfen.
So messen
Tischlänge und -breite messen. Bei runden Tischen den Durchmesser nehmen.
Startbereich
Runde Leuchten: etwa 1/2 bis 2/3 der Tischbreite. Längliche Leuchten: 1/2 bis 2/3 der Tischlänge.
Platzierung
Die Leuchte über dem Tisch zentrieren, nicht zwingend über dem Raum.
Abstand
76–91 cm über der Tischplatte beginnen.
Bei langen Tischen wirken zwei kleinere Pendel oft natürlicher als eine übergroße Leuchte.
Vor dem Bohren
Eine Papierschablone an die Decke kleben und vom Türrahmen sowie sitzend prüfen.
MessenPlatte bis Unterkante
Hängehöhe76–91 cm
AusrichtenMitte des Tisches
02
Kücheninsel
Die nutzbare Insel messen und die Pendel auf der Mittellinie halten.
So messen
Nutzbare Länge und Breite der Insel messen.
Startbereich
Eine Linienleuchte: 1/2 bis 2/3 der Insel-Länge. Mehrere Pendel: erst den Durchmesser, dann die Anzahl wählen.
Platzierung
Pendelmitten gleichmäßig auf der Insel-Mittellinie.
Abstand
76–91 cm über der Arbeitsplatte. Äußere Pendel nicht an den Inselenden.
Die komplette Reihe mocken, nicht nur ein Pendel.
Vor dem Bohren
Drei Papierkreise über der Insel zeigen Abstandsprobleme schneller als ein einzelnes Muster.
MessenPlatte bis Unterkante
Hängehöhe76–91 cm
AusrichtenGleiche Mitten
03
Raummitte
Länge plus Breite ergibt den Startdurchmesser. Deckenhöhe und visuelle Schwere machen die Entscheidung fertig.
So messen
Raumlänge und -breite in Metern plus fertige Deckenhöhe.
Startbereich
Länge + Breite (m) × 8,3 ergibt einen üblichen Startdurchmesser in cm. Beispiel: 3,7 + 3,0 → ca. 56 cm.
Platzierung
Die architektonische Mitte nur nutzen, wenn sie vom Eingang und vom Möbelplan her Sinn ergibt.
Abstand
Mindestens 2,10 m lichte Höhe unter dem tiefsten Punkt im Laufbereich.