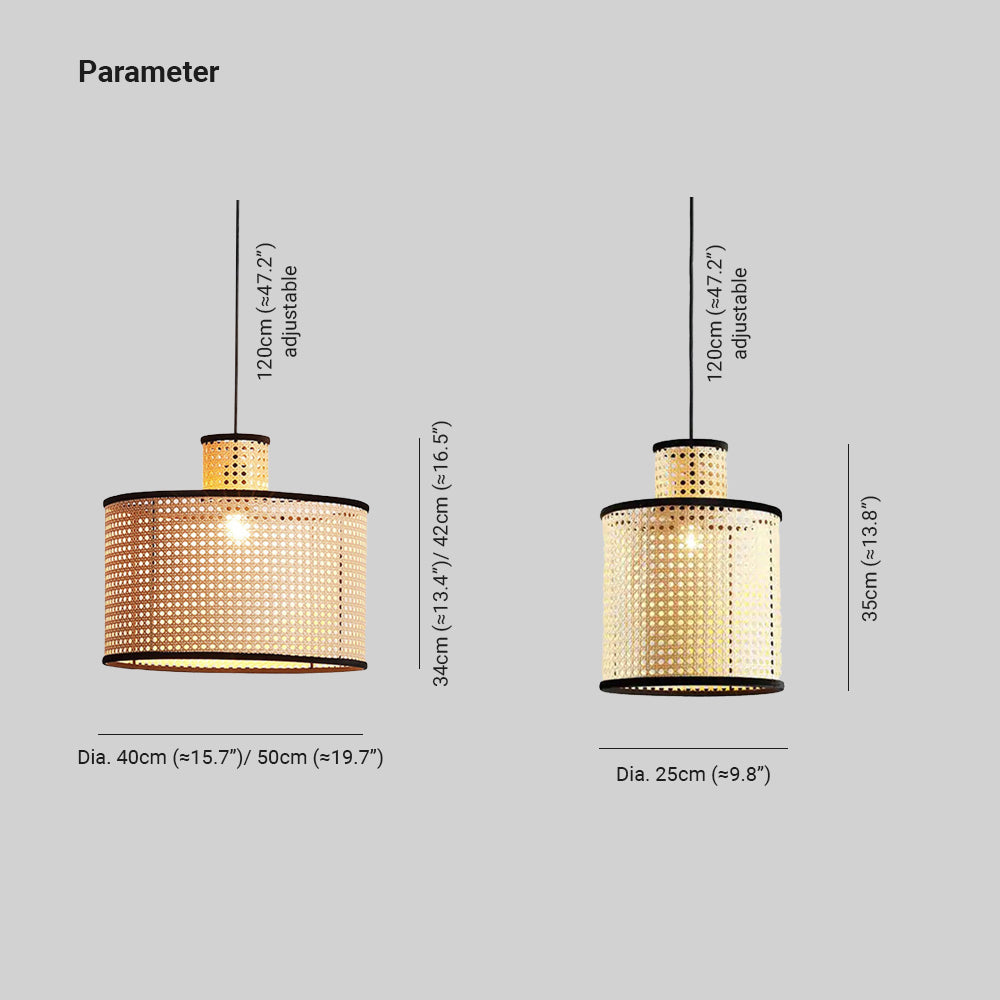
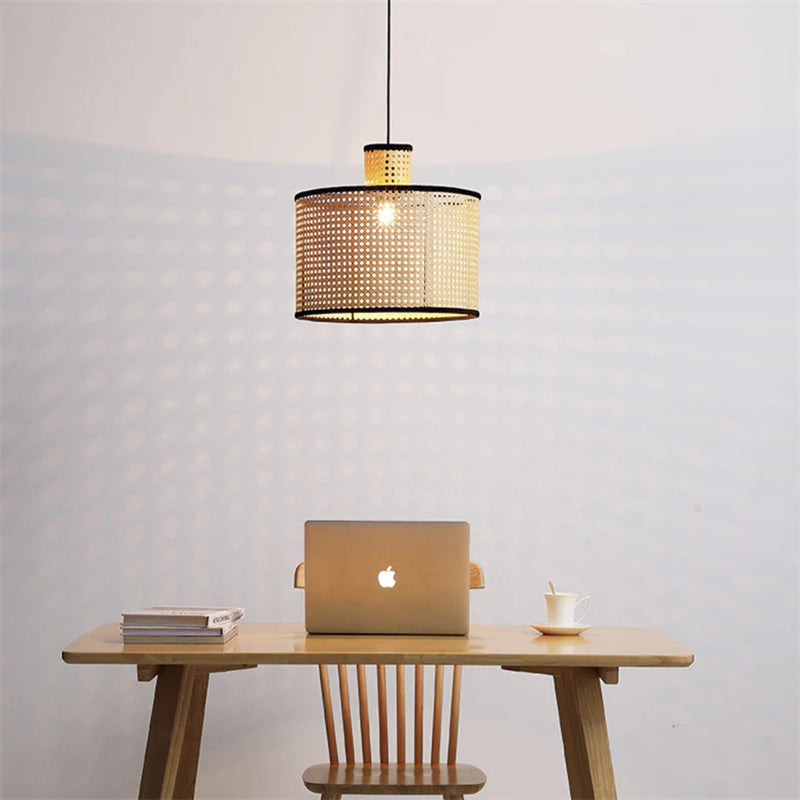
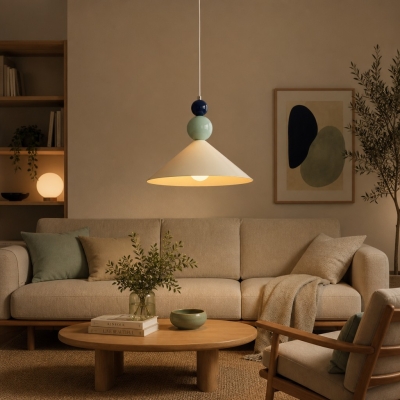
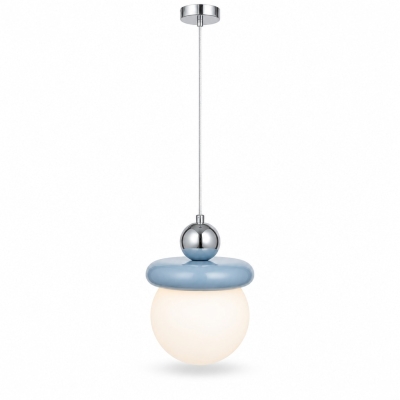
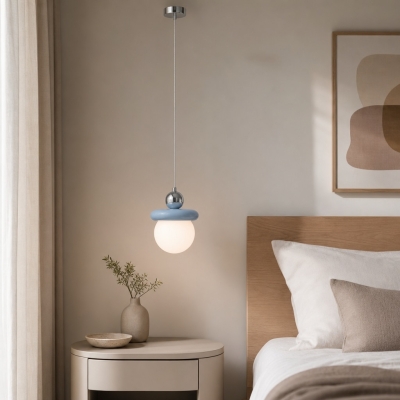
The size is manually measured, there will be an error of 1-3cm. Because of the difference in light, there may be slight chromatic aberration. We appreciate your understanding in advance. We recommend that you'd better let a professional electrician to install it.
Inspiration
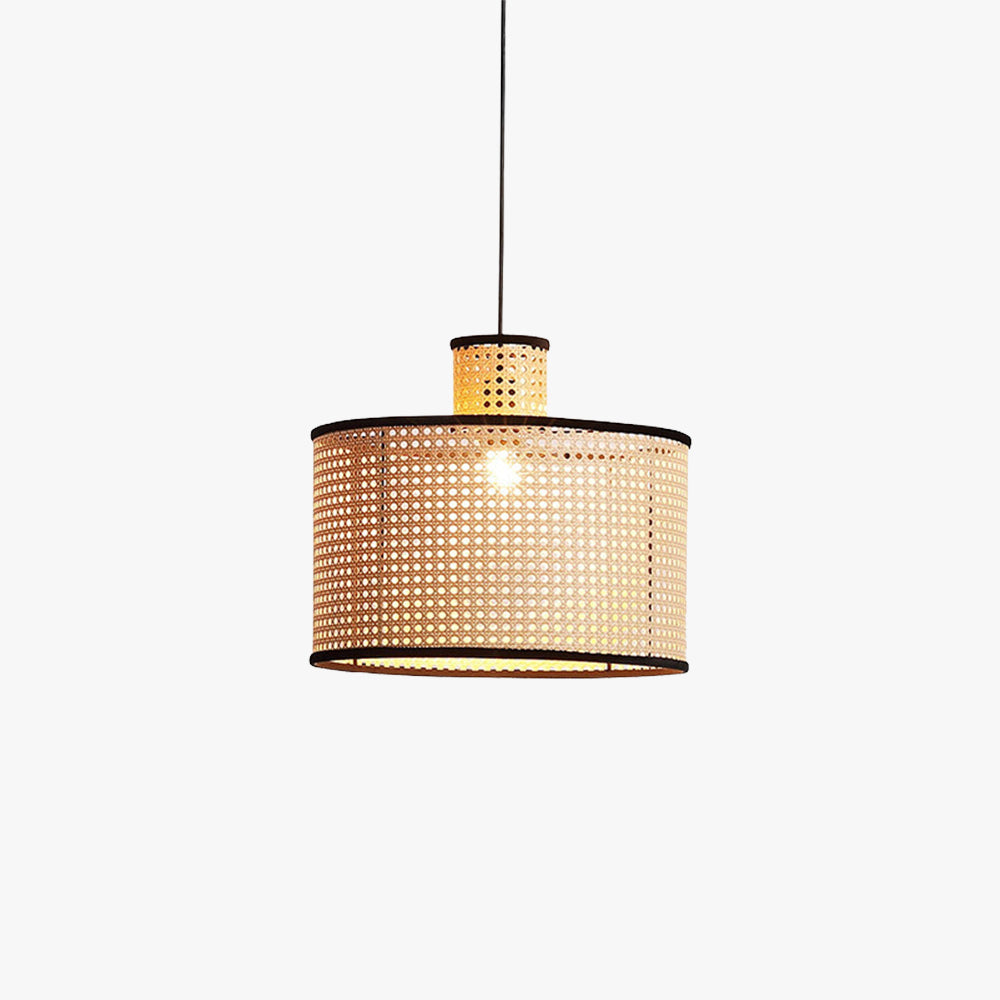
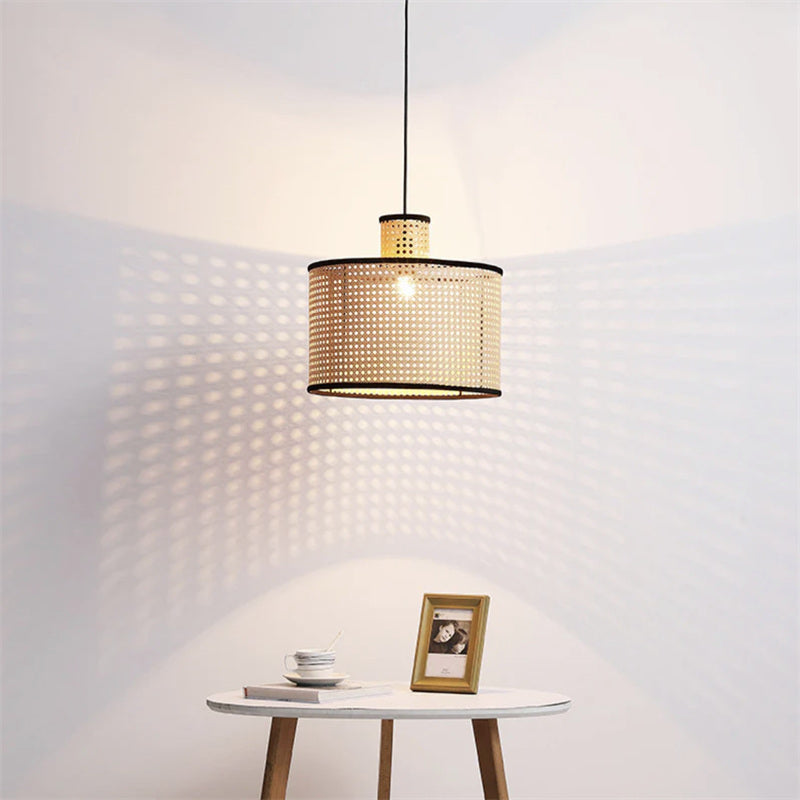
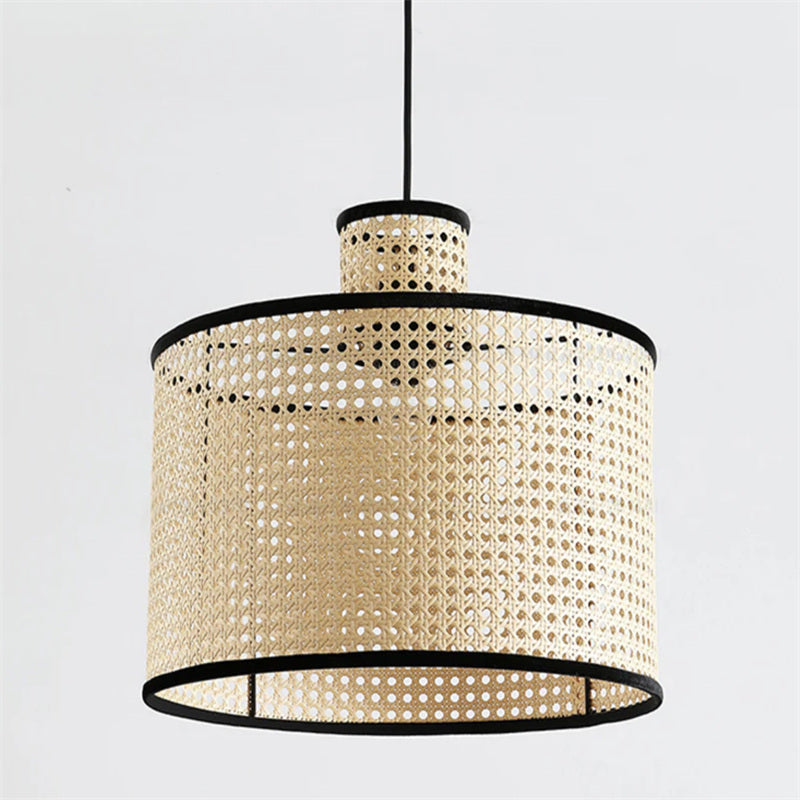
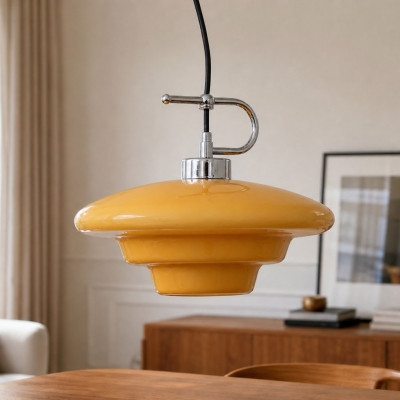
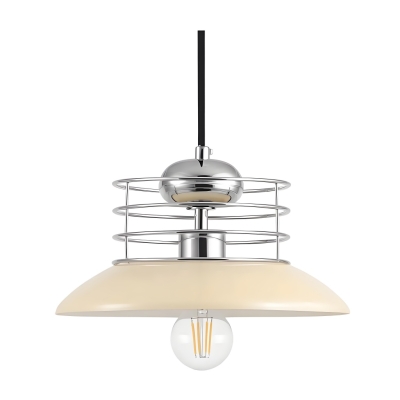
The Ritta Vintage Handmade Pendant Light is carefully made with a beautiful combination of natural rattan and strong metal. This combination of materials merges the charm of rattan with the durability of metal thus making a durable and aesthetically pleasing lighting fixture.
In a rich and earthy brown hue, the Ritta Vintage Handmade Pendant Light is the perfect accessory that adds warmth and depth to any space. The brown color triggers the feeling of warmth and the natural beauty, which in turn makes it the best option to create a friendly and inviting atmosphere.
The Ritta Vintage Handmade Pendant Light, with its alluring dome shape, is a perfect example of elegance and style. The rounded silhouette gives a touch of sophistication to your room and the woven rattan details create a unique texture that attracts the eyes and adds to the visual interest.
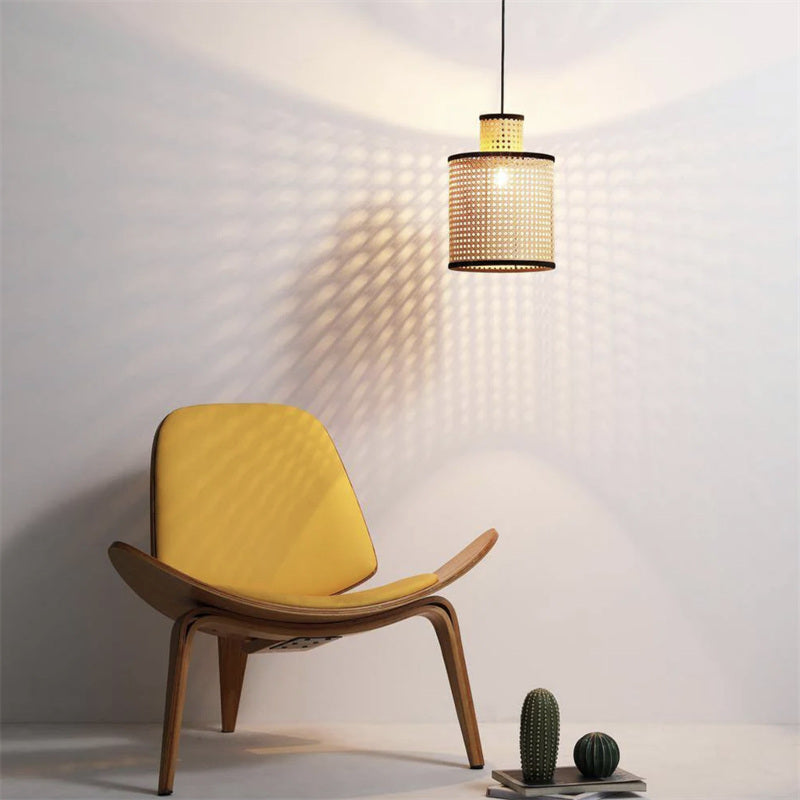
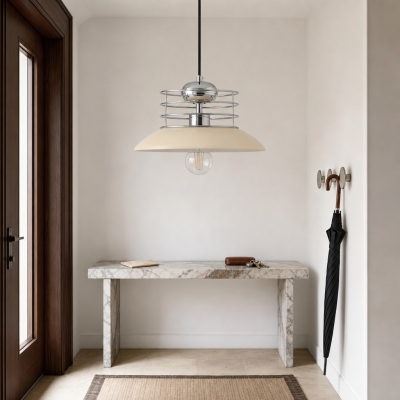
This multi-purpose pendant light is suitable for different rooms of your house. You can also put it in your bedroom to create a cozy and relaxing atmosphere, place it in your study for a vintage-inspired workspace, or use it to enhance the style of your living room as a statement piece. Its versatile design makes it ideal for any room that is in need of a bit of vintage feel.
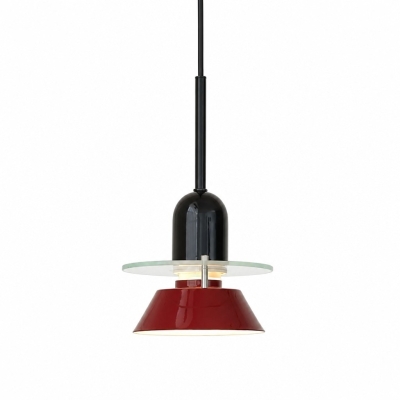
The Ritta Vintage Handmade Pendant Light mixes vintage charm with the modern taste. The mix of rattan and metal materials, together with its dome shape, forms a classic item that goes well with many interior style trends. No matter if your style is bohemian, farmhouse, this pendant light brings personality and character to your space.
HOZO Installationsanleitung
Planen Sie Ihre Beleuchtung.
Raumweise Startwerte für Leuchtengröße, Montagehöhe, Abstand und Durchgangshöhe. Tippen Sie ein Kapitel an.
01
Esstisch
Größe und Mitte vom Tisch aus festlegen, dann die Sicht von jedem Sitz prüfen.
So messen
Tischlänge und -breite messen. Bei runden Tischen den Durchmesser nehmen.
Startbereich
Runde Leuchten: etwa 1/2 bis 2/3 der Tischbreite. Längliche Leuchten: 1/2 bis 2/3 der Tischlänge.
Platzierung
Die Leuchte über dem Tisch zentrieren, nicht zwingend über dem Raum.
Abstand
76–91 cm über der Tischplatte beginnen.
Bei langen Tischen wirken zwei kleinere Pendel oft natürlicher als eine übergroße Leuchte.
Vor dem Bohren
Eine Papierschablone an die Decke kleben und vom Türrahmen sowie sitzend prüfen.
MessenPlatte bis Unterkante
Hängehöhe76–91 cm
AusrichtenMitte des Tisches
02
Kücheninsel
Die nutzbare Insel messen und die Pendel auf der Mittellinie halten.
So messen
Nutzbare Länge und Breite der Insel messen.
Startbereich
Eine Linienleuchte: 1/2 bis 2/3 der Insel-Länge. Mehrere Pendel: erst den Durchmesser, dann die Anzahl wählen.
Platzierung
Pendelmitten gleichmäßig auf der Insel-Mittellinie.
Abstand
76–91 cm über der Arbeitsplatte. Äußere Pendel nicht an den Inselenden.
Die komplette Reihe mocken, nicht nur ein Pendel.
Vor dem Bohren
Drei Papierkreise über der Insel zeigen Abstandsprobleme schneller als ein einzelnes Muster.
MessenPlatte bis Unterkante
Hängehöhe76–91 cm
AusrichtenGleiche Mitten
03
Raummitte
Länge plus Breite ergibt den Startdurchmesser. Deckenhöhe und visuelle Schwere machen die Entscheidung fertig.
So messen
Raumlänge und -breite in Metern plus fertige Deckenhöhe.
Startbereich
Länge + Breite (m) × 8,3 ergibt einen üblichen Startdurchmesser in cm. Beispiel: 3,7 + 3,0 → ca. 56 cm.
Platzierung
Die architektonische Mitte nur nutzen, wenn sie vom Eingang und vom Möbelplan her Sinn ergibt.
Abstand
Mindestens 2,10 m lichte Höhe unter dem tiefsten Punkt im Laufbereich.