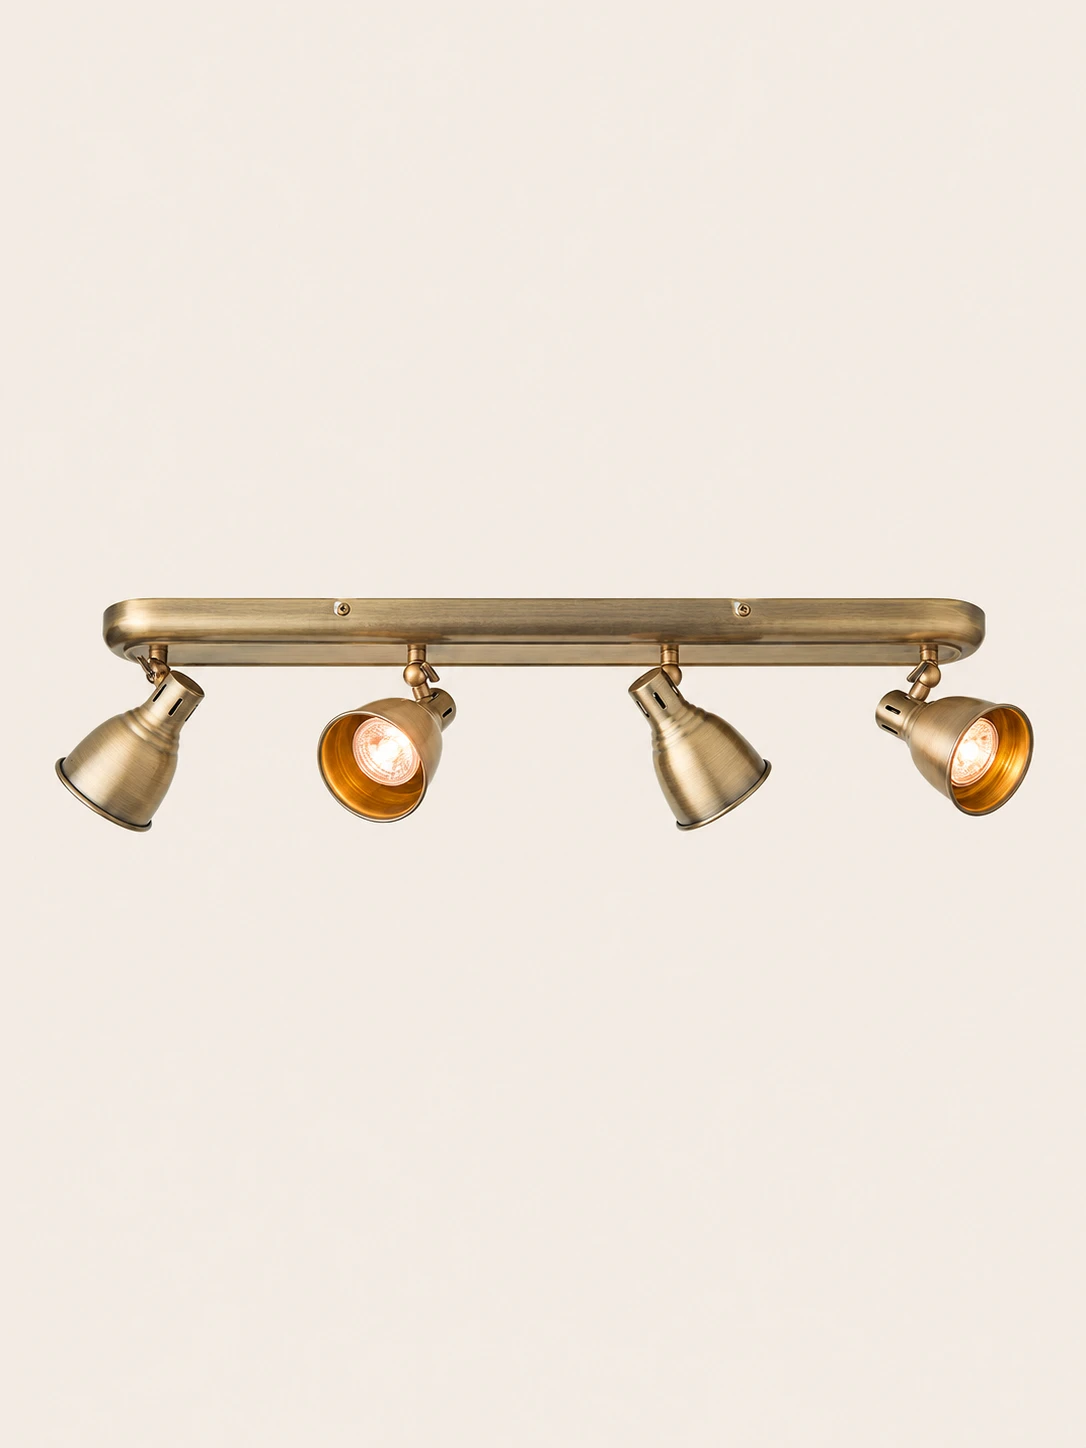
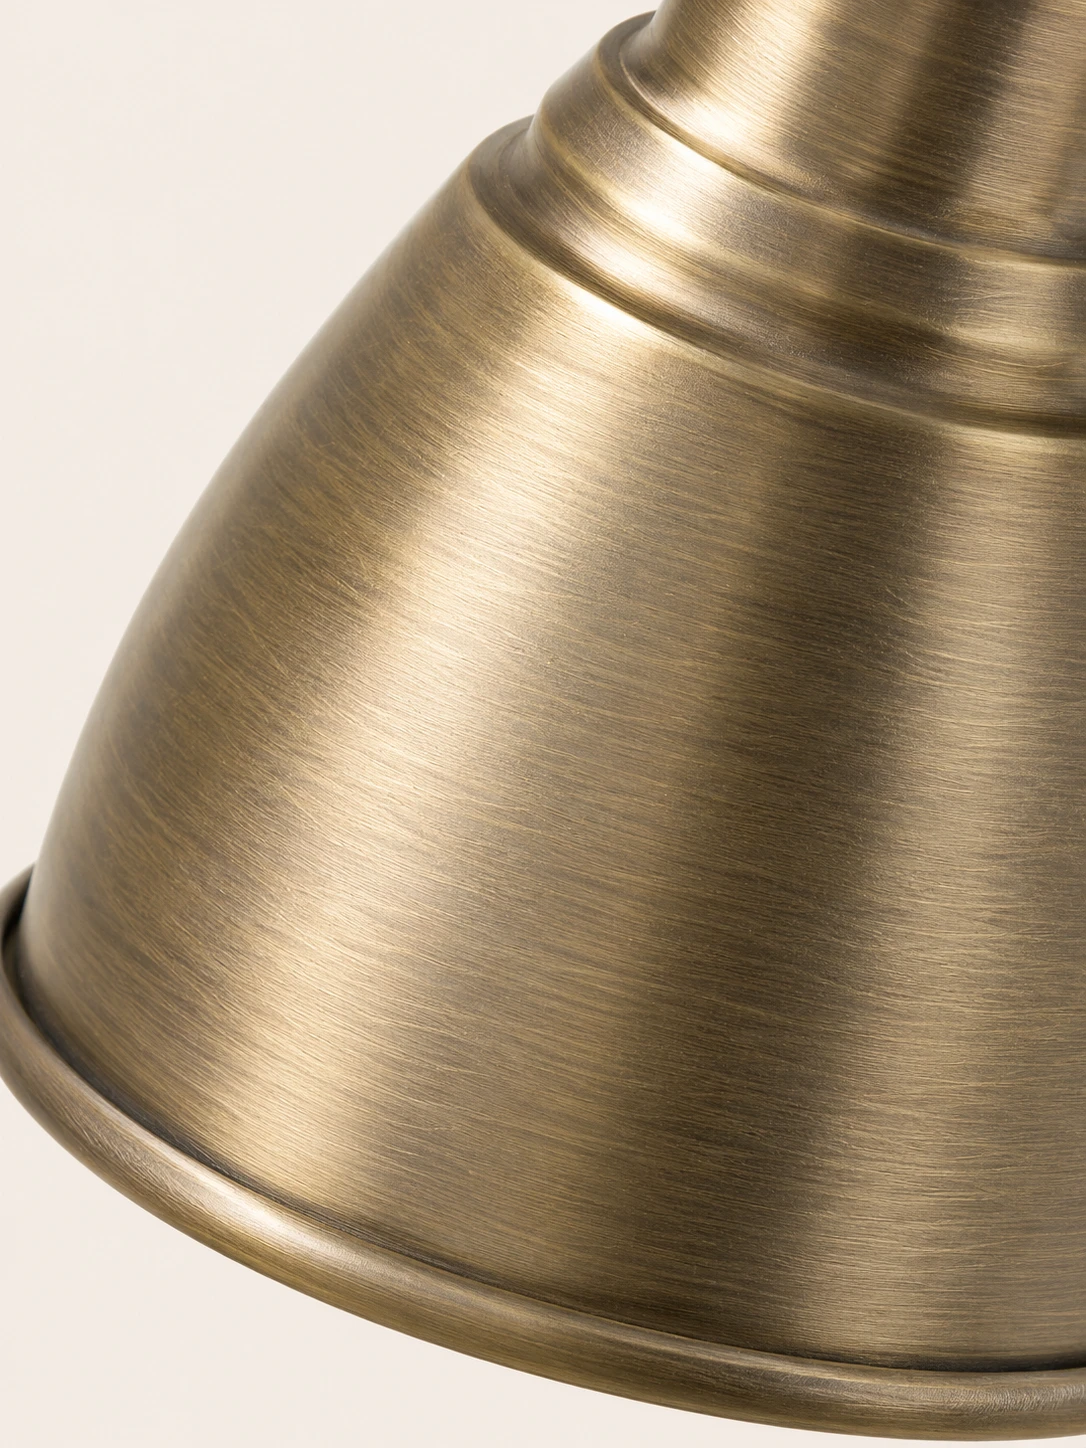
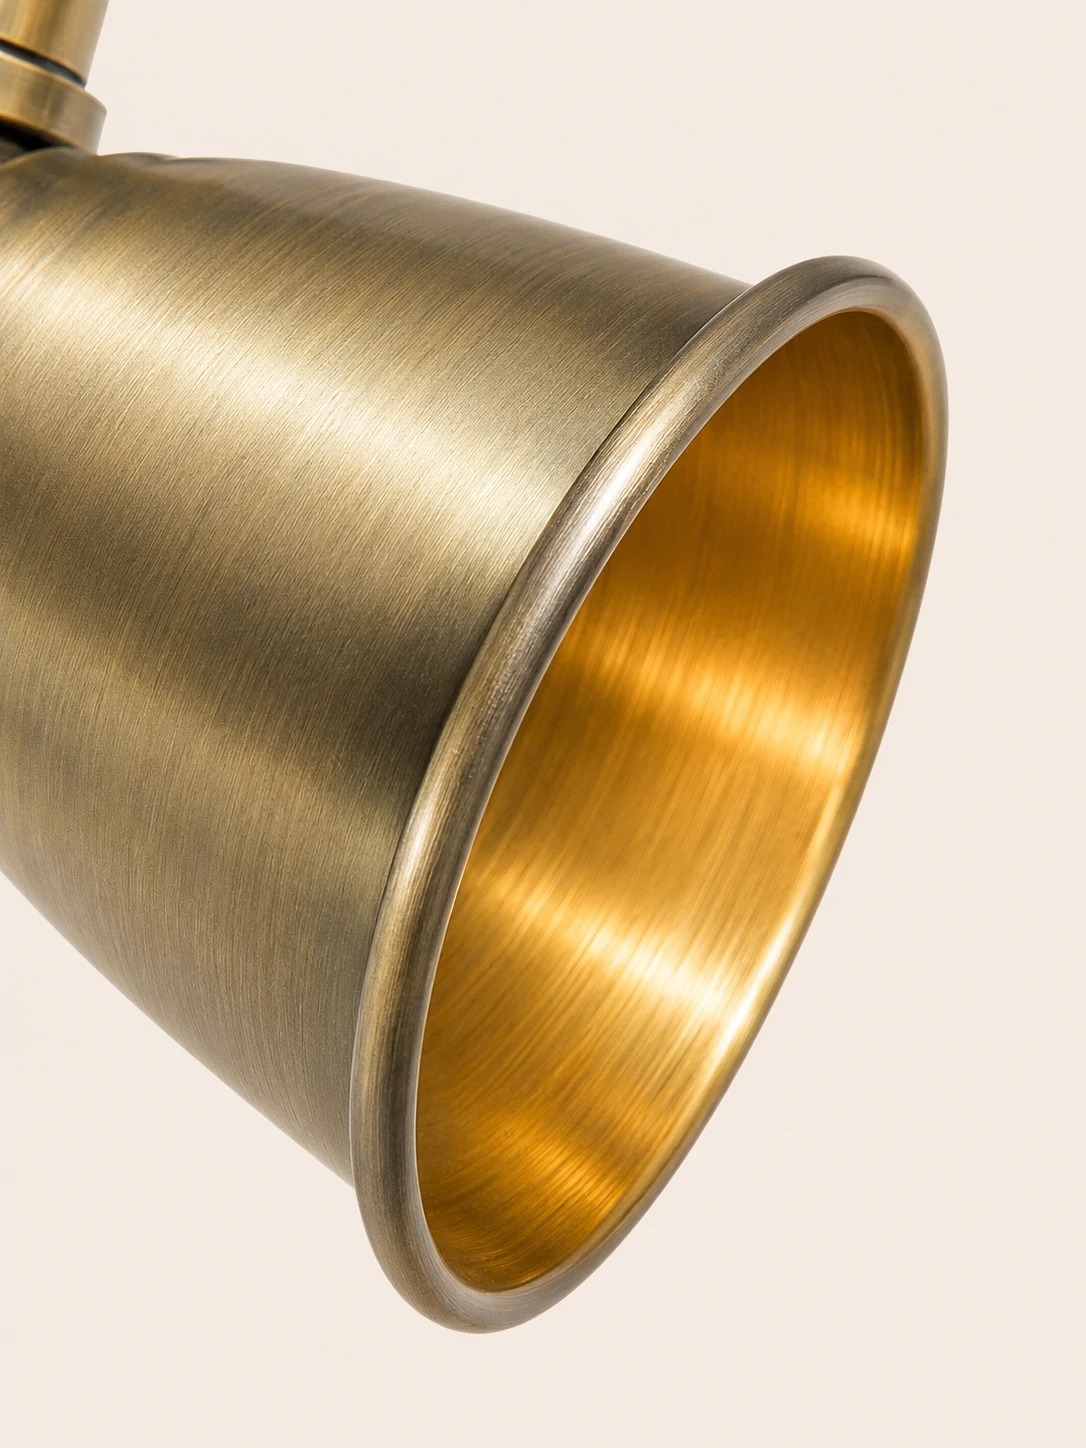
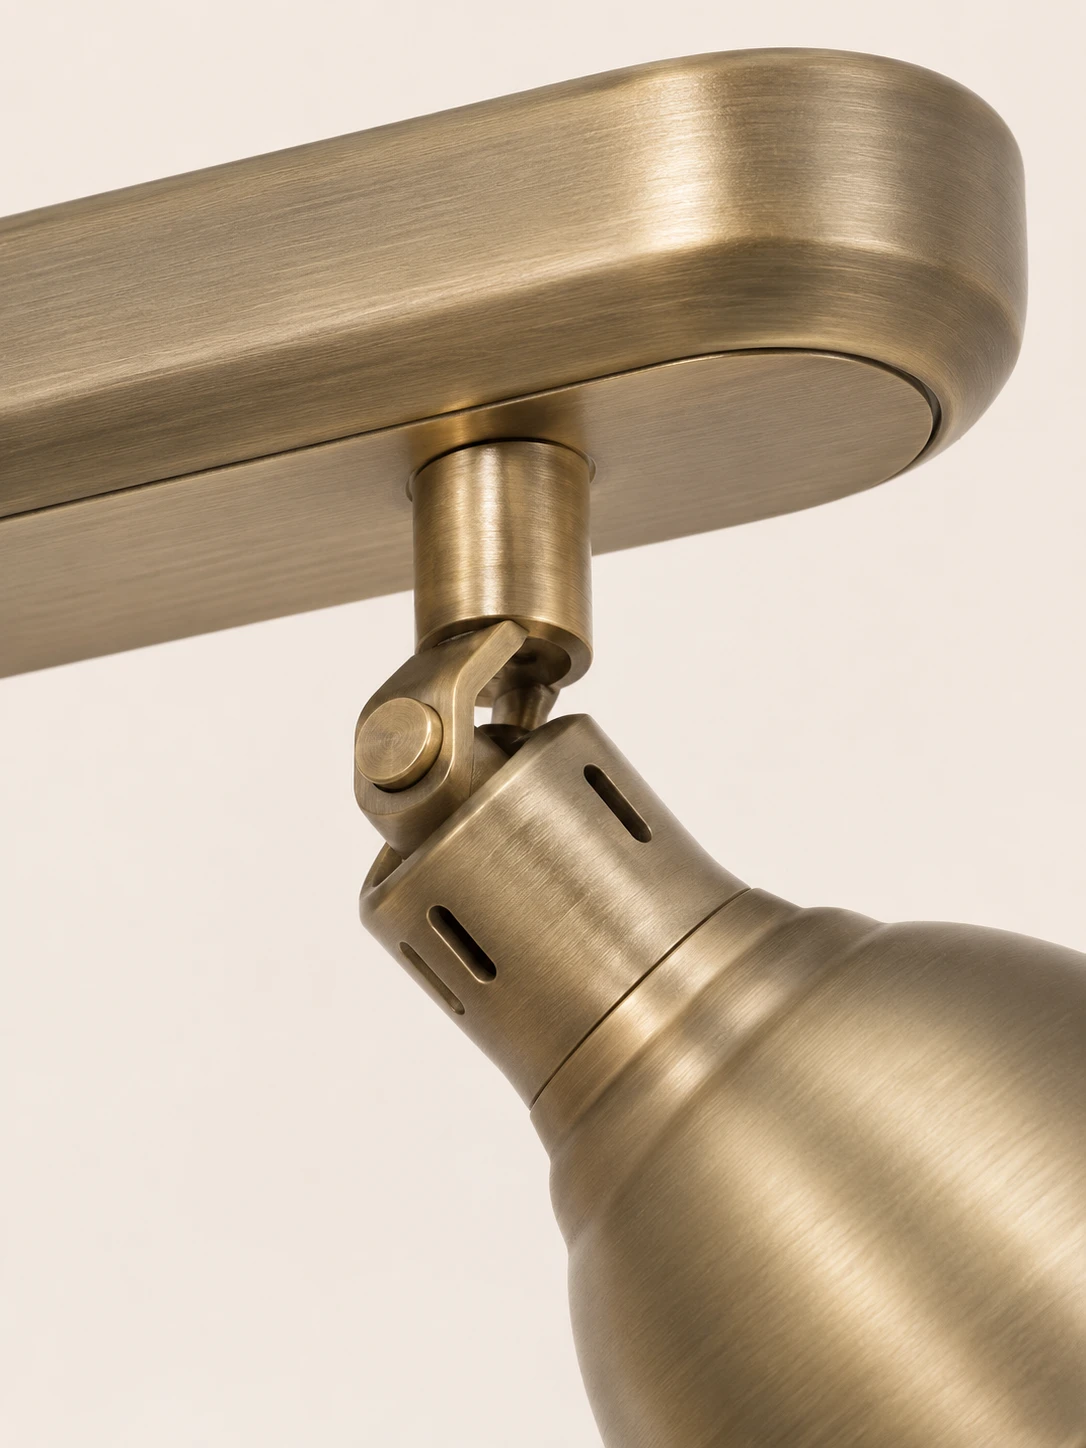
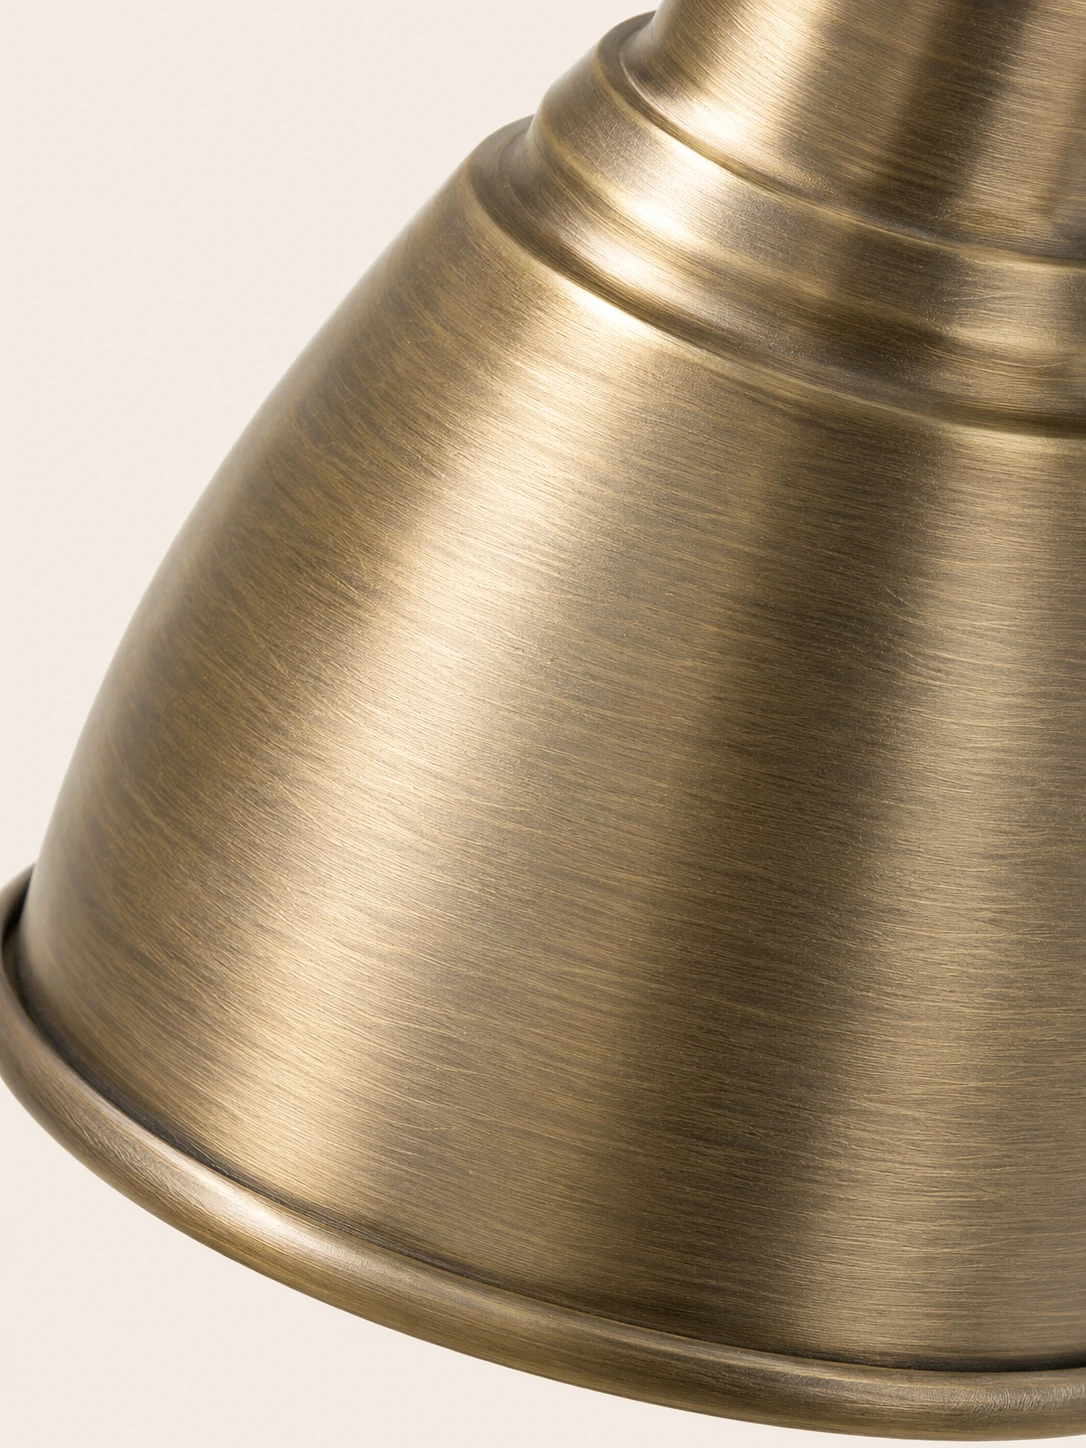
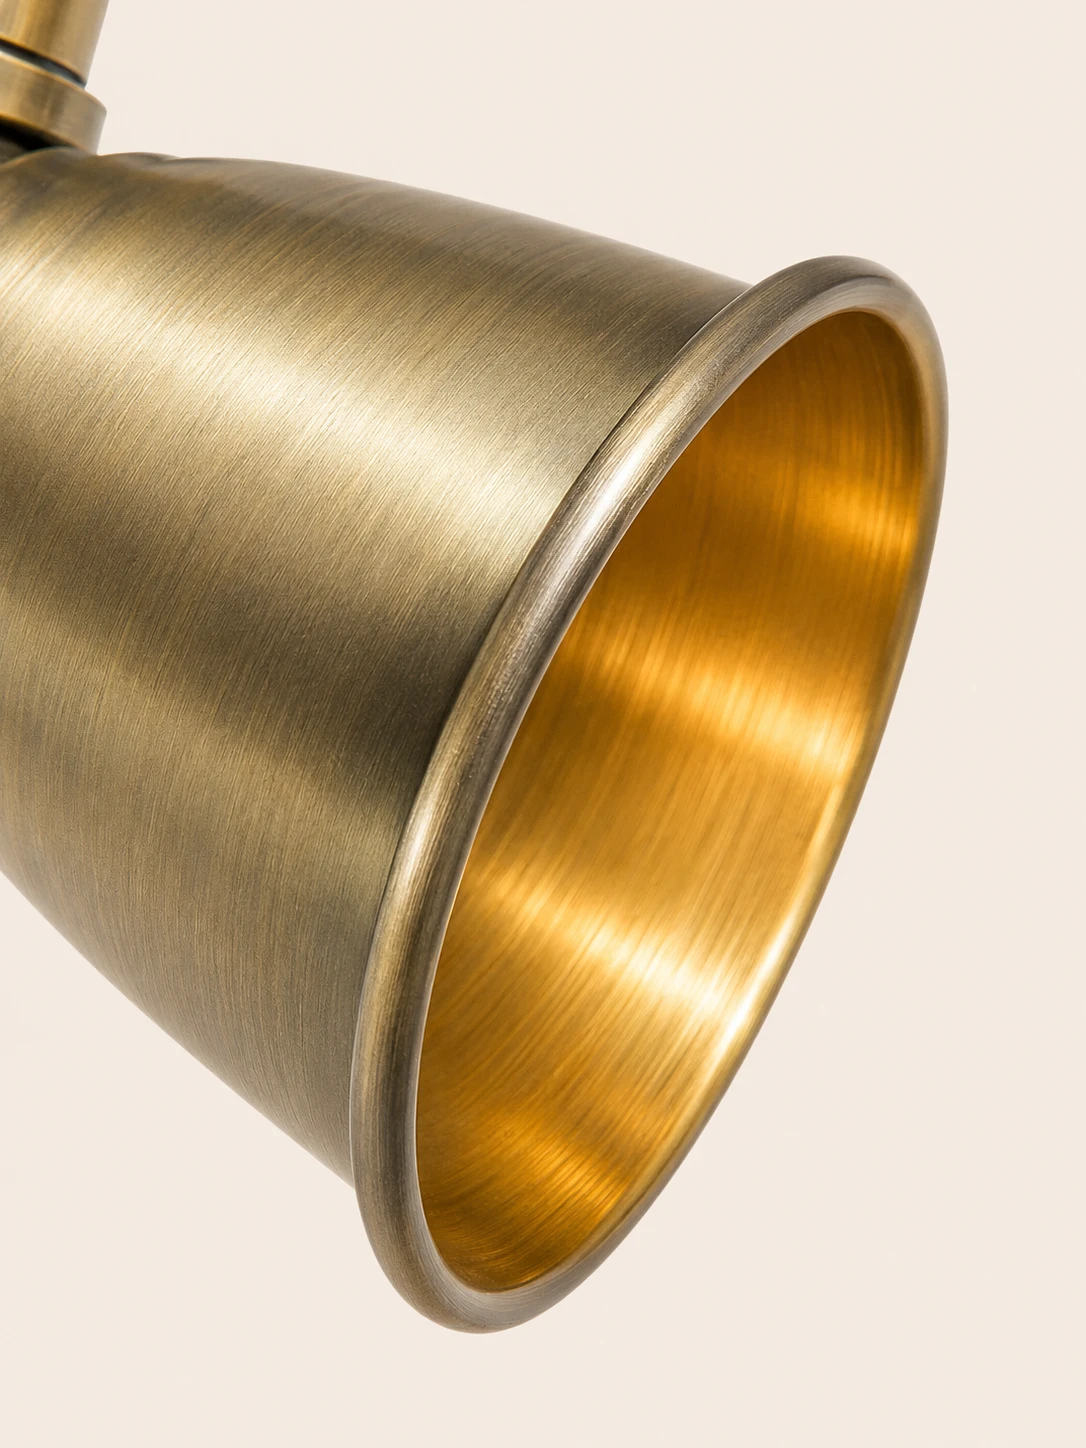
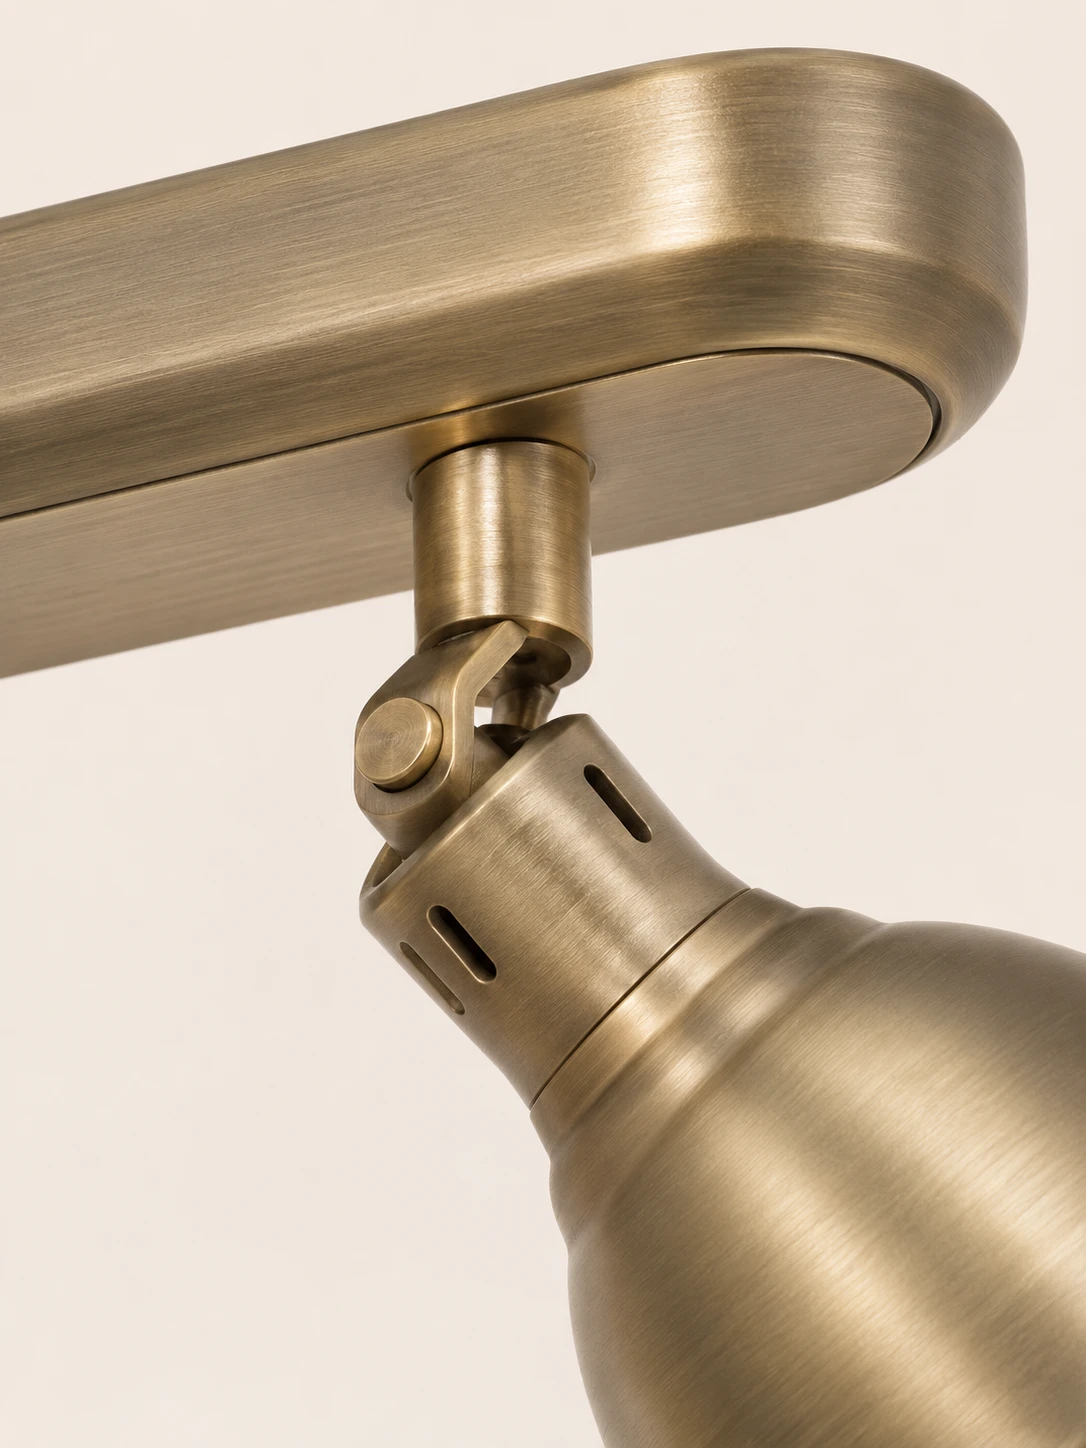
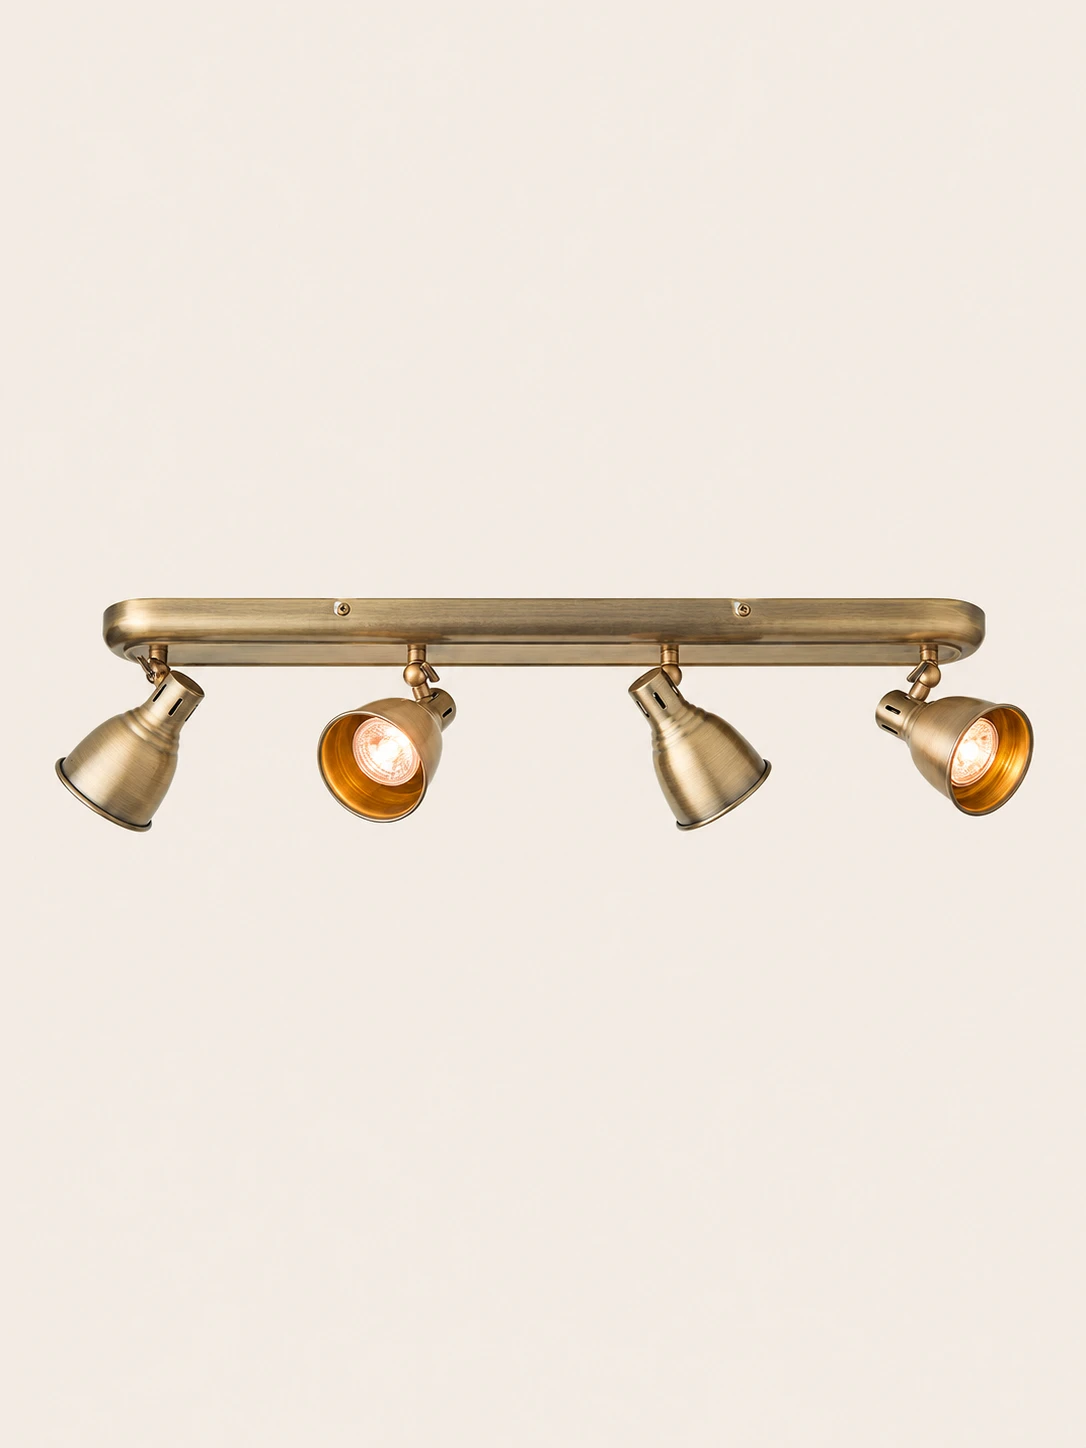
Tight views show the brushed shade outside and in, then the joint that lets the head pivot
01The shade exterior is warm antique brass with fine horizontal brush marks, a rolled rim along the wide lower edge, and stepped rings where the metal narrows toward the top02Inside, the shade reads a brighter gold, with the same brushed texture continuing around the circular opening and a smooth rolled lip at the rim03A knuckle joint connects the shade neck to a short stem beneath a rounded horizontal bar, with a round screw at the pivot and narrow slots ringing the neck
Brass ceiling mount
Weathered brass,
four pivoting heads
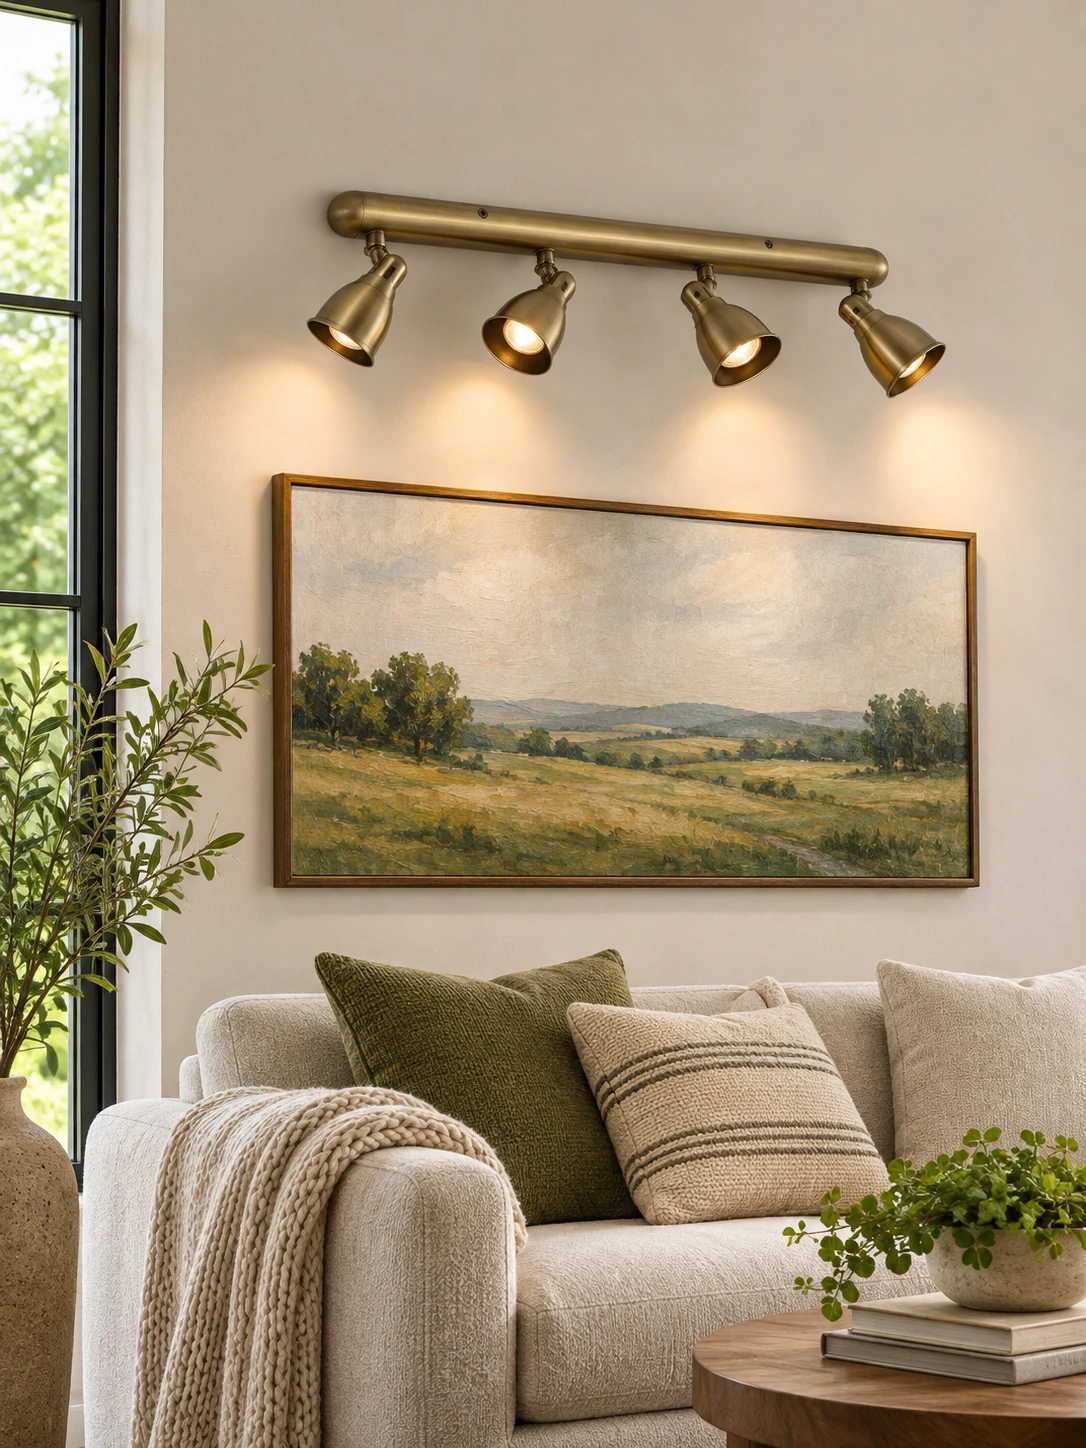
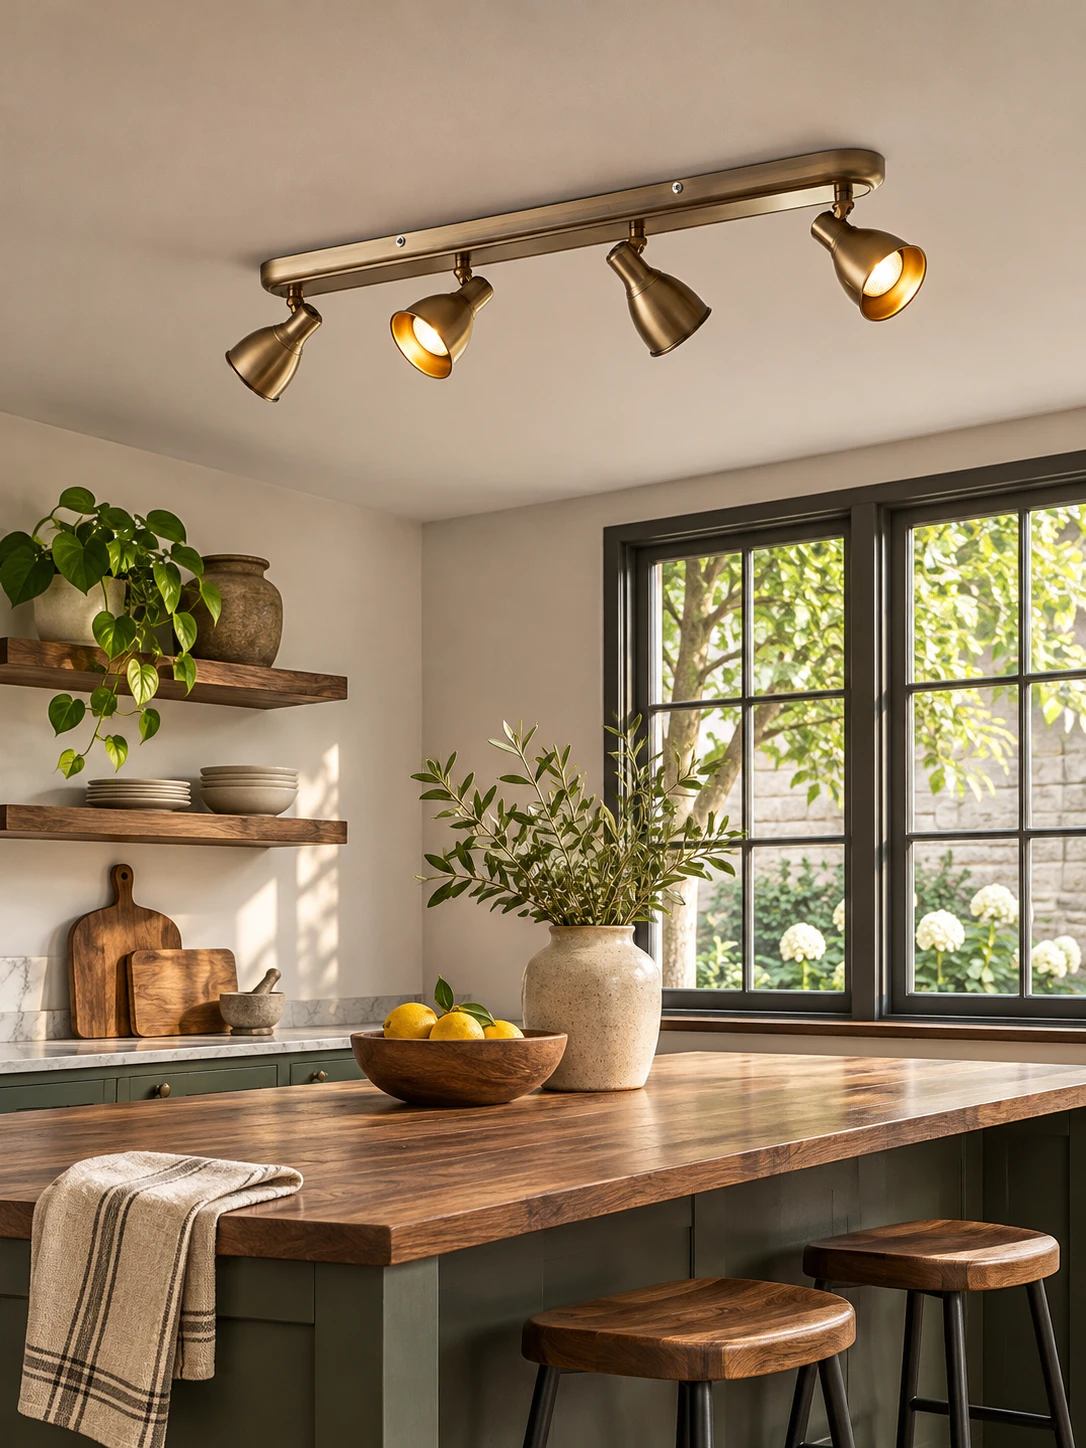
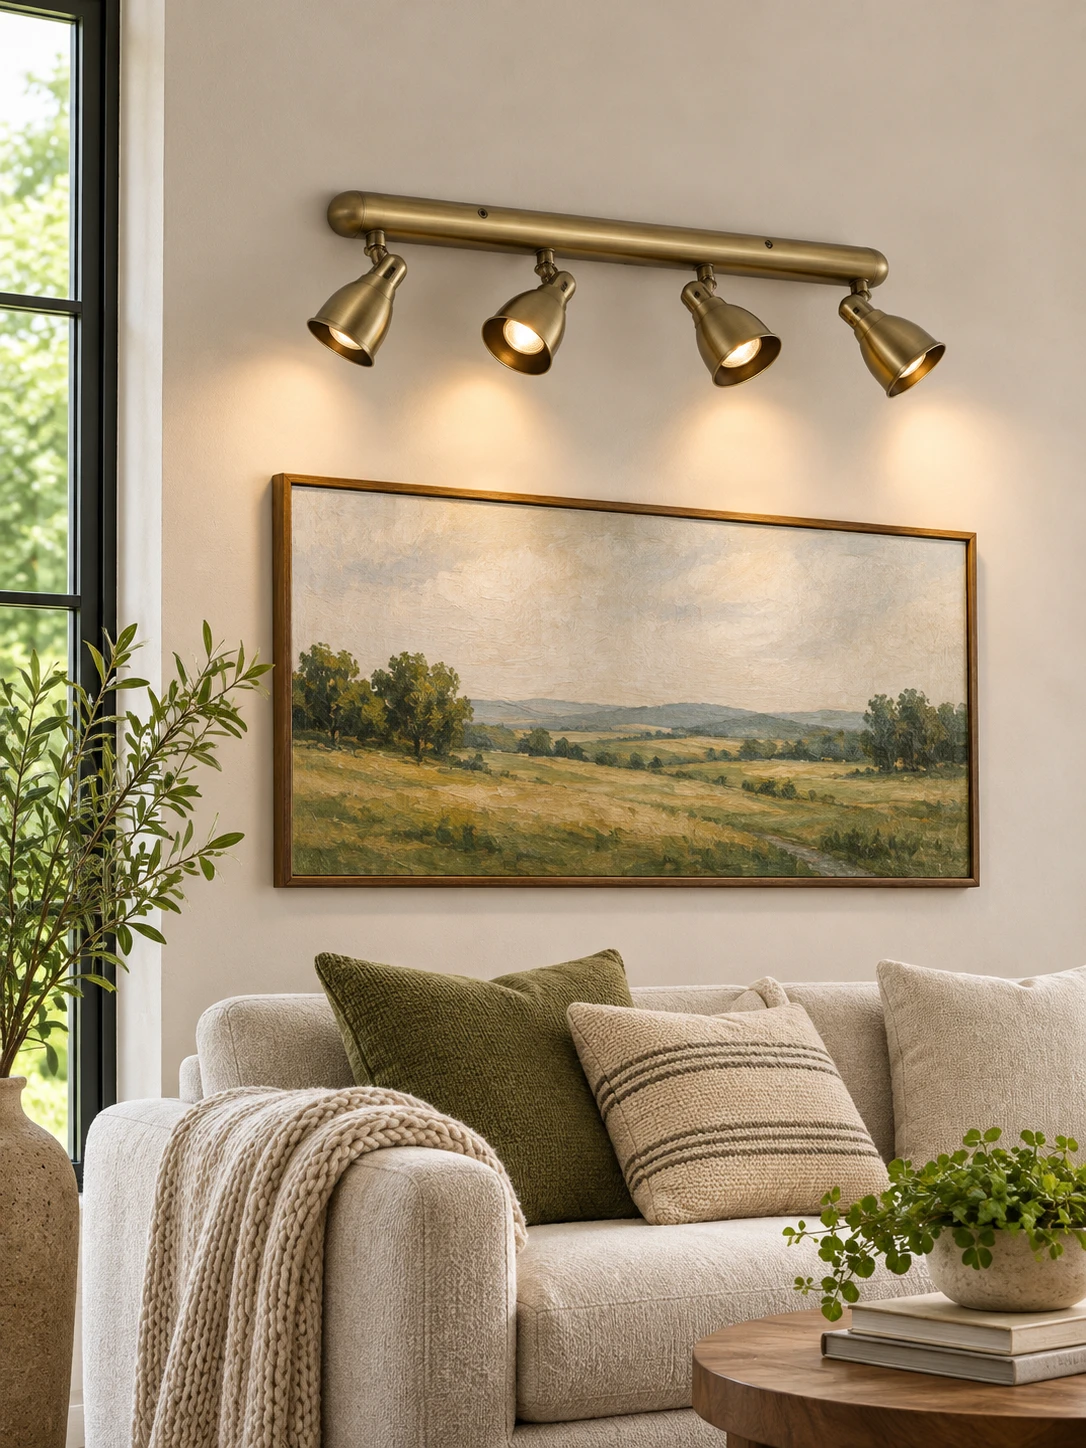
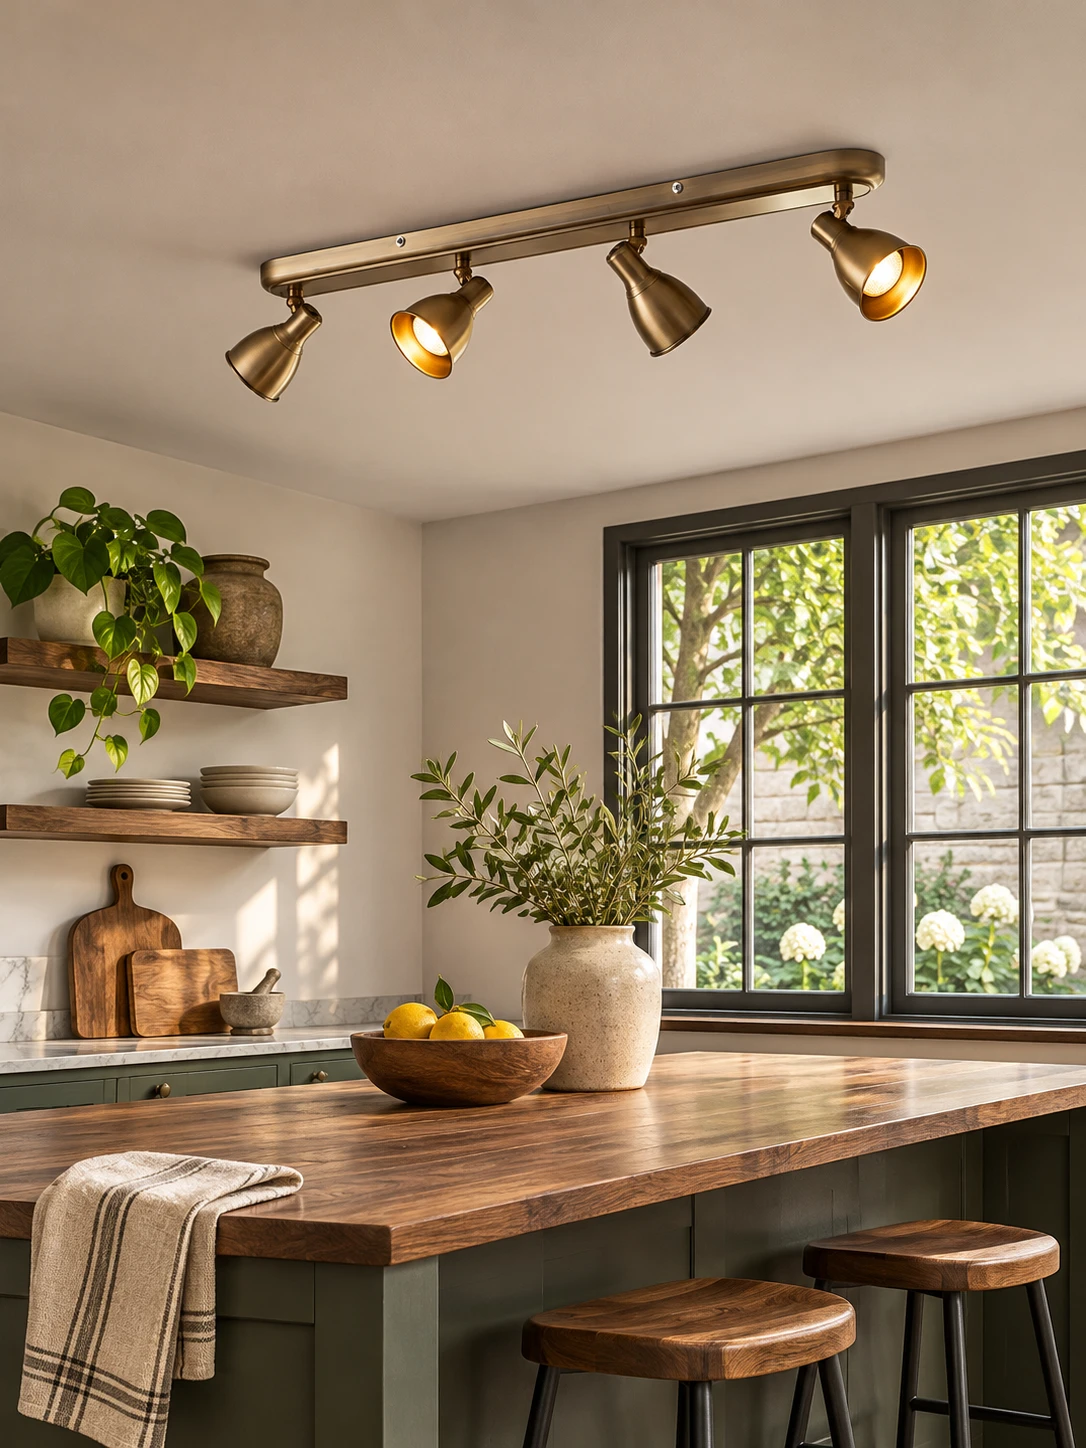
A warm weathered brass finish gives this linear ceiling piece a quiet industrial look with a contemporary edge. Four independently adjustable pivoting heads sit on a sleek canopy and can each be turned on their own. It fits above a kitchen island, along a hallway, or in a home office, study, or living room, including rooms with low ceilings
Highlights
Form, finish, and span
The piece is defined by its brass body, weathered color, pivoting heads, and compact linear size
01
Weathered brass
The body color is a warm weathered brass that reads as vintage and contemporary at once
02
Brass body
The body material is brass, with a sleek linear canopy carrying the heads
03
Four pivoting heads
Four heads mount on the canopy and pivot independently so each can be set at its own angle
04
Long, low profile
Overall size is L 65cm x W 8cm x H 15.5cm / L 25.6″ x W 3.1″ x H 6.1″
Specifications
Size and details
Length
25.6″ (65 cm)
Width
3.1″ (8 cm)
Height
6.1″ (15.5 cm)
Body material
Brass
Body color
Weathered Brass
Soho Brass Multi-Directional Spotlight
HOZO Installationsanleitung
Planen Sie Ihre Beleuchtung.
Raumweise Startwerte für Leuchtengröße, Montagehöhe, Abstand und Durchgangshöhe. Tippen Sie ein Kapitel an.
01
Esstisch
Größe und Mitte vom Tisch aus festlegen, dann die Sicht von jedem Sitz prüfen.
So messen
Tischlänge und -breite messen. Bei runden Tischen den Durchmesser nehmen.
Startbereich
Runde Leuchten: etwa 1/2 bis 2/3 der Tischbreite. Längliche Leuchten: 1/2 bis 2/3 der Tischlänge.
Platzierung
Die Leuchte über dem Tisch zentrieren, nicht zwingend über dem Raum.
Abstand
76–91 cm über der Tischplatte beginnen.
Bei langen Tischen wirken zwei kleinere Pendel oft natürlicher als eine übergroße Leuchte.
Vor dem Bohren
Eine Papierschablone an die Decke kleben und vom Türrahmen sowie sitzend prüfen.
MessenPlatte bis Unterkante
Hängehöhe76–91 cm
AusrichtenMitte des Tisches
02
Kücheninsel
Die nutzbare Insel messen und die Pendel auf der Mittellinie halten.
So messen
Nutzbare Länge und Breite der Insel messen.
Startbereich
Eine Linienleuchte: 1/2 bis 2/3 der Insel-Länge. Mehrere Pendel: erst den Durchmesser, dann die Anzahl wählen.
Platzierung
Pendelmitten gleichmäßig auf der Insel-Mittellinie.
Abstand
76–91 cm über der Arbeitsplatte. Äußere Pendel nicht an den Inselenden.
Die komplette Reihe mocken, nicht nur ein Pendel.
Vor dem Bohren
Drei Papierkreise über der Insel zeigen Abstandsprobleme schneller als ein einzelnes Muster.
MessenPlatte bis Unterkante
Hängehöhe76–91 cm
AusrichtenGleiche Mitten
03
Raummitte
Länge plus Breite ergibt den Startdurchmesser. Deckenhöhe und visuelle Schwere machen die Entscheidung fertig.
So messen
Raumlänge und -breite in Metern plus fertige Deckenhöhe.
Startbereich
Länge + Breite (m) × 8,3 ergibt einen üblichen Startdurchmesser in cm. Beispiel: 3,7 + 3,0 → ca. 56 cm.
Platzierung
Die architektonische Mitte nur nutzen, wenn sie vom Eingang und vom Möbelplan her Sinn ergibt.
Abstand
Mindestens 2,10 m lichte Höhe unter dem tiefsten Punkt im Laufbereich.