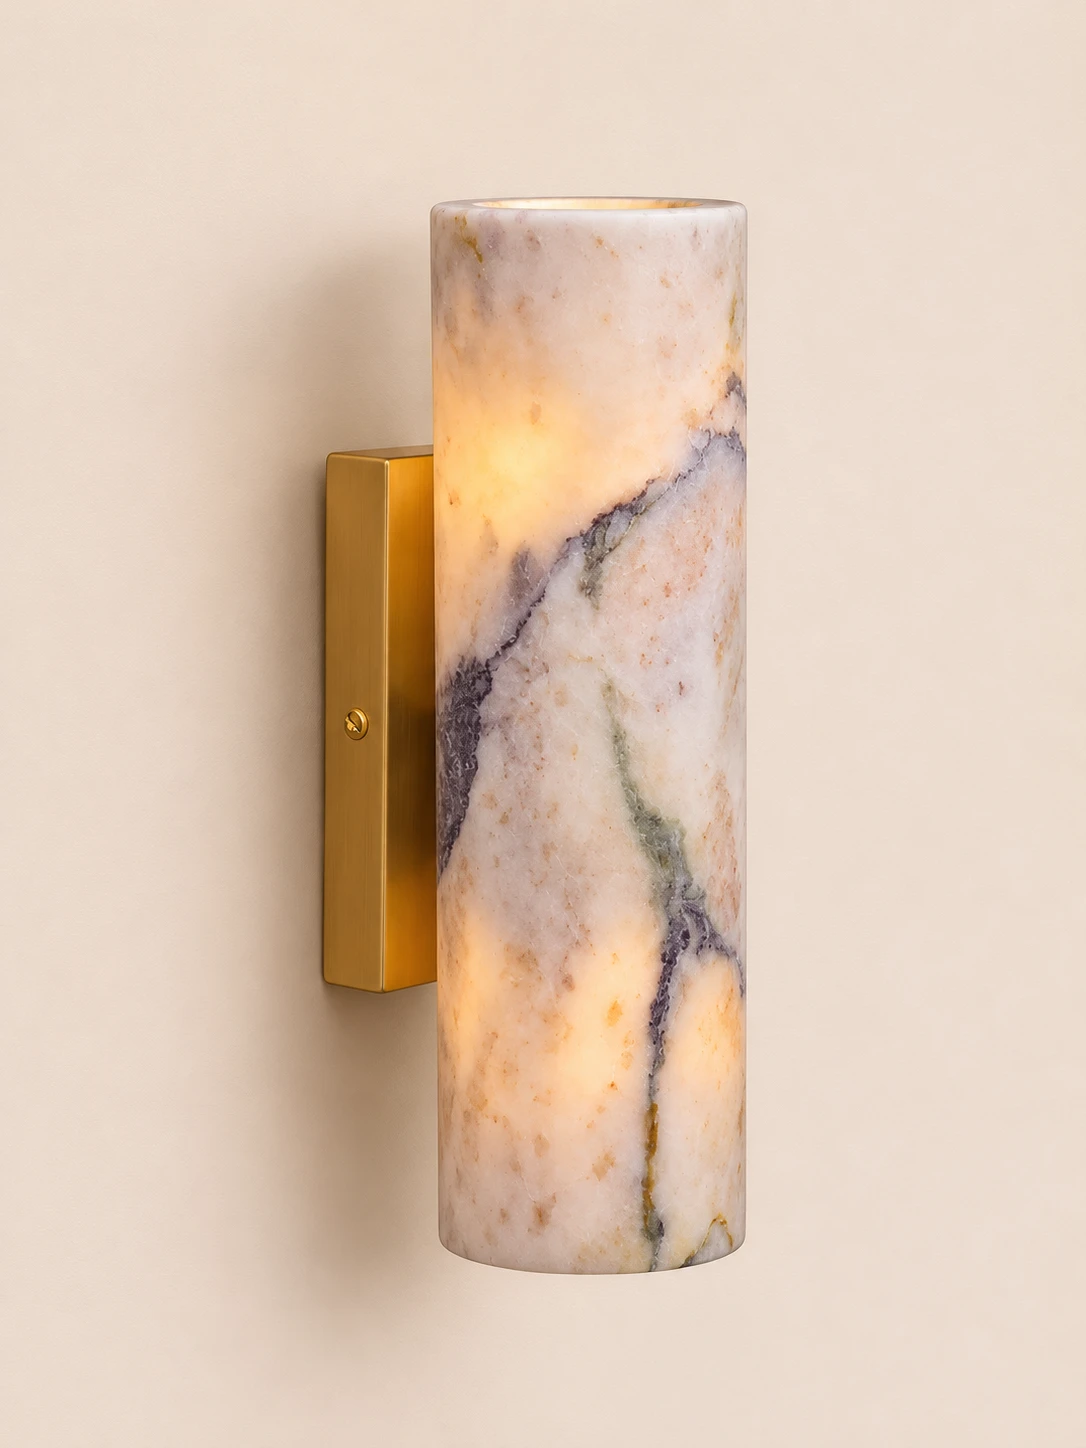
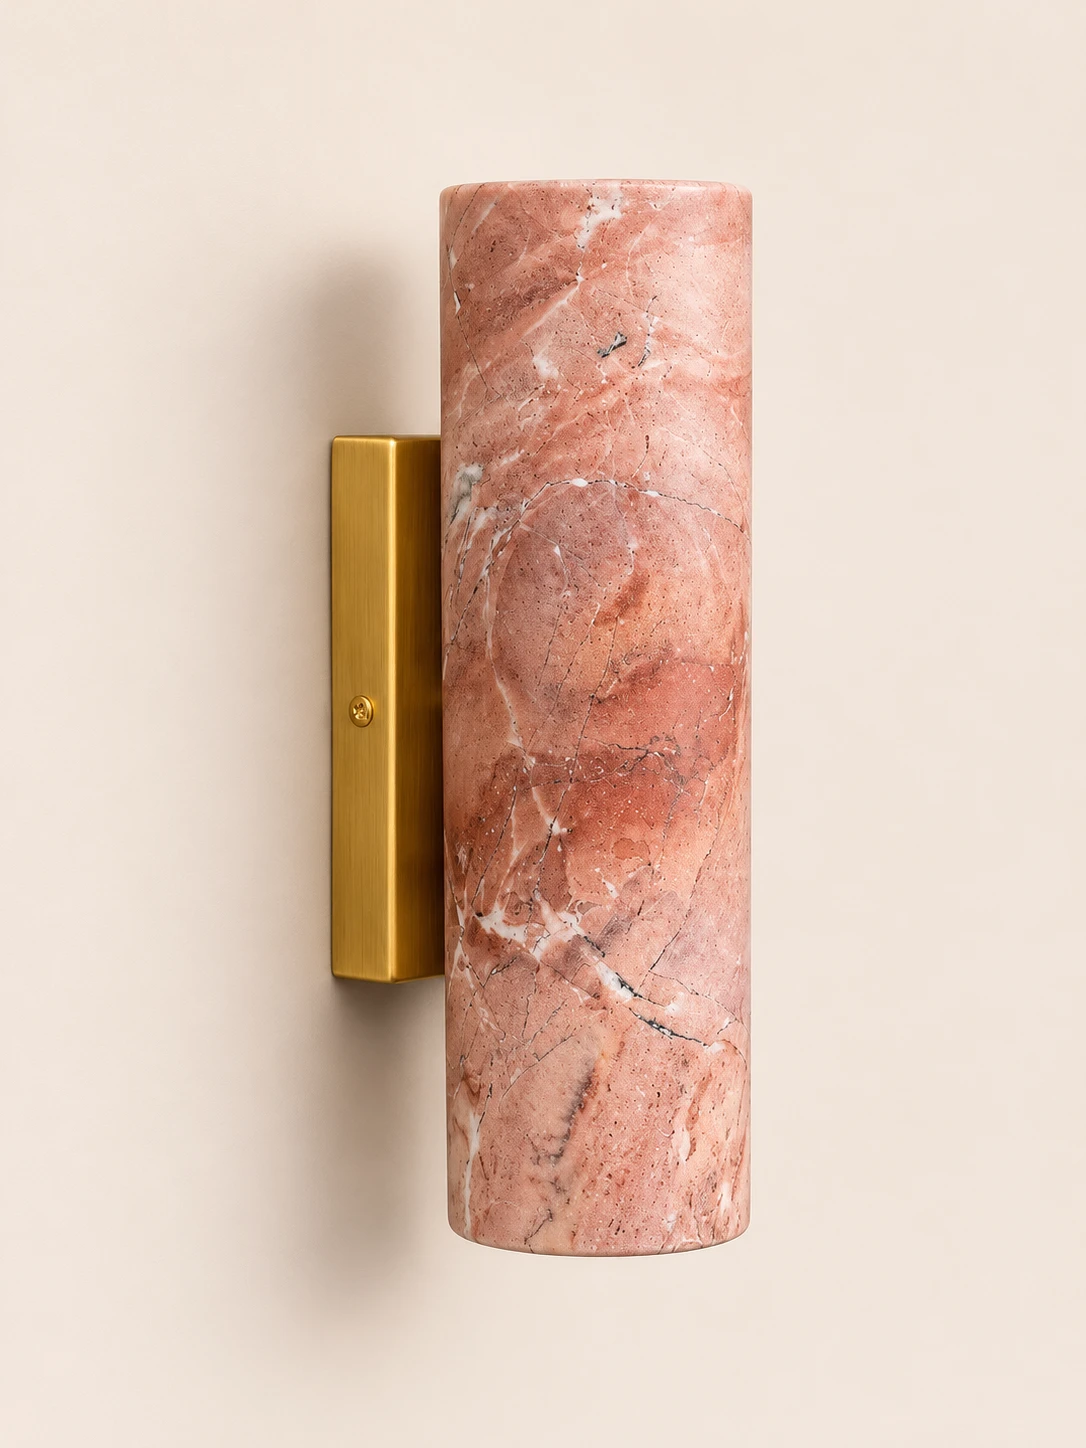
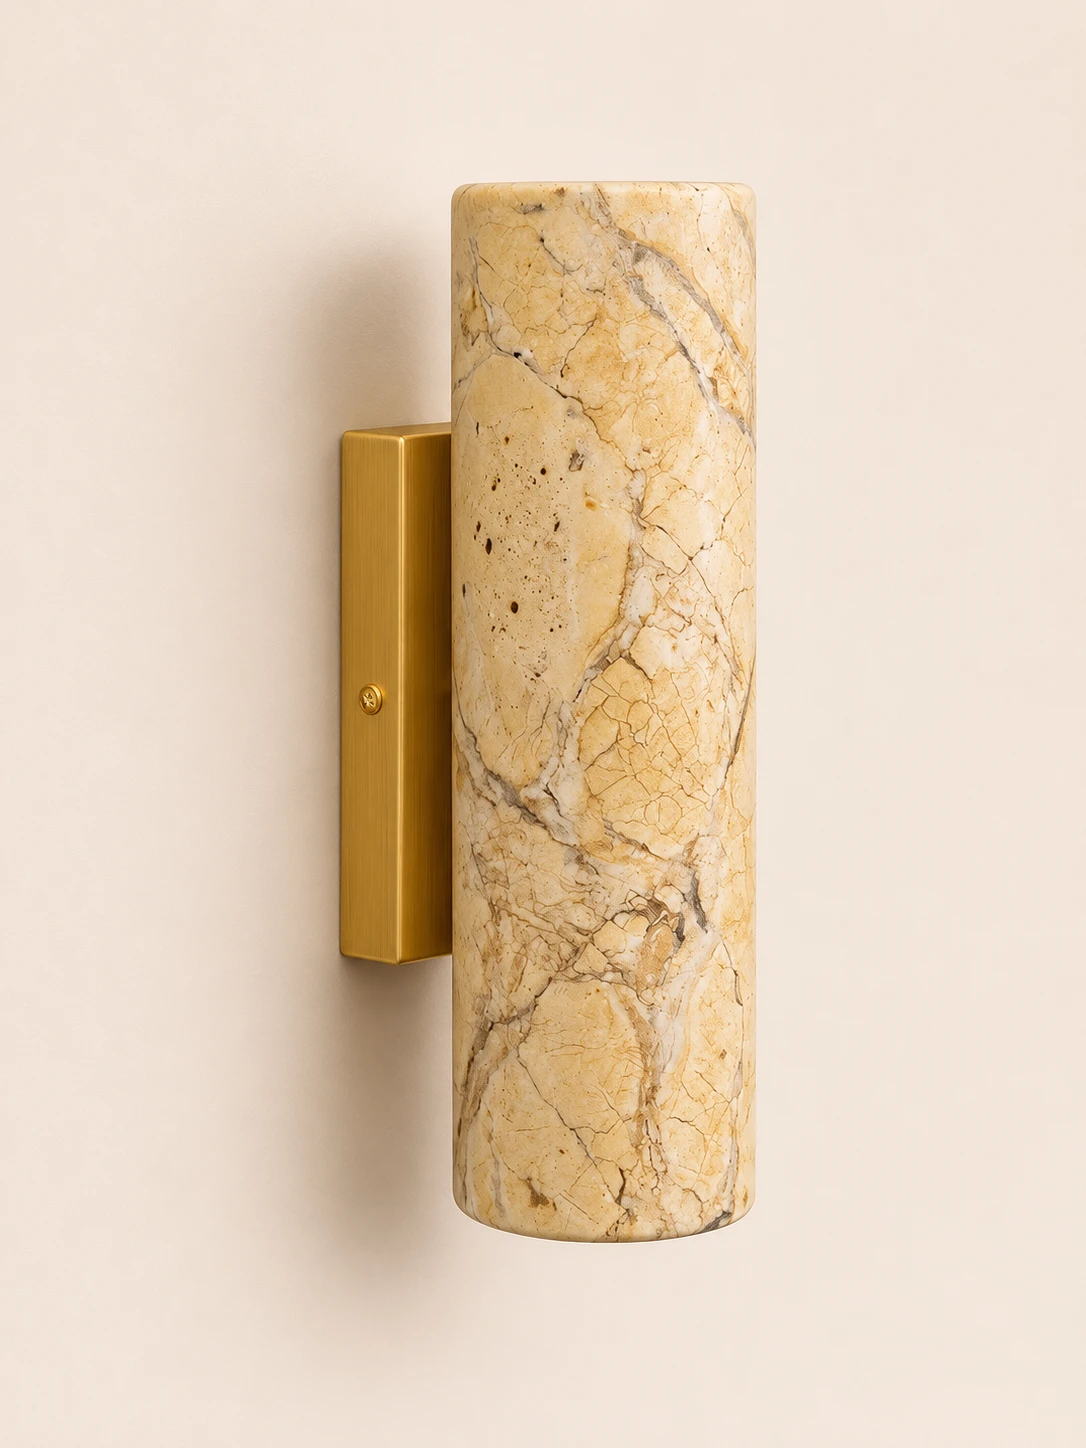
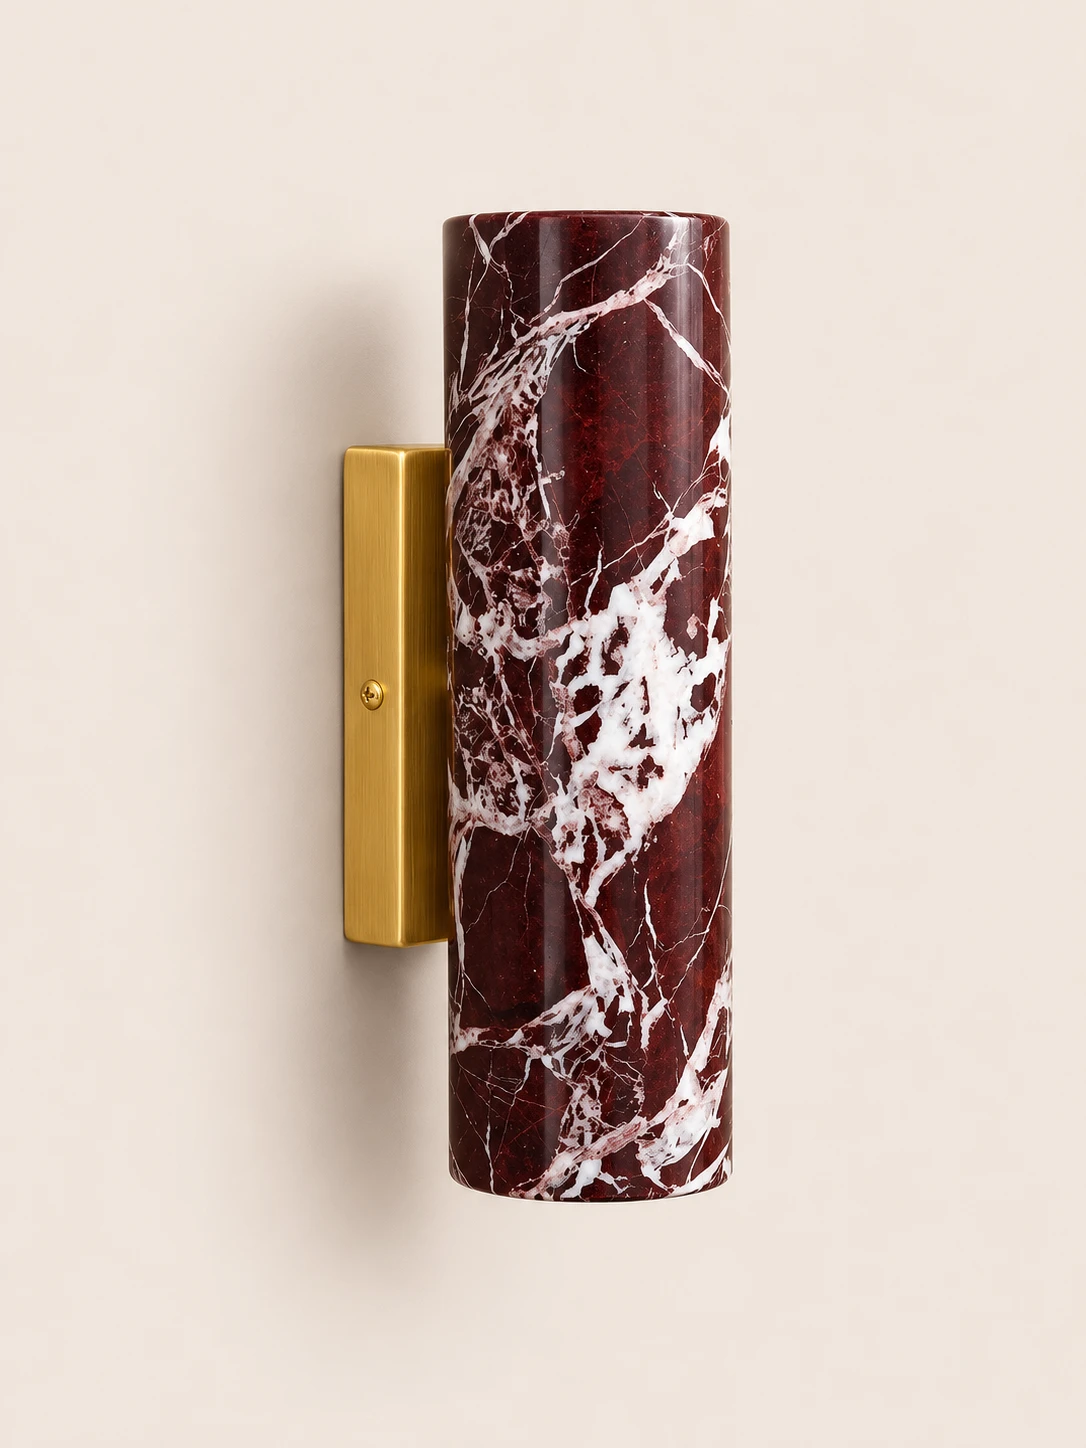
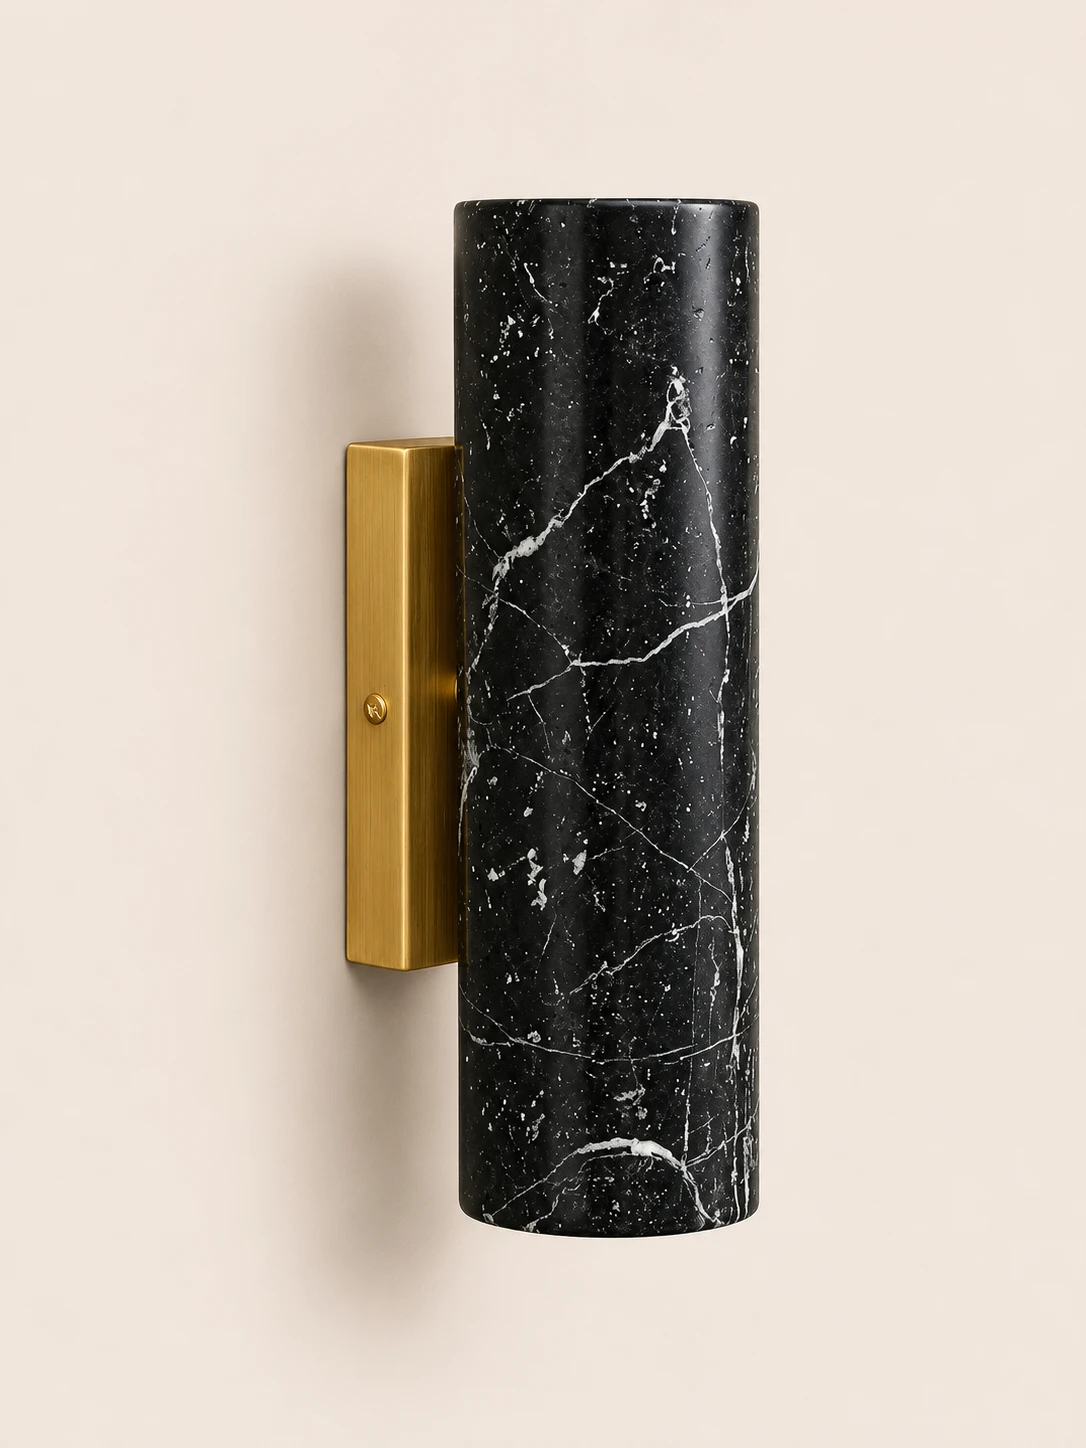
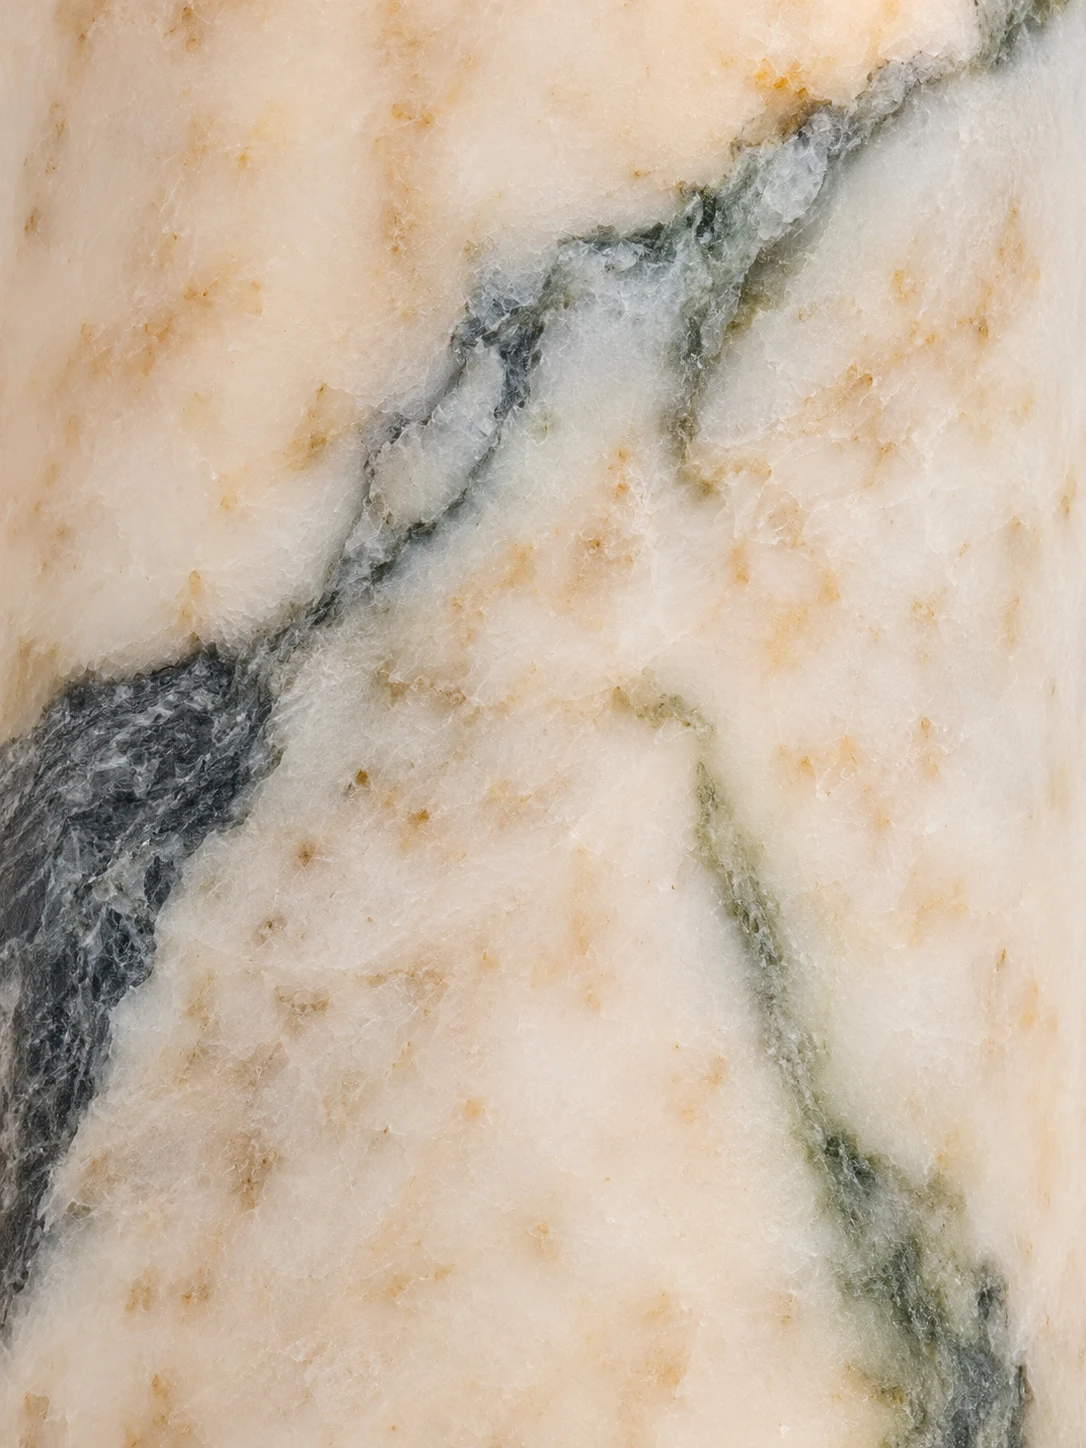
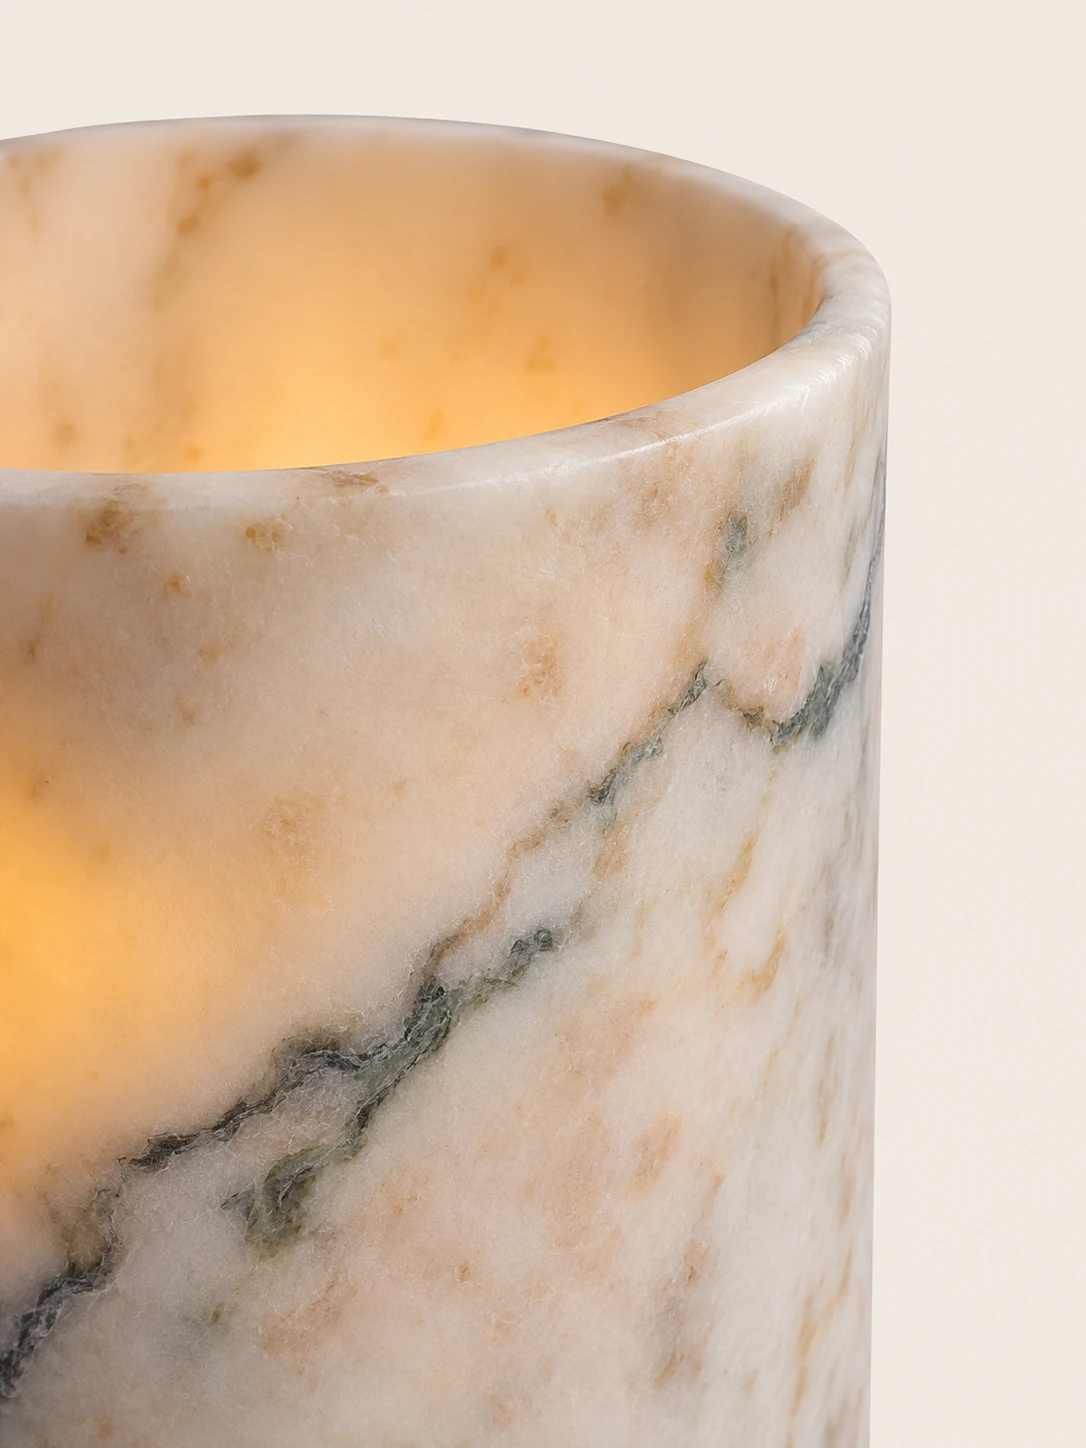
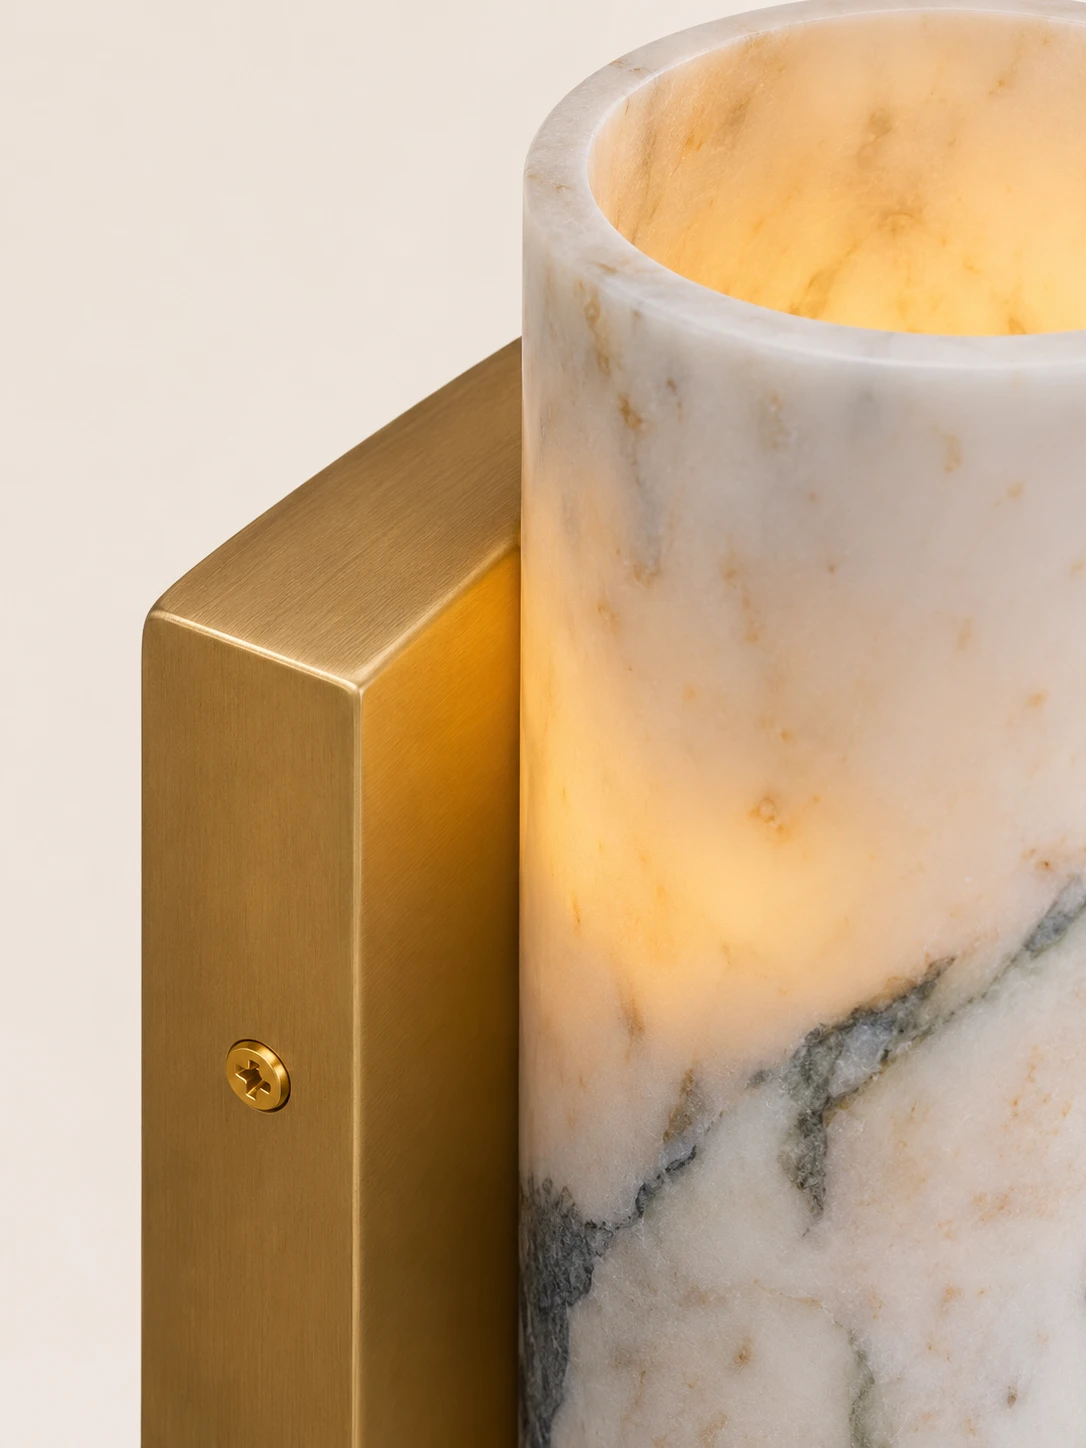
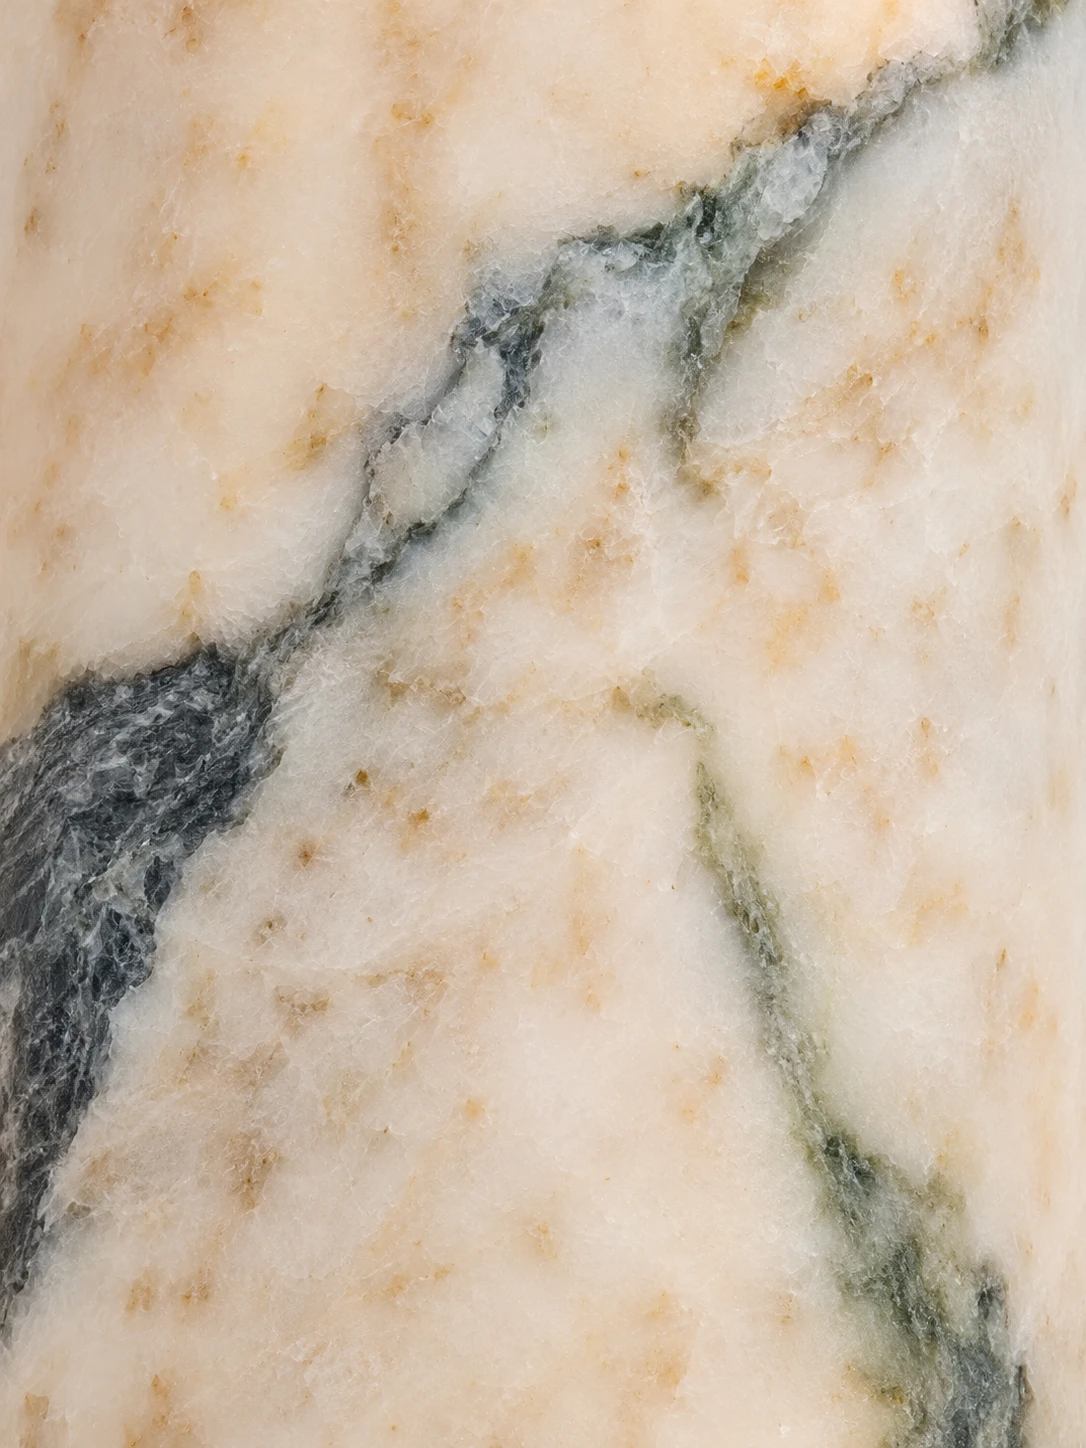
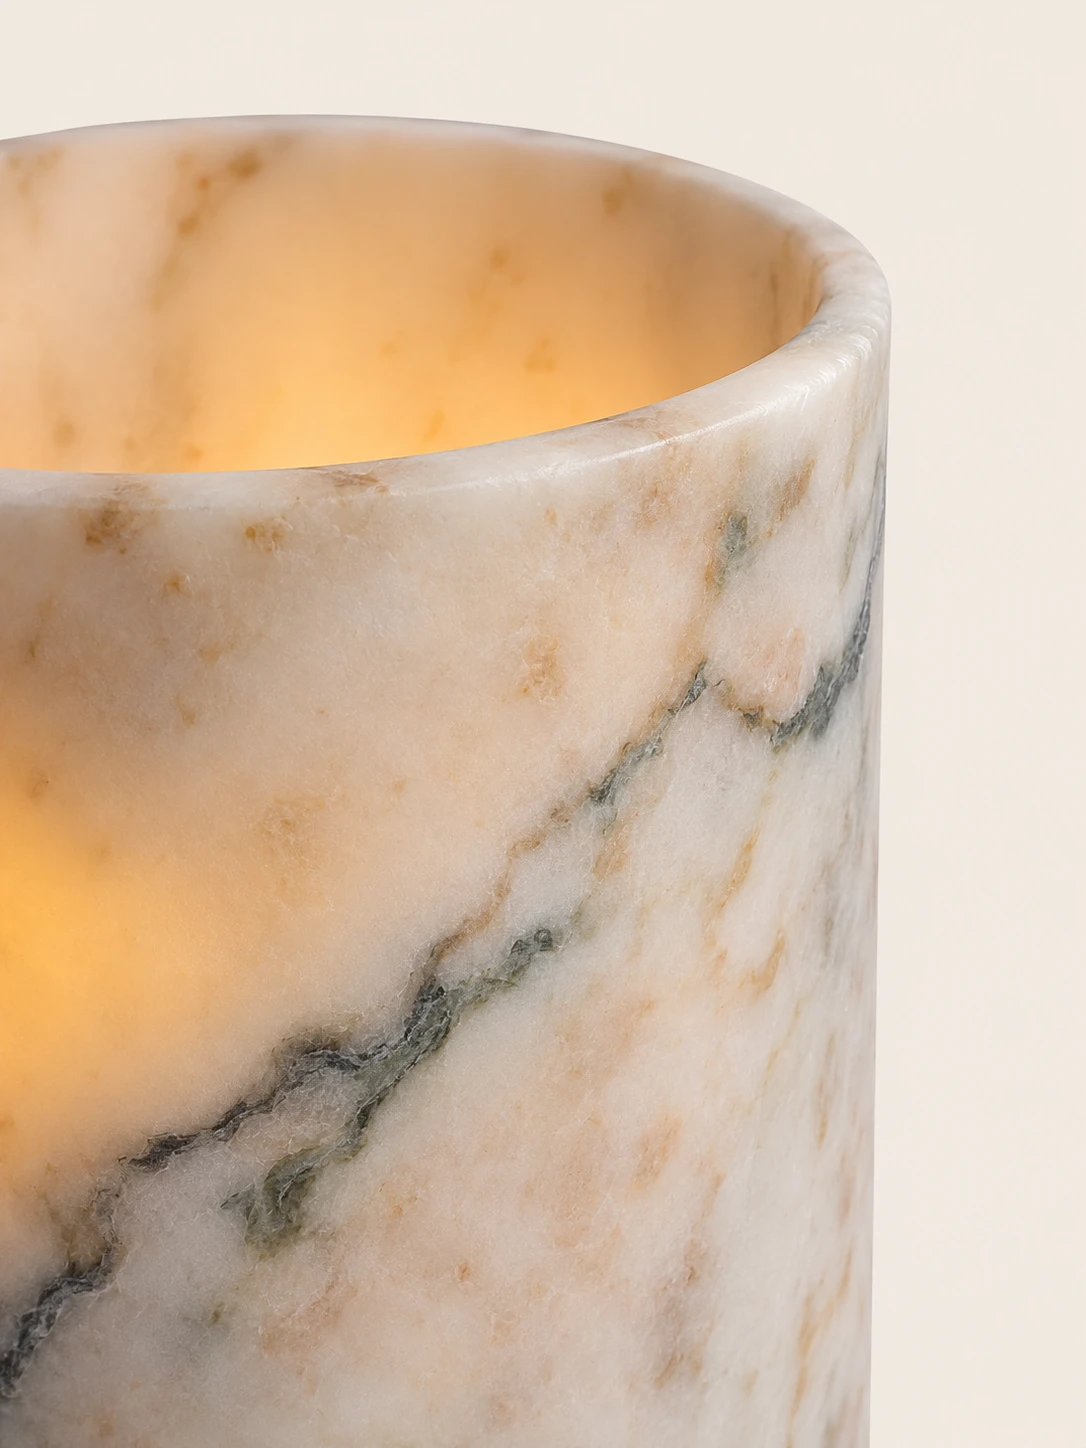
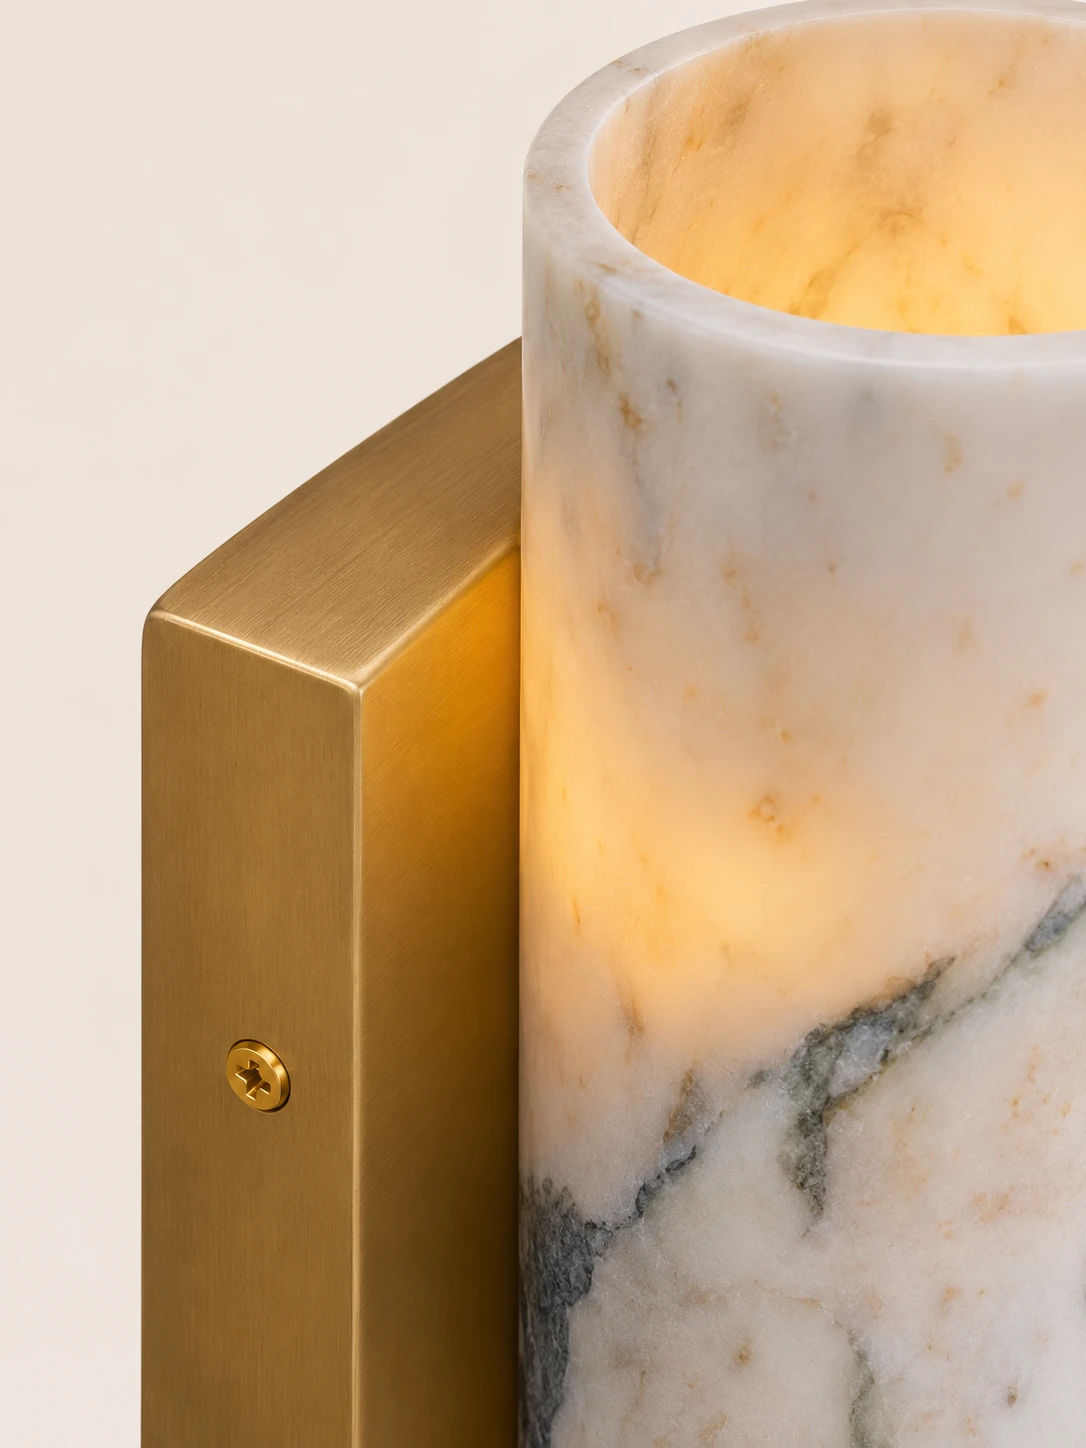
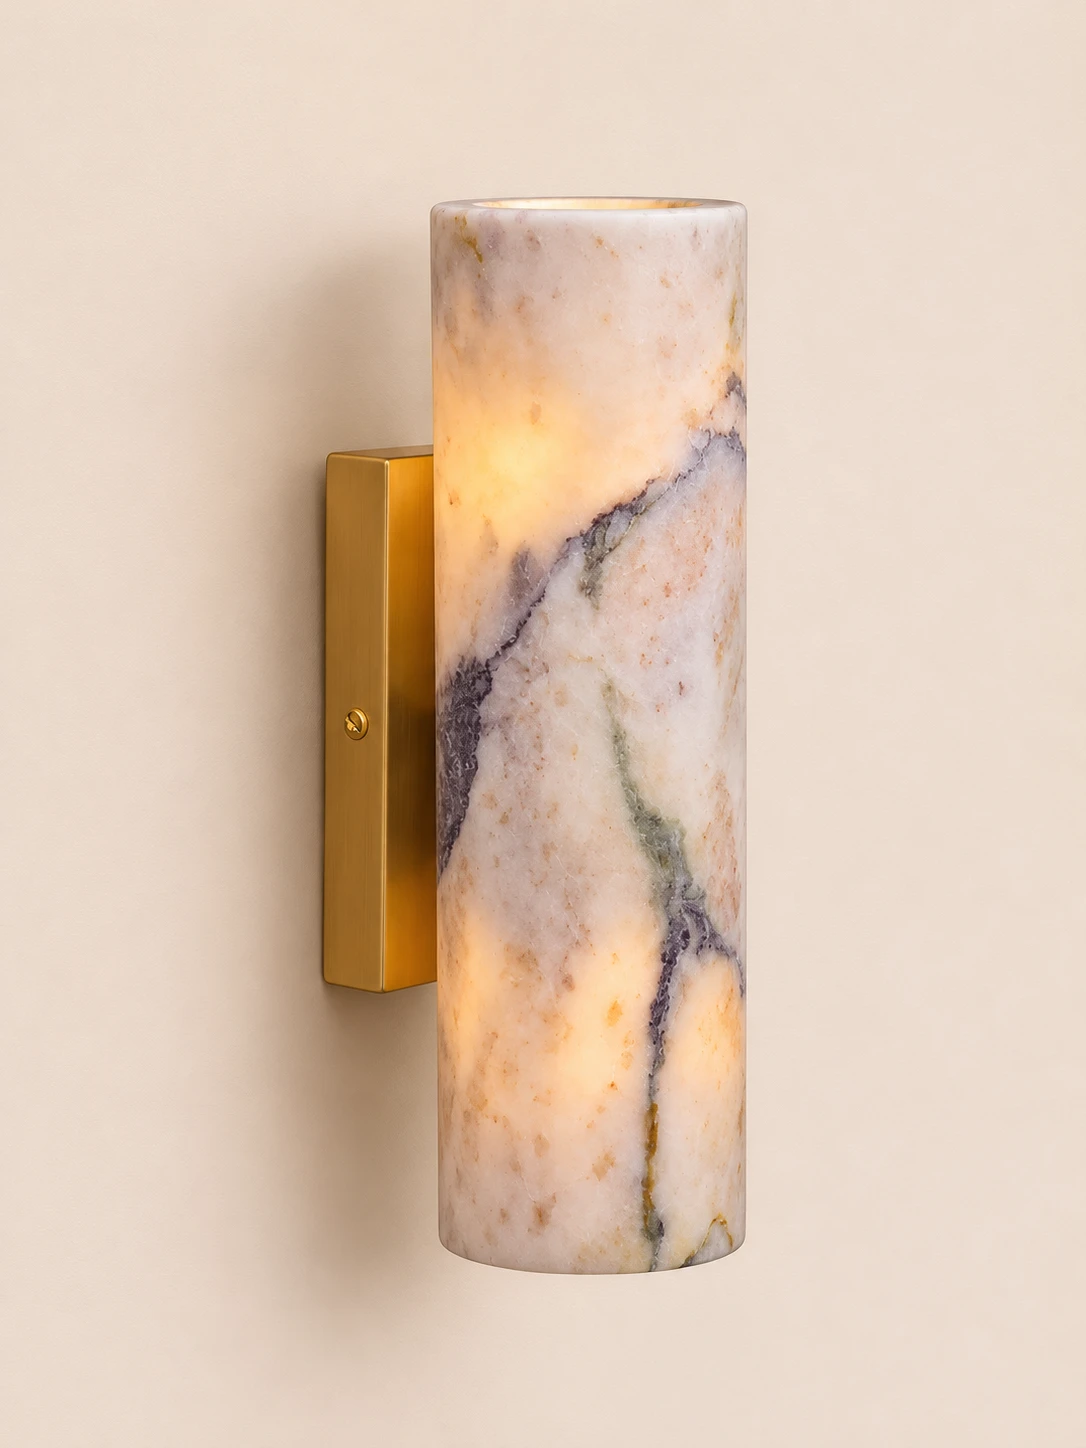
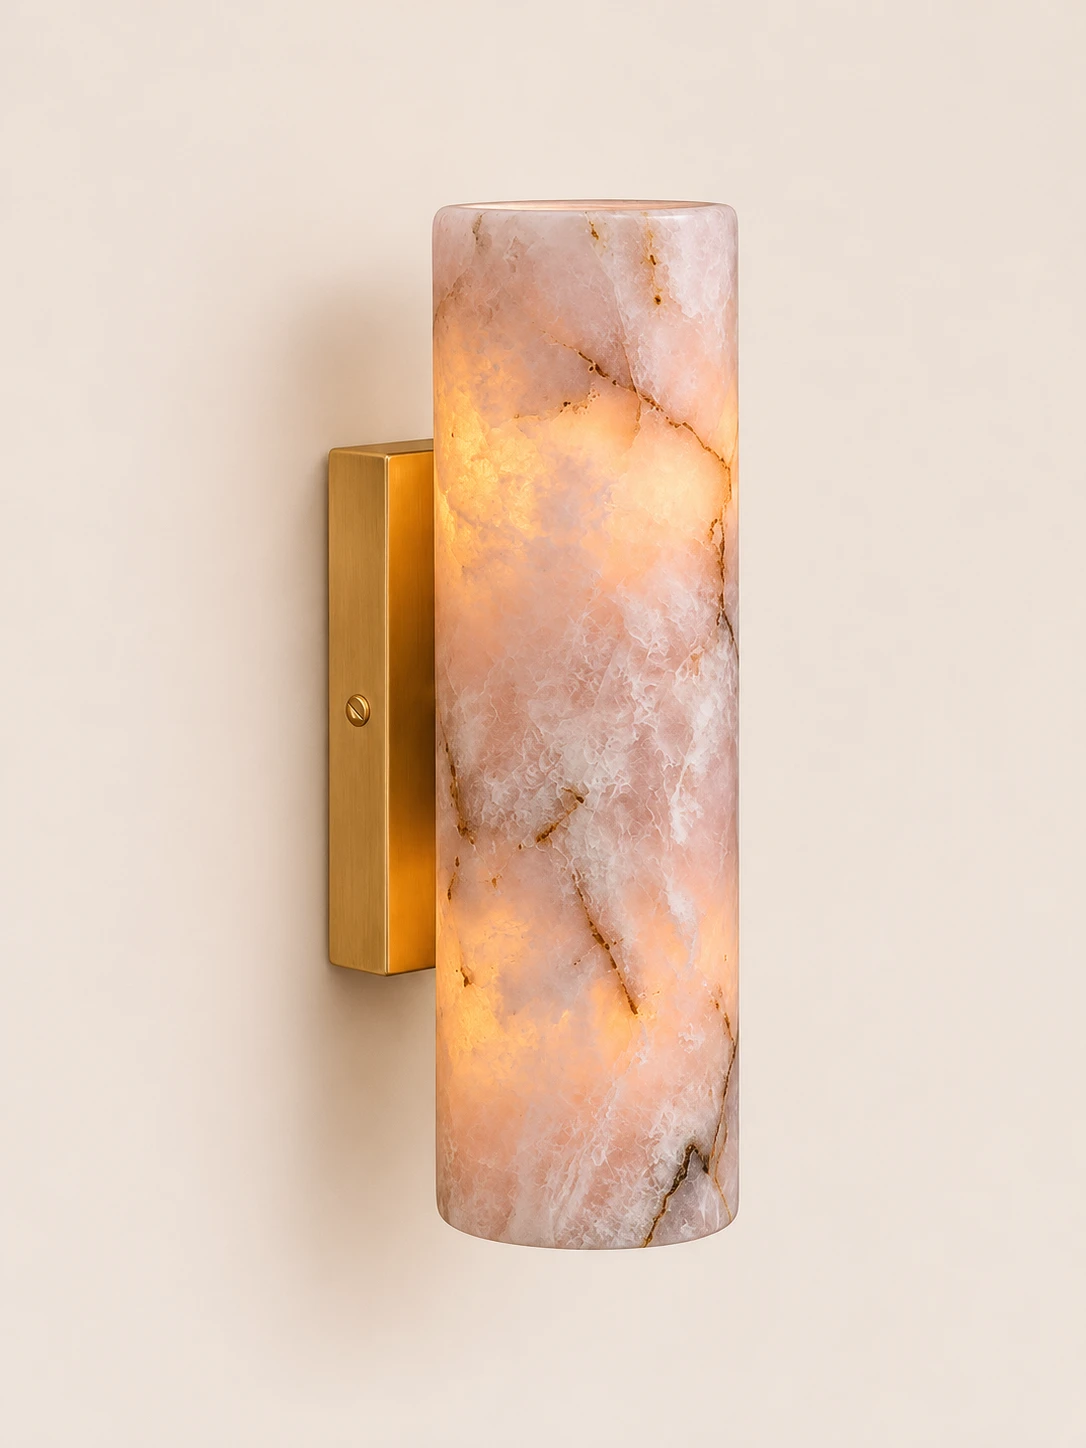
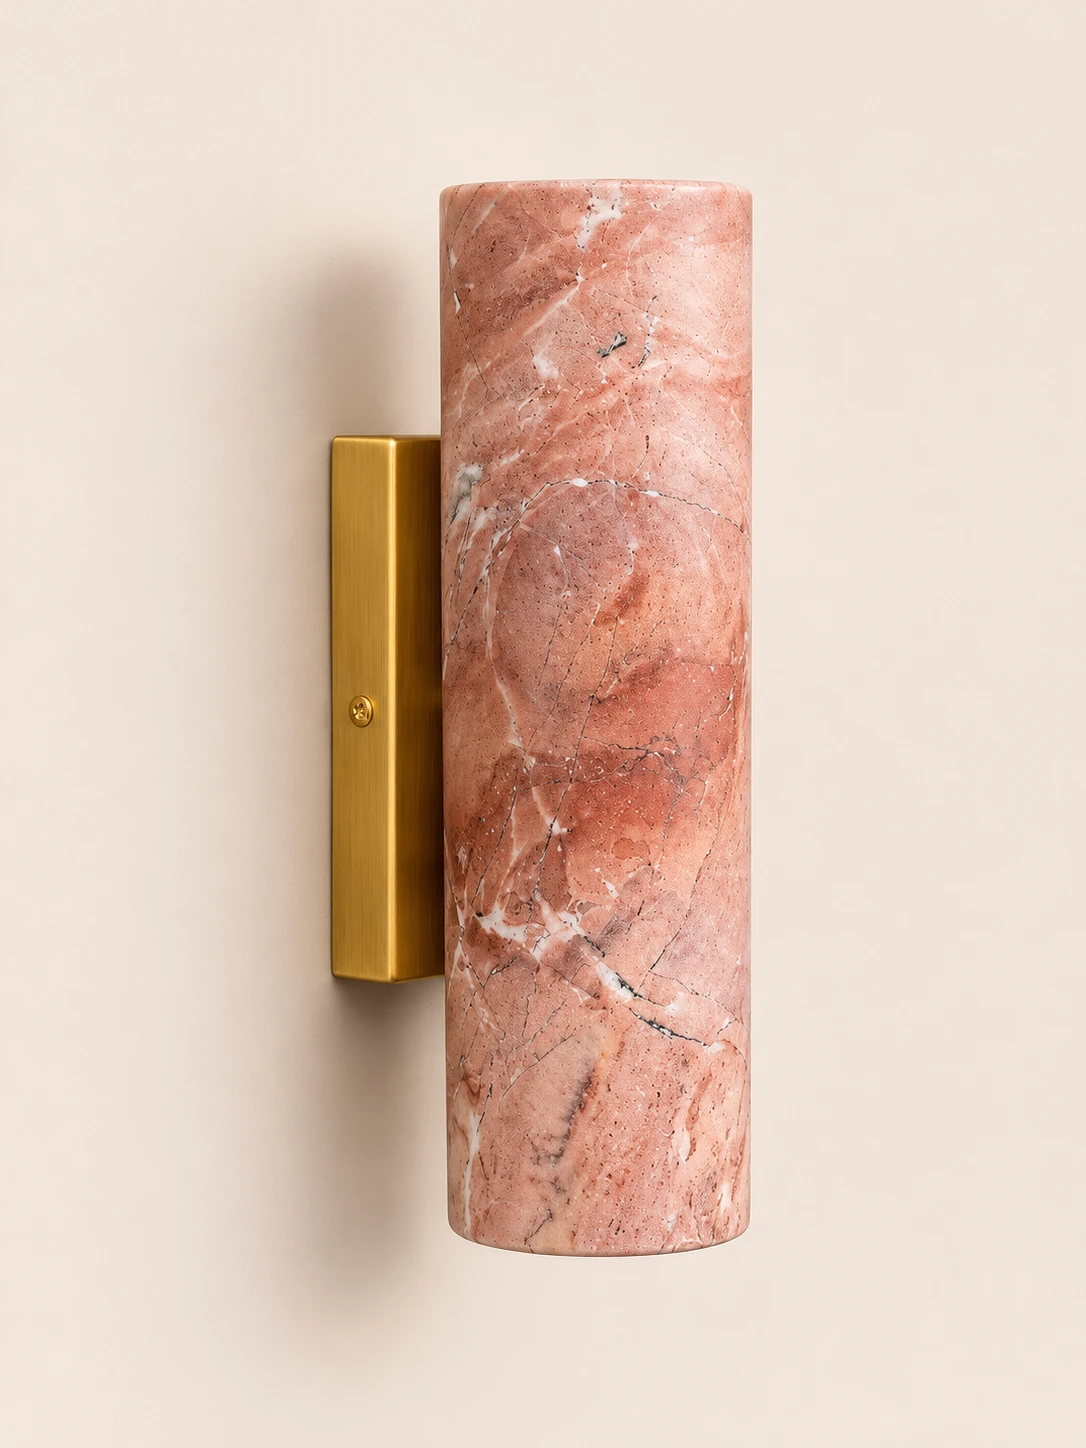
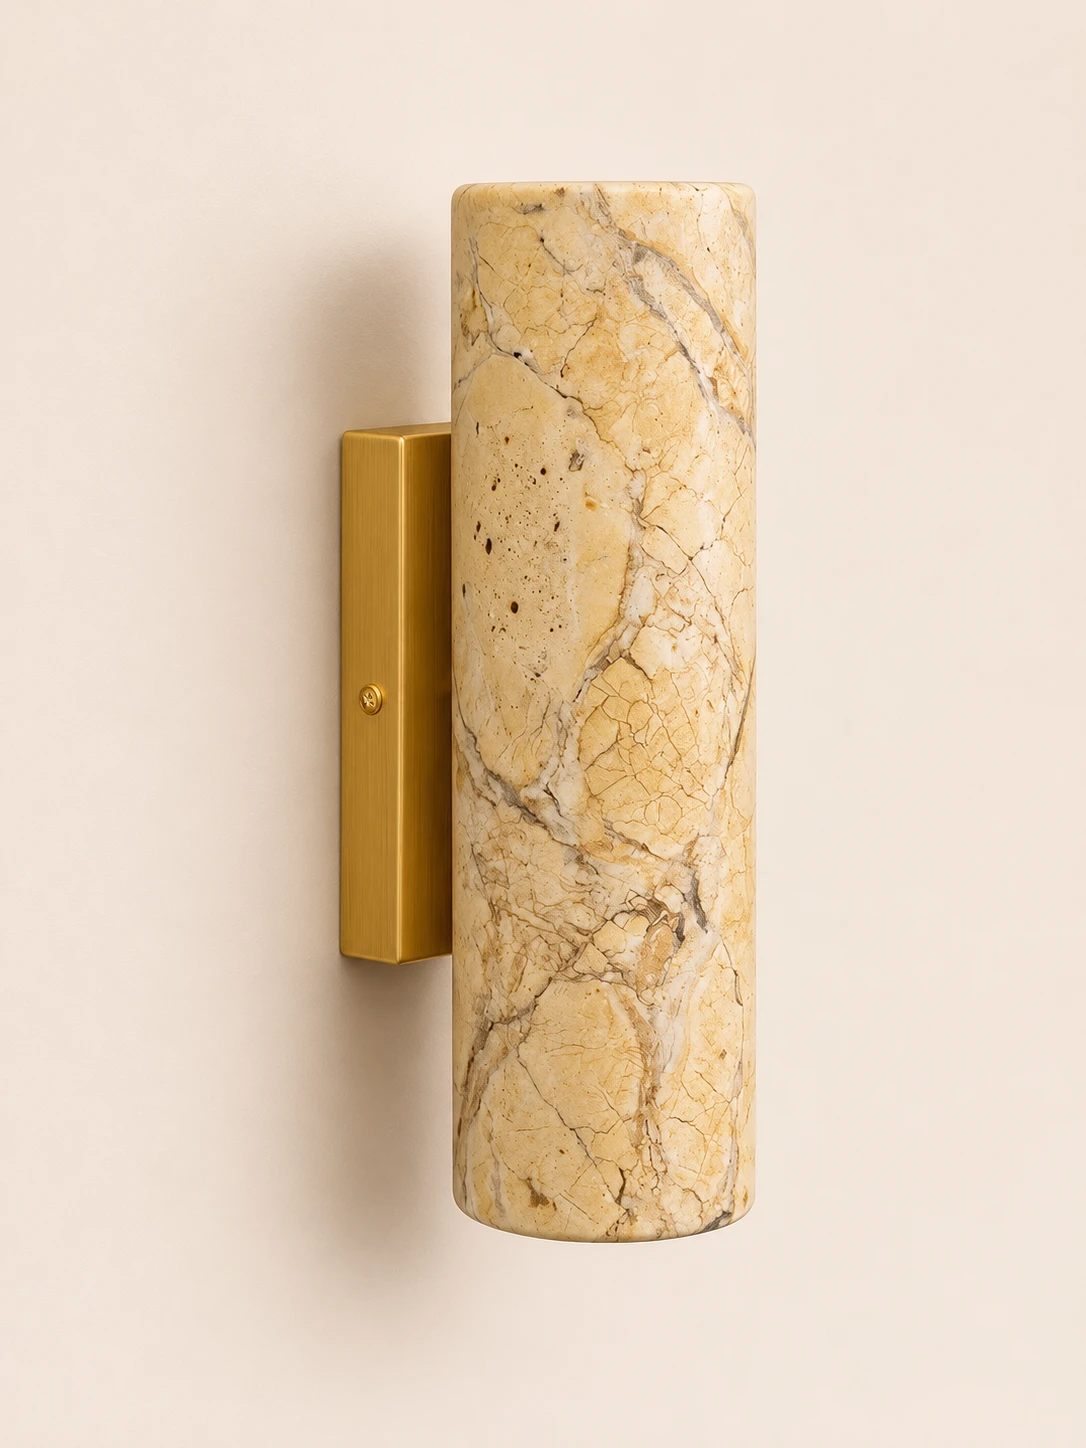
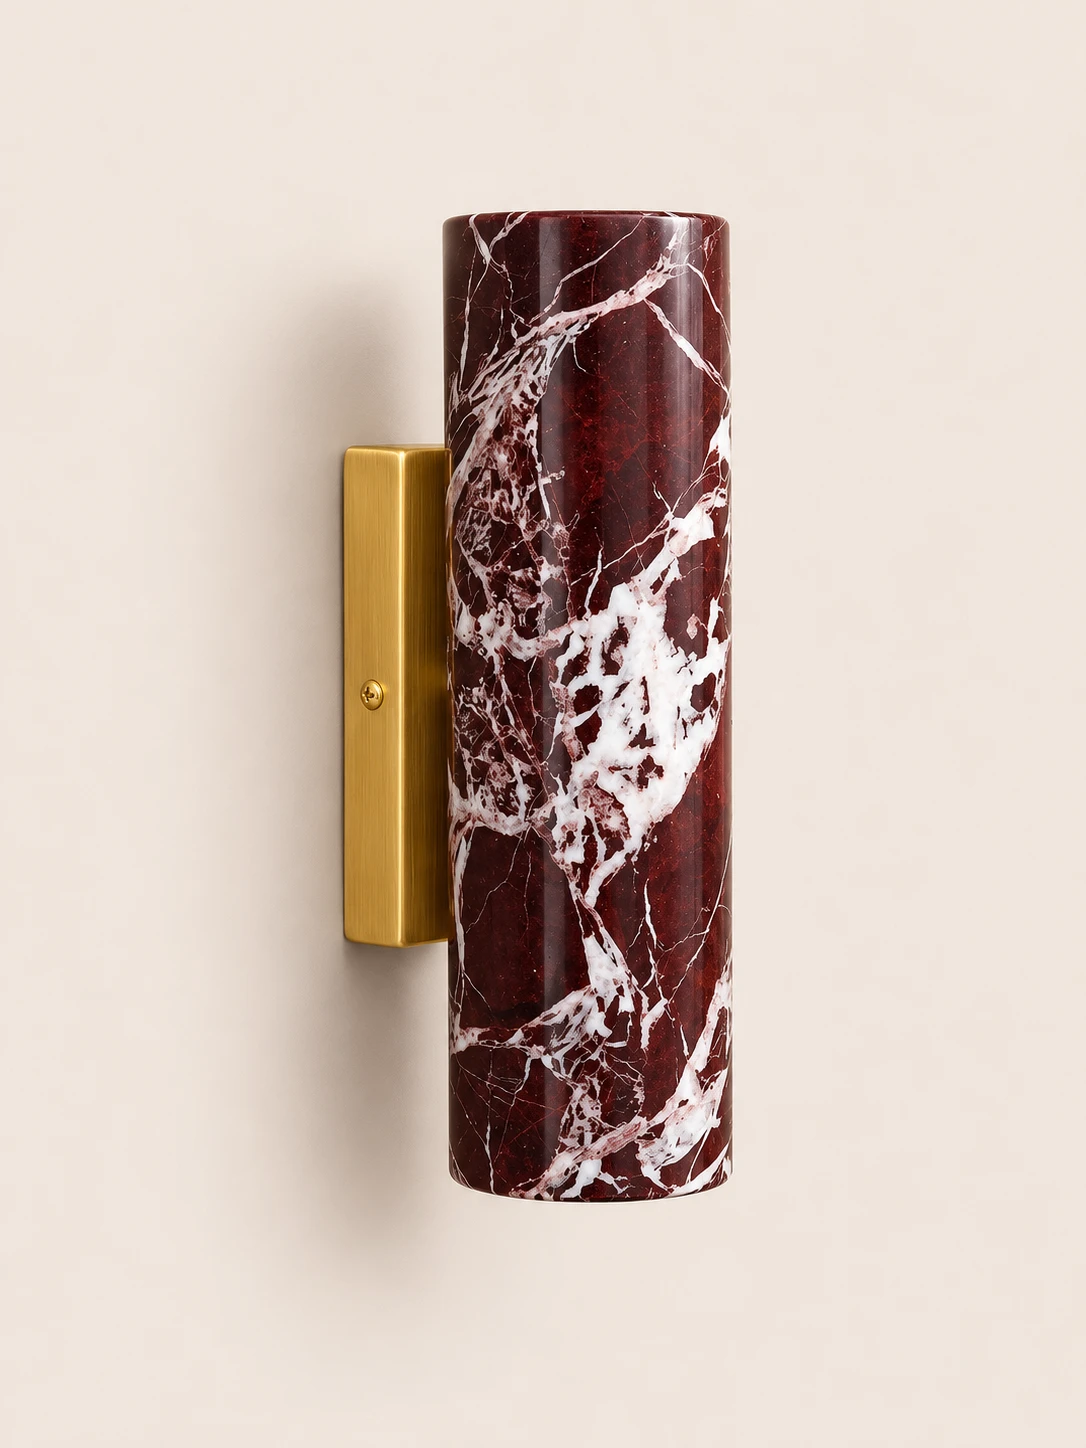
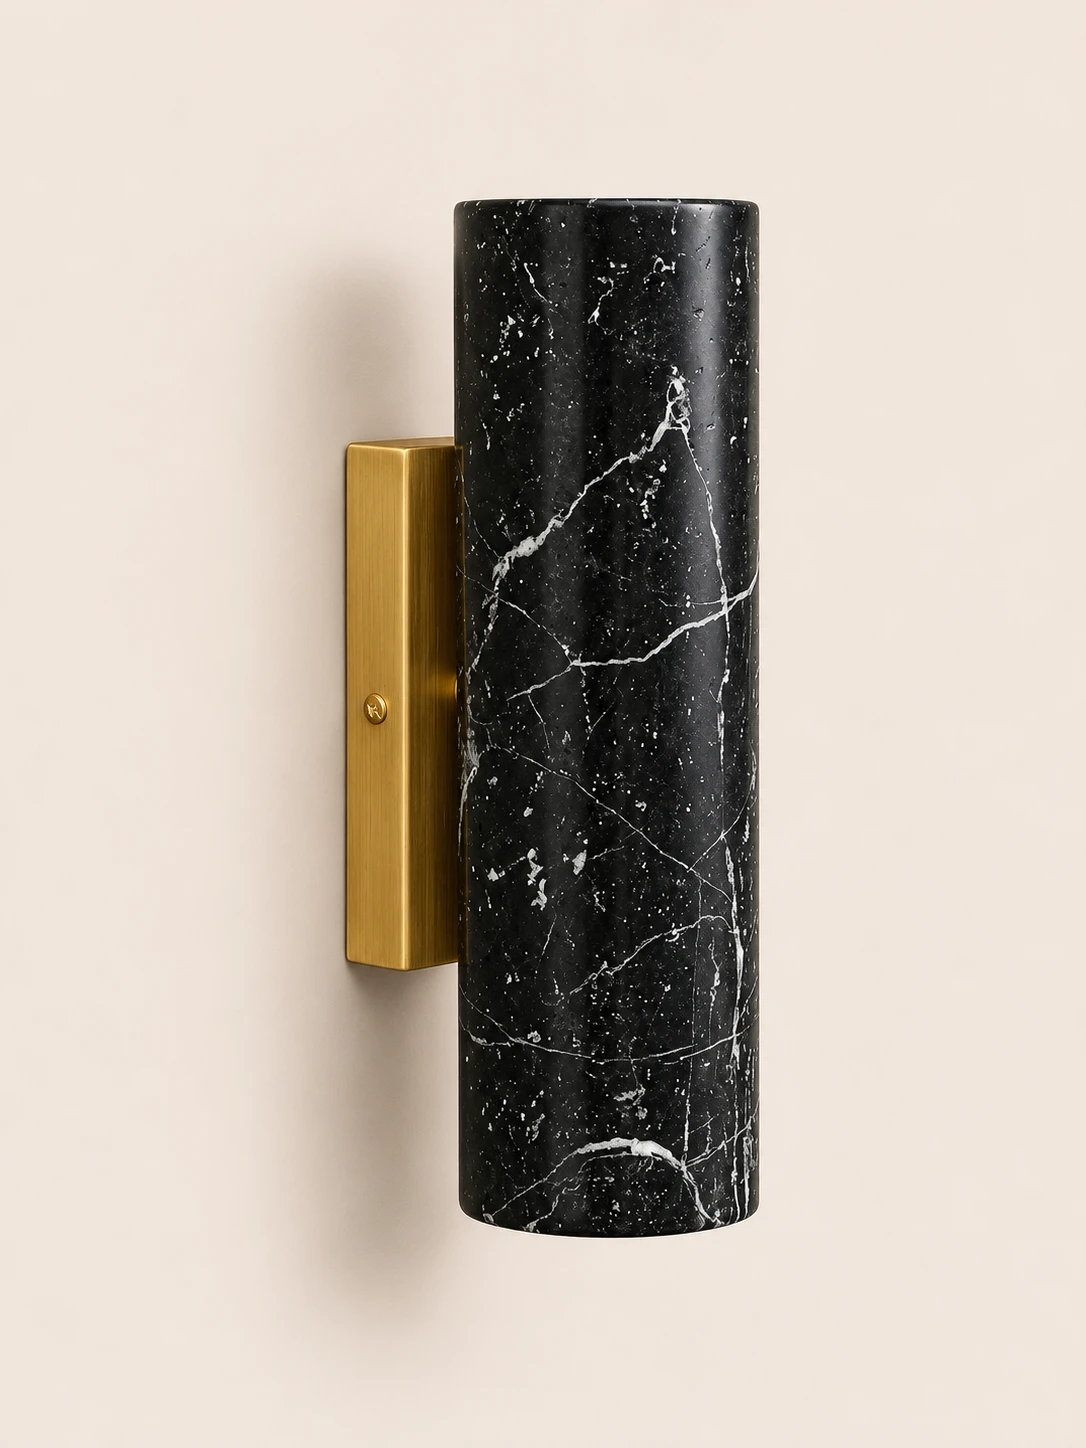
Three tight views show the stone’s veining, the glowing rim, and where the cylinder meets the gold back panel
01A close view of the marble surface shows a creamy ground crossed by dark gray-green veins and scattered warm flecks02The open rim of the marble tube curves into a softly lit interior, with the same pale stone and green-gray veining continuing over the lip03A brushed gold back panel meets the marble cylinder, with a small screw set into the metal and warm light glowing through the stone
Up and down wall sconce
Tubular marble,
light both ways
A hand-cut cylinder of violet-and-white Italian-style marble cantilevers from a slim gold back panel. Violet-black veining crosses a cream base, and the stone glows where it is thinnest. Open at both ends, the tube throws light up onto the ceiling and down onto the wall
Highlights
Stone, gold, two washes
One marble tube and a slim gold panel make a quiet up-and-down wall light
01
Hand-cut marble
The cylinder is cut and polished from a single block of violet-white Italian-style marble, so veining, color, and translucency differ from piece to piece
02
Up and down light
Both ends stay open, washing the ceiling and the wall while warm light glows through the thinner stone
03
Gold metal finish
An iron back panel and body in warm gold frame the marble with a slim architectural line
04
Tube and panel size
The marble tube is ∅ 7 × H 24 cm (∅ 2.8″ × H 9.4″); the gold back panel is D 6 × W 2 × H 12.5 cm (2.3″ × 0.8″ × 4.9″)
Specifications
Size and light
Marble tube
∅ 7 × H 24 cm (∅ 2.8″ × H 9.4″)
Gold back panel
D 6 × W 2 × H 12.5 cm (2.3″ × 0.8″ × 4.9″)
Direction
Up and down, open at both ends
Bulb
G9, 1 bulb, not included
Dimming
With a dimmable G9 LED and TRIAC dimmer
Voltage
AC 110–240V
Purple Marble & GoldD 7cm x H 24cm / ∅ 2.8″ x H 9.4″
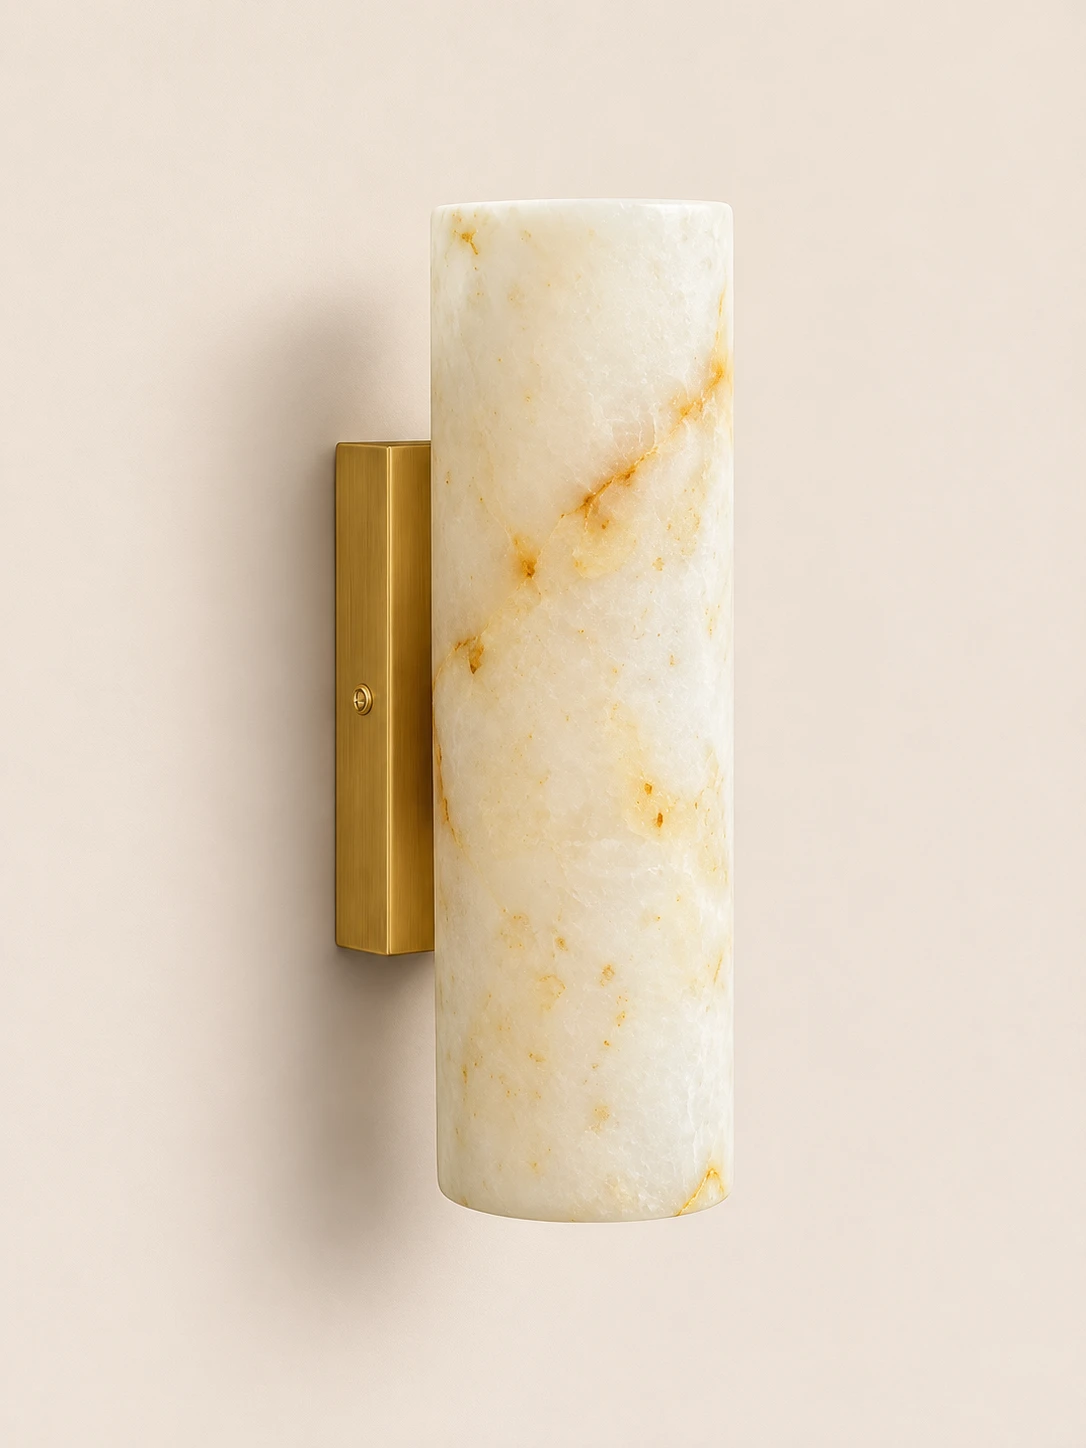
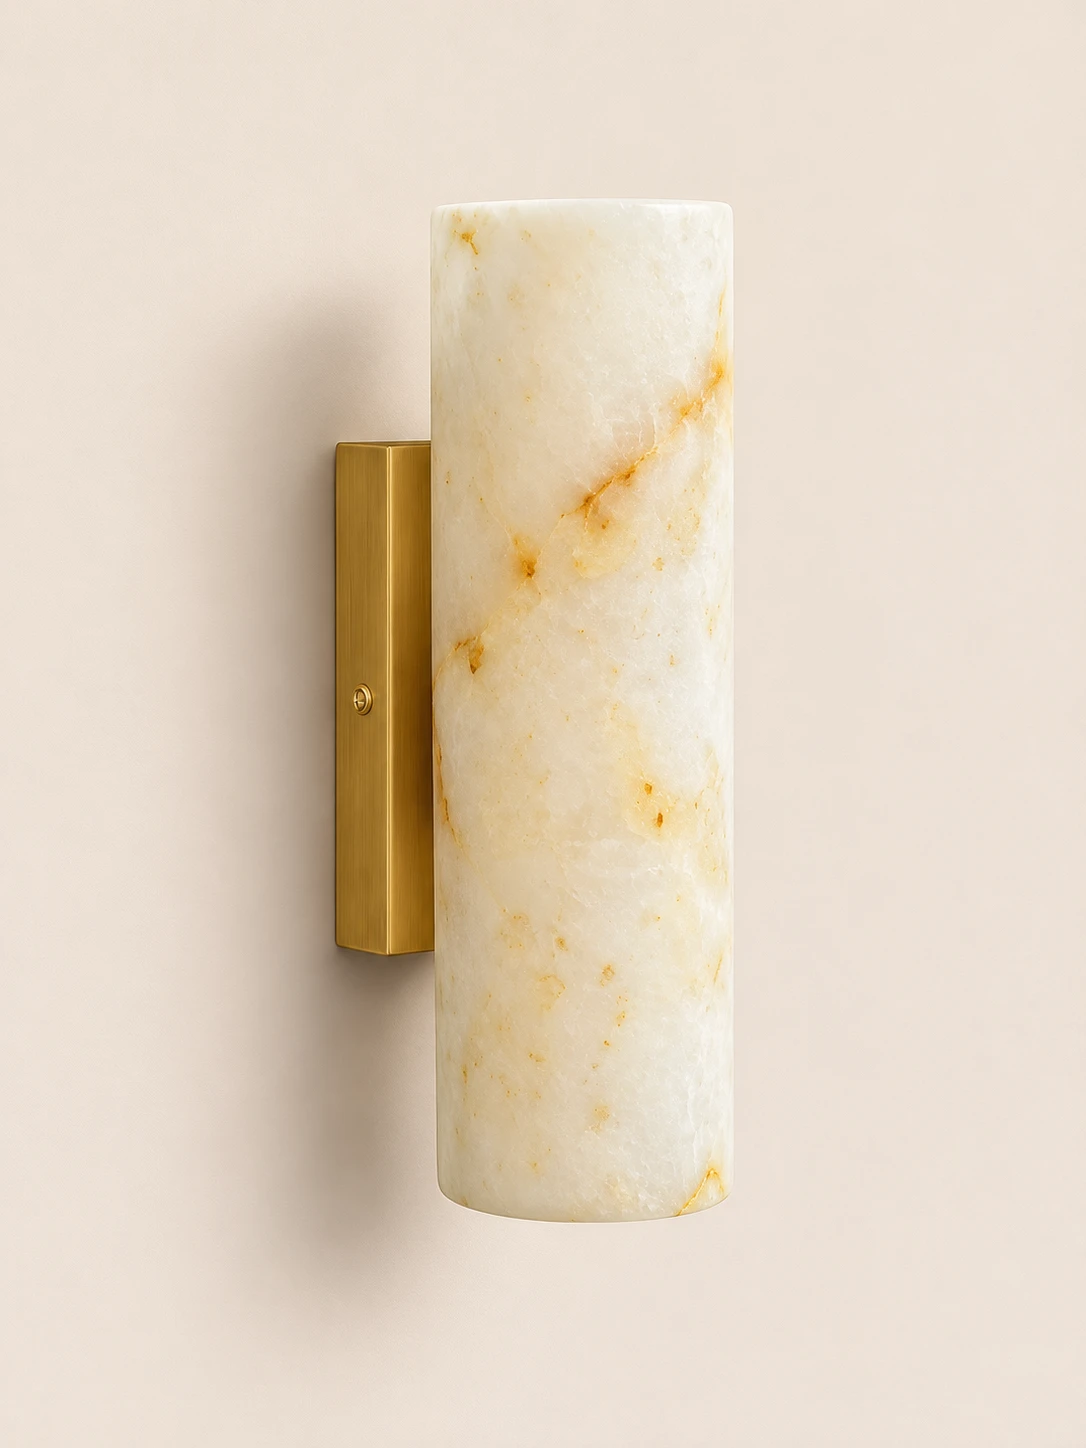
White Onyx & GoldD 7cm x H 24cm / ∅ 2.8″ x H 9.4″
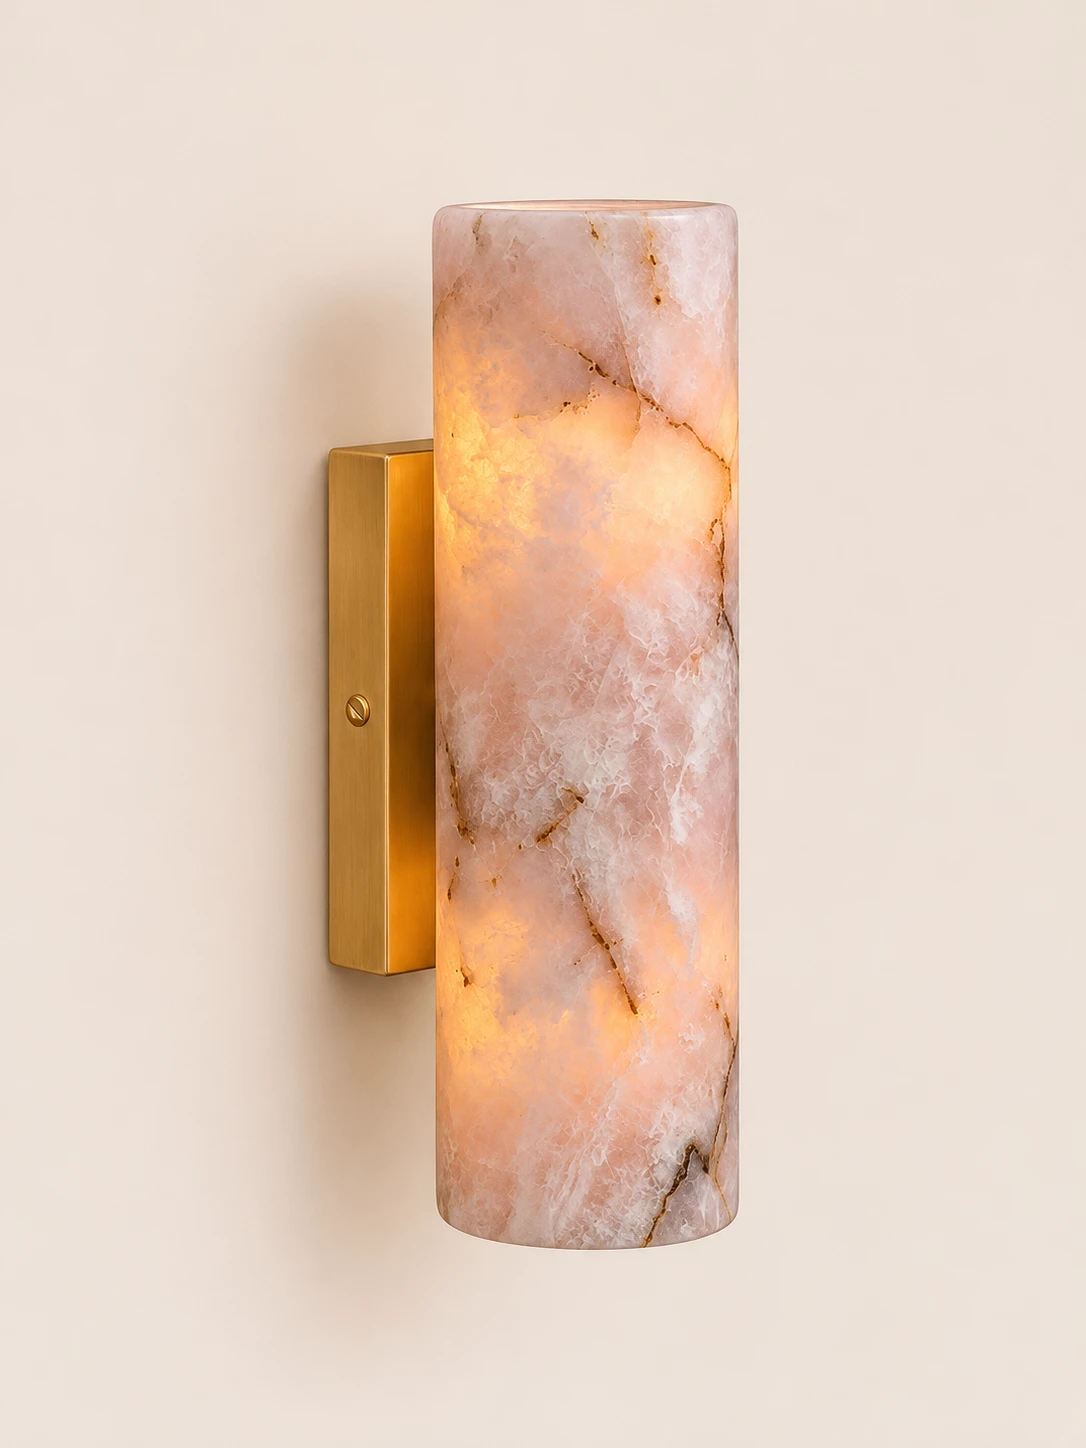
Pink Onyx & GoldD 7cm x H 24cm / ∅ 2.8″ x H 9.4″
Pink Marble & GoldD 7cm x H 24cm / ∅ 2.8″ x H 9.4″
Beige Marble & GoldD 7cm x H 24cm / ∅ 2.8″ x H 9.4″
Purple Red Marble & GoldD 7cm x H 24cm / ∅ 2.8″ x H 9.4″
Black Marble & GoldD 7cm x H 24cm / ∅ 2.8″ x H 9.4″
HOZO Installationsanleitung
Planen Sie Ihre Beleuchtung.
Raumweise Startwerte für Leuchtengröße, Montagehöhe, Abstand und Durchgangshöhe. Tippen Sie ein Kapitel an.
01
Esstisch
Größe und Mitte vom Tisch aus festlegen, dann die Sicht von jedem Sitz prüfen.
So messen
Tischlänge und -breite messen. Bei runden Tischen den Durchmesser nehmen.
Startbereich
Runde Leuchten: etwa 1/2 bis 2/3 der Tischbreite. Längliche Leuchten: 1/2 bis 2/3 der Tischlänge.
Platzierung
Die Leuchte über dem Tisch zentrieren, nicht zwingend über dem Raum.
Abstand
76–91 cm über der Tischplatte beginnen.
Bei langen Tischen wirken zwei kleinere Pendel oft natürlicher als eine übergroße Leuchte.
Vor dem Bohren
Eine Papierschablone an die Decke kleben und vom Türrahmen sowie sitzend prüfen.
MessenPlatte bis Unterkante
Hängehöhe76–91 cm
AusrichtenMitte des Tisches
02
Kücheninsel
Die nutzbare Insel messen und die Pendel auf der Mittellinie halten.
So messen
Nutzbare Länge und Breite der Insel messen.
Startbereich
Eine Linienleuchte: 1/2 bis 2/3 der Insel-Länge. Mehrere Pendel: erst den Durchmesser, dann die Anzahl wählen.
Platzierung
Pendelmitten gleichmäßig auf der Insel-Mittellinie.
Abstand
76–91 cm über der Arbeitsplatte. Äußere Pendel nicht an den Inselenden.
Die komplette Reihe mocken, nicht nur ein Pendel.
Vor dem Bohren
Drei Papierkreise über der Insel zeigen Abstandsprobleme schneller als ein einzelnes Muster.
MessenPlatte bis Unterkante
Hängehöhe76–91 cm
AusrichtenGleiche Mitten
03
Raummitte
Länge plus Breite ergibt den Startdurchmesser. Deckenhöhe und visuelle Schwere machen die Entscheidung fertig.
So messen
Raumlänge und -breite in Metern plus fertige Deckenhöhe.
Startbereich
Länge + Breite (m) × 8,3 ergibt einen üblichen Startdurchmesser in cm. Beispiel: 3,7 + 3,0 → ca. 56 cm.
Platzierung
Die architektonische Mitte nur nutzen, wenn sie vom Eingang und vom Möbelplan her Sinn ergibt.
Abstand
Mindestens 2,10 m lichte Höhe unter dem tiefsten Punkt im Laufbereich.