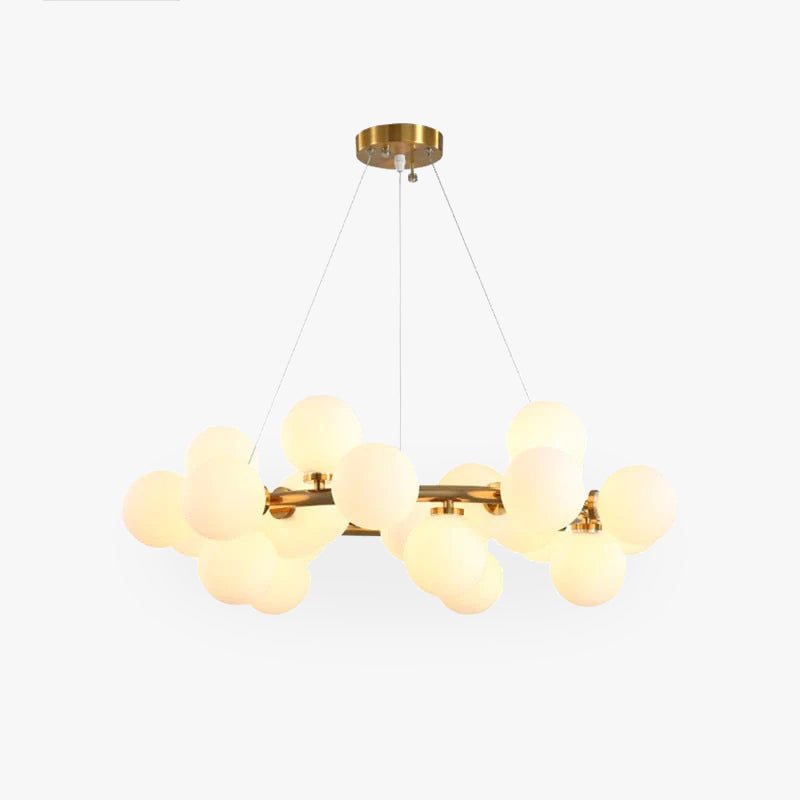
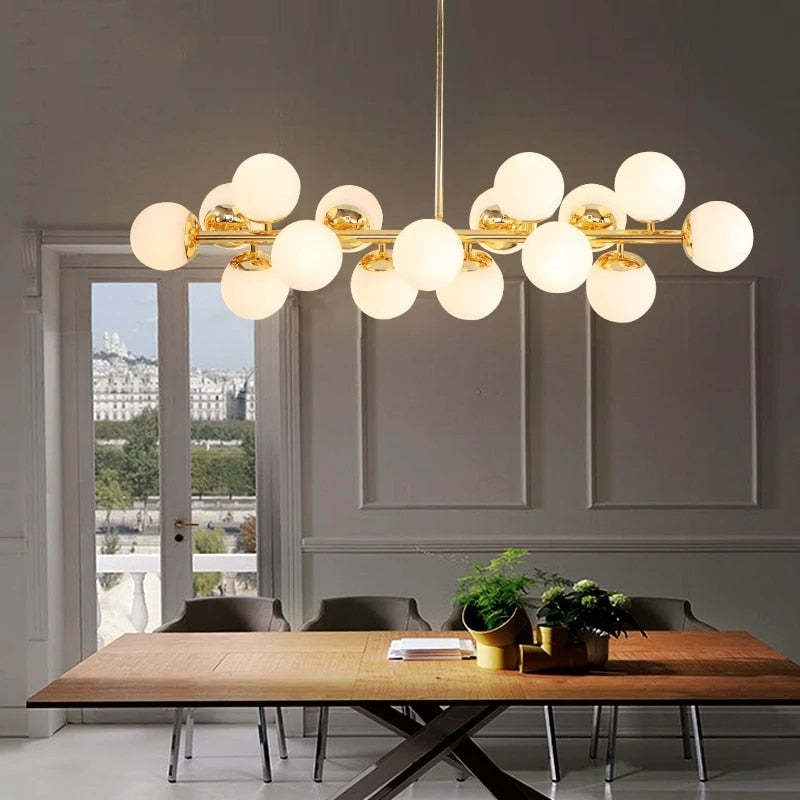
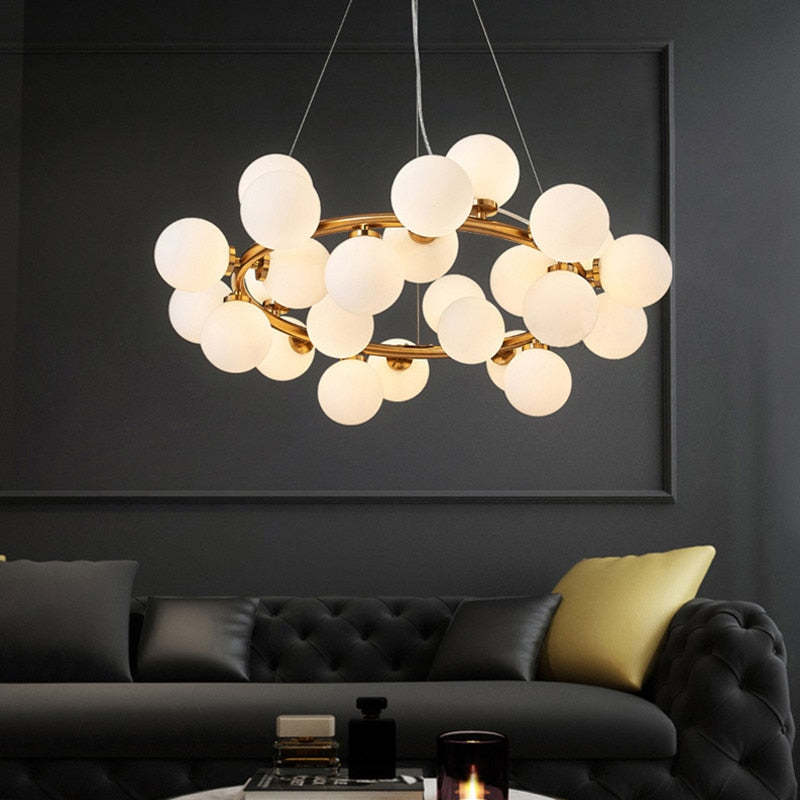
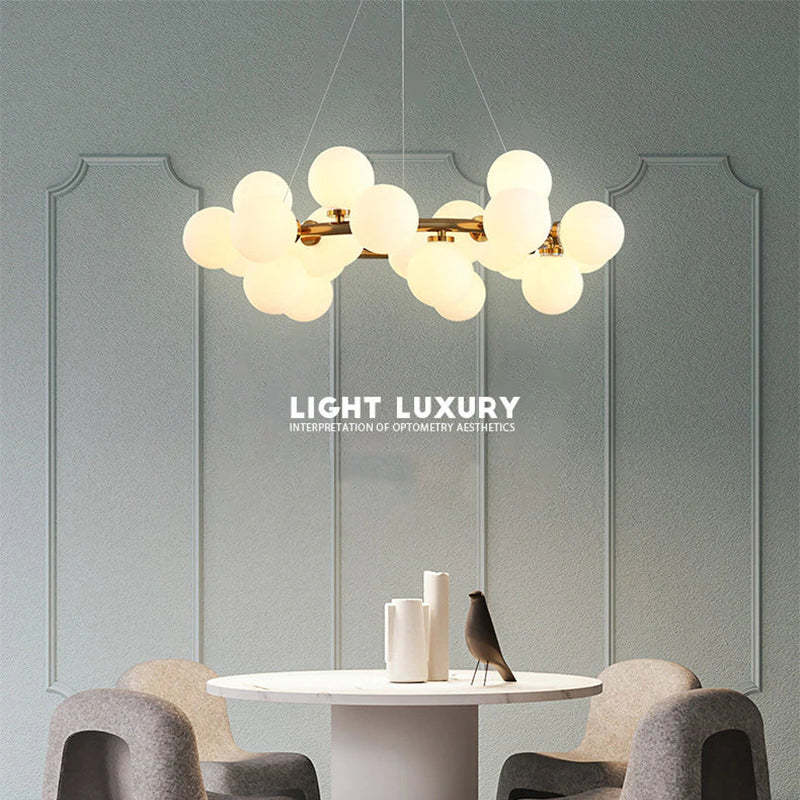
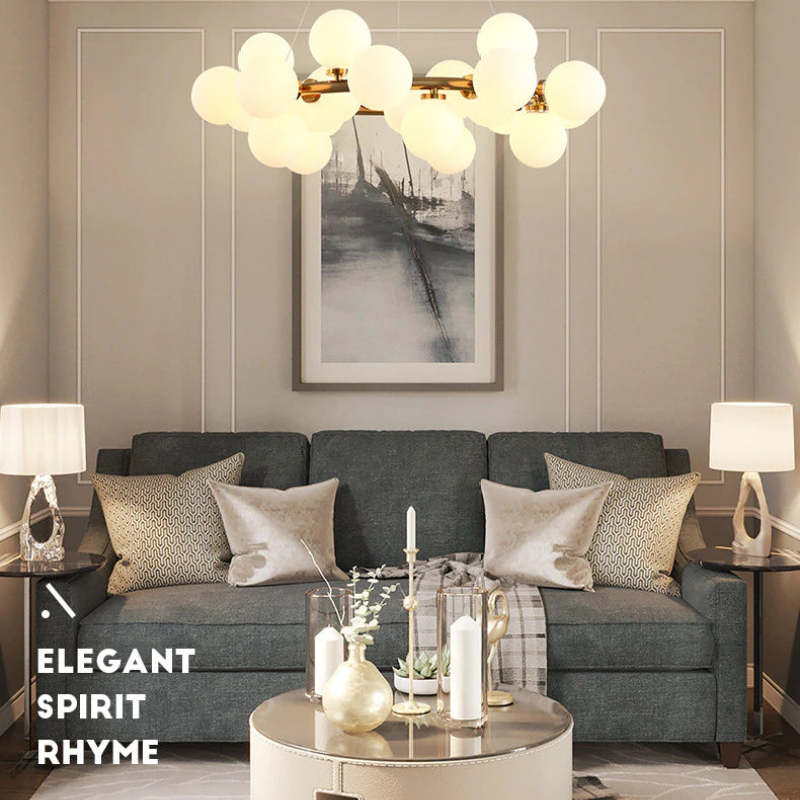
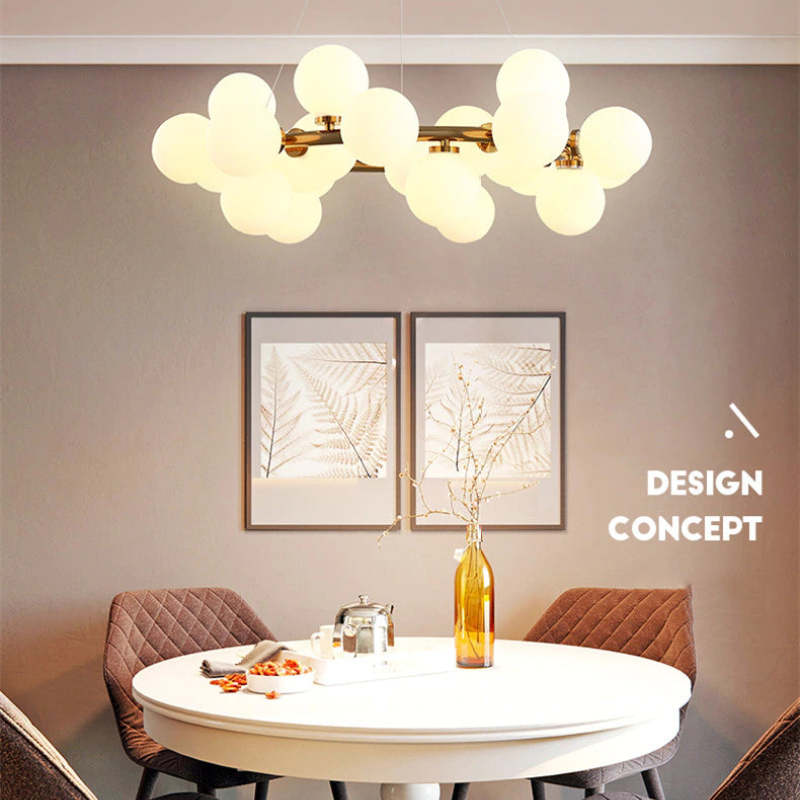
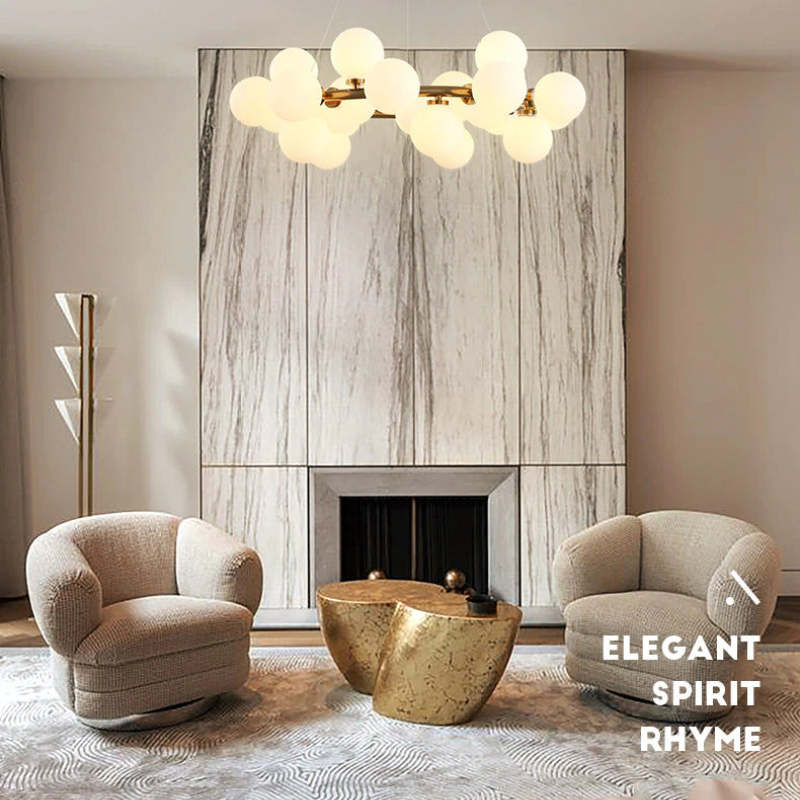
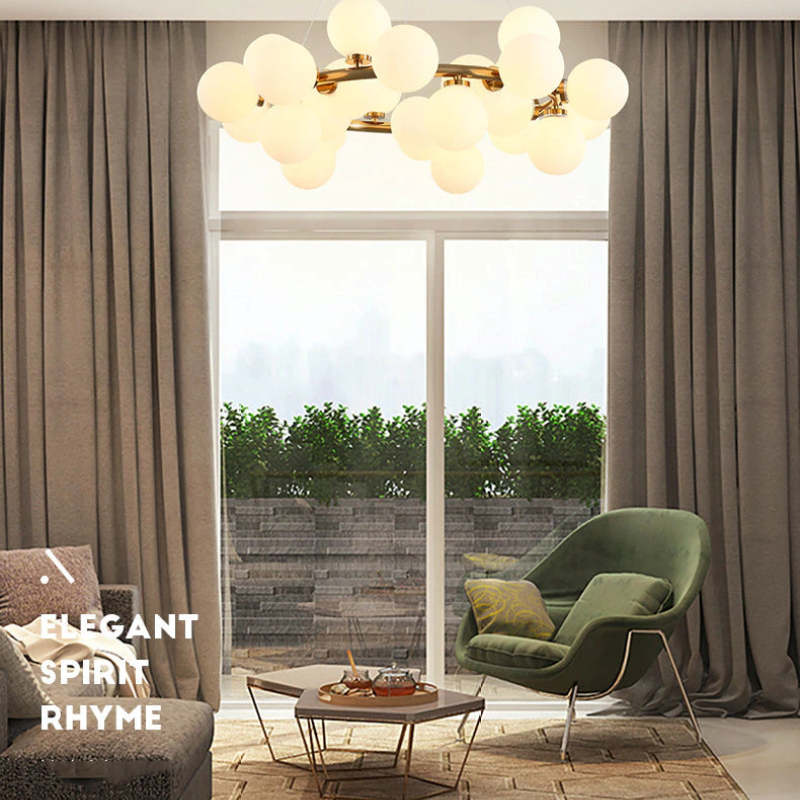
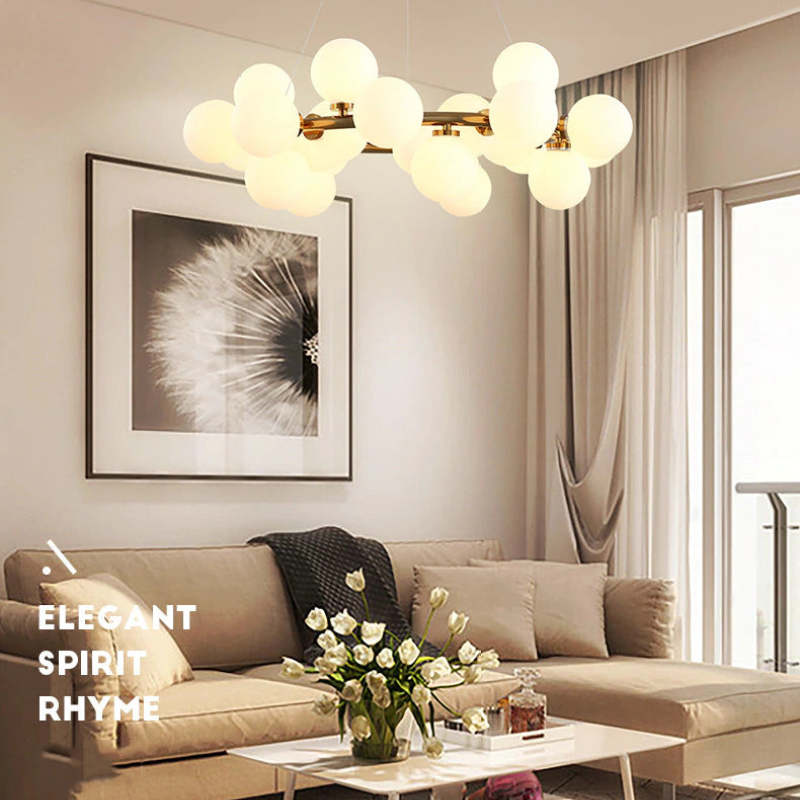
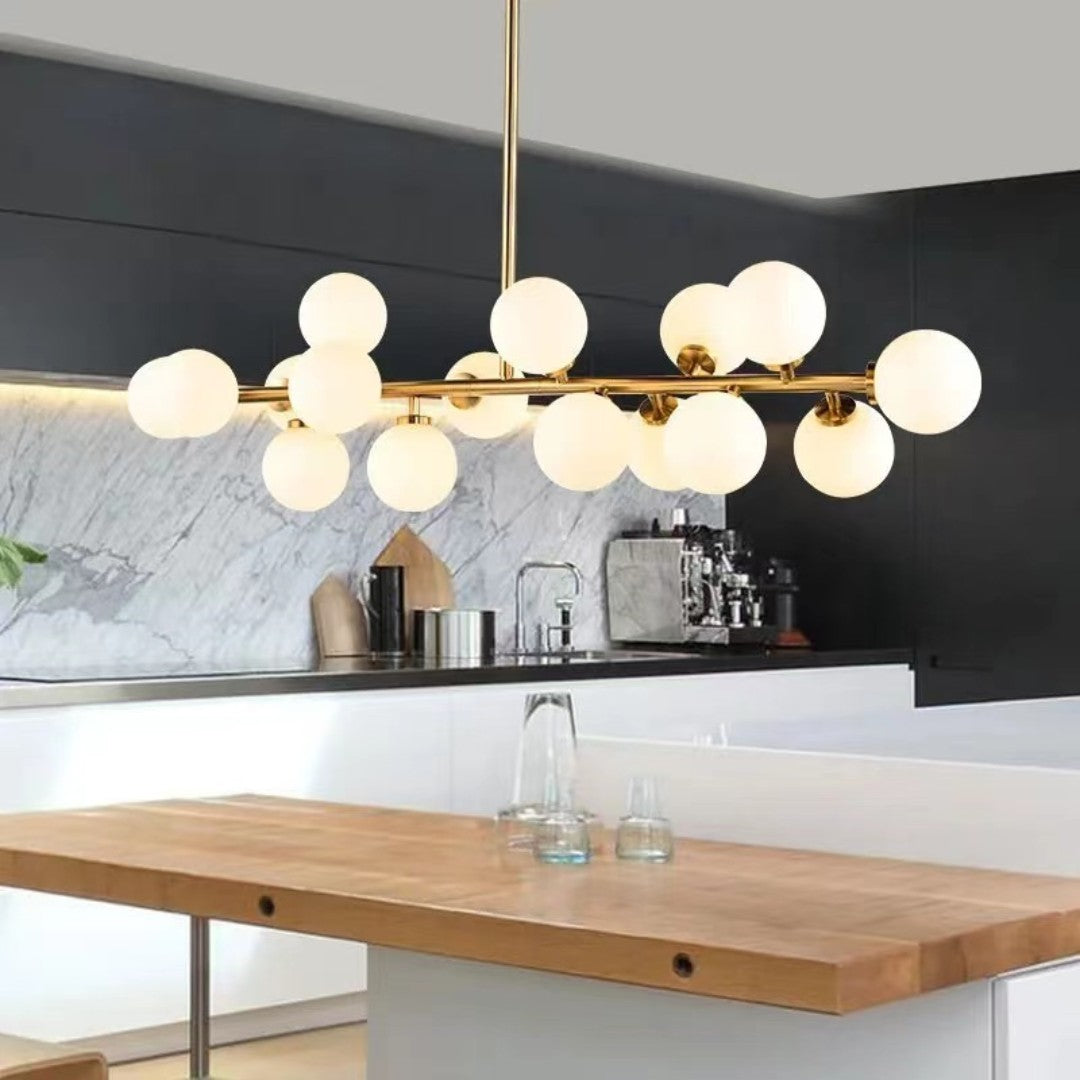
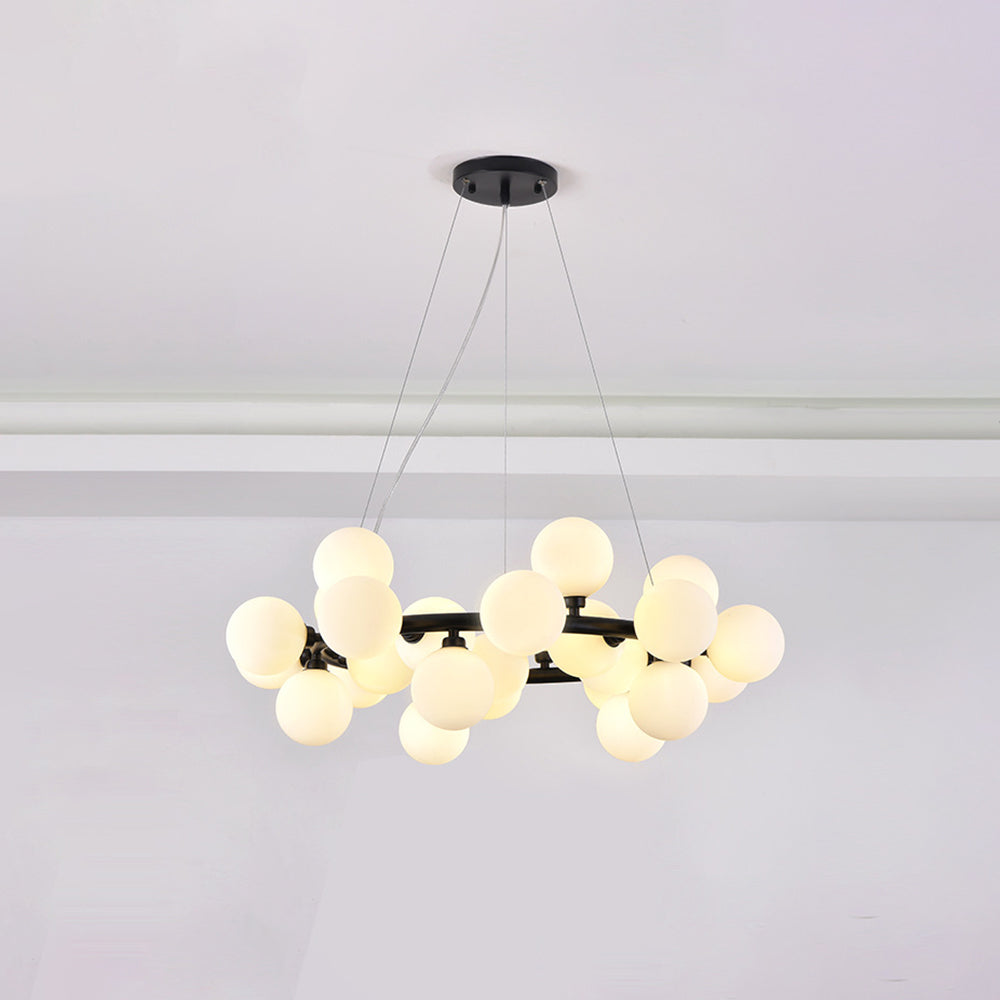
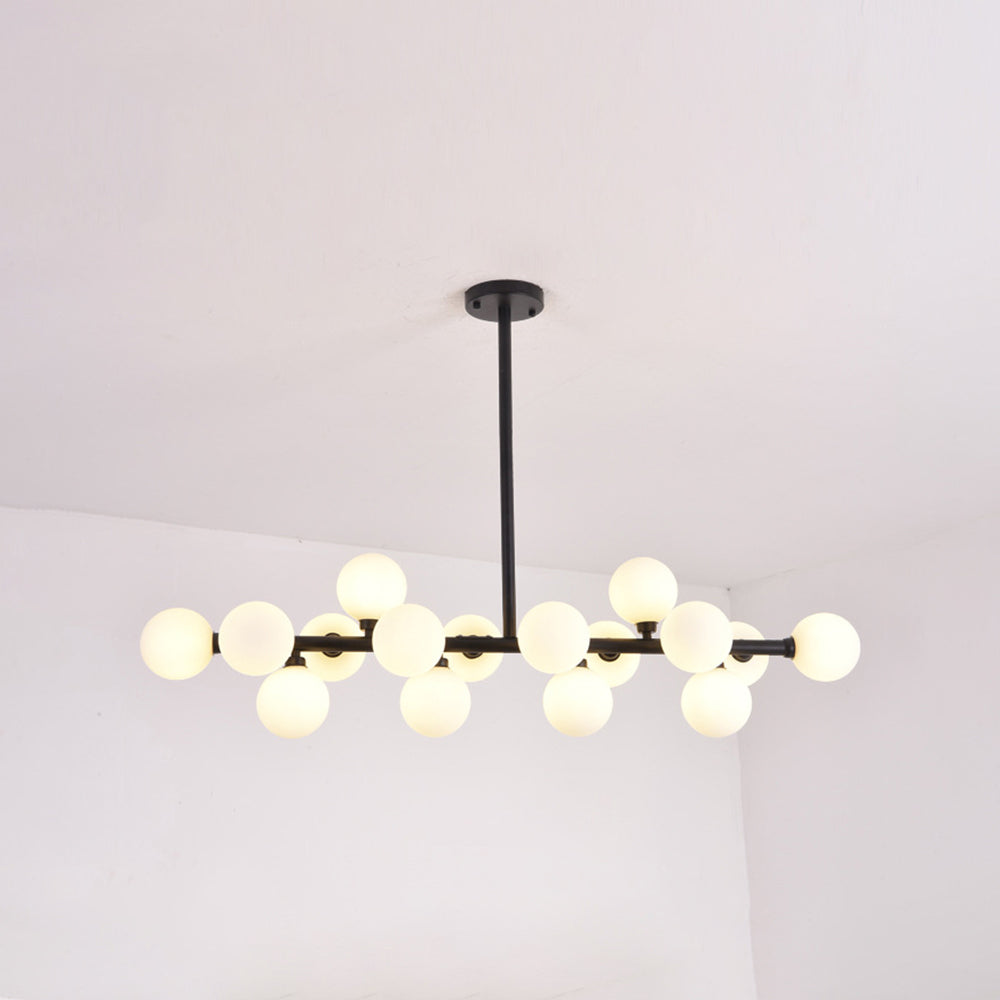
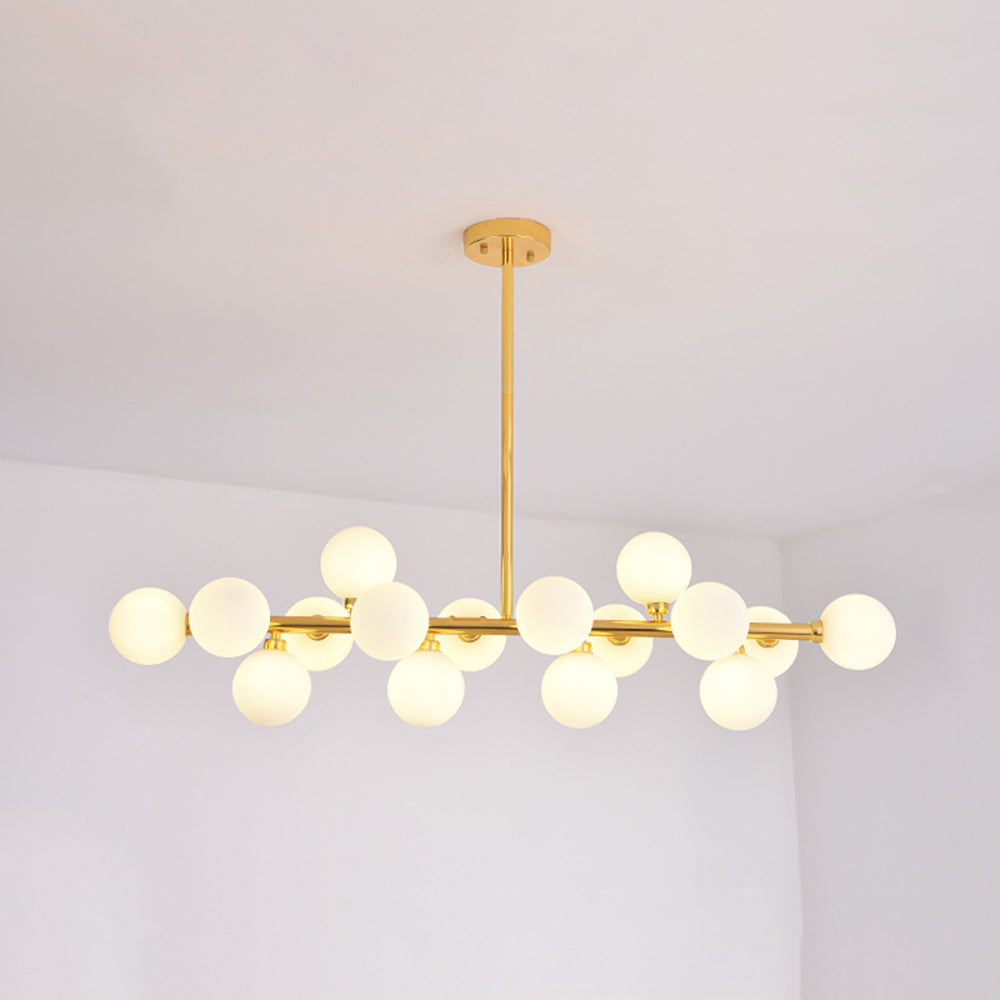
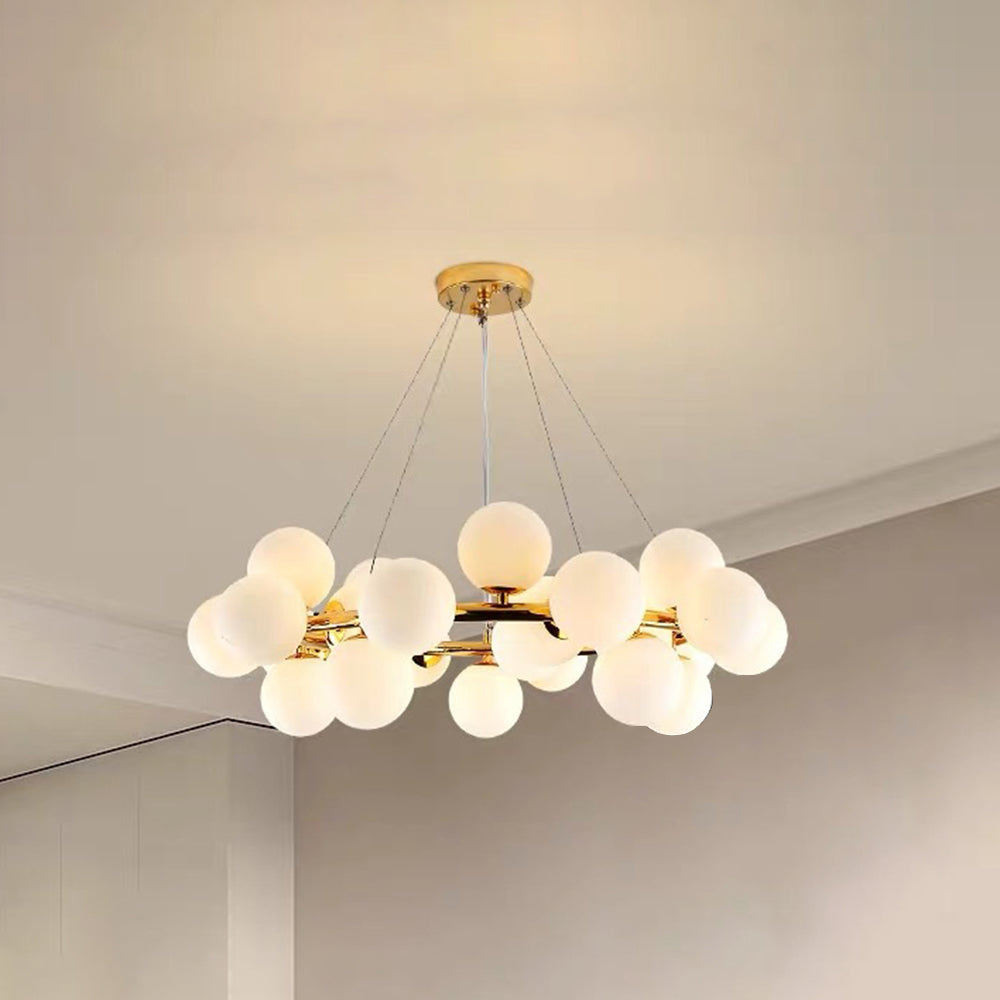
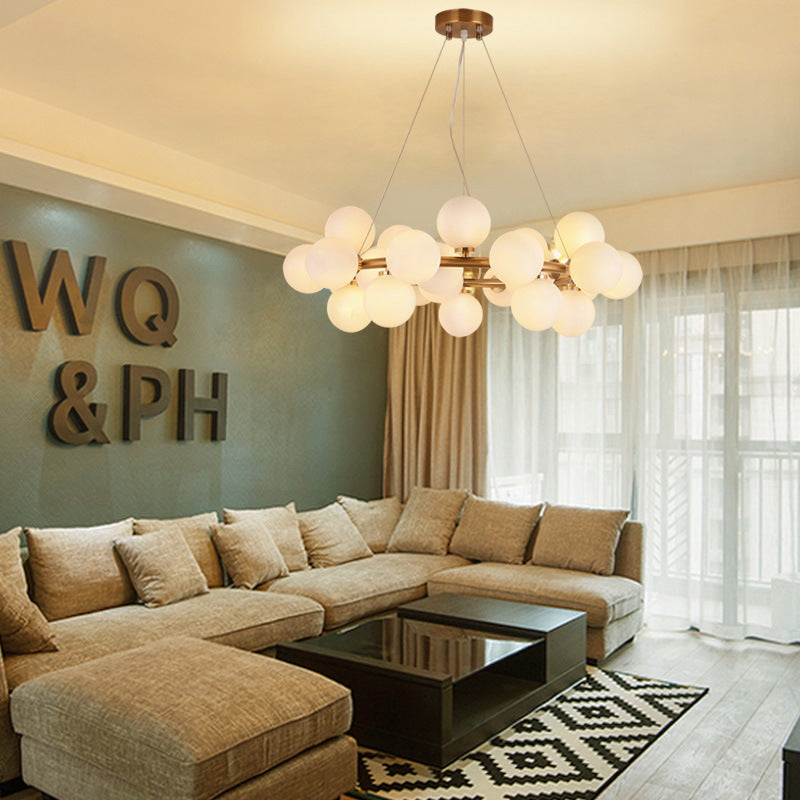
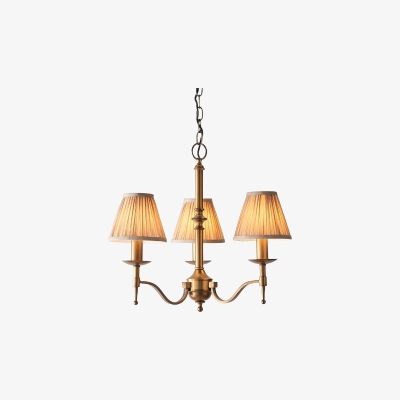
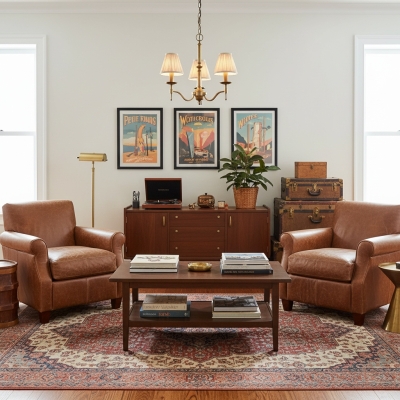
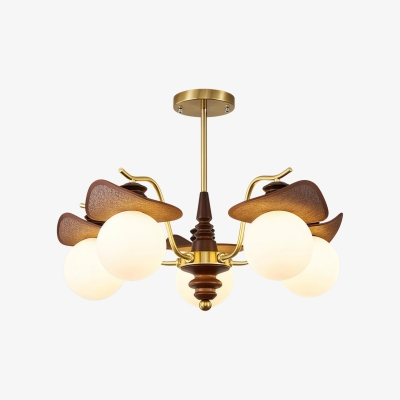
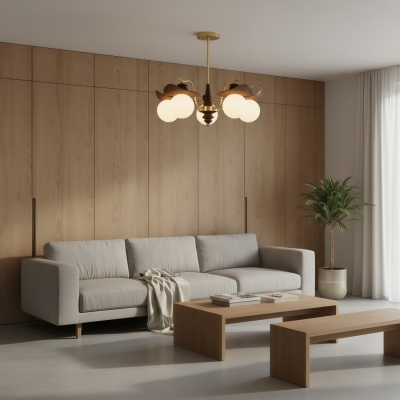
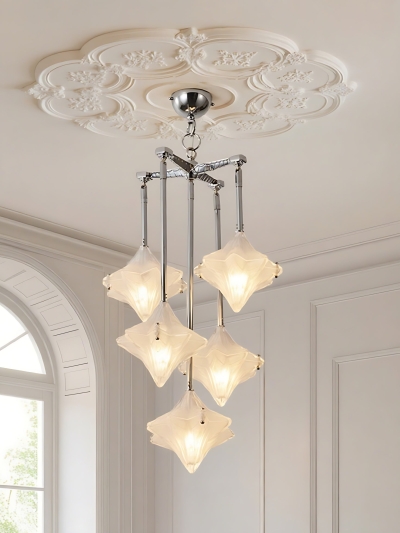
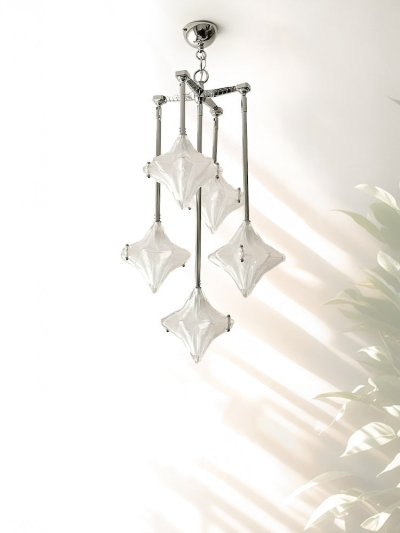
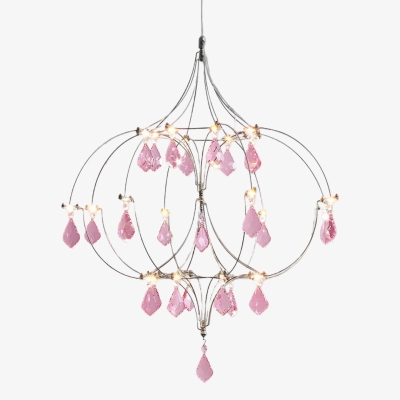
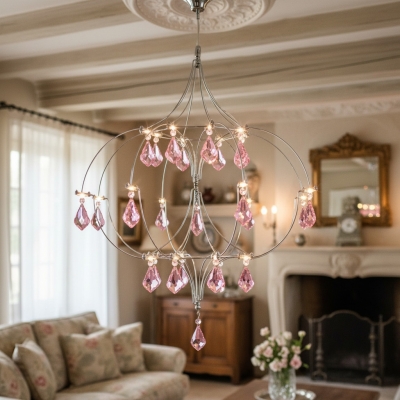
The Valentina Light Bubble – a captivating fusion of style and functionality that effortlessly elevates your living spaces. Crafted with an iron bracket and a delicate glass bulb, this pendant light seamlessly blends modern aesthetics with easy installation and energy-saving features, making it an ideal choice for enhancing the ambiance of various settings.
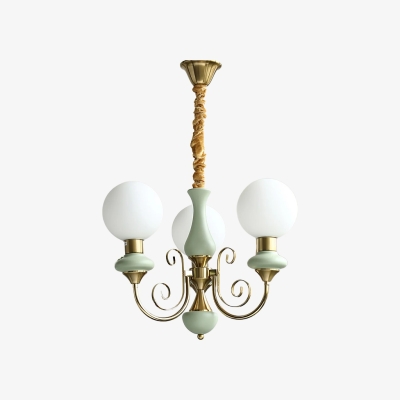
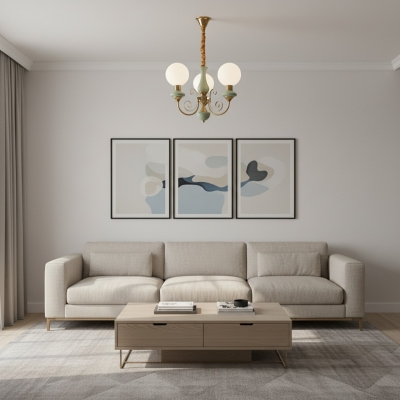
Designed to complement diverse areas such as bedrooms, dining rooms, and living rooms, the Valentina Pendant Light Bubble comes in two exquisite styles, allowing you to curate your space according to your personal taste.
Easy to install and designed with energy efficiency in mind, the Valentina Pendant Light Bubble not only radiates light but also radiates convenience. The straightforward installation process ensures that you can enjoy its enchanting glow without the hassle of complicated setup. Furthermore, the energy-saving nature of the light helps you contribute to a sustainable future while reducing your utility bills.
Whether you're looking to create a soothing haven in your bedroom, a charming ambiance in your dining area, or a cozy nook in your living room, the Valentina Pendant Light Bubble is your go-to solution. Its versatility, combined with its captivating glass bulb design, transforms any space into a haven of style and comfort.
Crafted with meticulous attention to detail, the pendant light boasts high-quality bubble glass meticulously connected at different ends, resulting in a distinctive and elegant appearance. Its unique design doesn't just illuminate your surroundings; it transforms them into a visual symphony, effortlessly enhancing the overall aesthetics of your home.
Product Info
Product Type
Pendant Light
Product Style
Valentina
Best Match With
Living Room, Dining Room
Pefect with Room Size Around (Sq)
15-30㎡
Indoor/Outdoor
Indoor
Dimmable
Yes
Smart Control
No
Assembly Required
Yes
IP Rate
IP20
Power Source
AC
Power Info
Bulb Included
Yes
Bulb Type
LED
Bulb Base
G4
Number of Bulbs
16/25
Voltage (V)
110V-240V
Maximum Wattage(W)
/
Product Material
Primary Material
Metal + Glass
Fixture Material
Metal
Shade Material
Glass
Product Measurements & Weights
Product Weight (lbs)
/
Chain/Cord Adjustable
Yes
Size
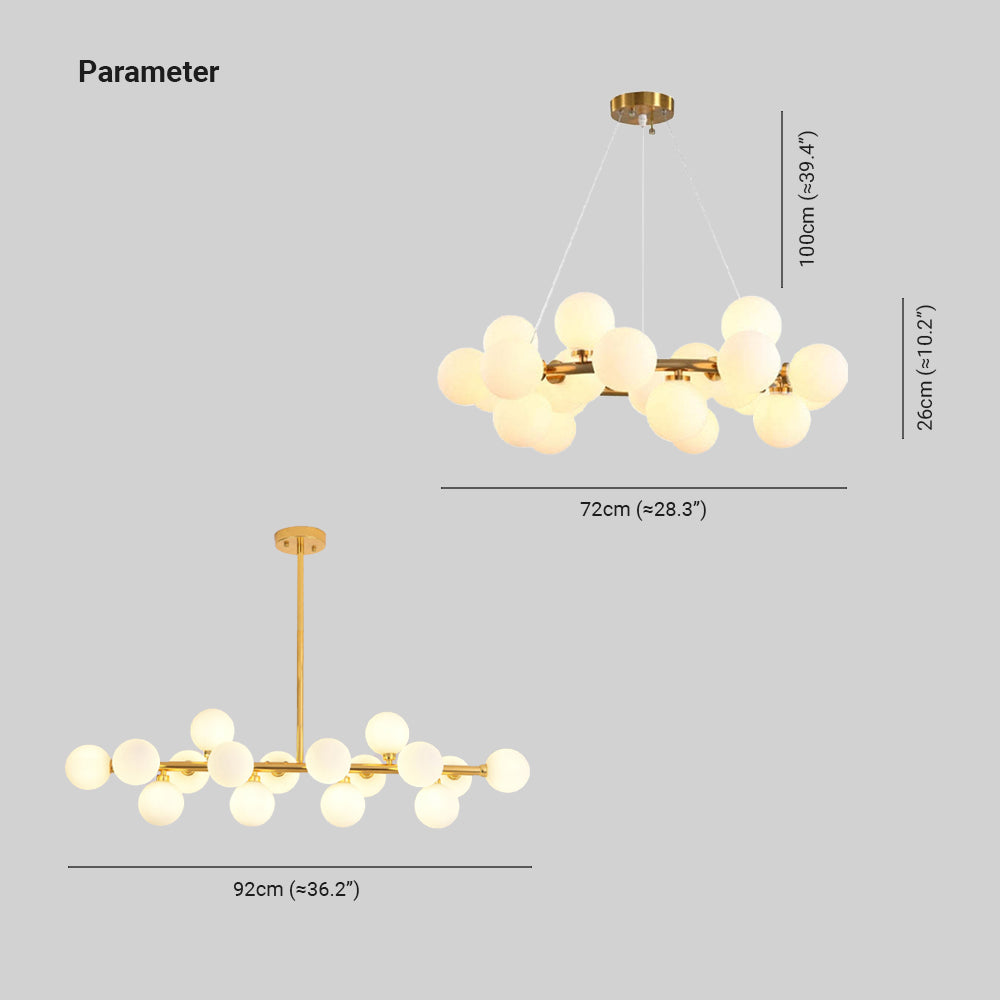
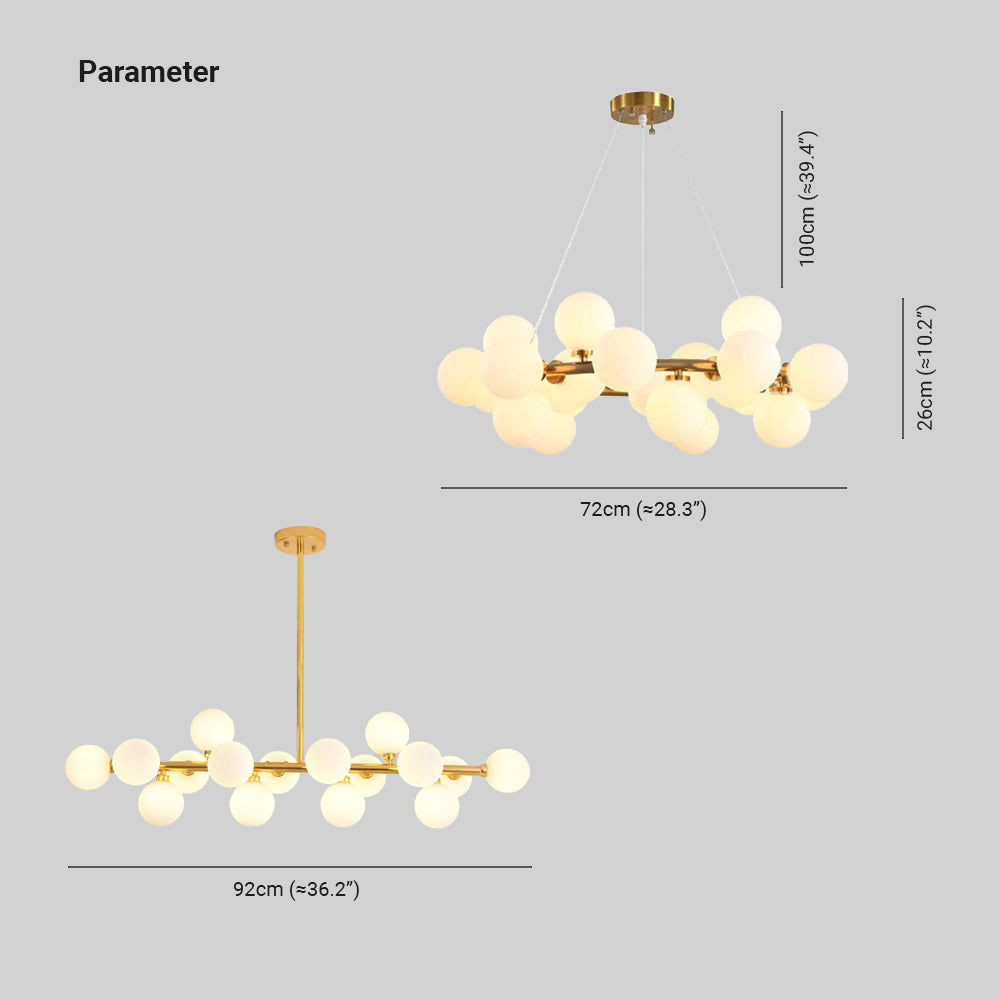
See Images
Included Components
1* Chandelier
Note
Please kindly note that there may be an error of 1-3cm of the size due to manual measurement. The pictures may have slight chromatism due to the light and the monitor. Your understanding is appreciated. It's recommended that the installation of the lamp is performed by a professional electrician.
HOZO Installationsanleitung
Planen Sie Ihre Beleuchtung.
Raumweise Startwerte für Leuchtengröße, Montagehöhe, Abstand und Durchgangshöhe. Tippen Sie ein Kapitel an.
01
Esstisch
Größe und Mitte vom Tisch aus festlegen, dann die Sicht von jedem Sitz prüfen.
So messen
Tischlänge und -breite messen. Bei runden Tischen den Durchmesser nehmen.
Startbereich
Runde Leuchten: etwa 1/2 bis 2/3 der Tischbreite. Längliche Leuchten: 1/2 bis 2/3 der Tischlänge.
Platzierung
Die Leuchte über dem Tisch zentrieren, nicht zwingend über dem Raum.
Abstand
76–91 cm über der Tischplatte beginnen.
Bei langen Tischen wirken zwei kleinere Pendel oft natürlicher als eine übergroße Leuchte.
Vor dem Bohren
Eine Papierschablone an die Decke kleben und vom Türrahmen sowie sitzend prüfen.
MessenPlatte bis Unterkante
Hängehöhe76–91 cm
AusrichtenMitte des Tisches
02
Kücheninsel
Die nutzbare Insel messen und die Pendel auf der Mittellinie halten.
So messen
Nutzbare Länge und Breite der Insel messen.
Startbereich
Eine Linienleuchte: 1/2 bis 2/3 der Insel-Länge. Mehrere Pendel: erst den Durchmesser, dann die Anzahl wählen.
Platzierung
Pendelmitten gleichmäßig auf der Insel-Mittellinie.
Abstand
76–91 cm über der Arbeitsplatte. Äußere Pendel nicht an den Inselenden.
Die komplette Reihe mocken, nicht nur ein Pendel.
Vor dem Bohren
Drei Papierkreise über der Insel zeigen Abstandsprobleme schneller als ein einzelnes Muster.
MessenPlatte bis Unterkante
Hängehöhe76–91 cm
AusrichtenGleiche Mitten
03
Raummitte
Länge plus Breite ergibt den Startdurchmesser. Deckenhöhe und visuelle Schwere machen die Entscheidung fertig.
So messen
Raumlänge und -breite in Metern plus fertige Deckenhöhe.
Startbereich
Länge + Breite (m) × 8,3 ergibt einen üblichen Startdurchmesser in cm. Beispiel: 3,7 + 3,0 → ca. 56 cm.
Platzierung
Die architektonische Mitte nur nutzen, wenn sie vom Eingang und vom Möbelplan her Sinn ergibt.
Abstand
Mindestens 2,10 m lichte Höhe unter dem tiefsten Punkt im Laufbereich.