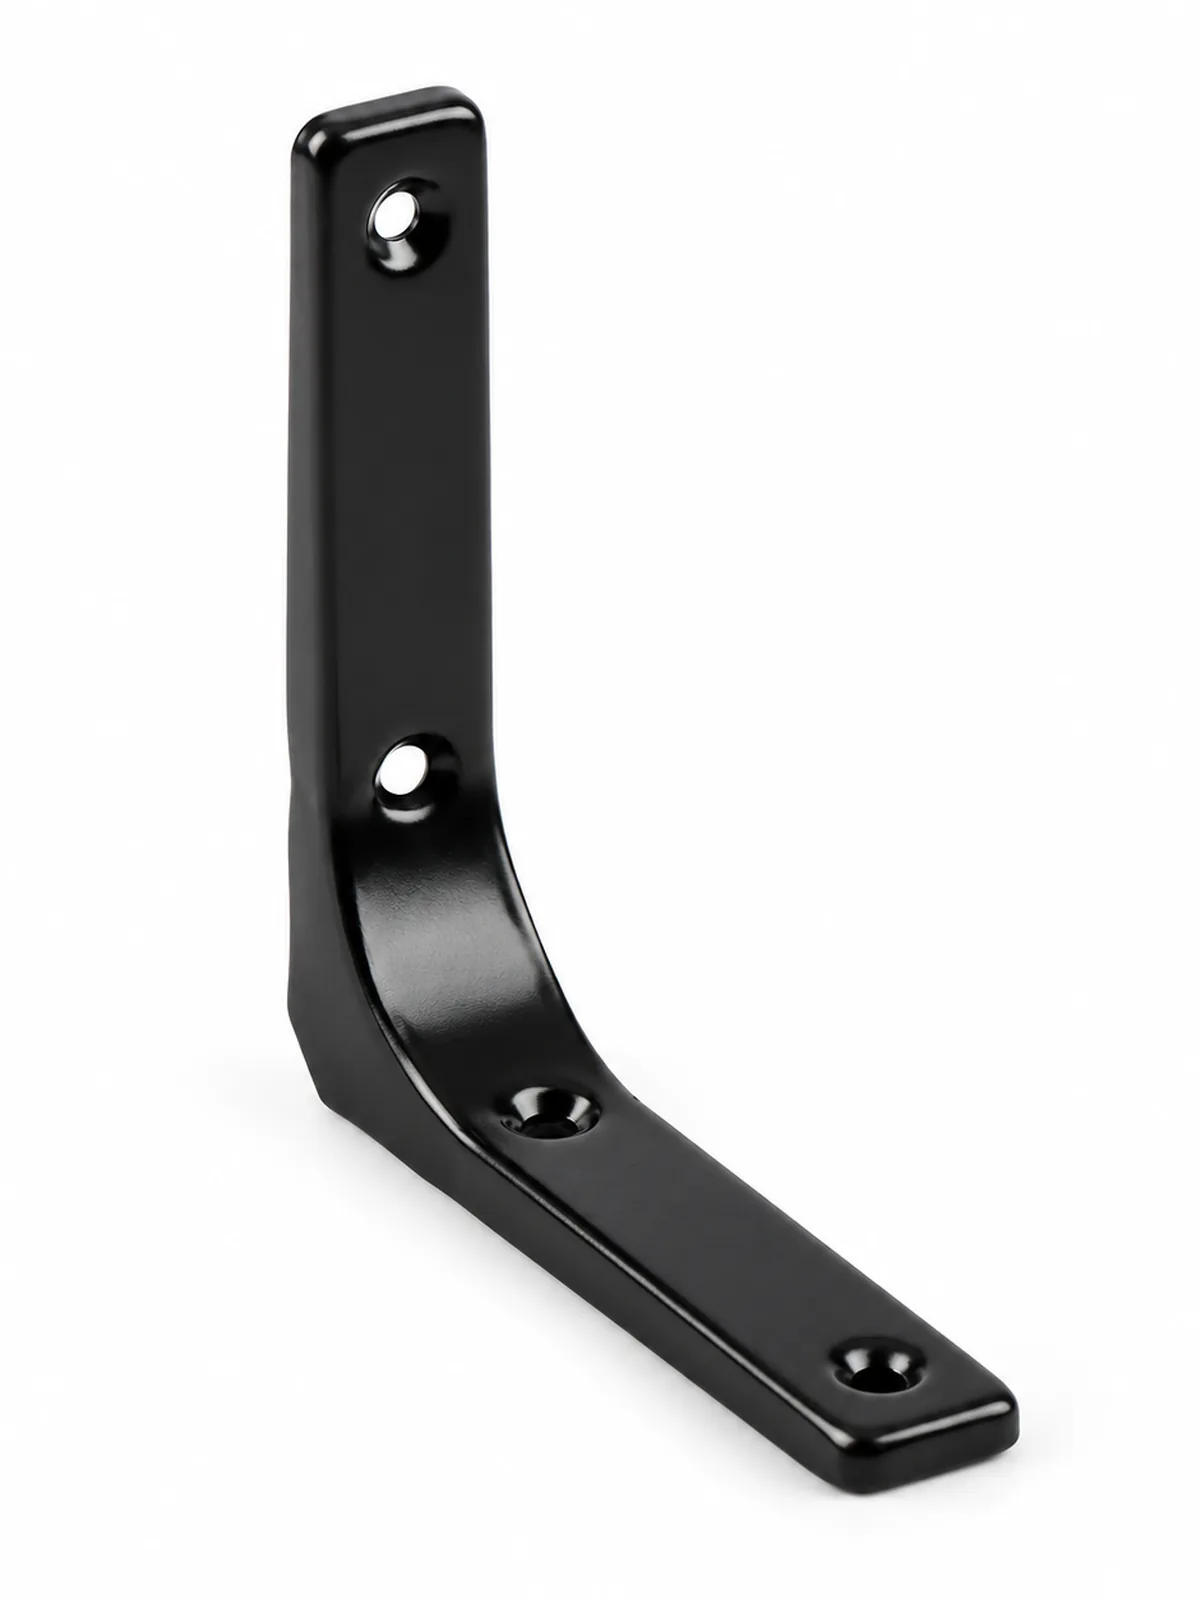
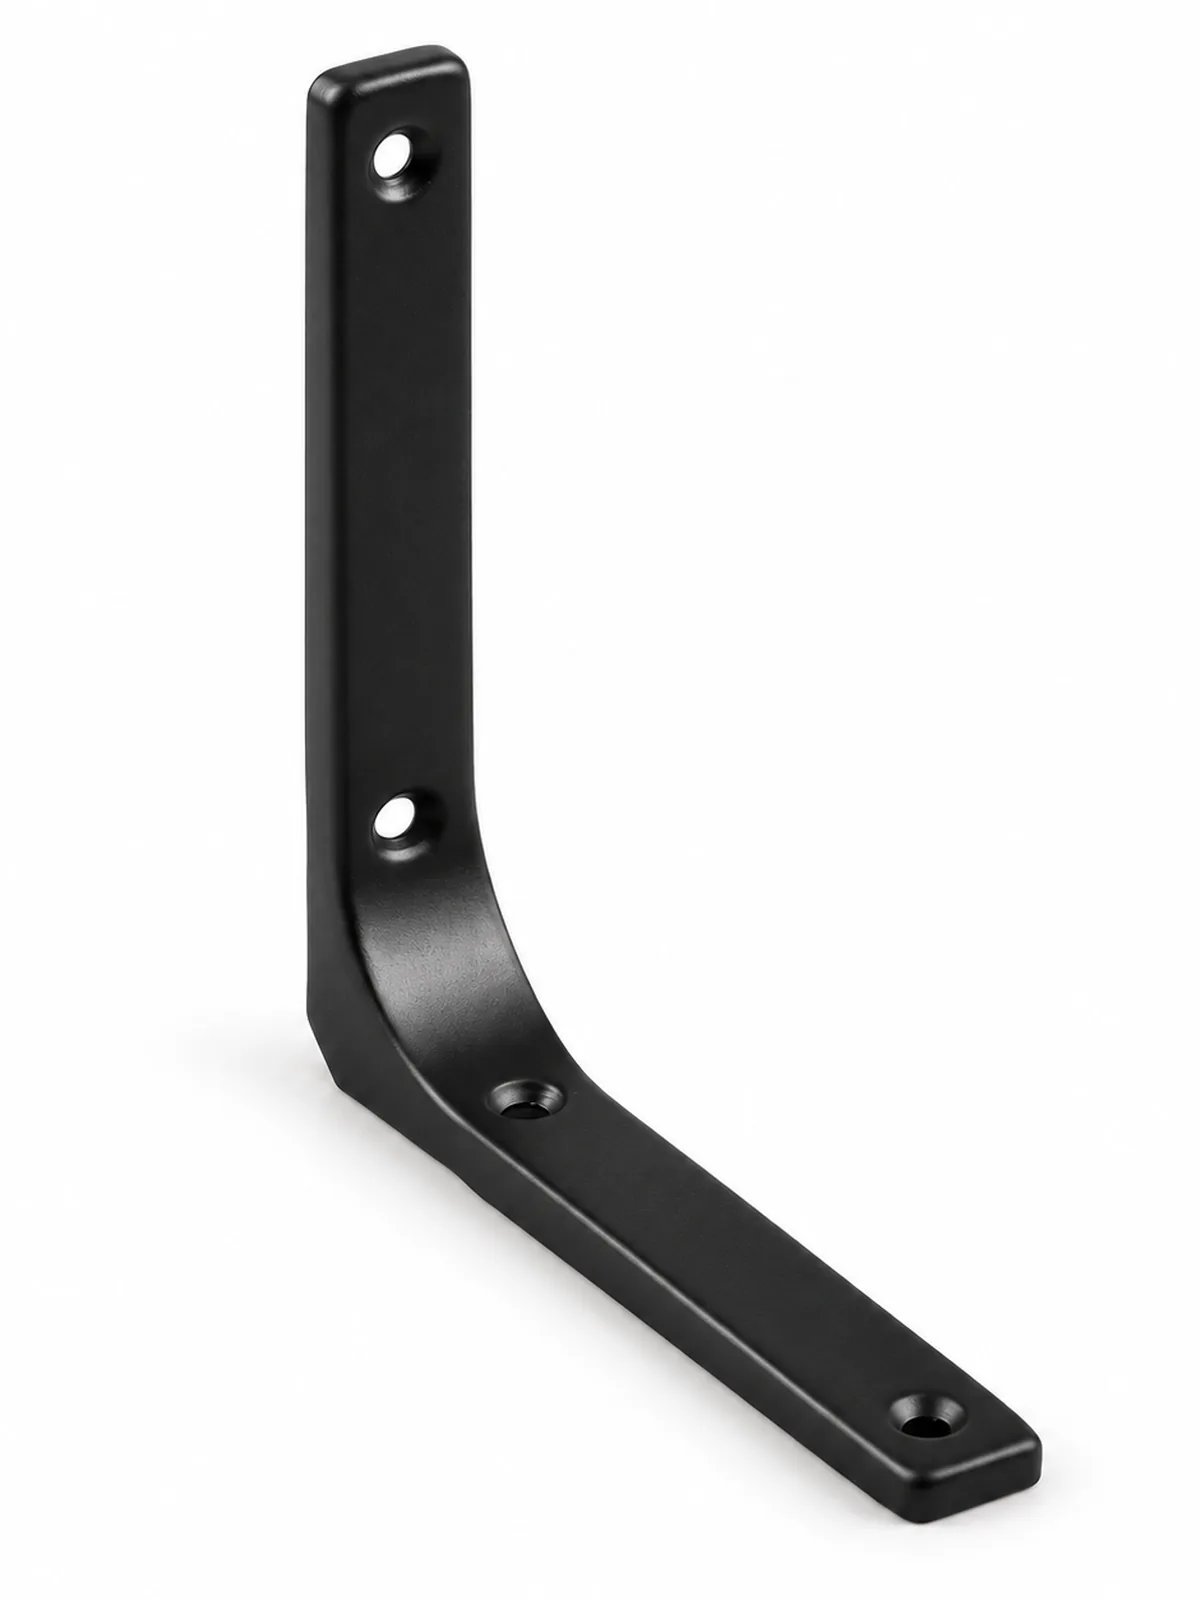
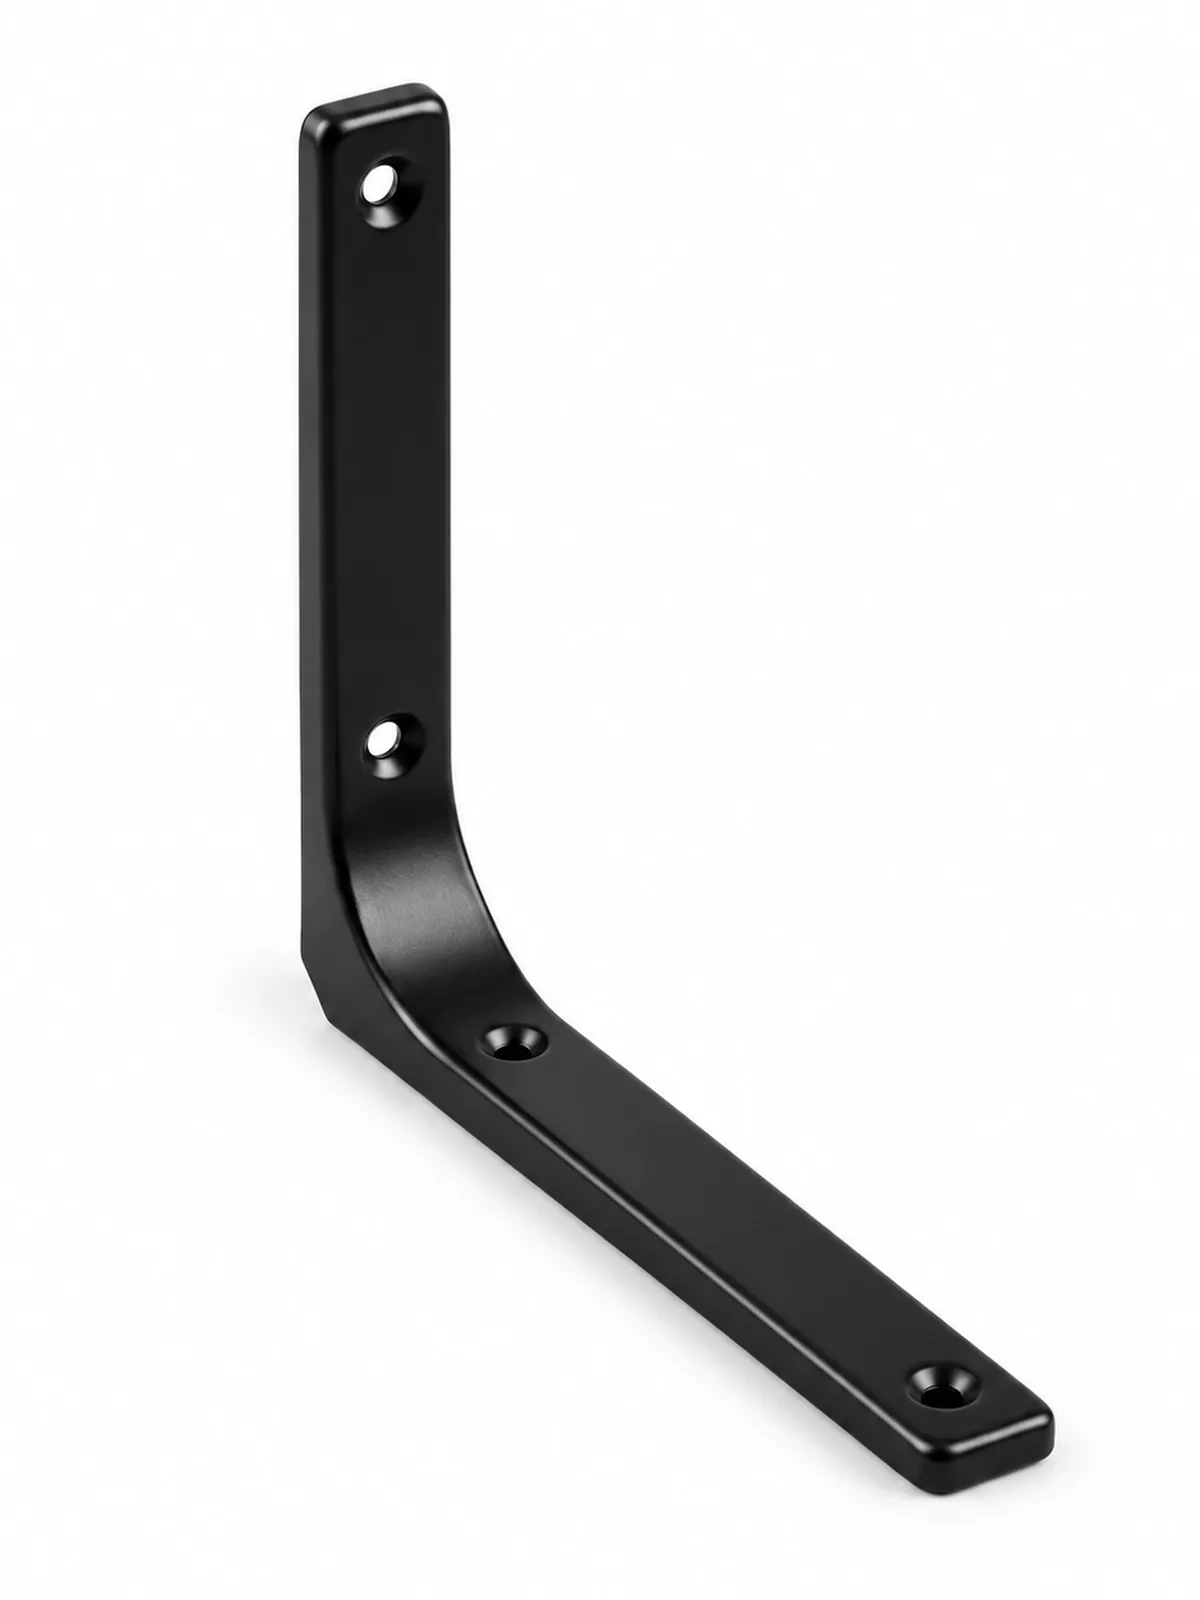
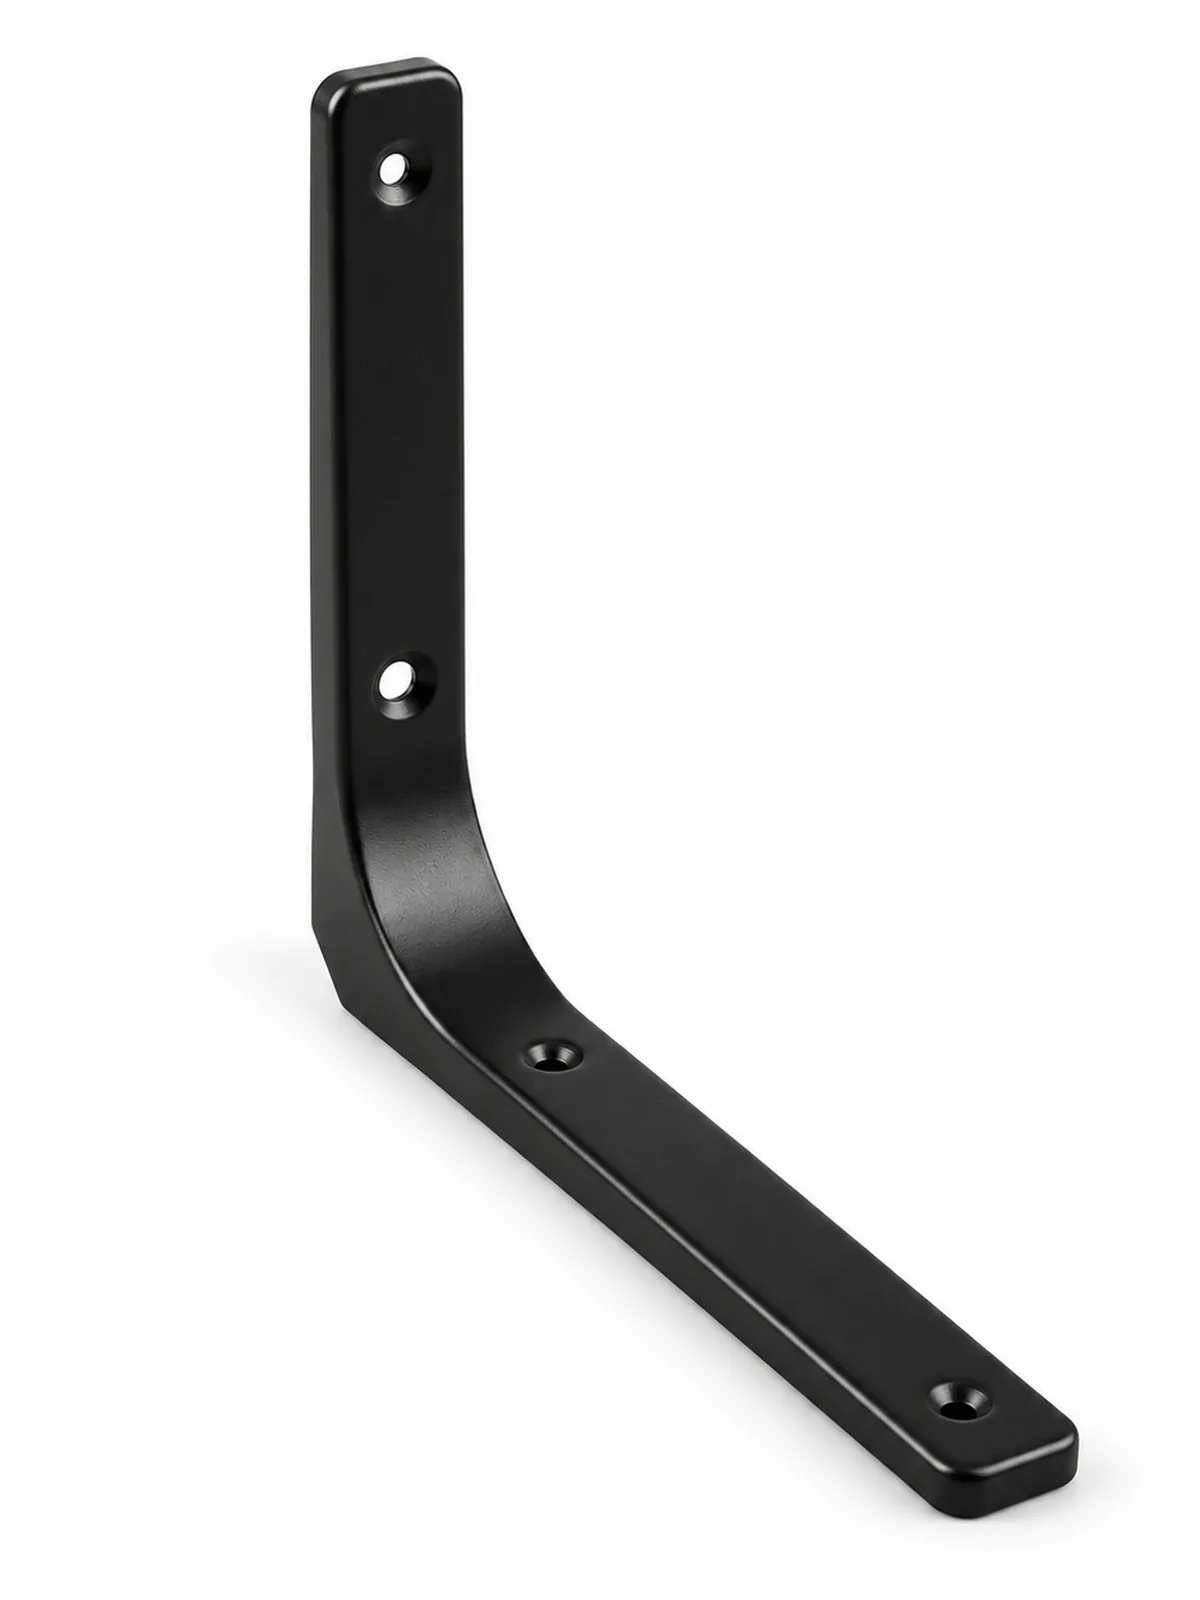
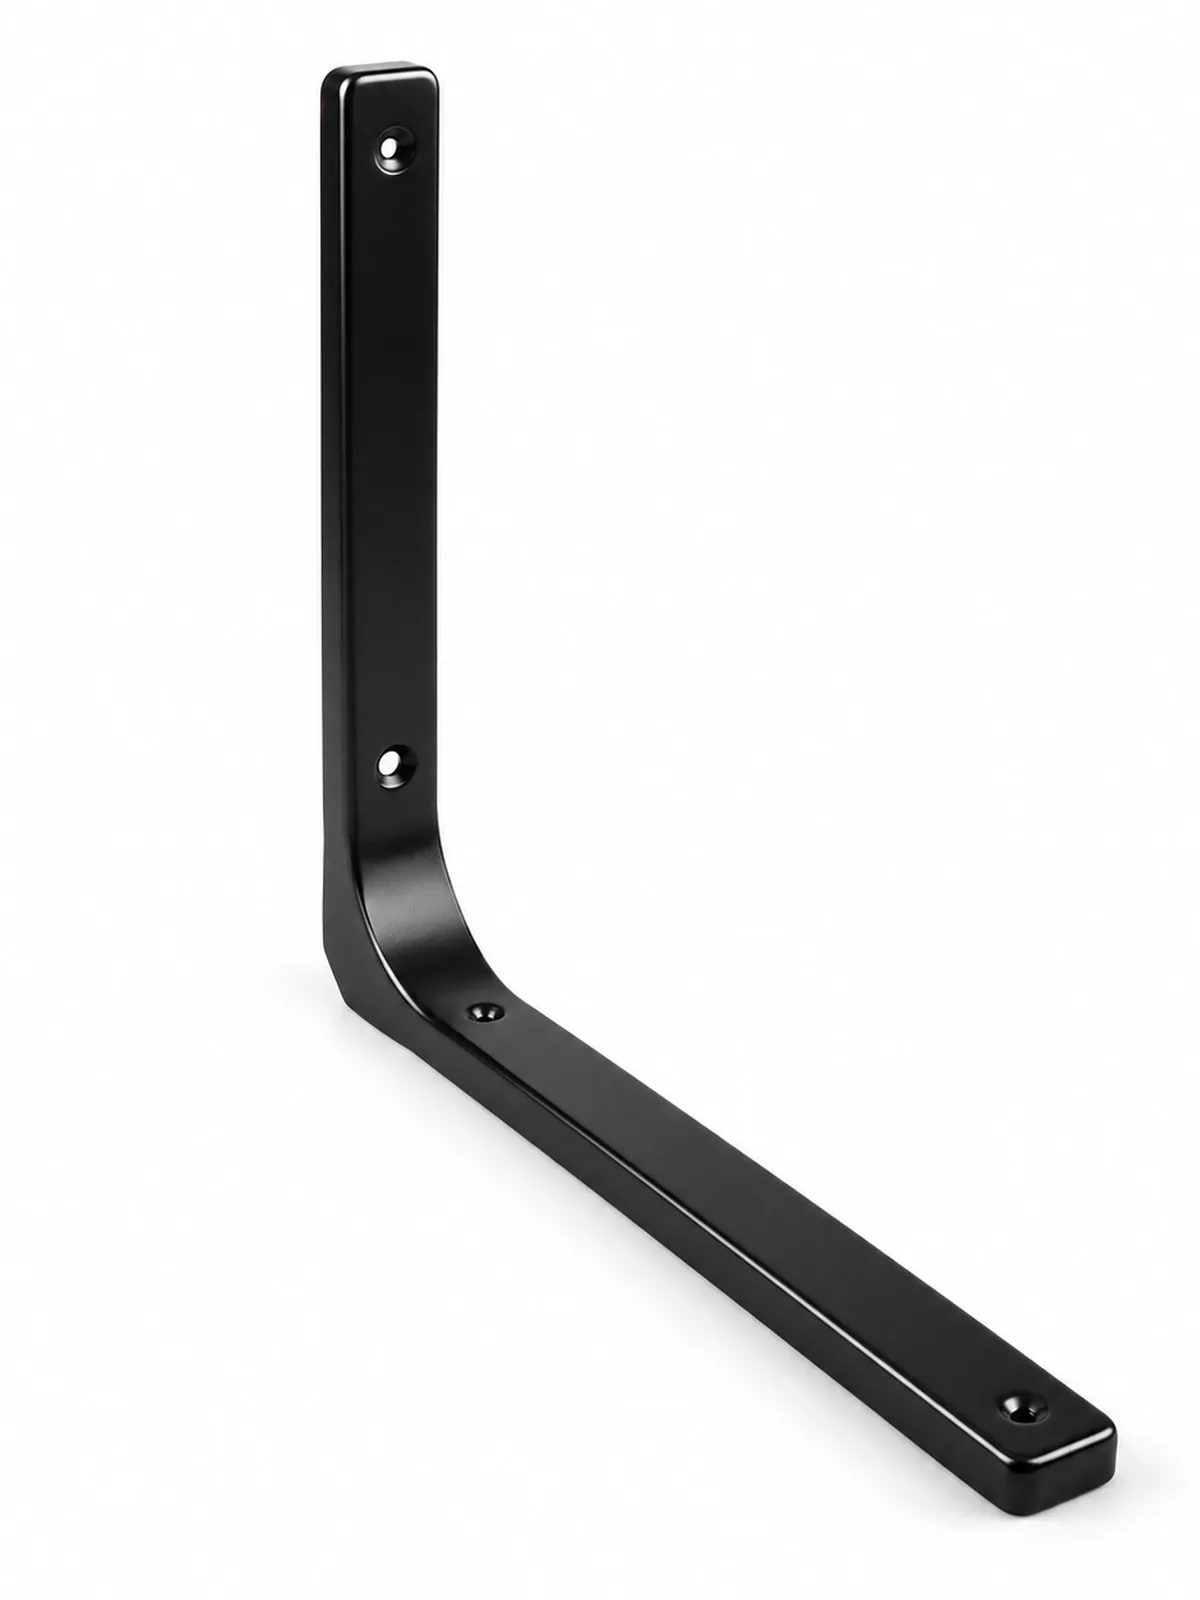
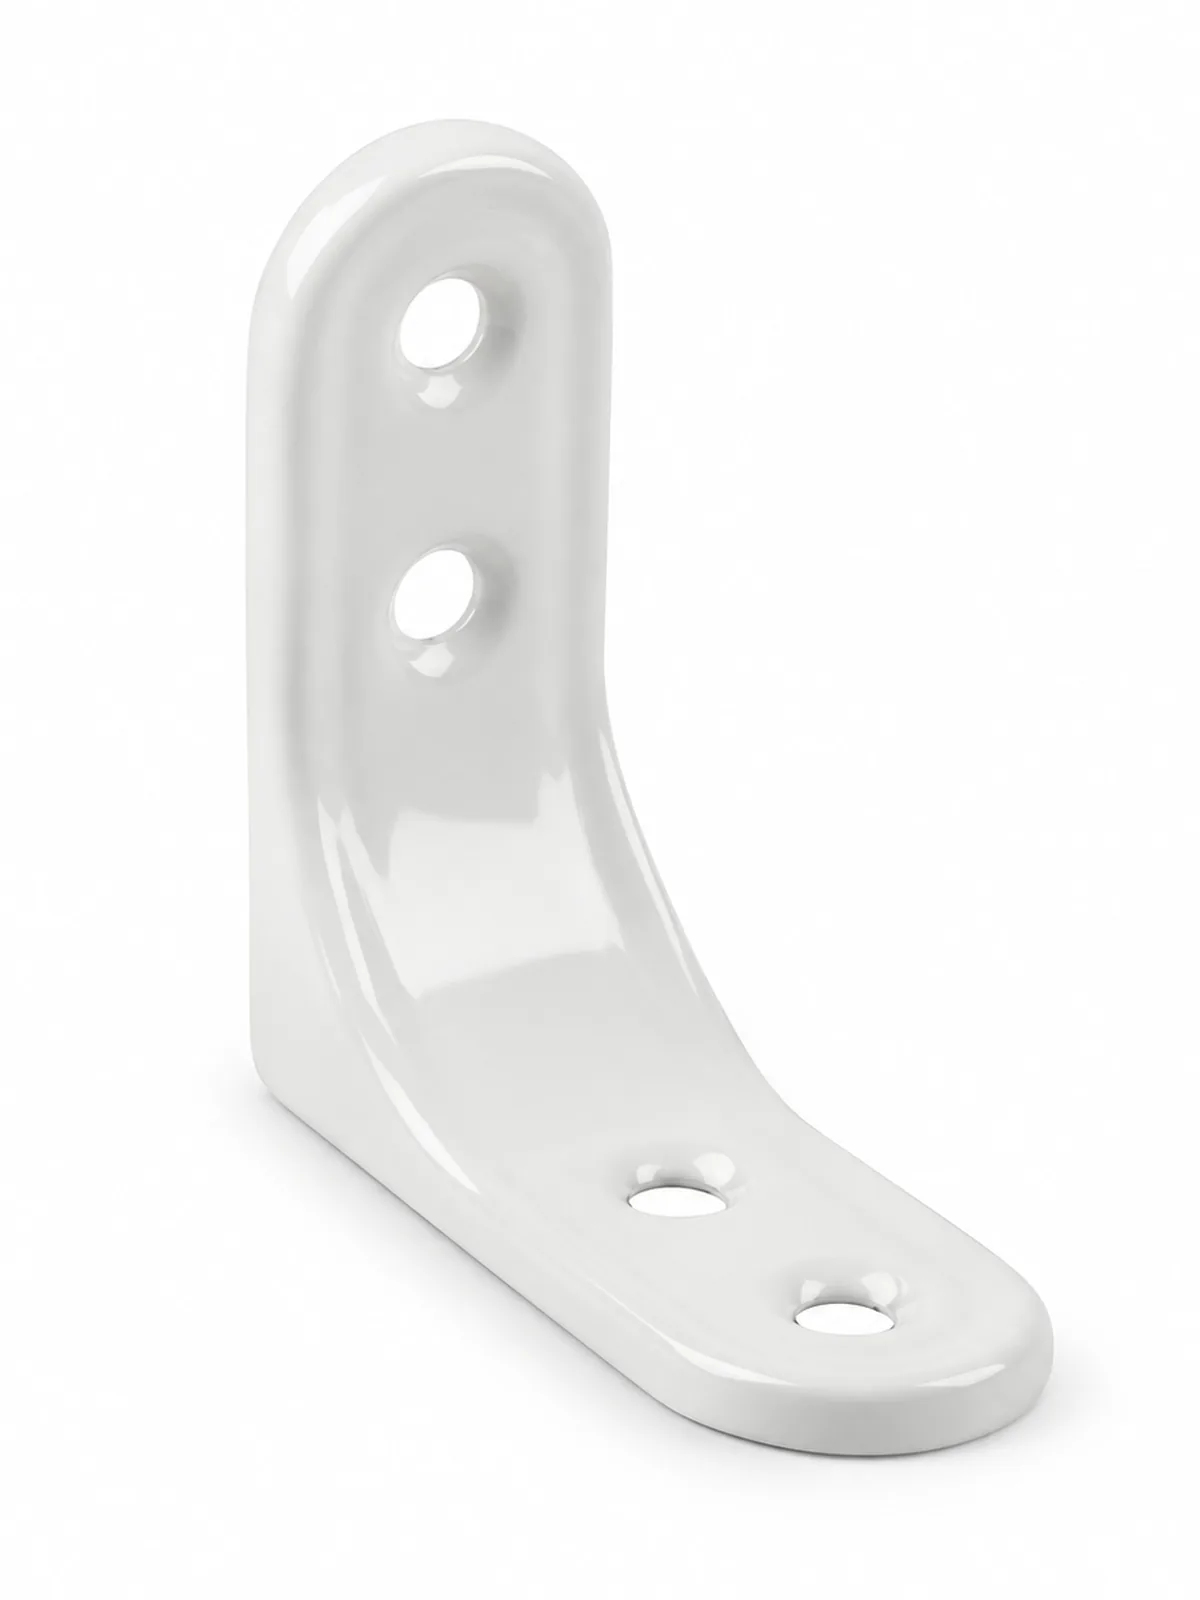
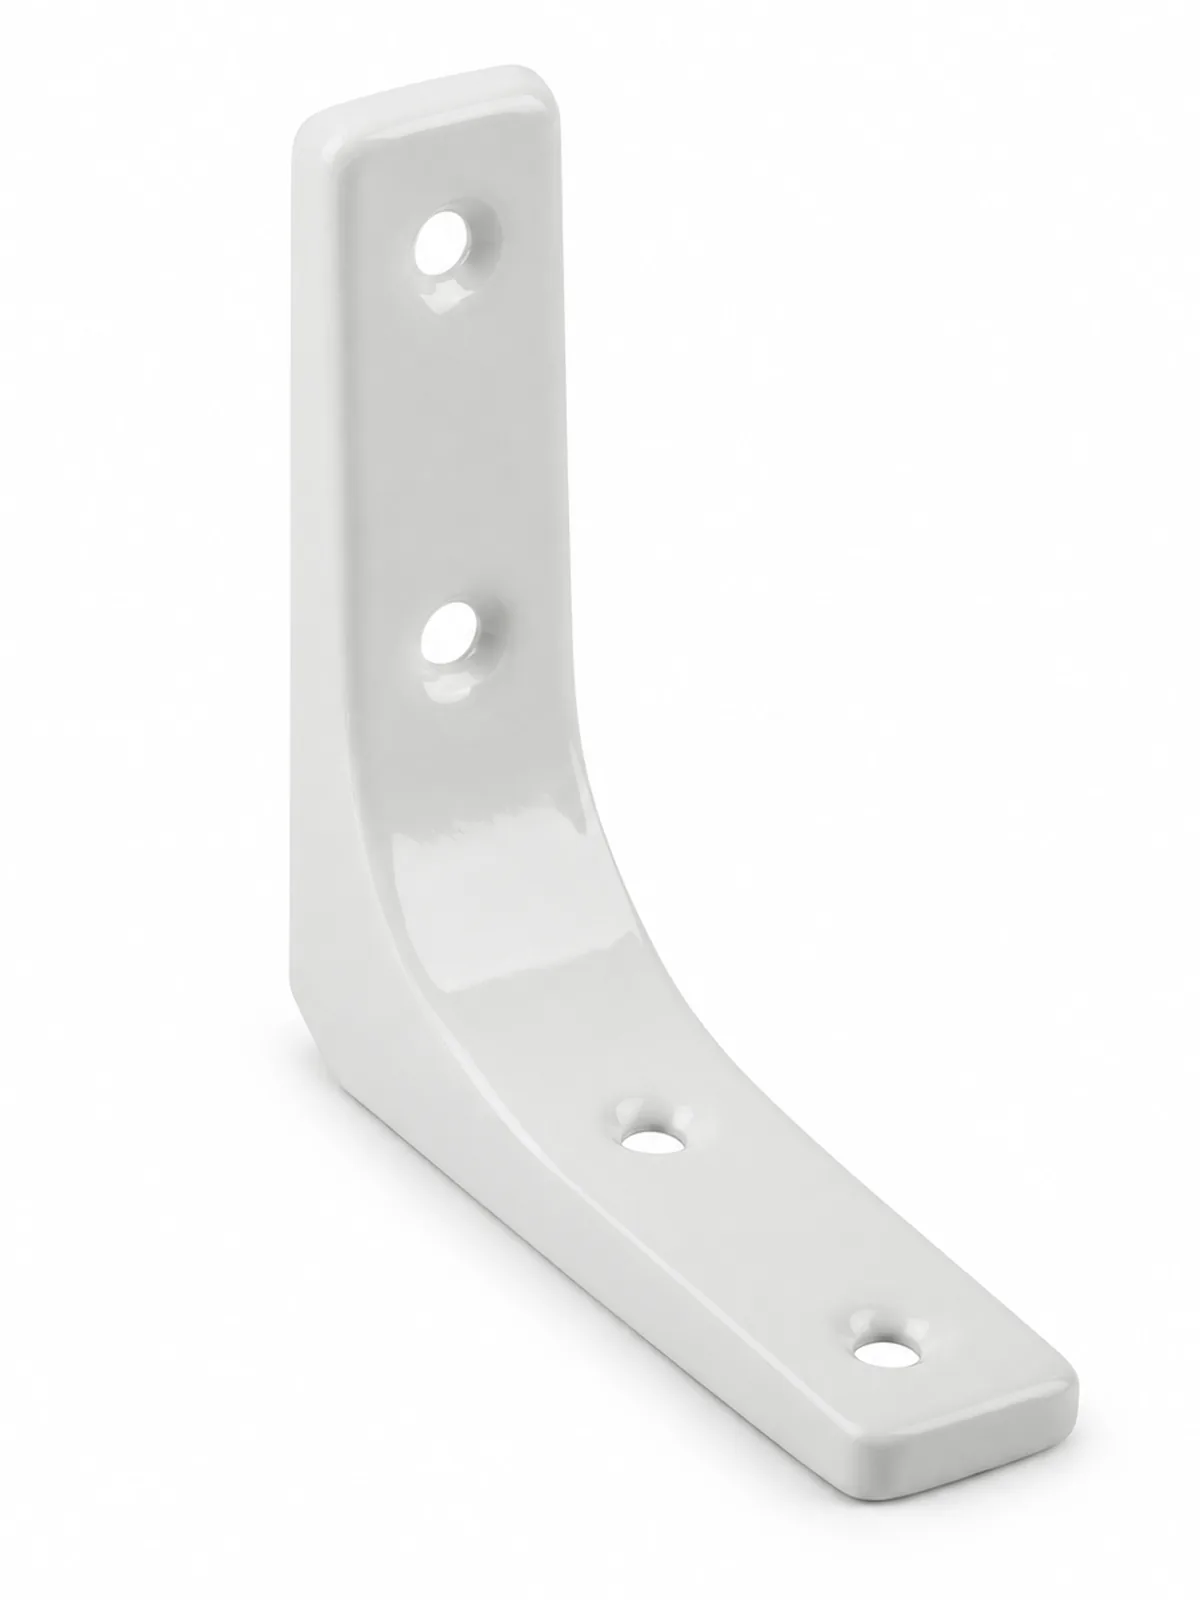
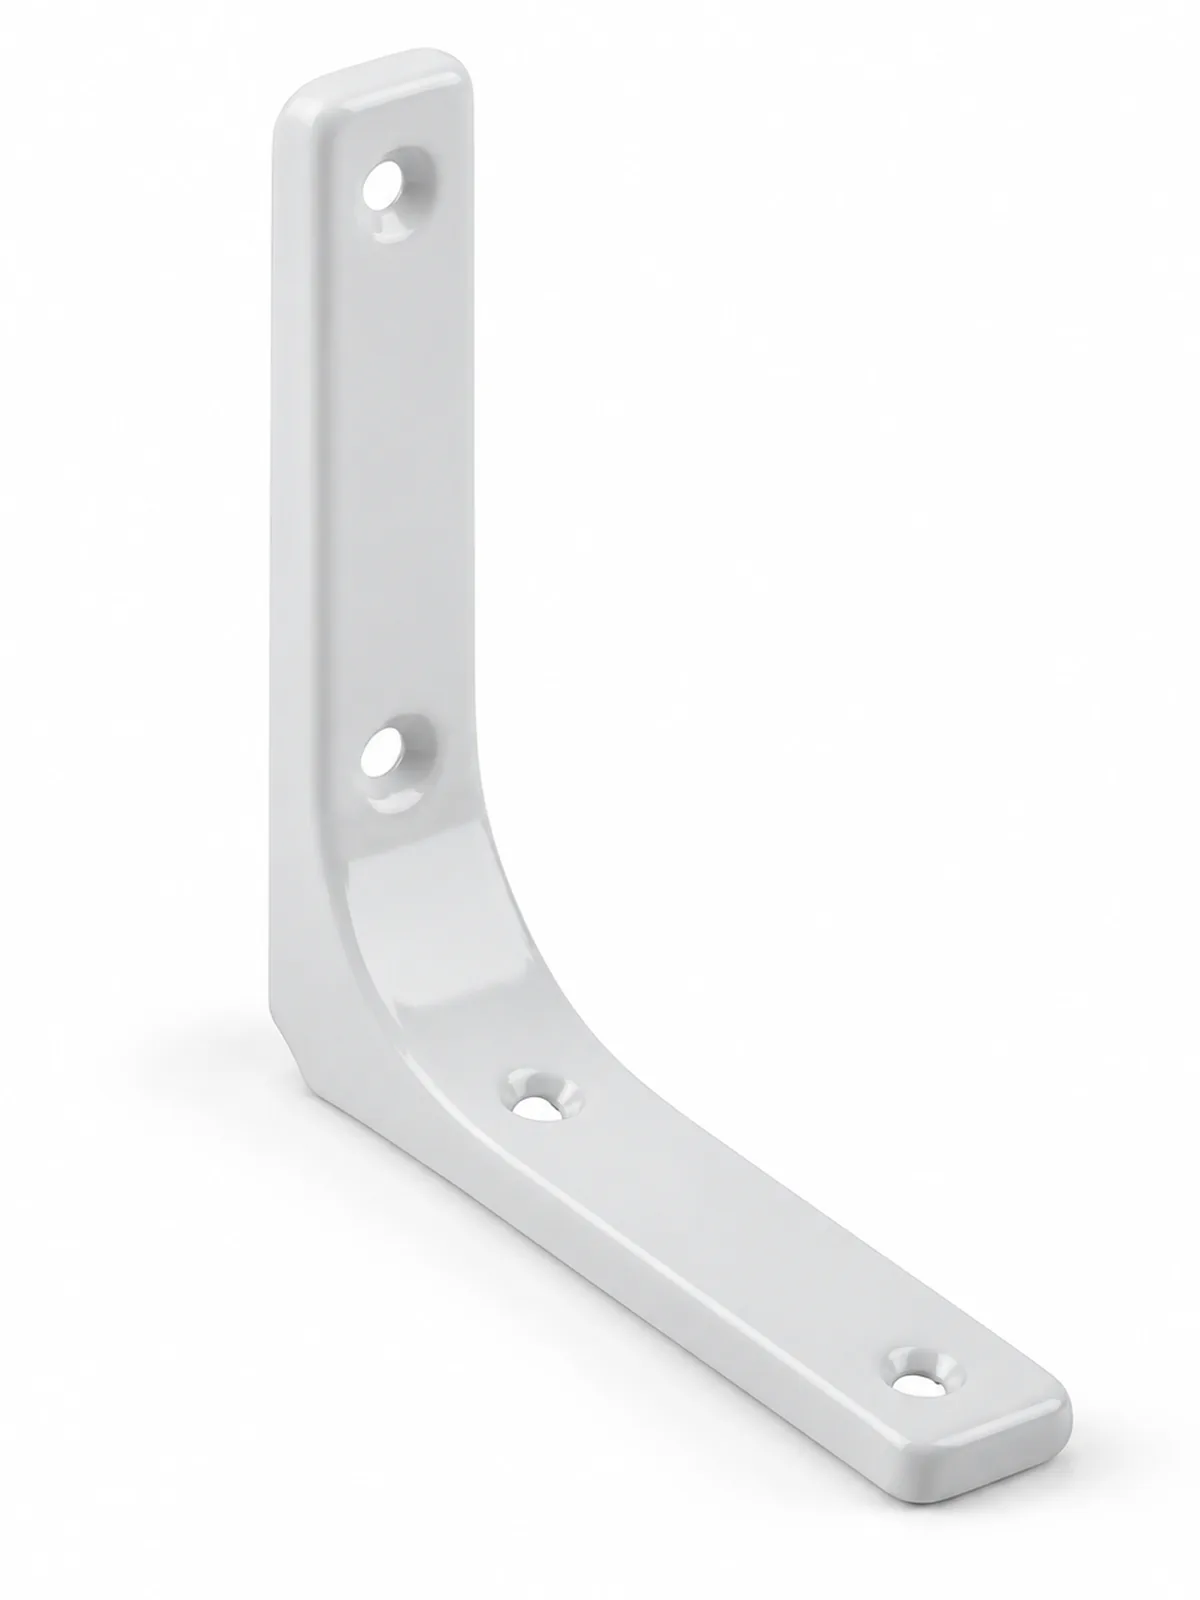
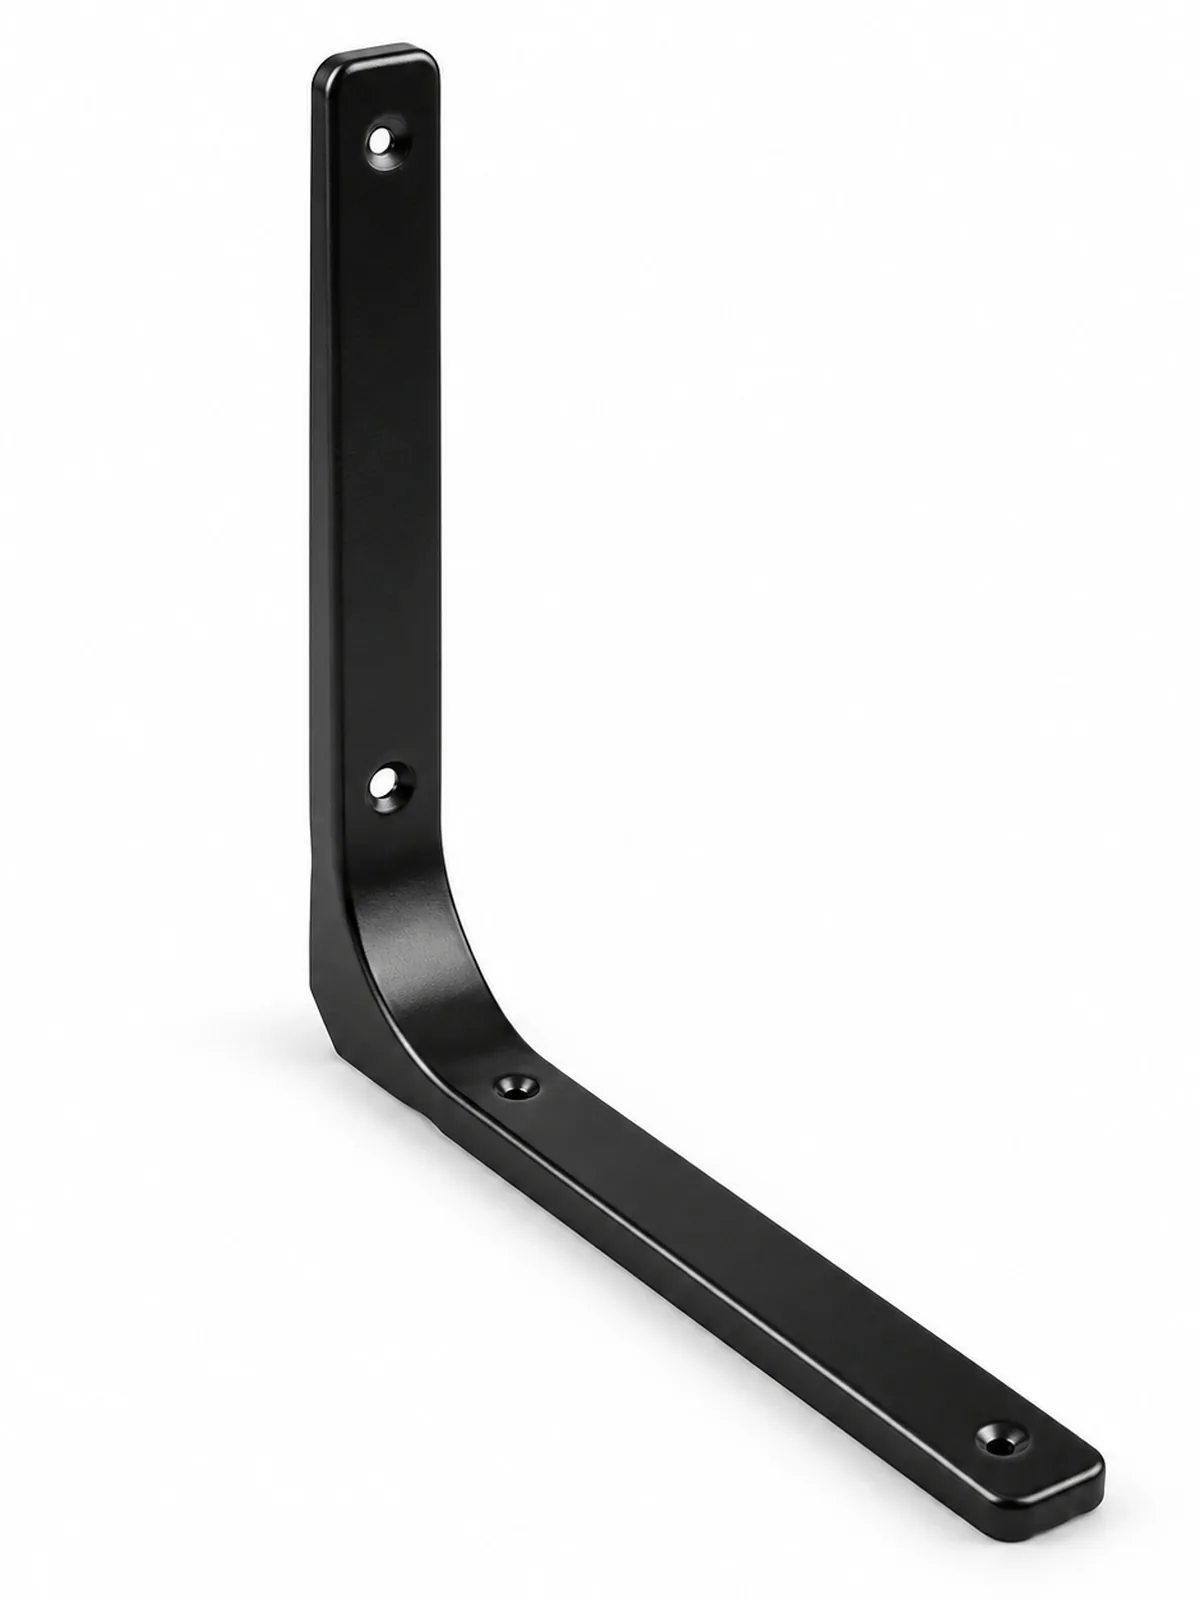
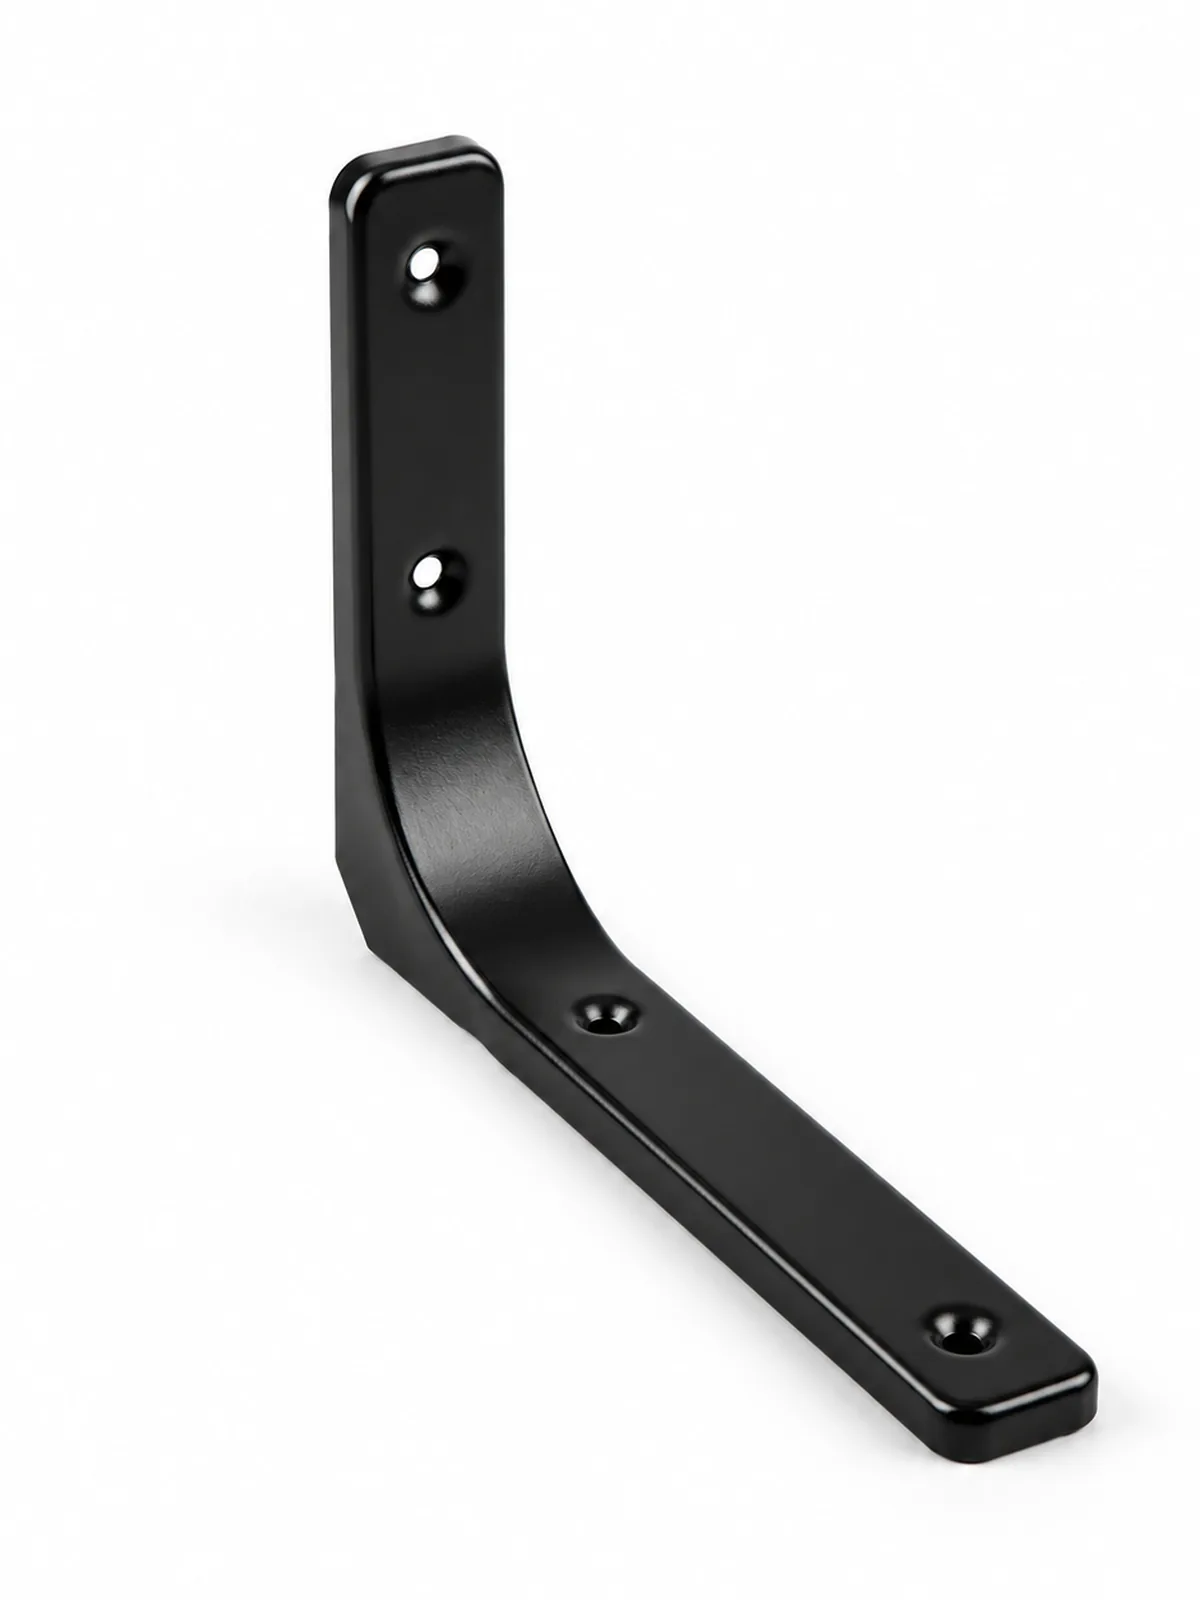
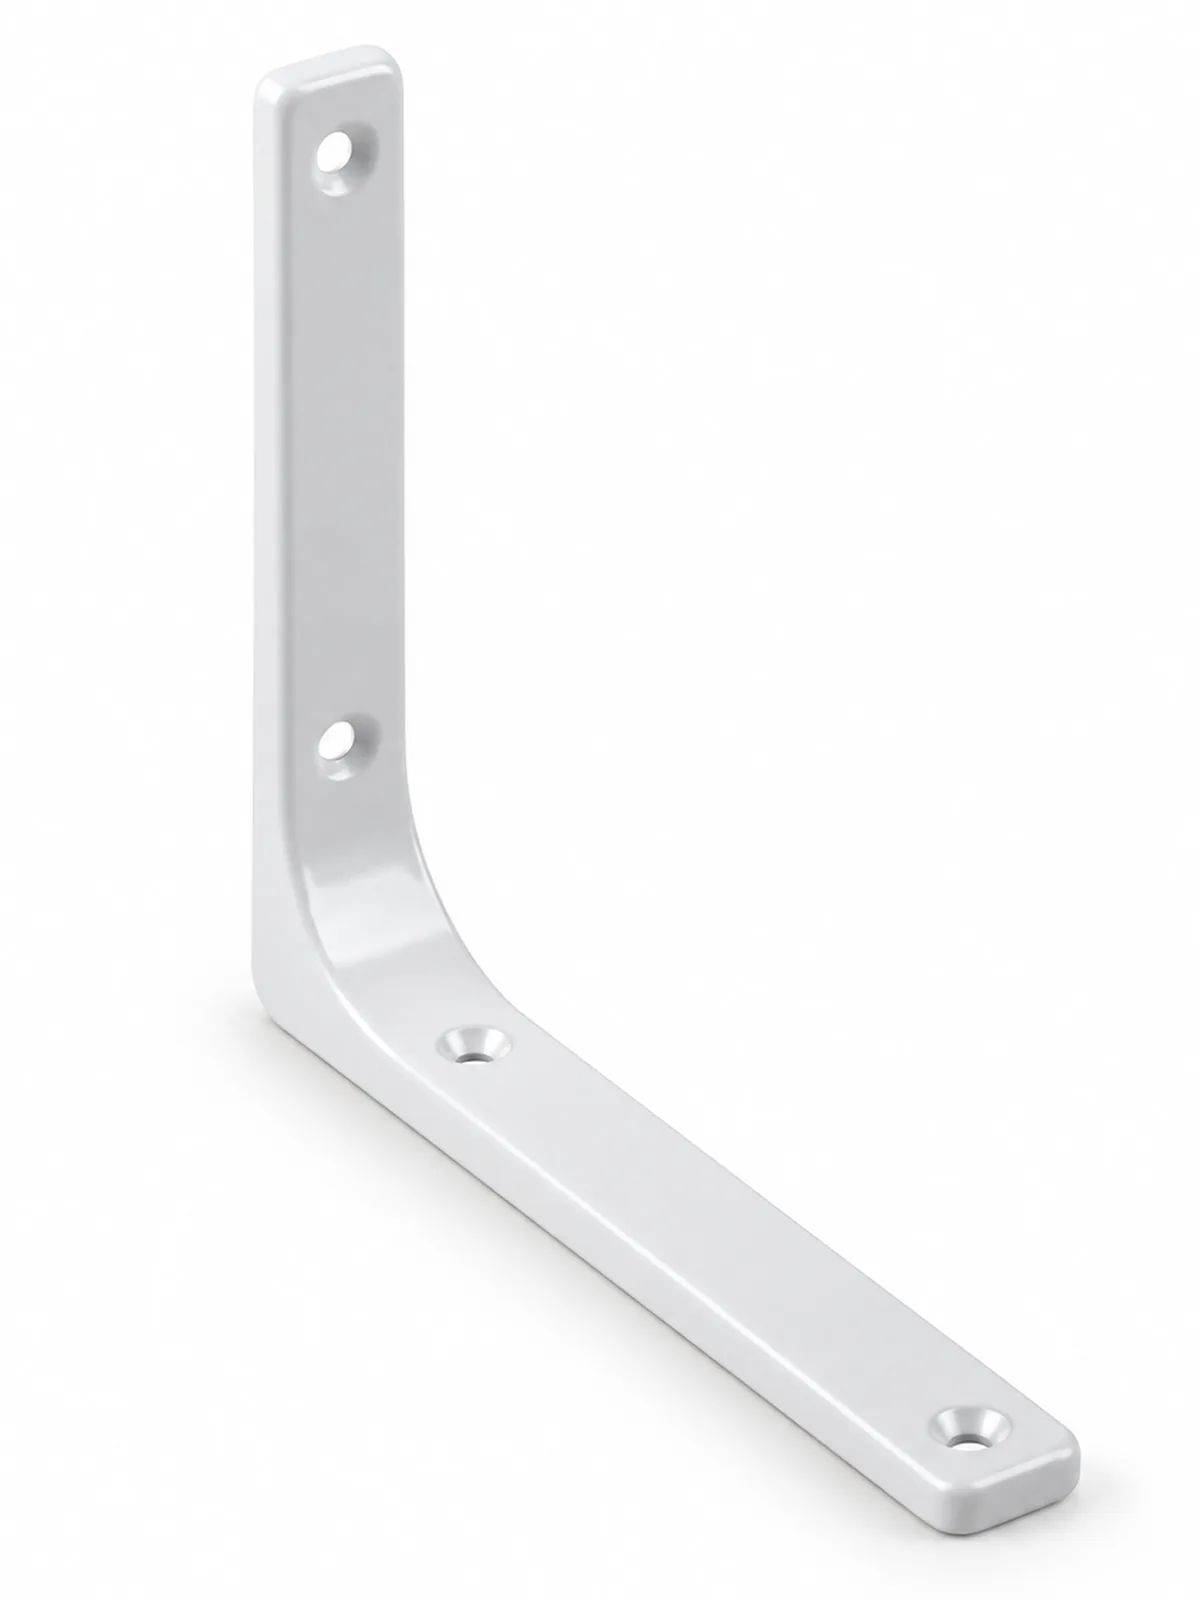
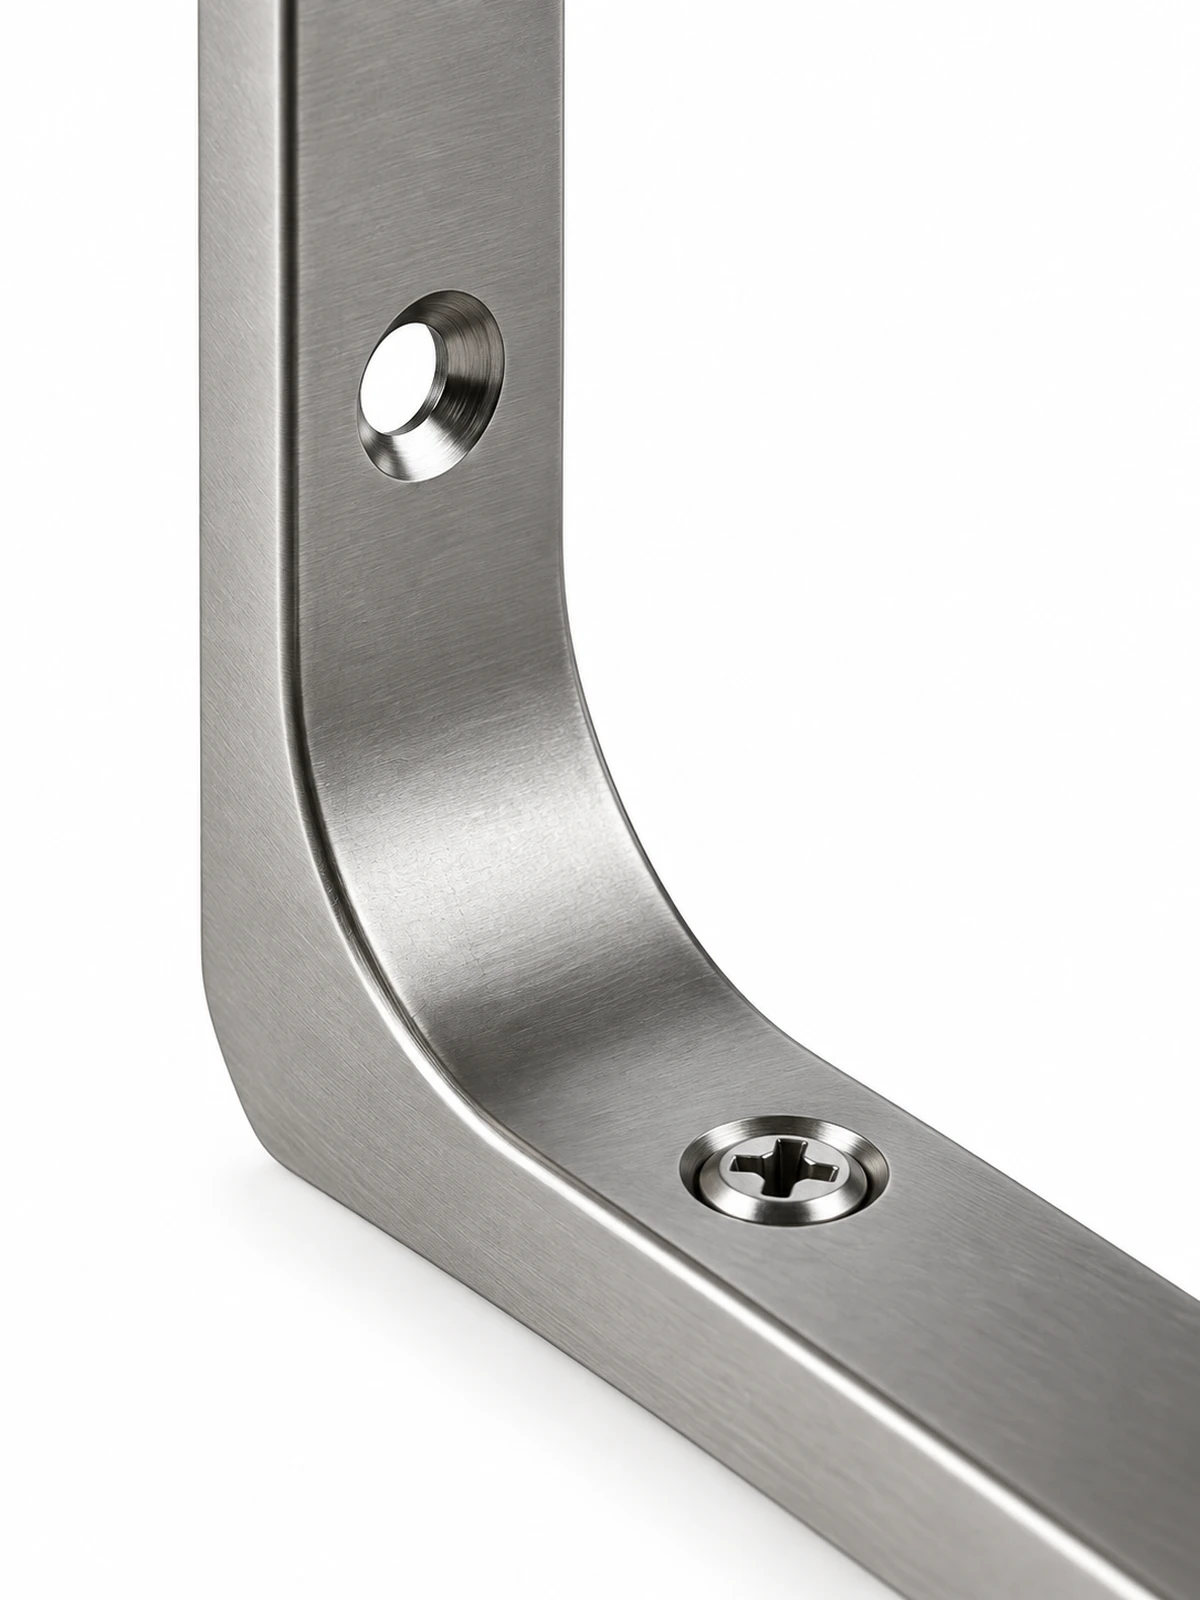
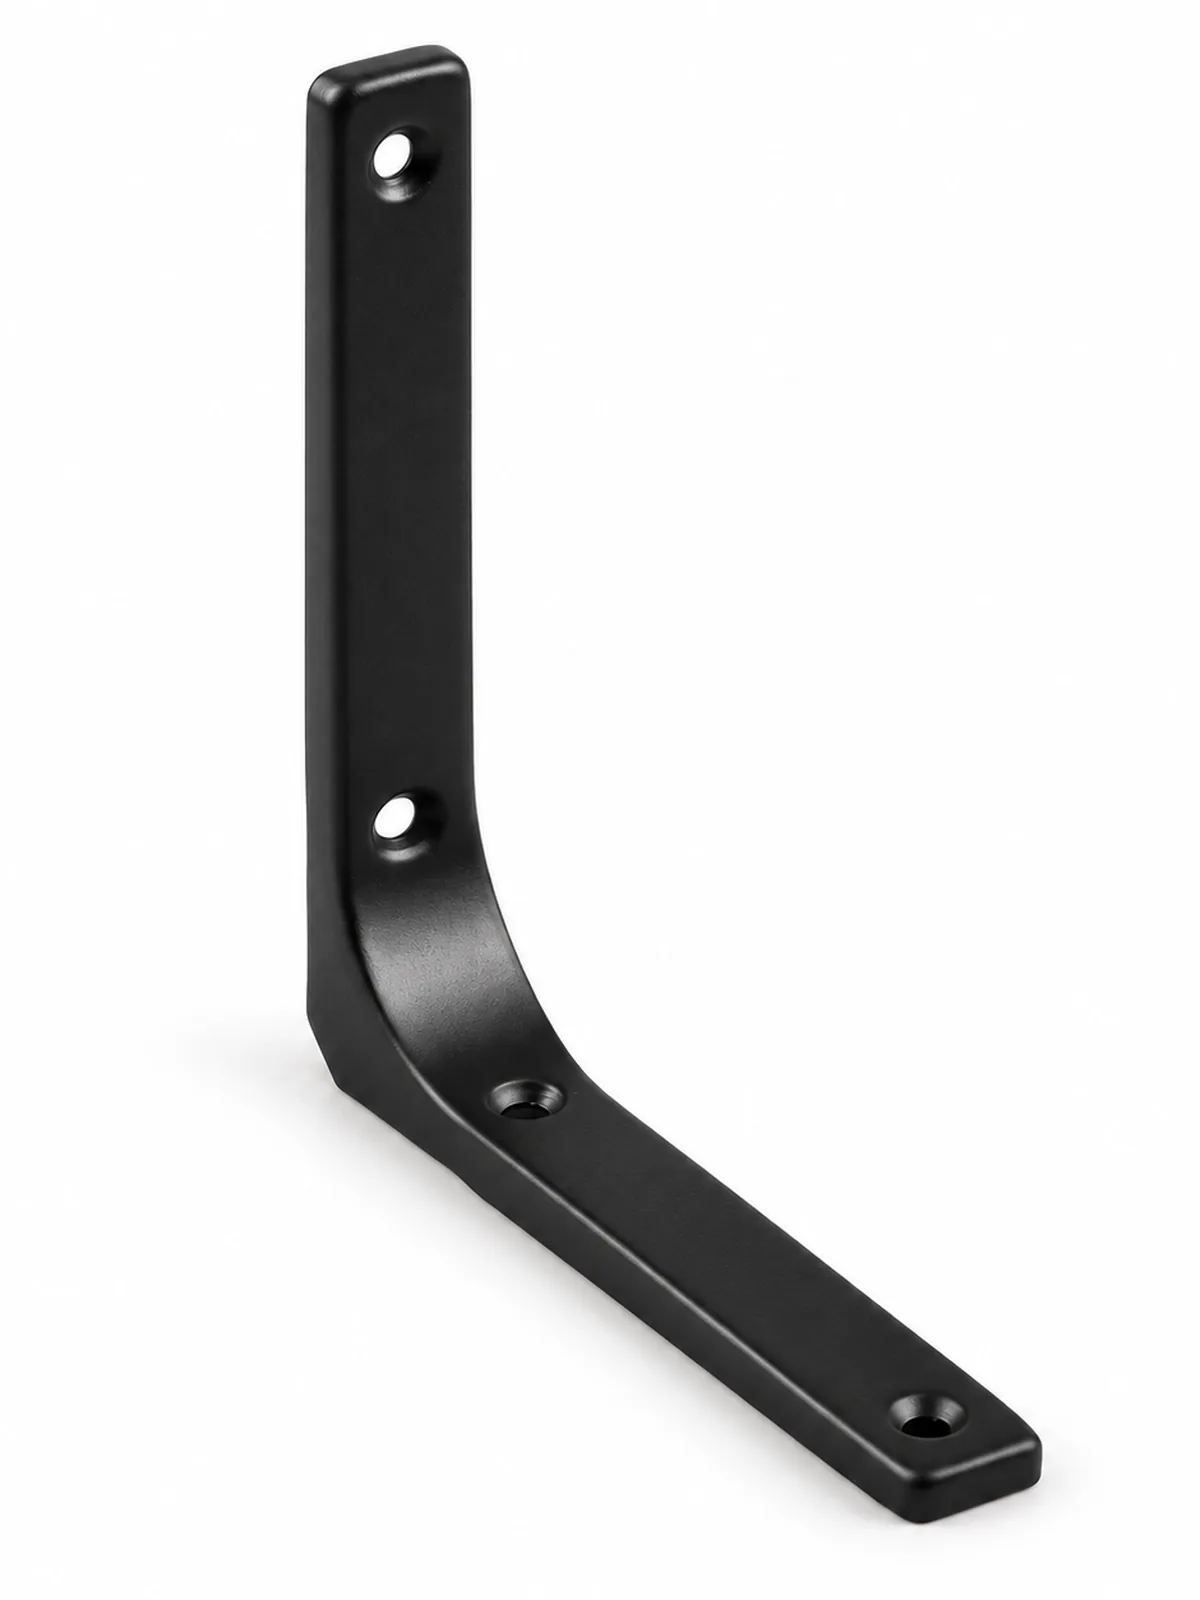
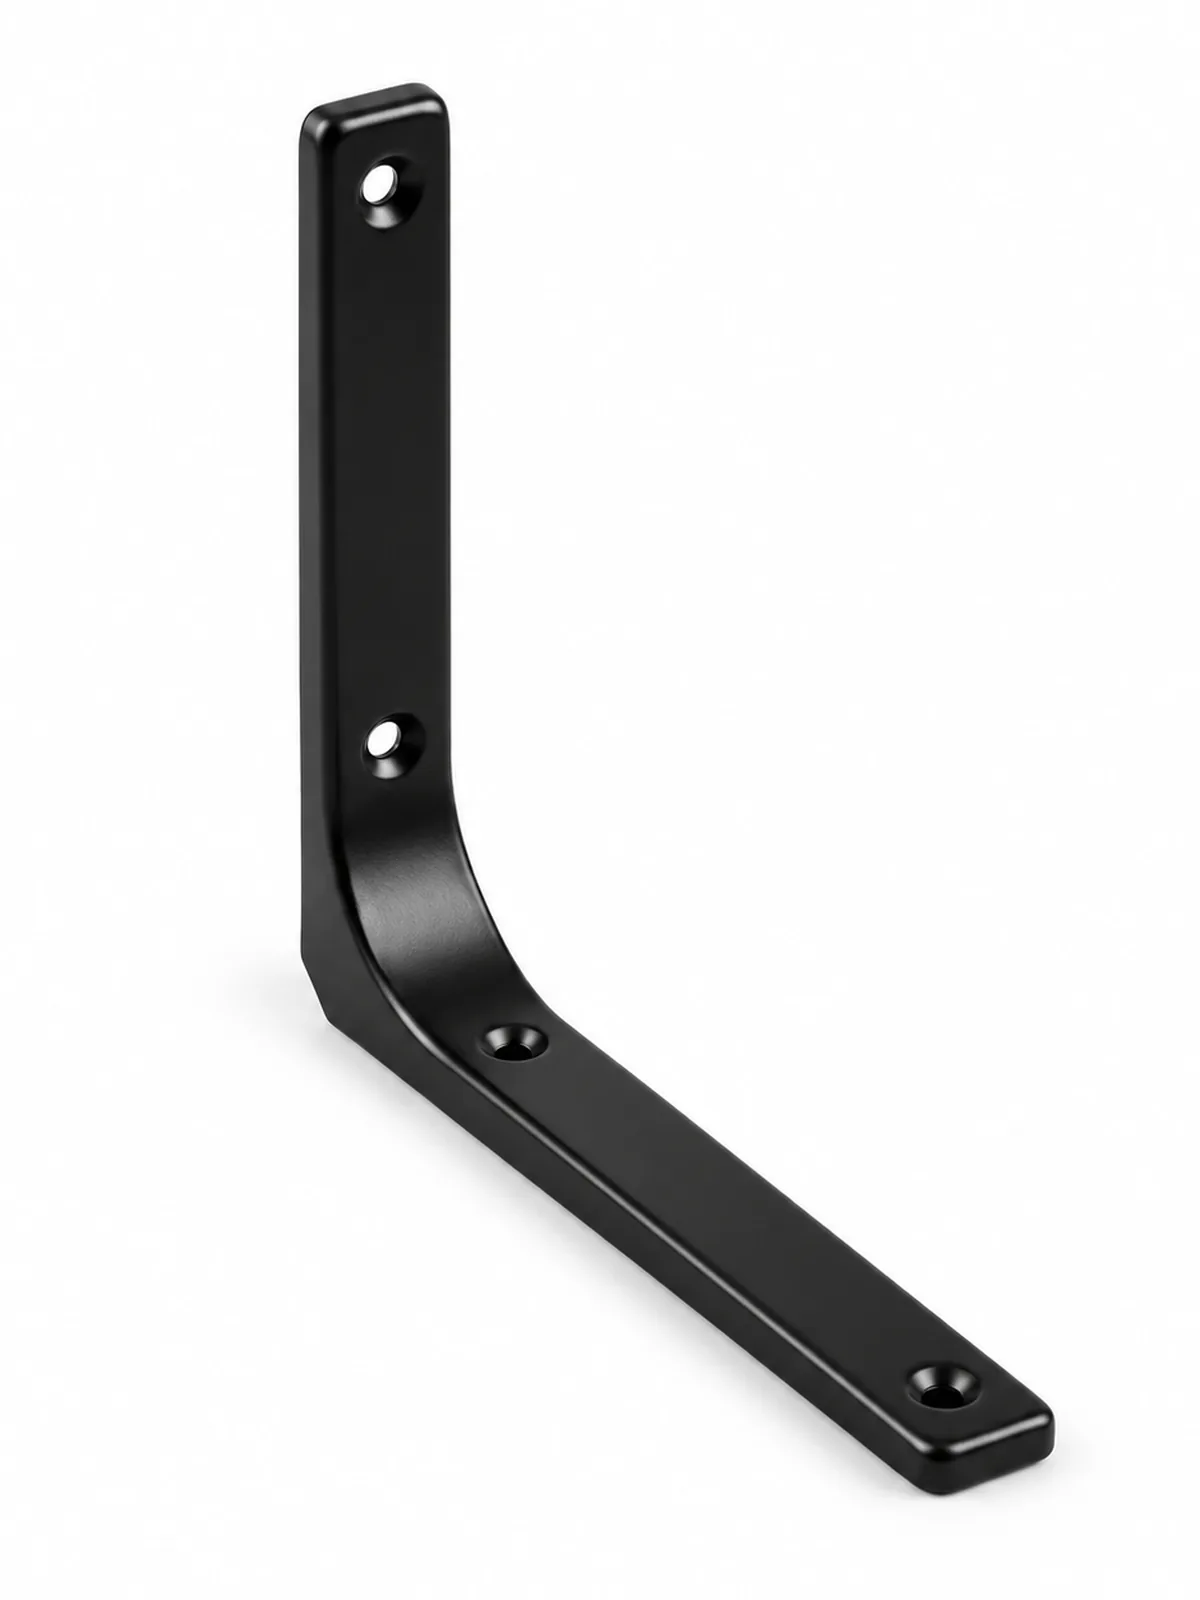
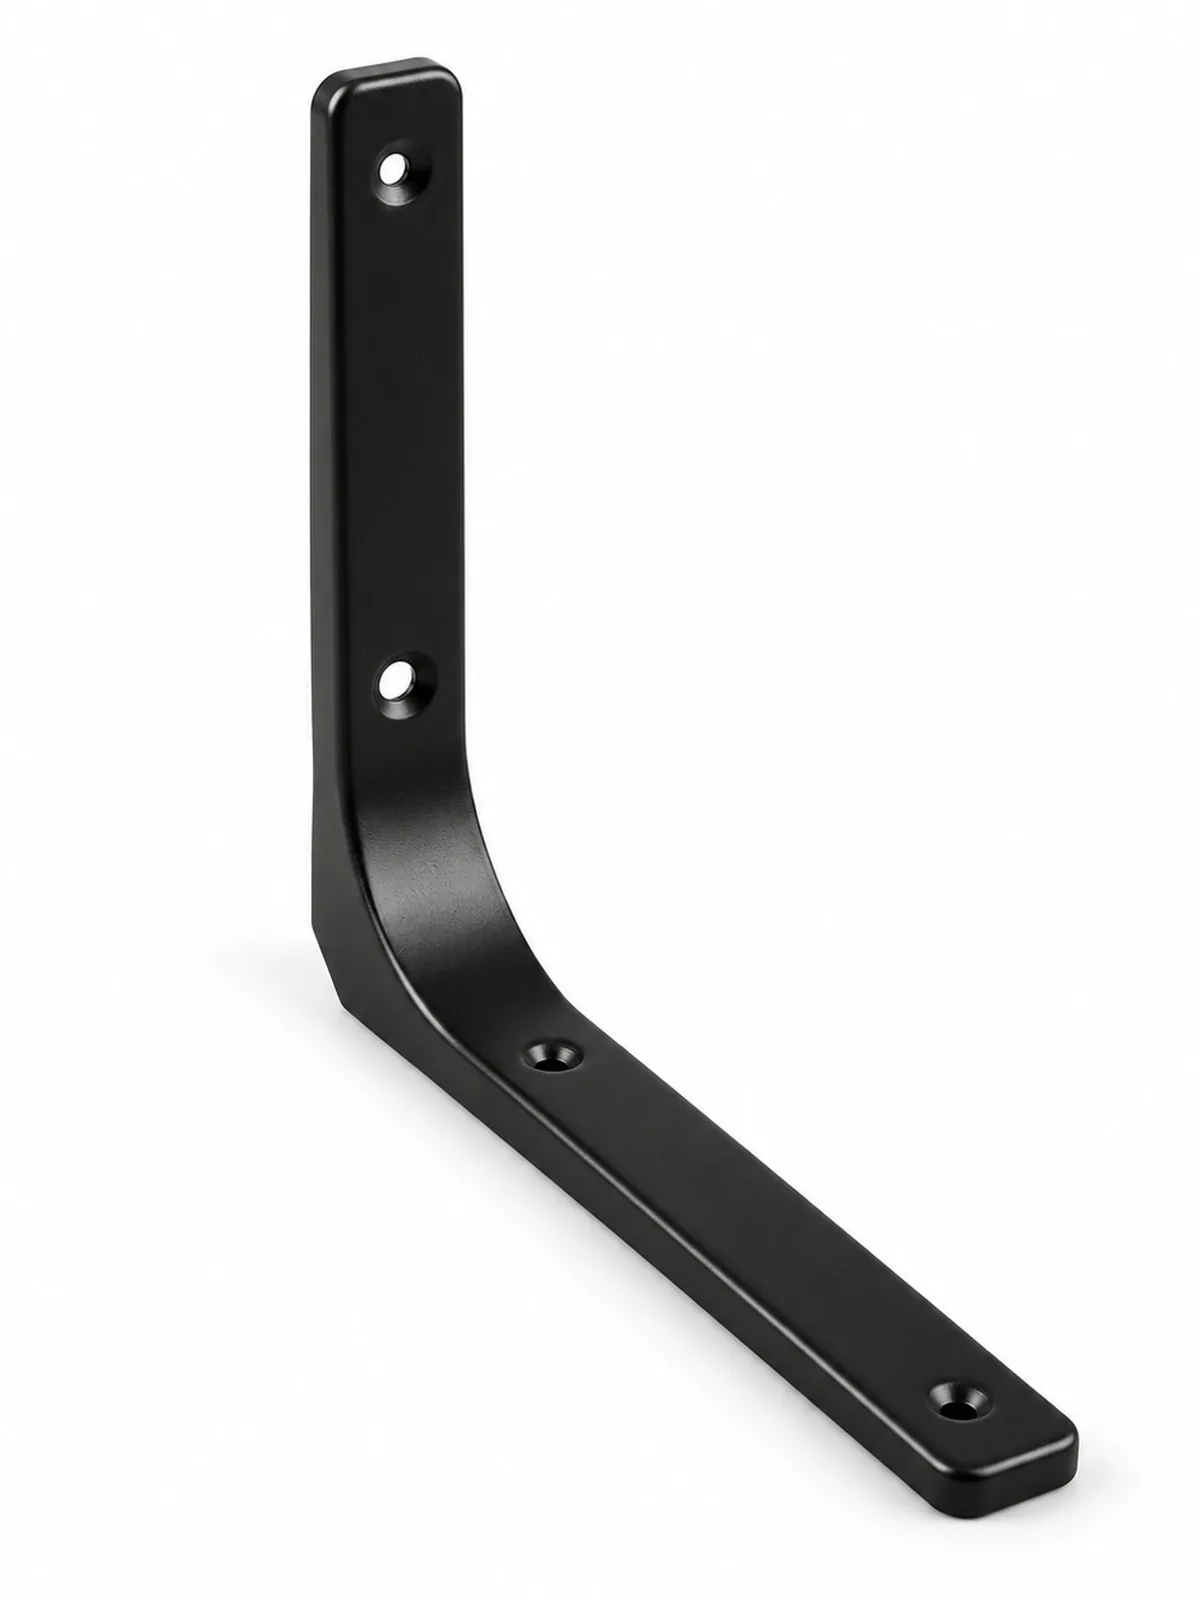
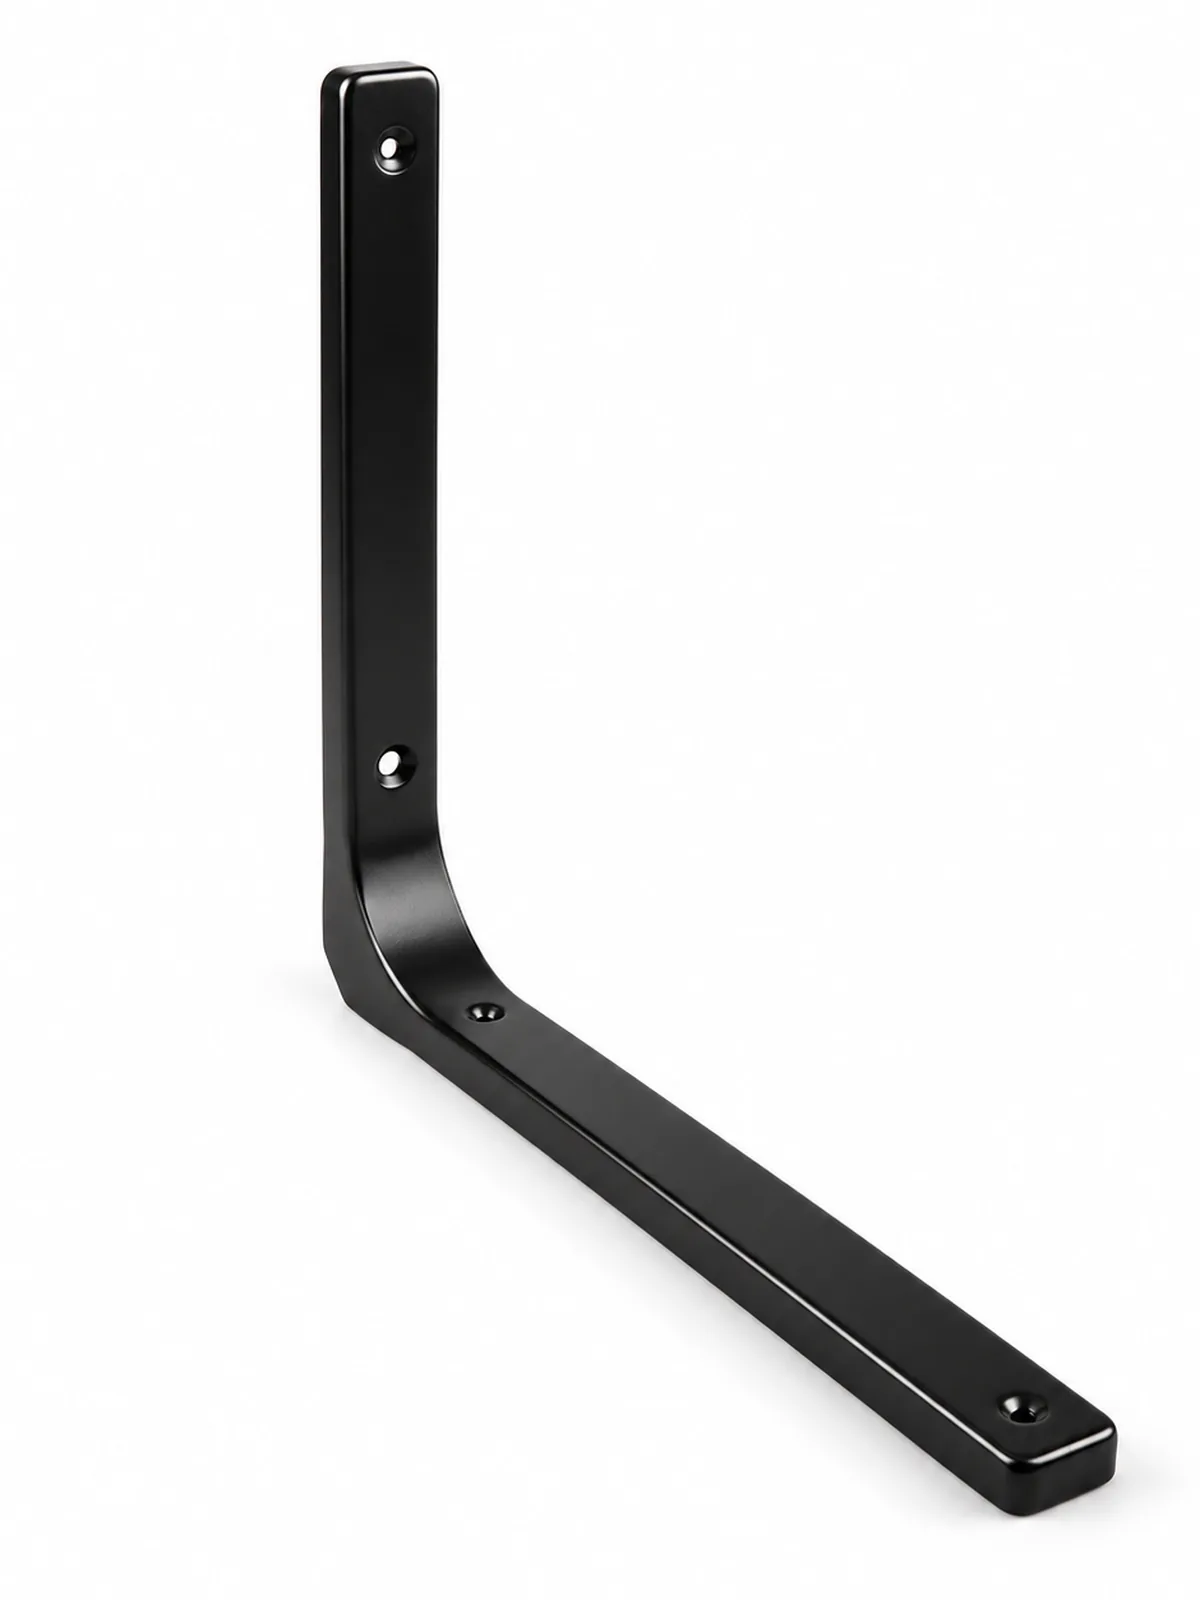
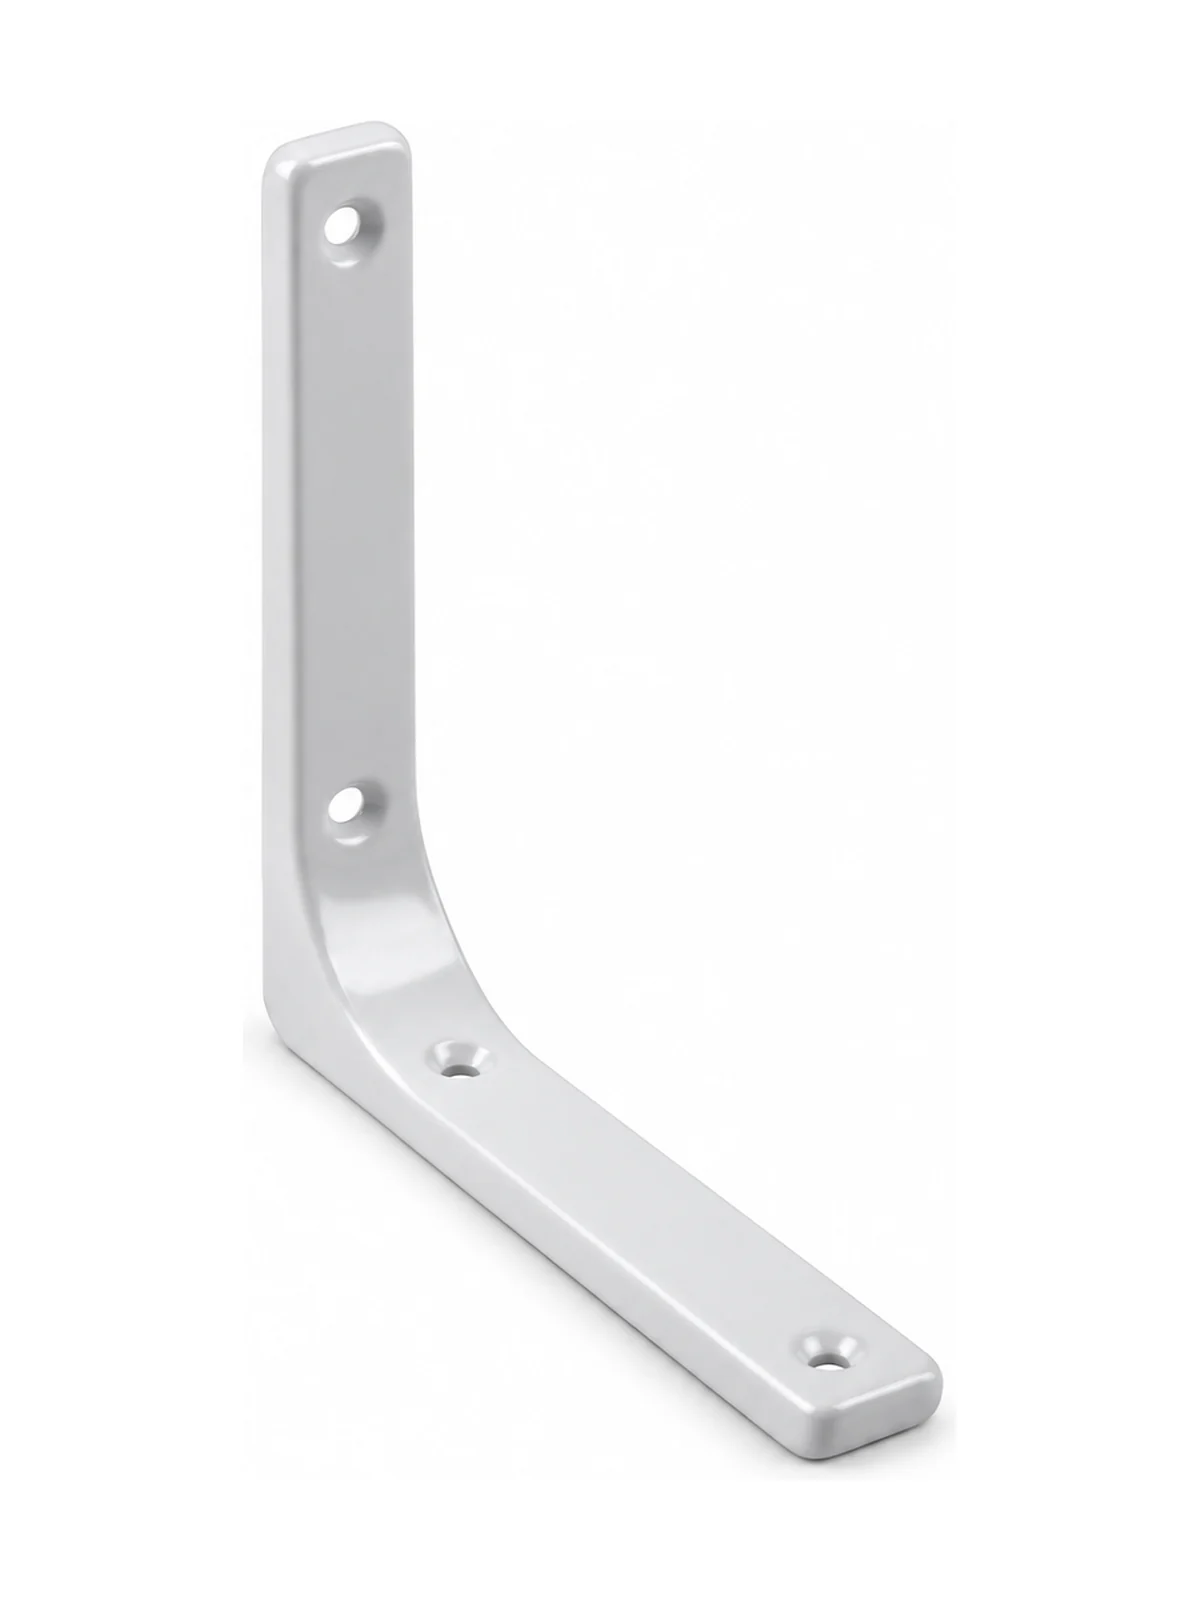
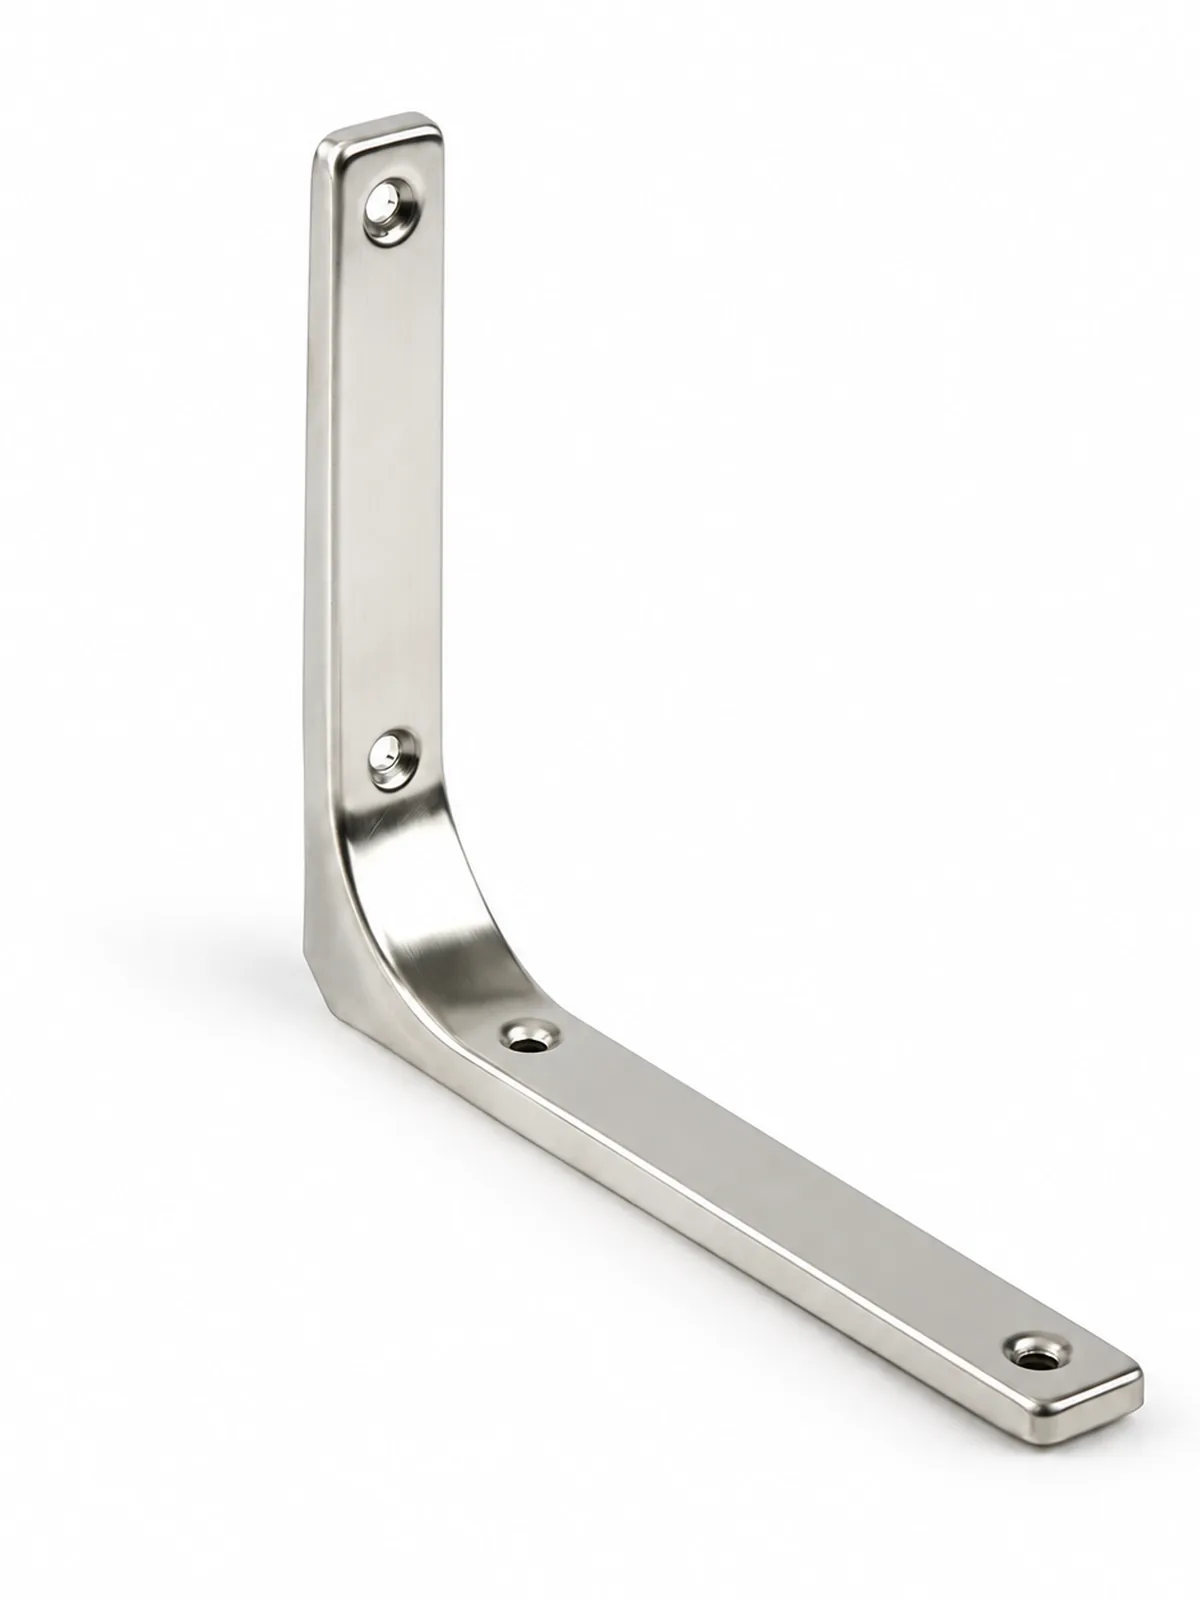
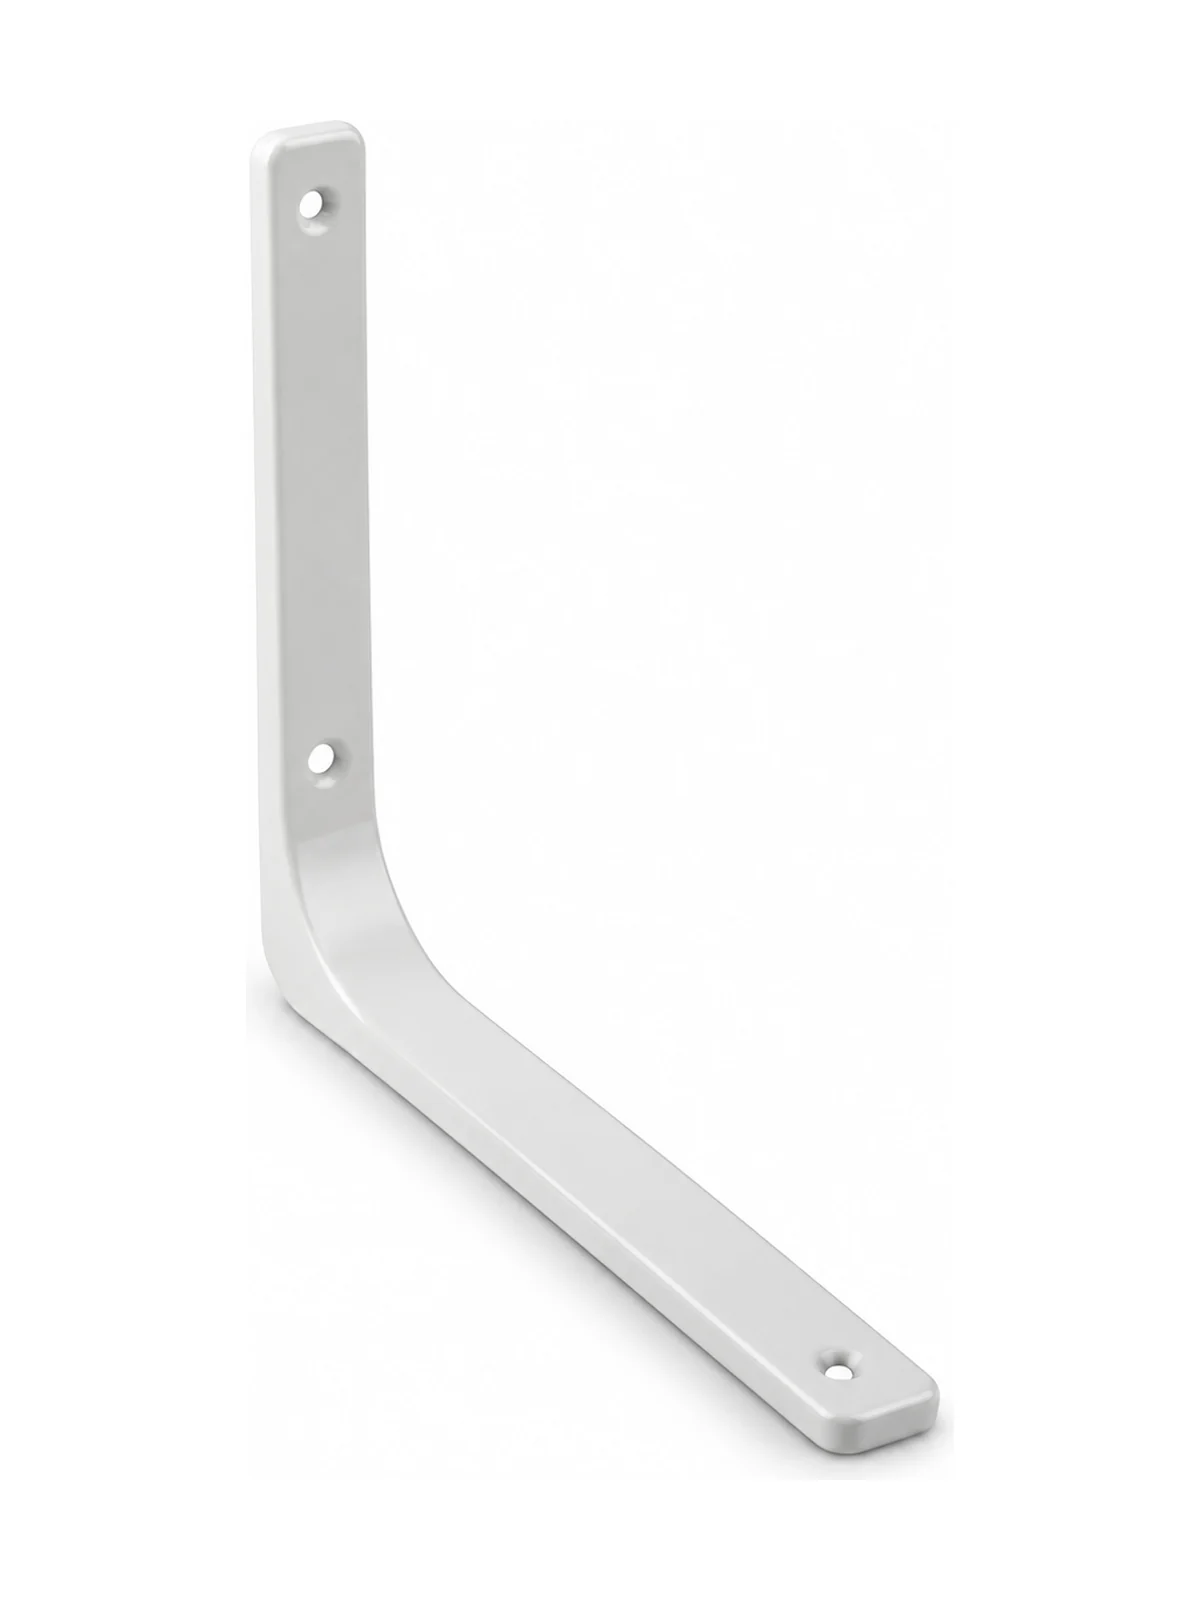
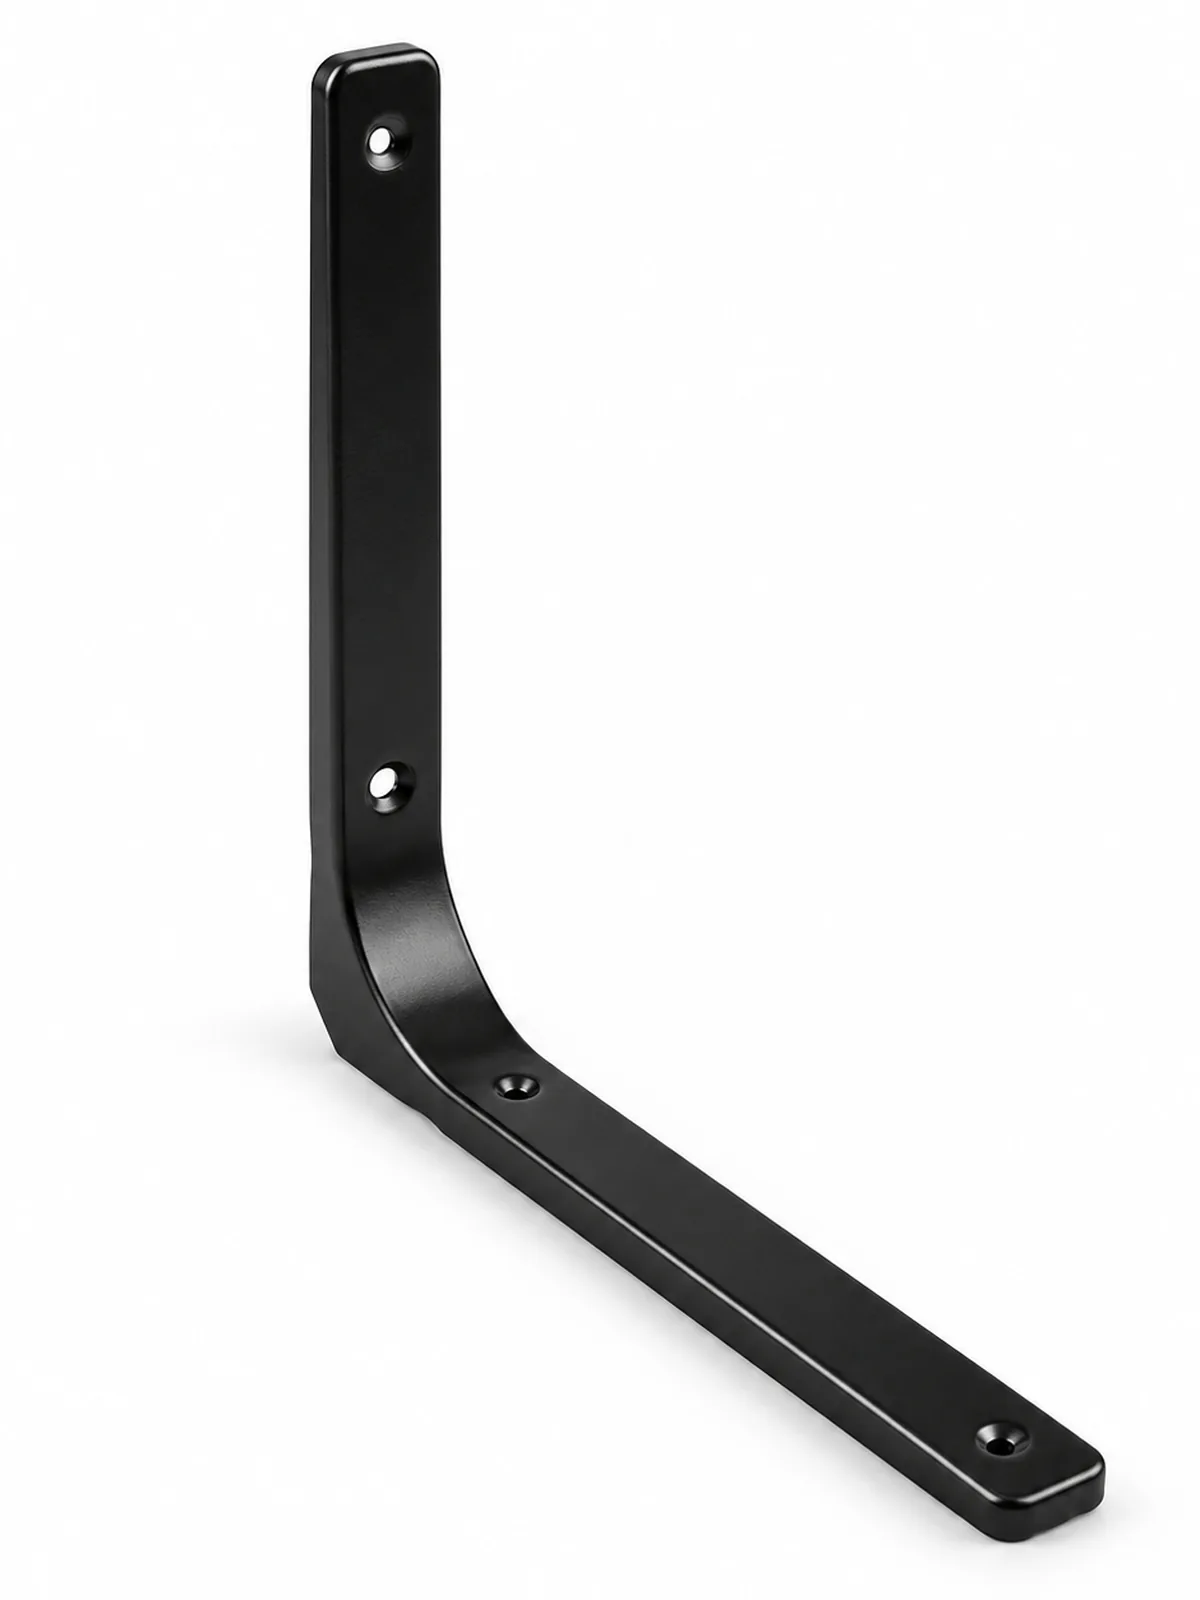
Combine o texto com uma imagem para focar no seu produto, coleção ou post de blog escolhido. Adicione detalhes sobre disponibilidade, estilo ou até mesmo forneça uma avaliação.
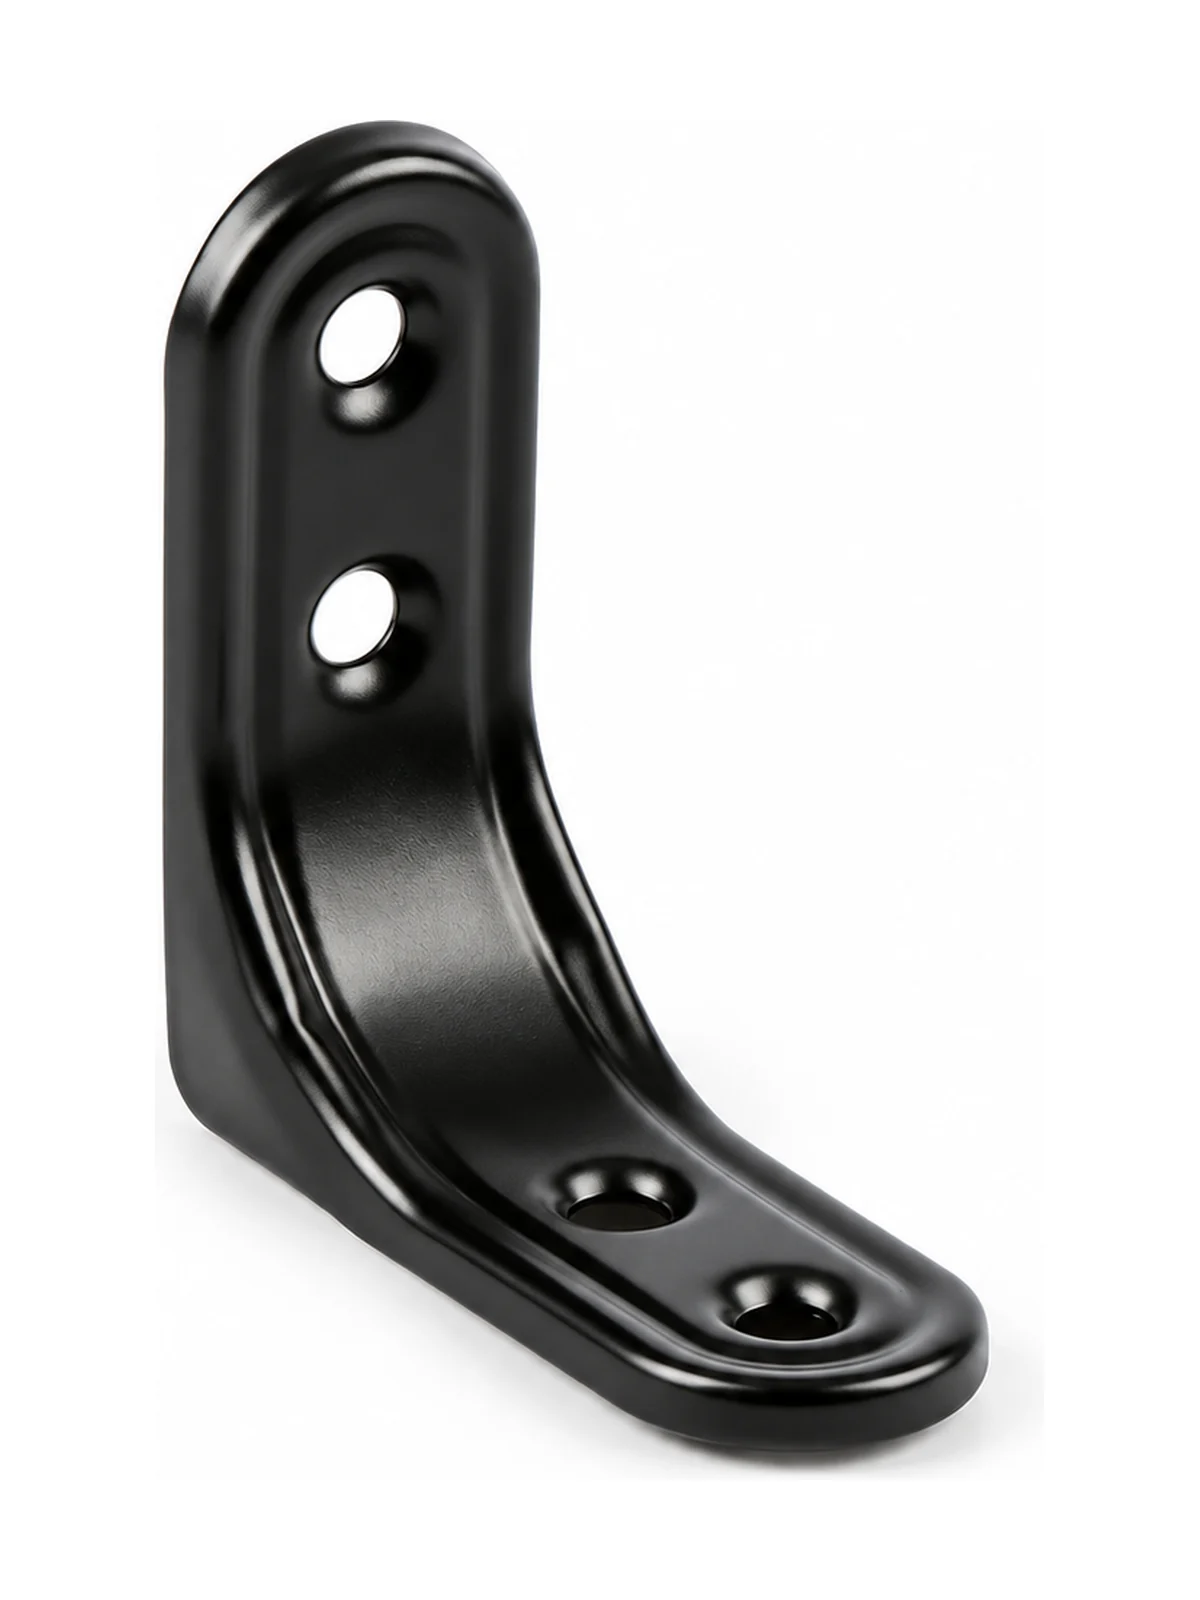
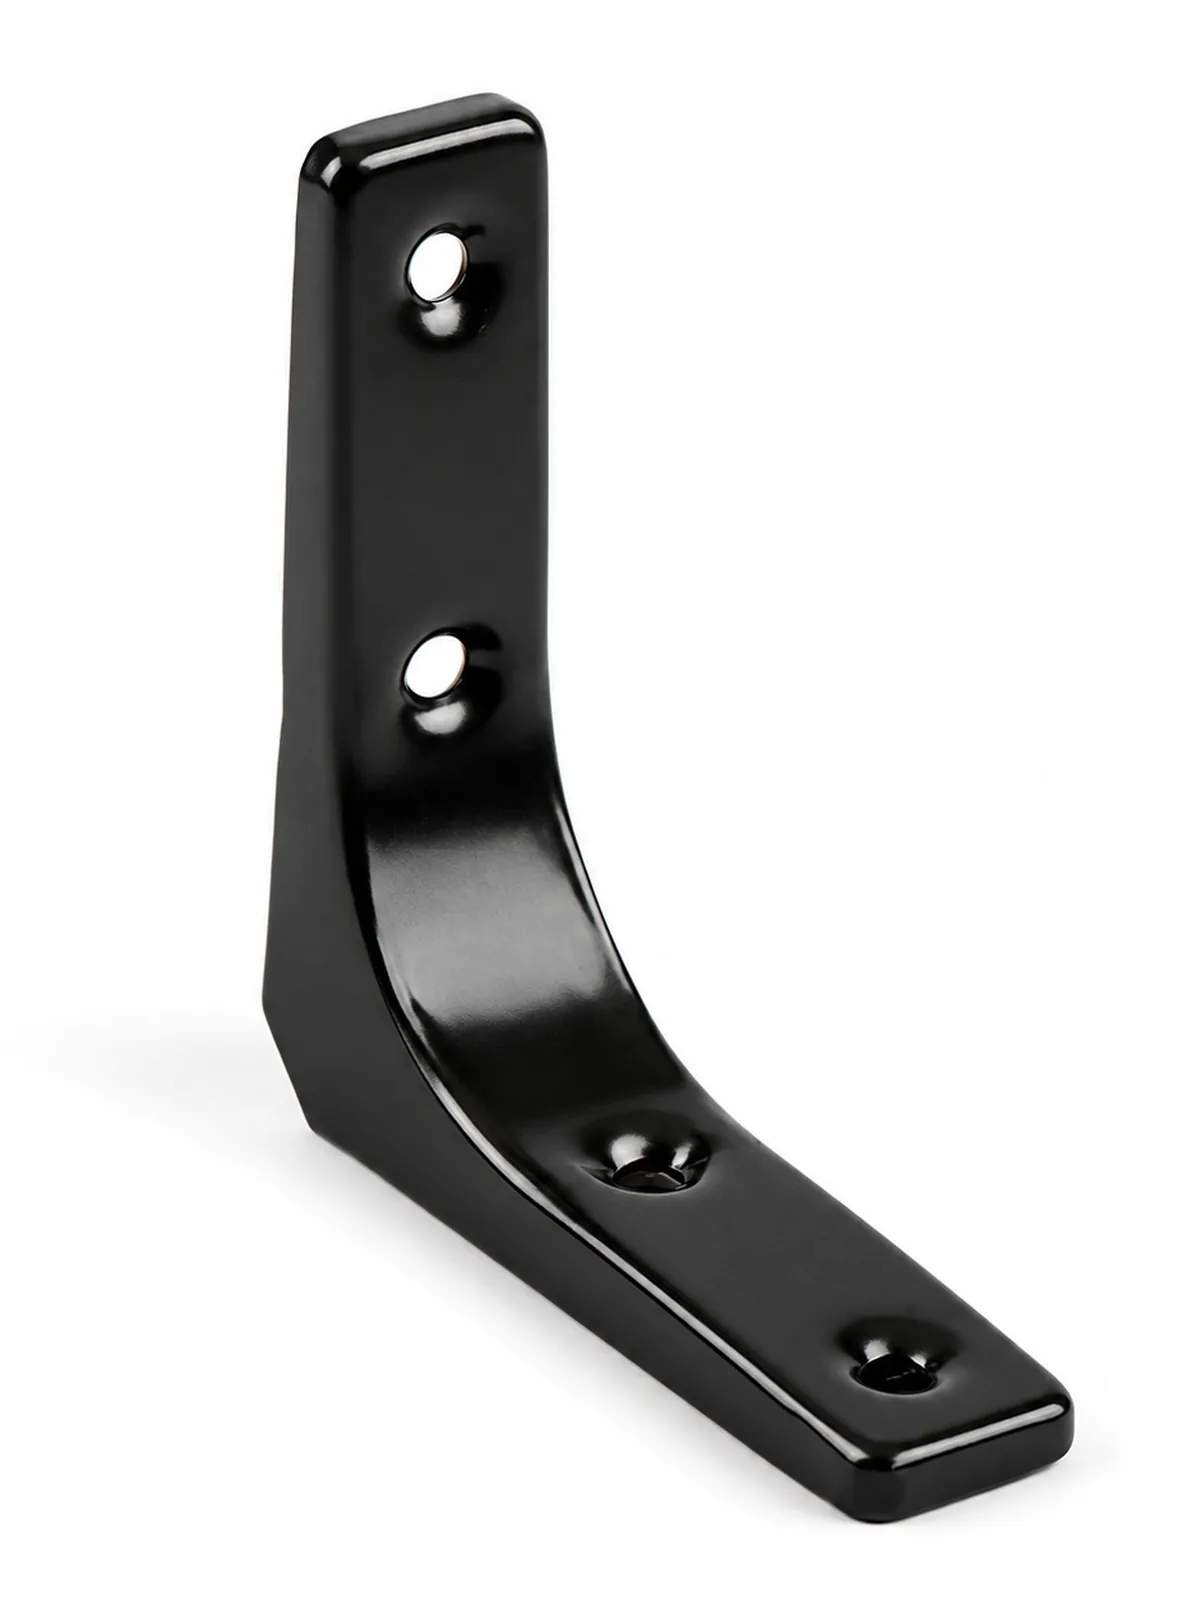
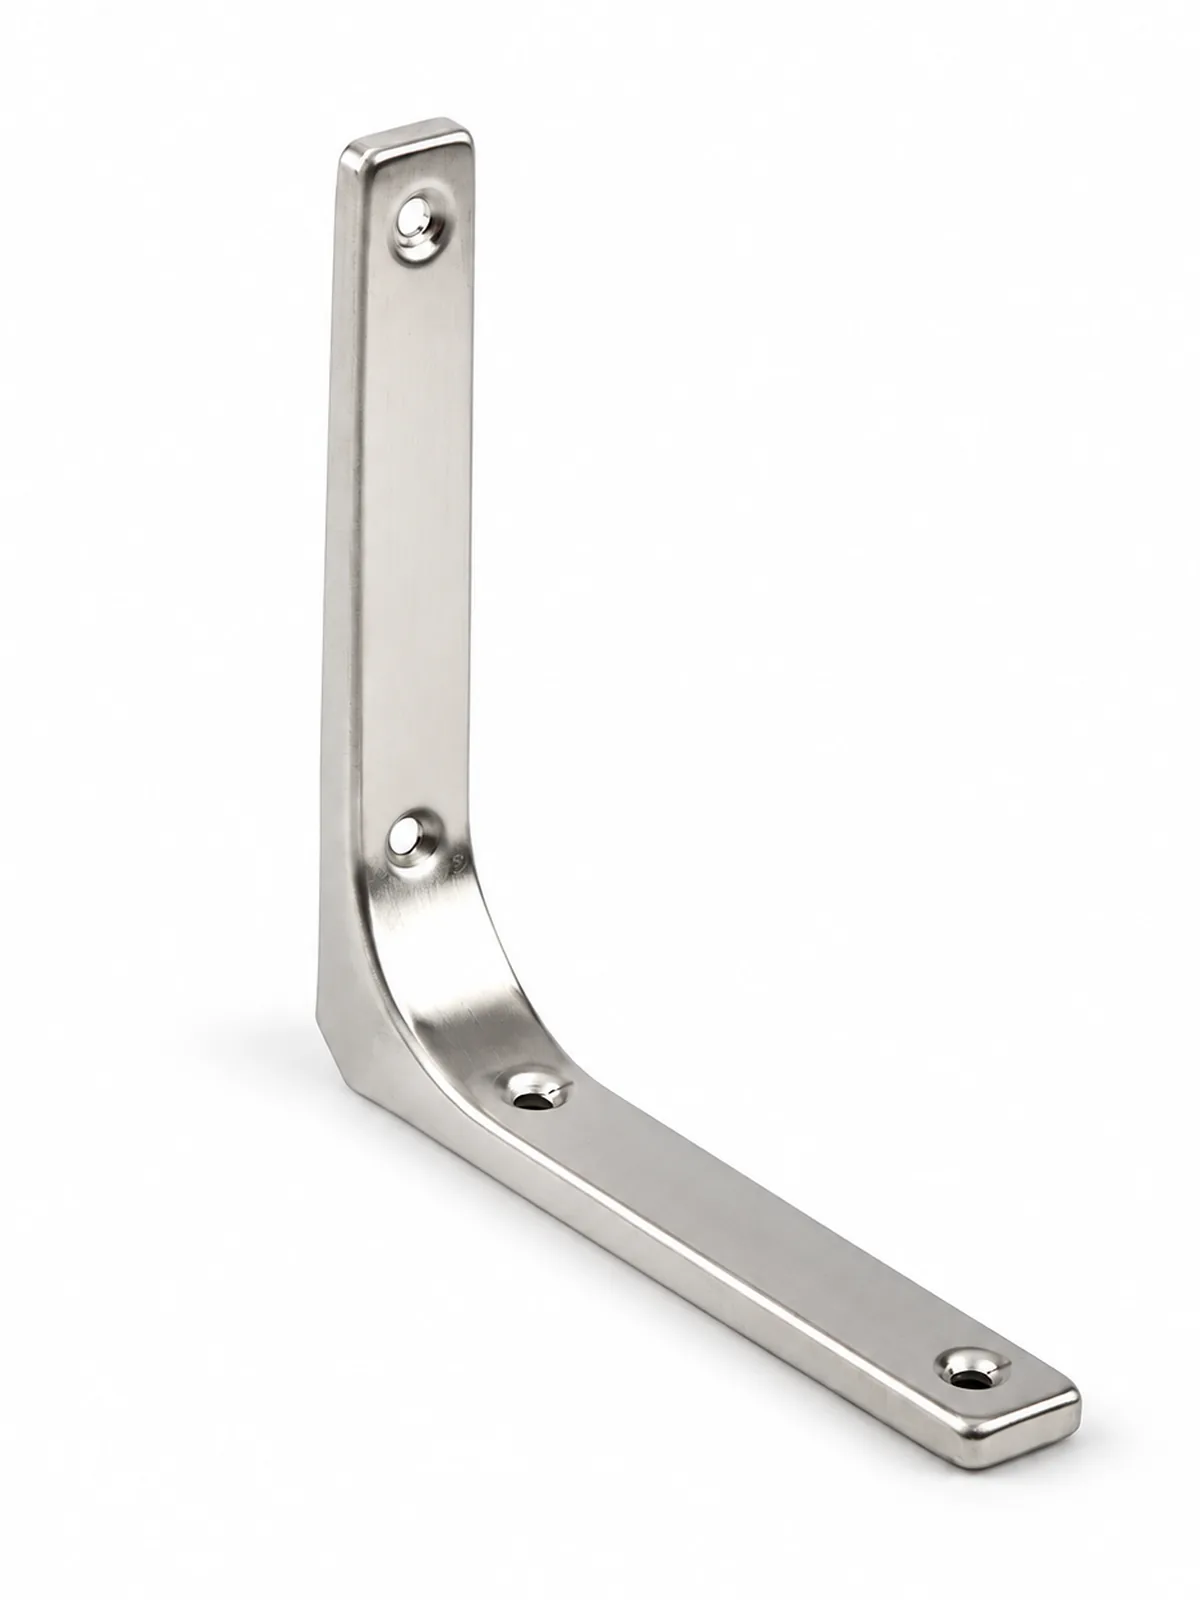
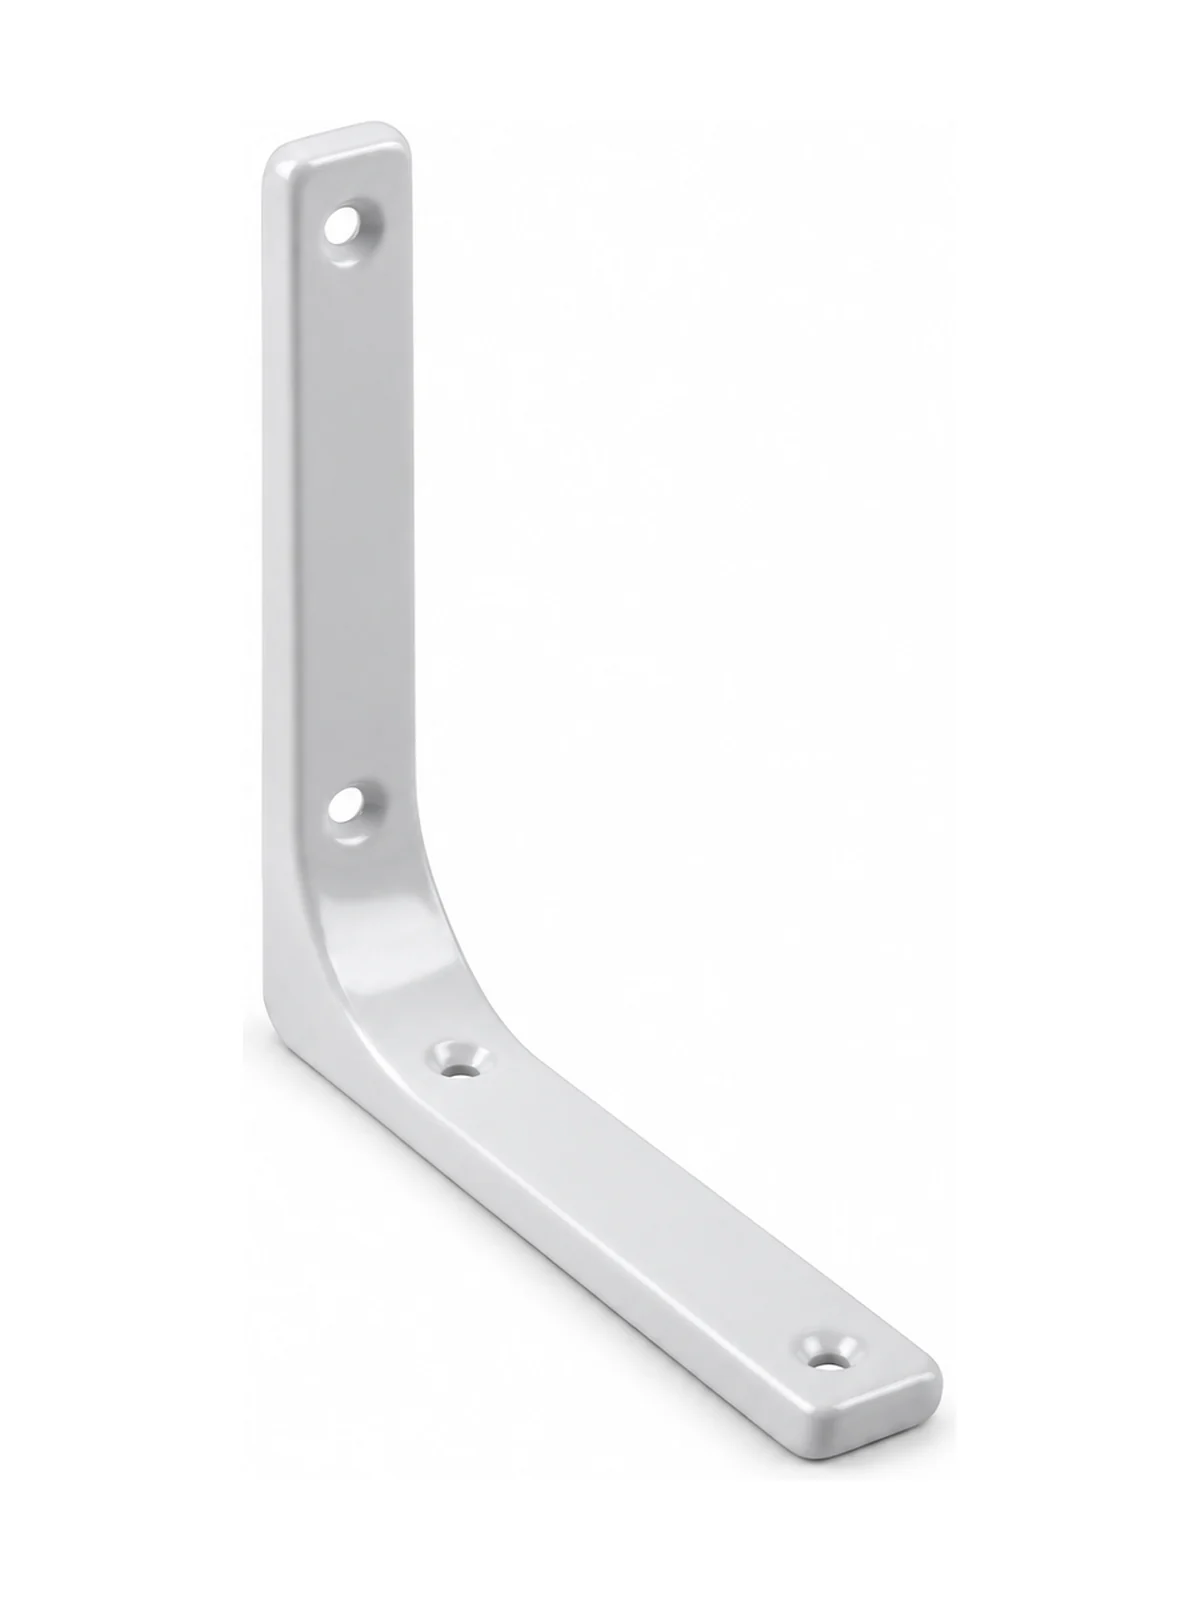
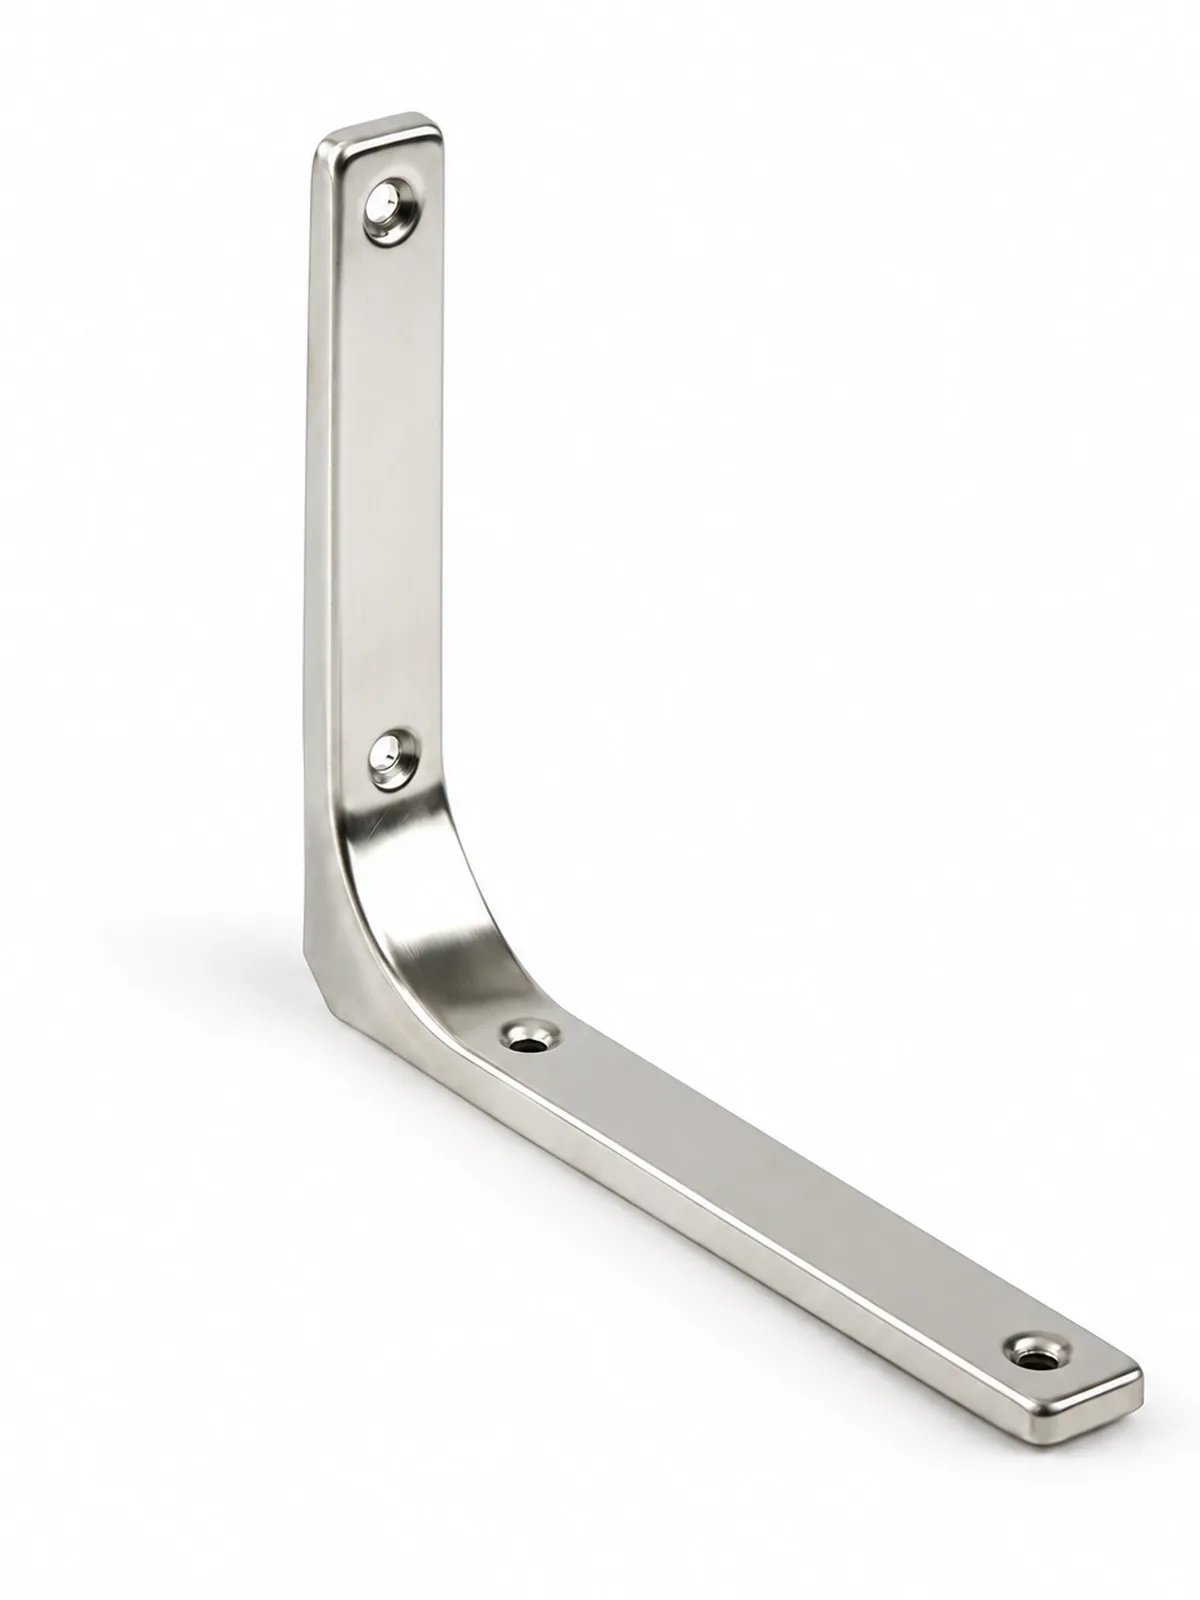
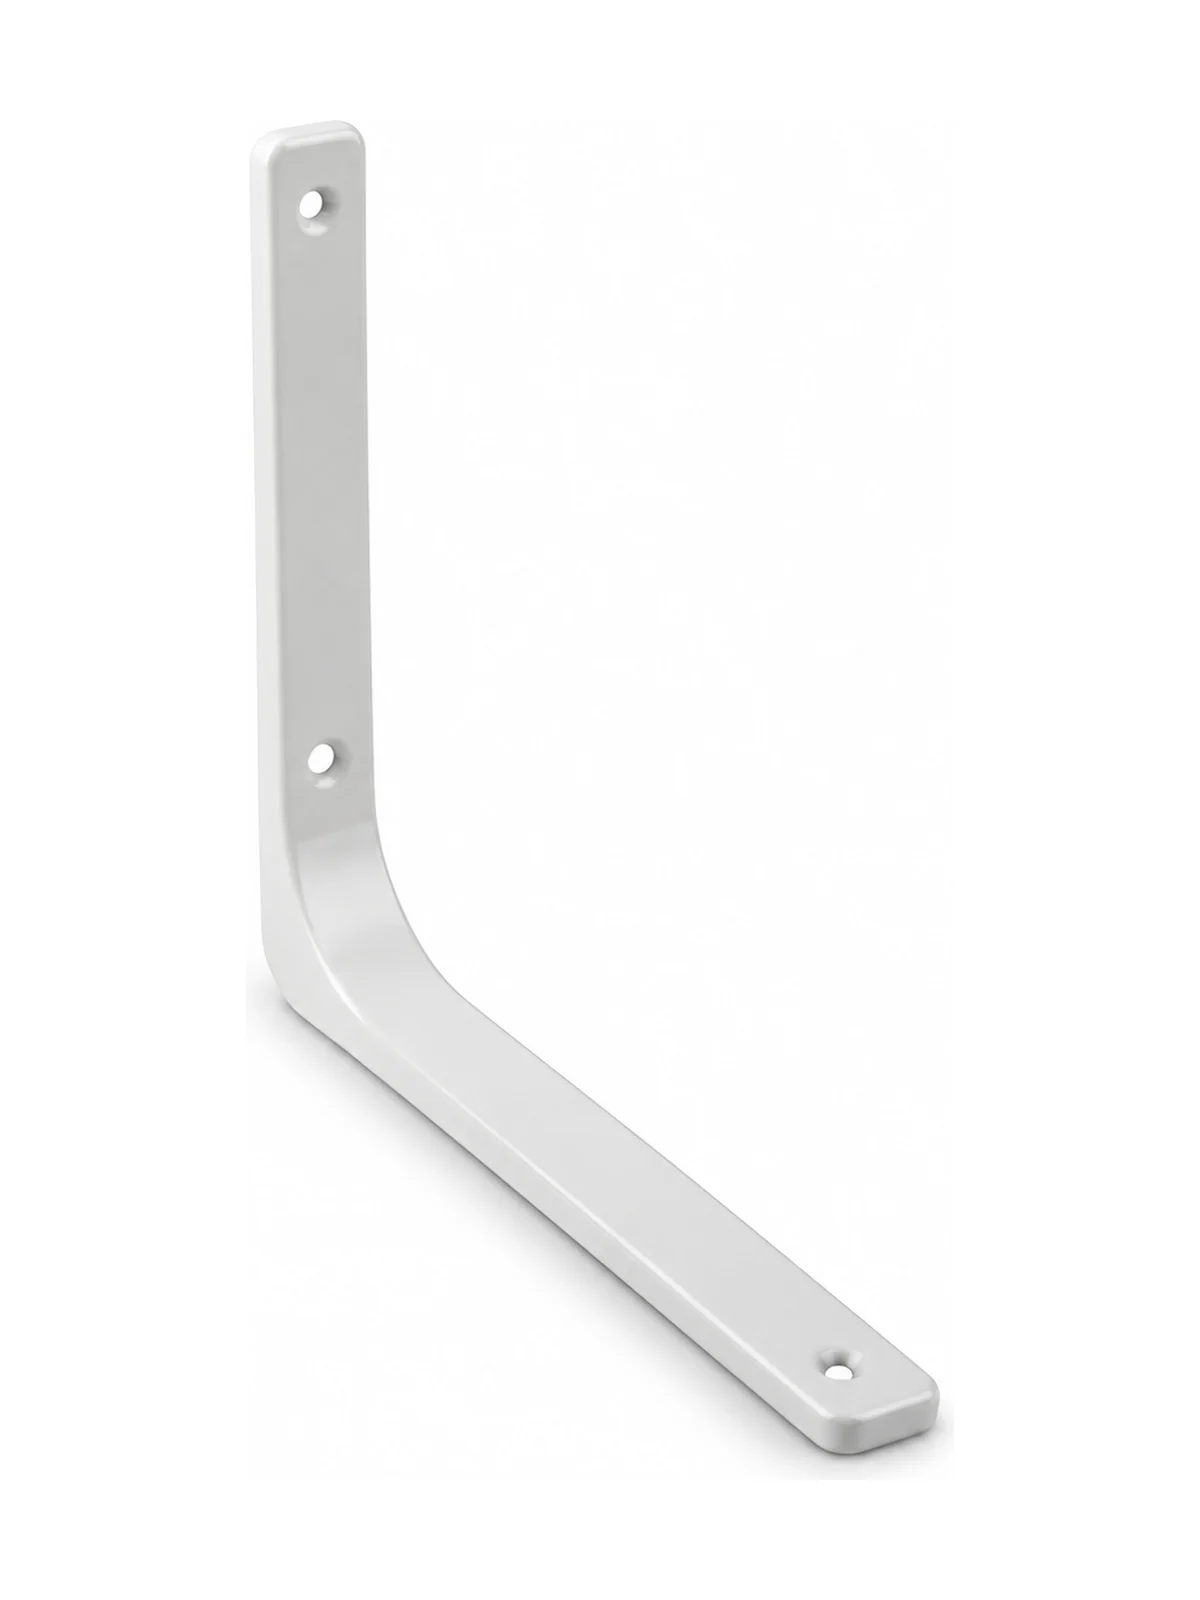
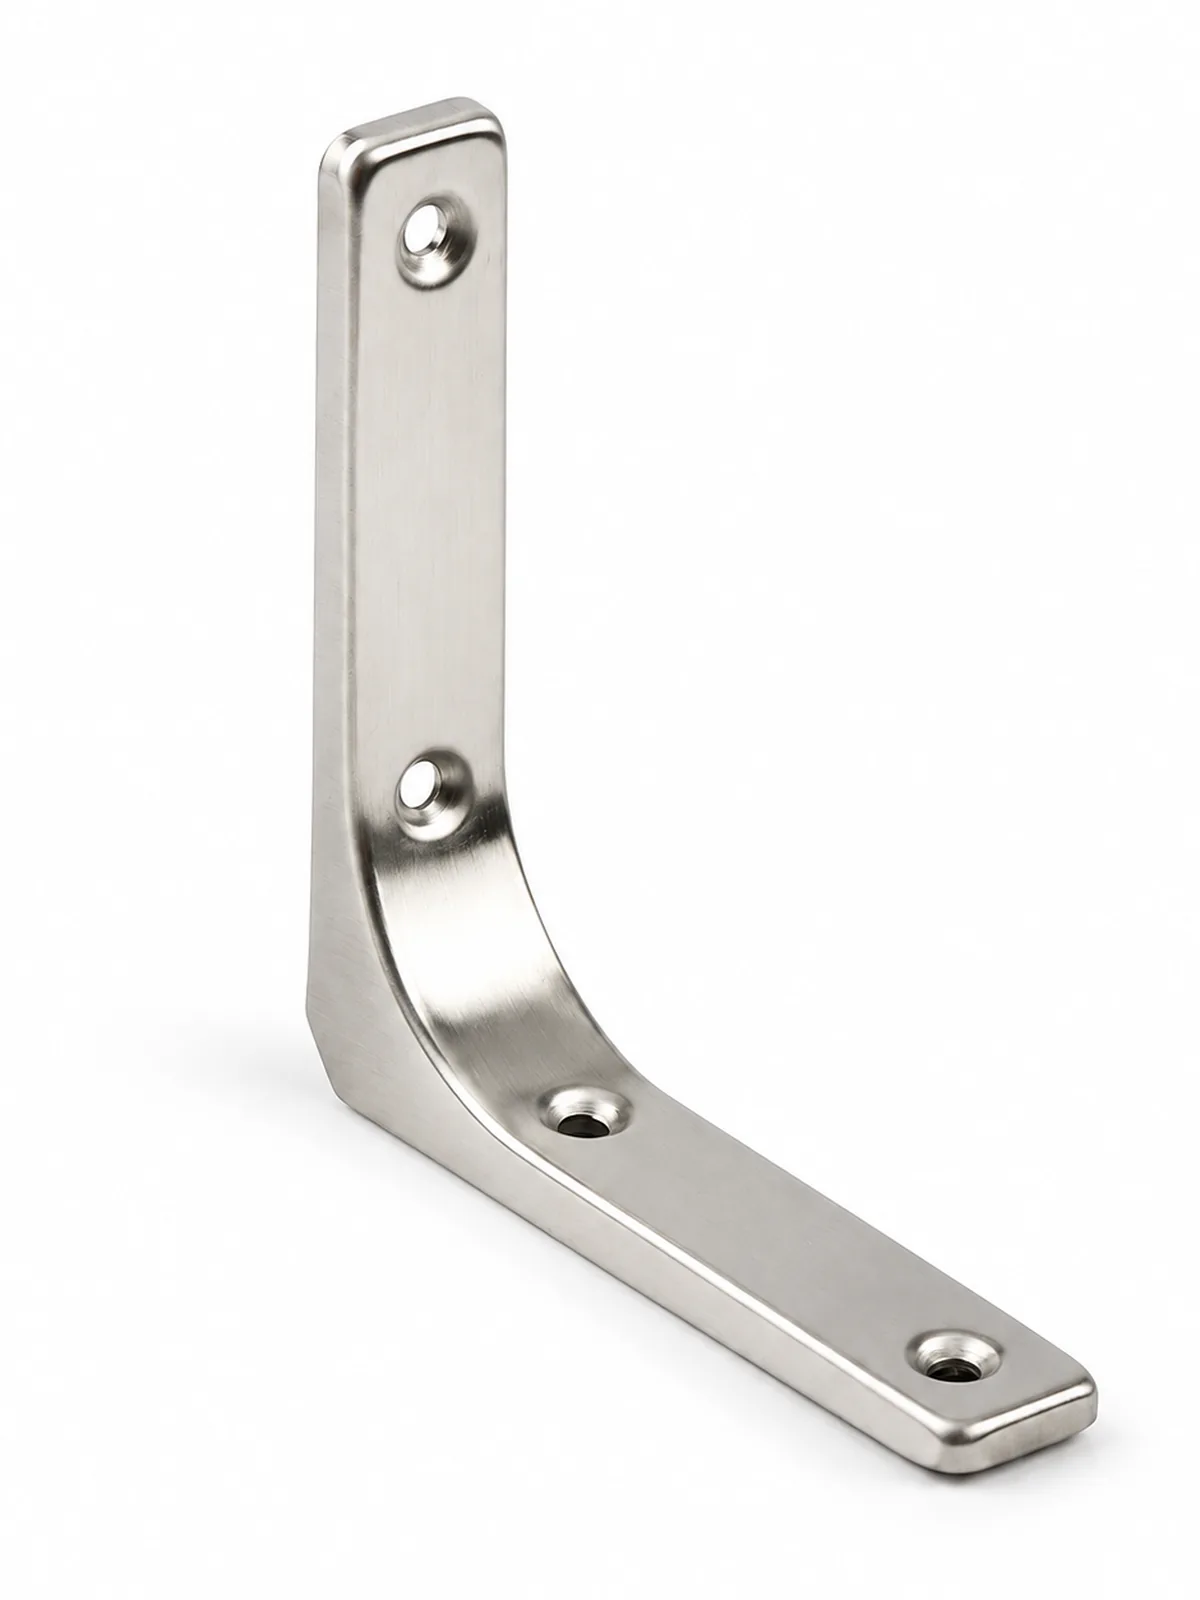
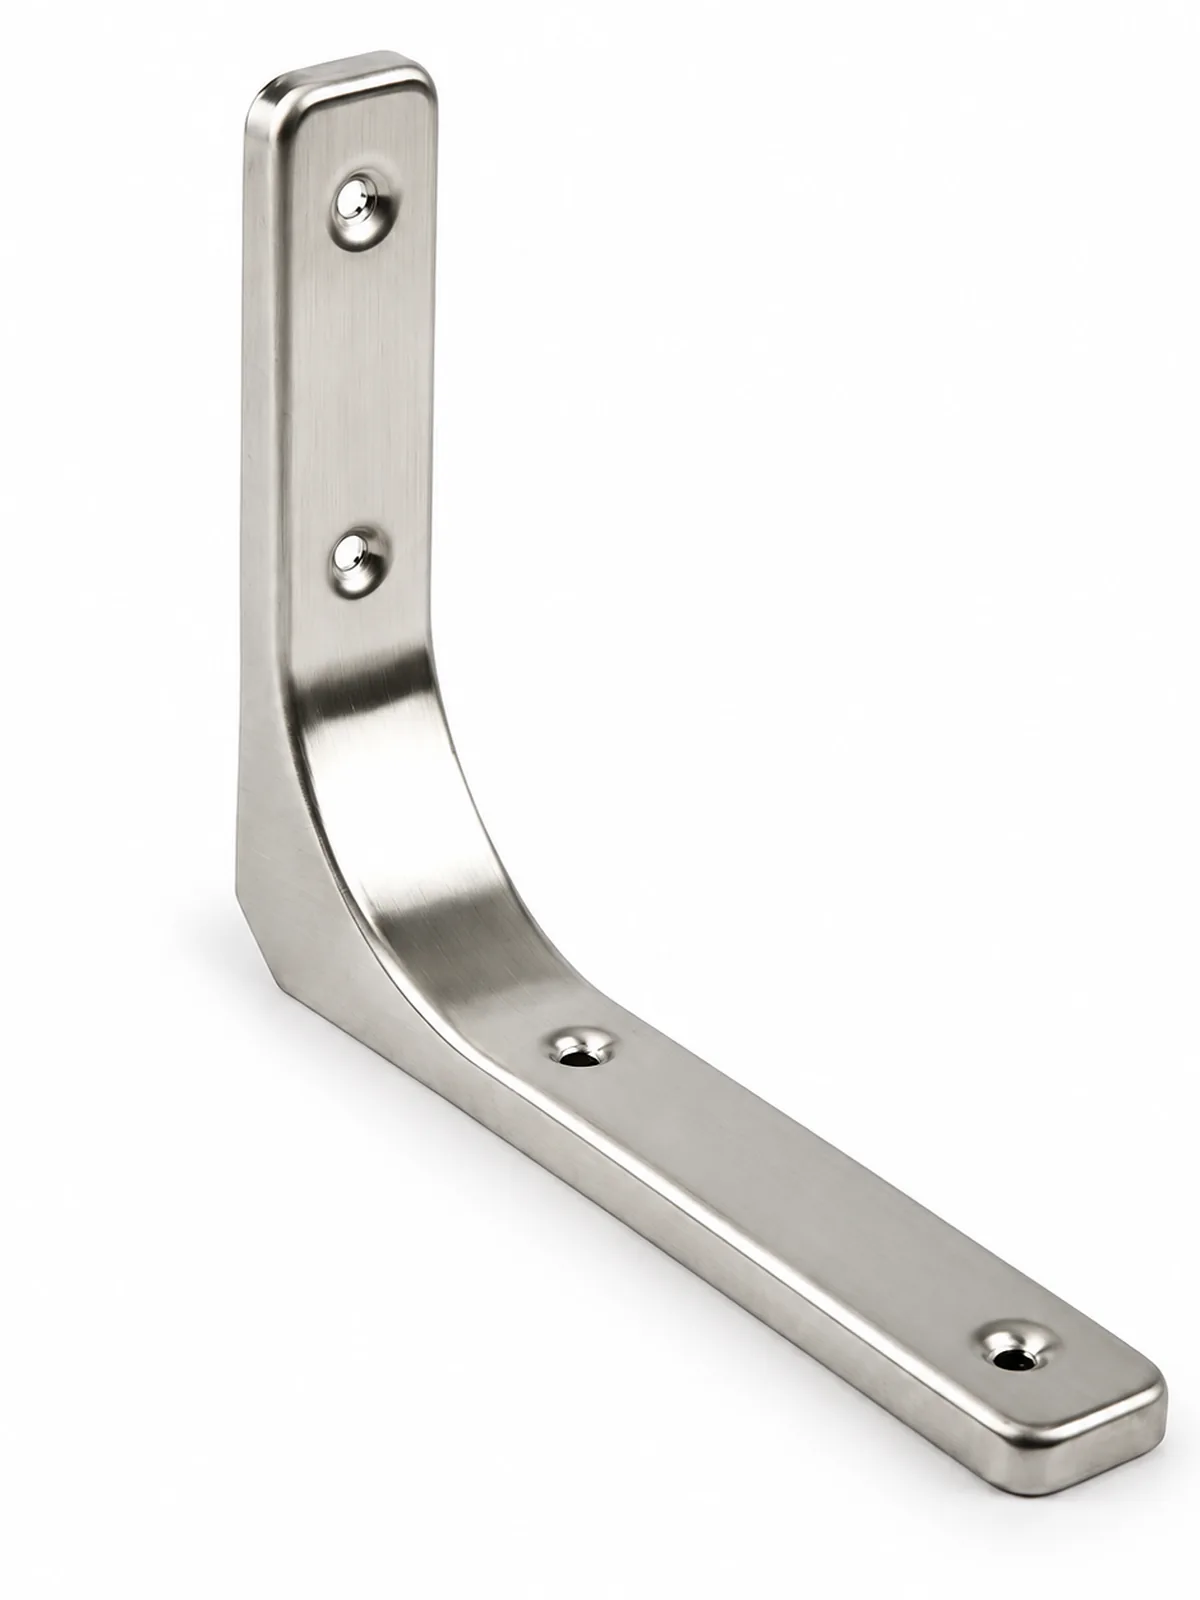
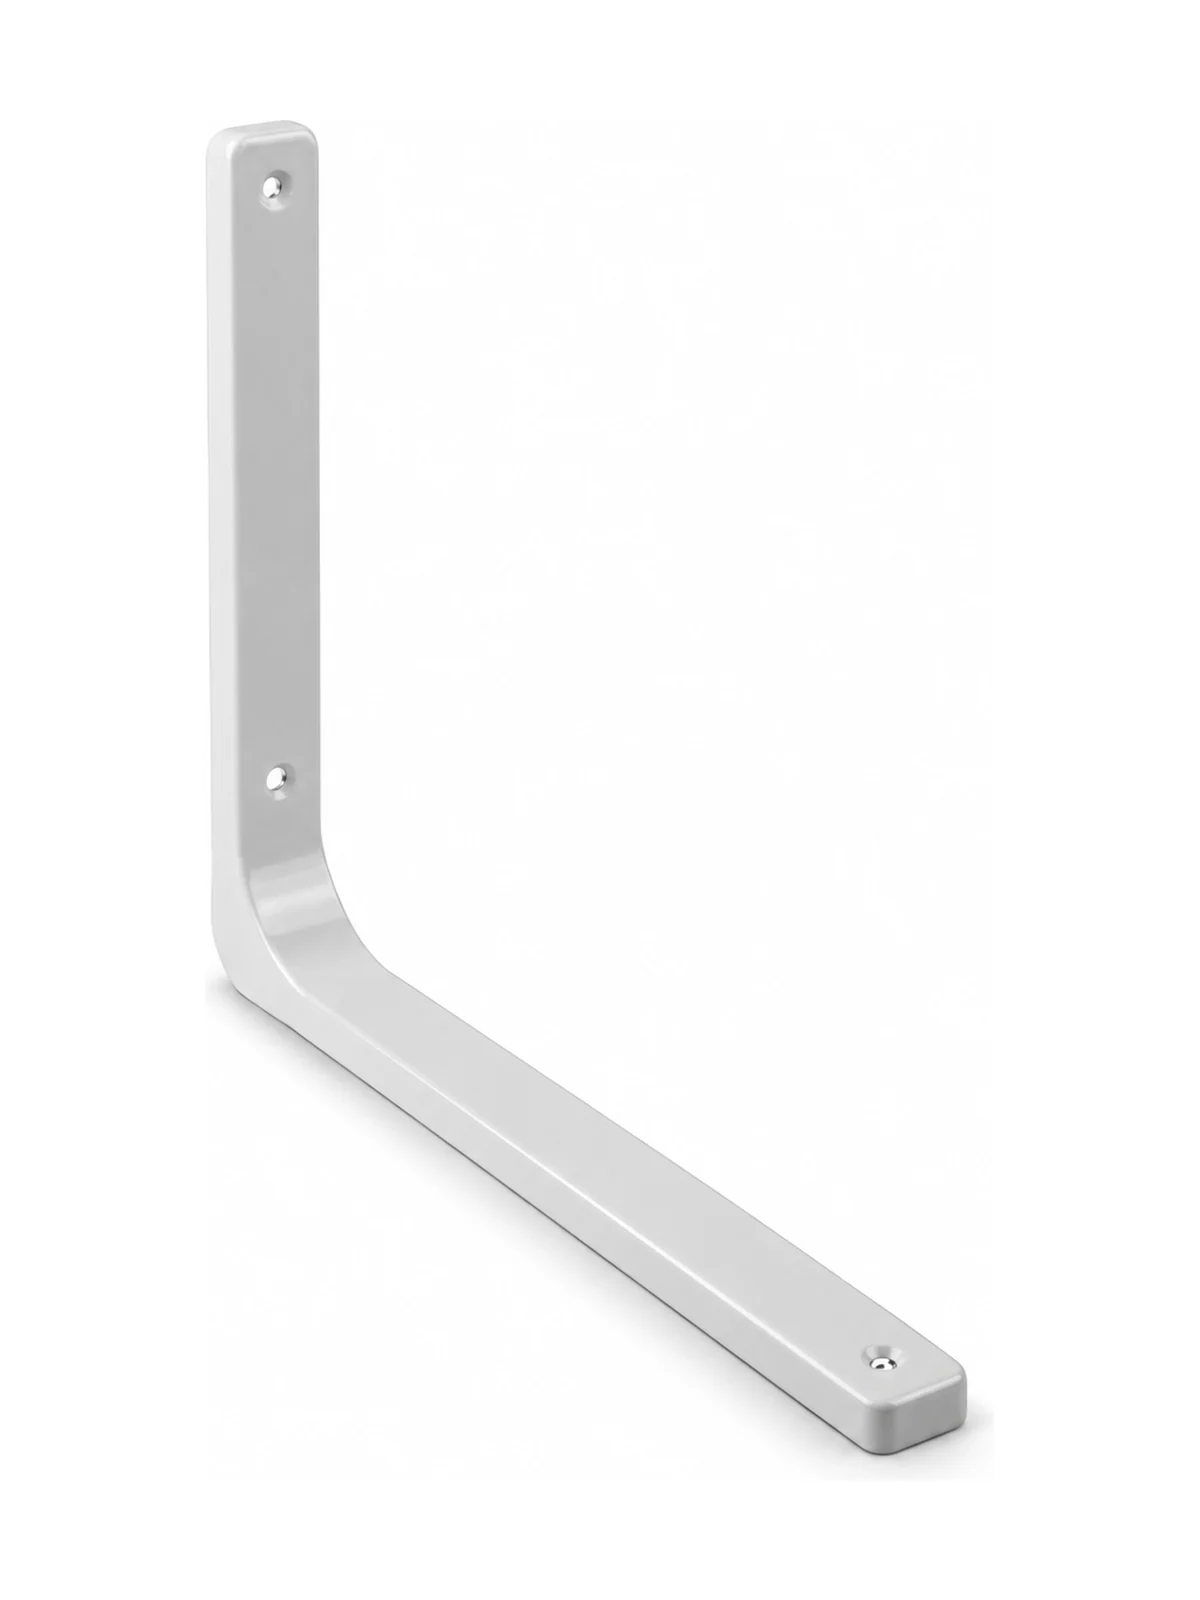
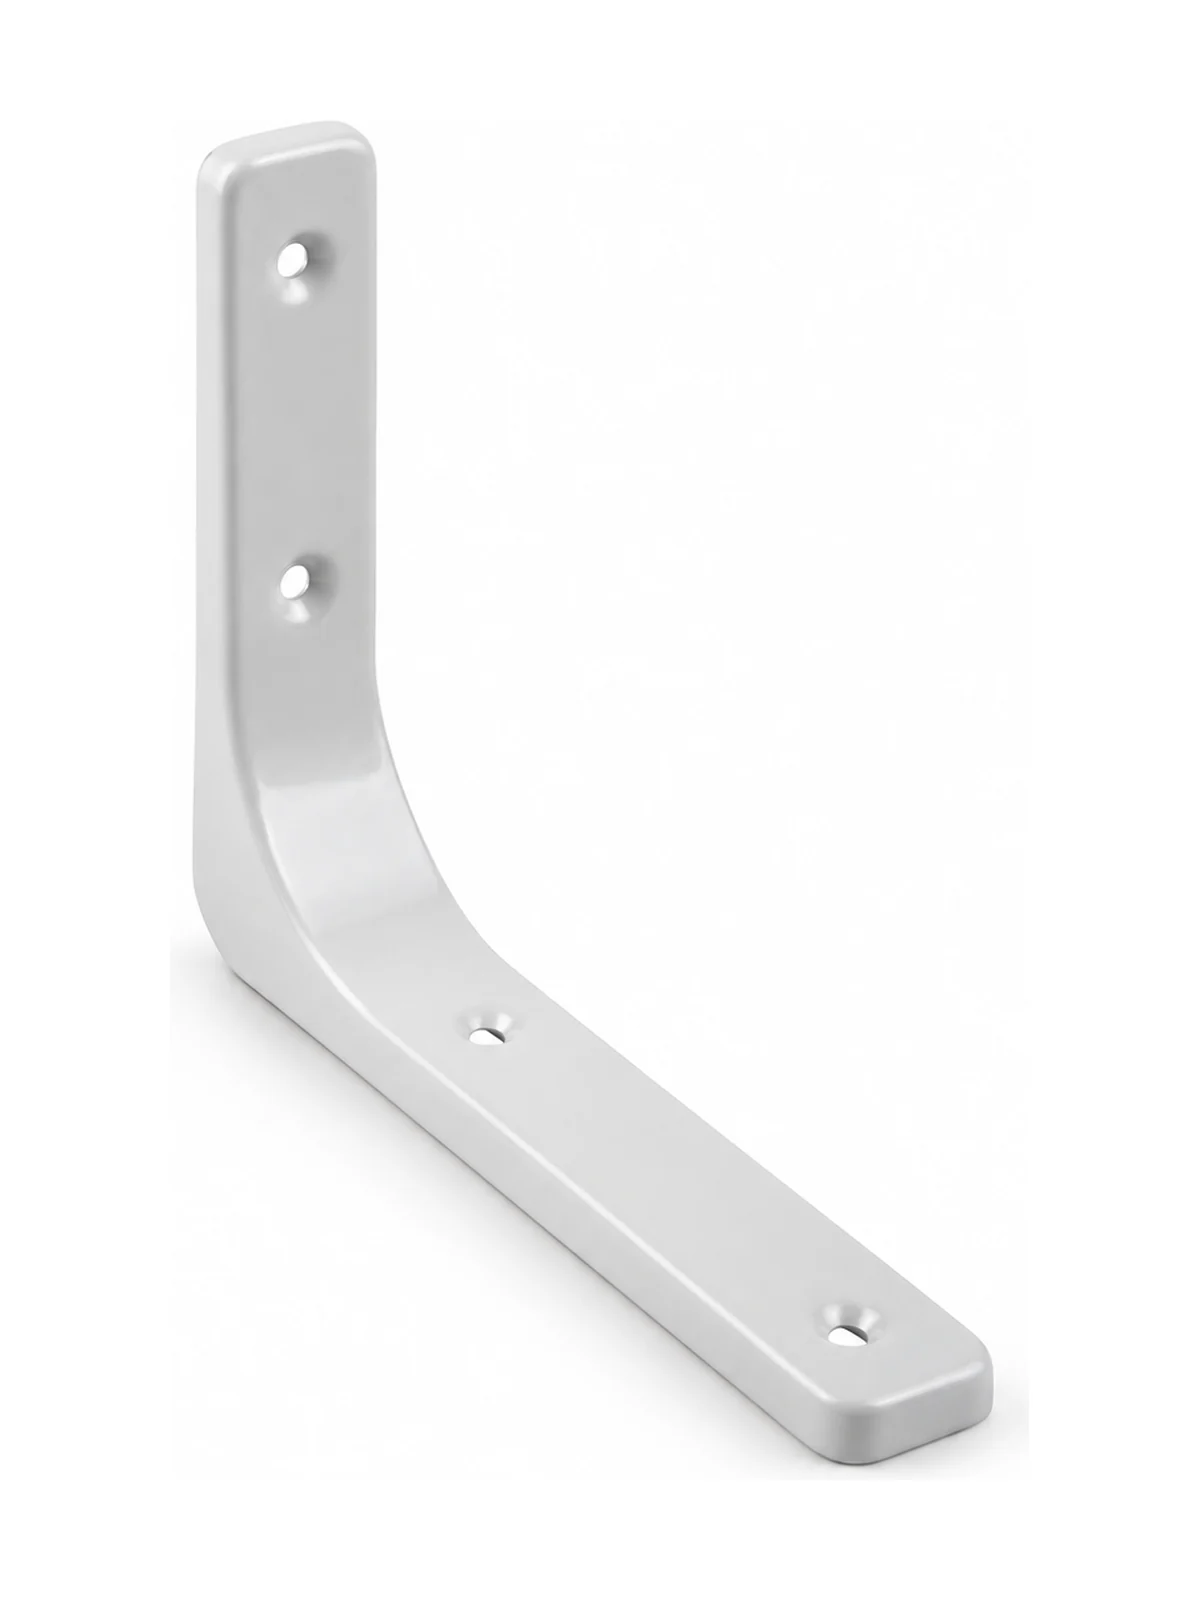
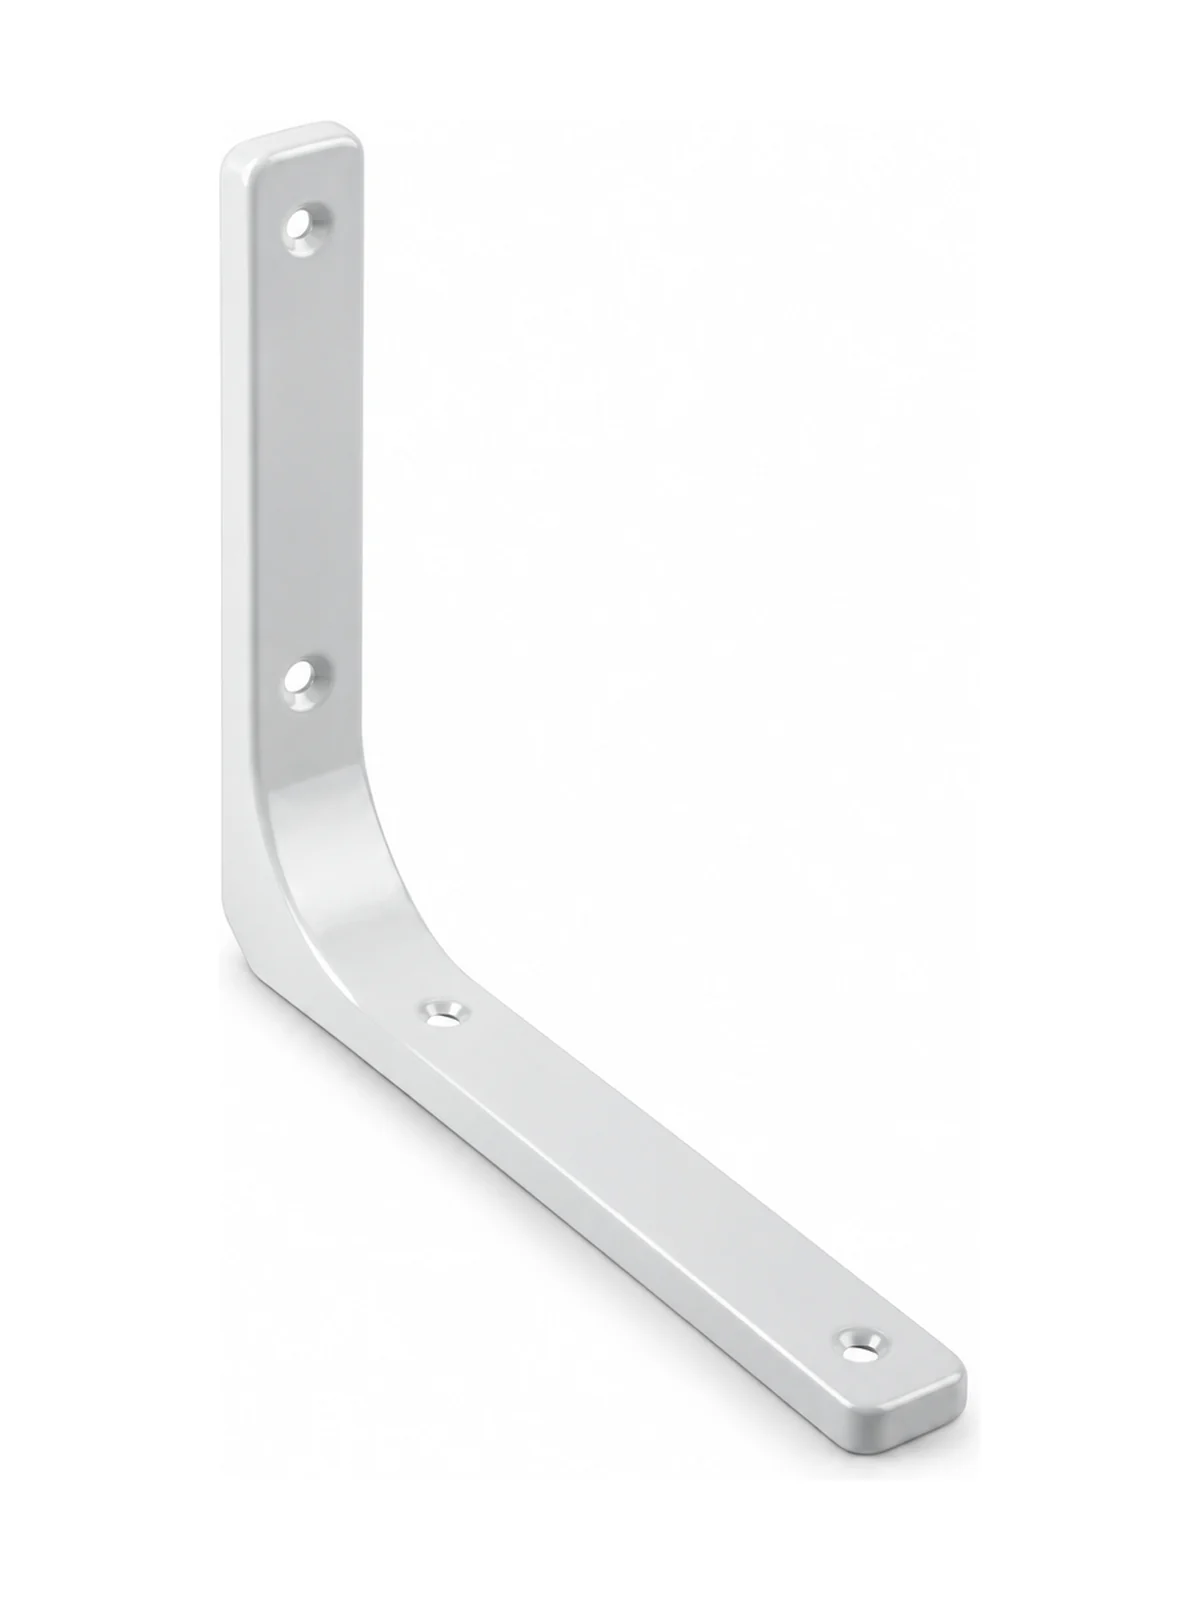
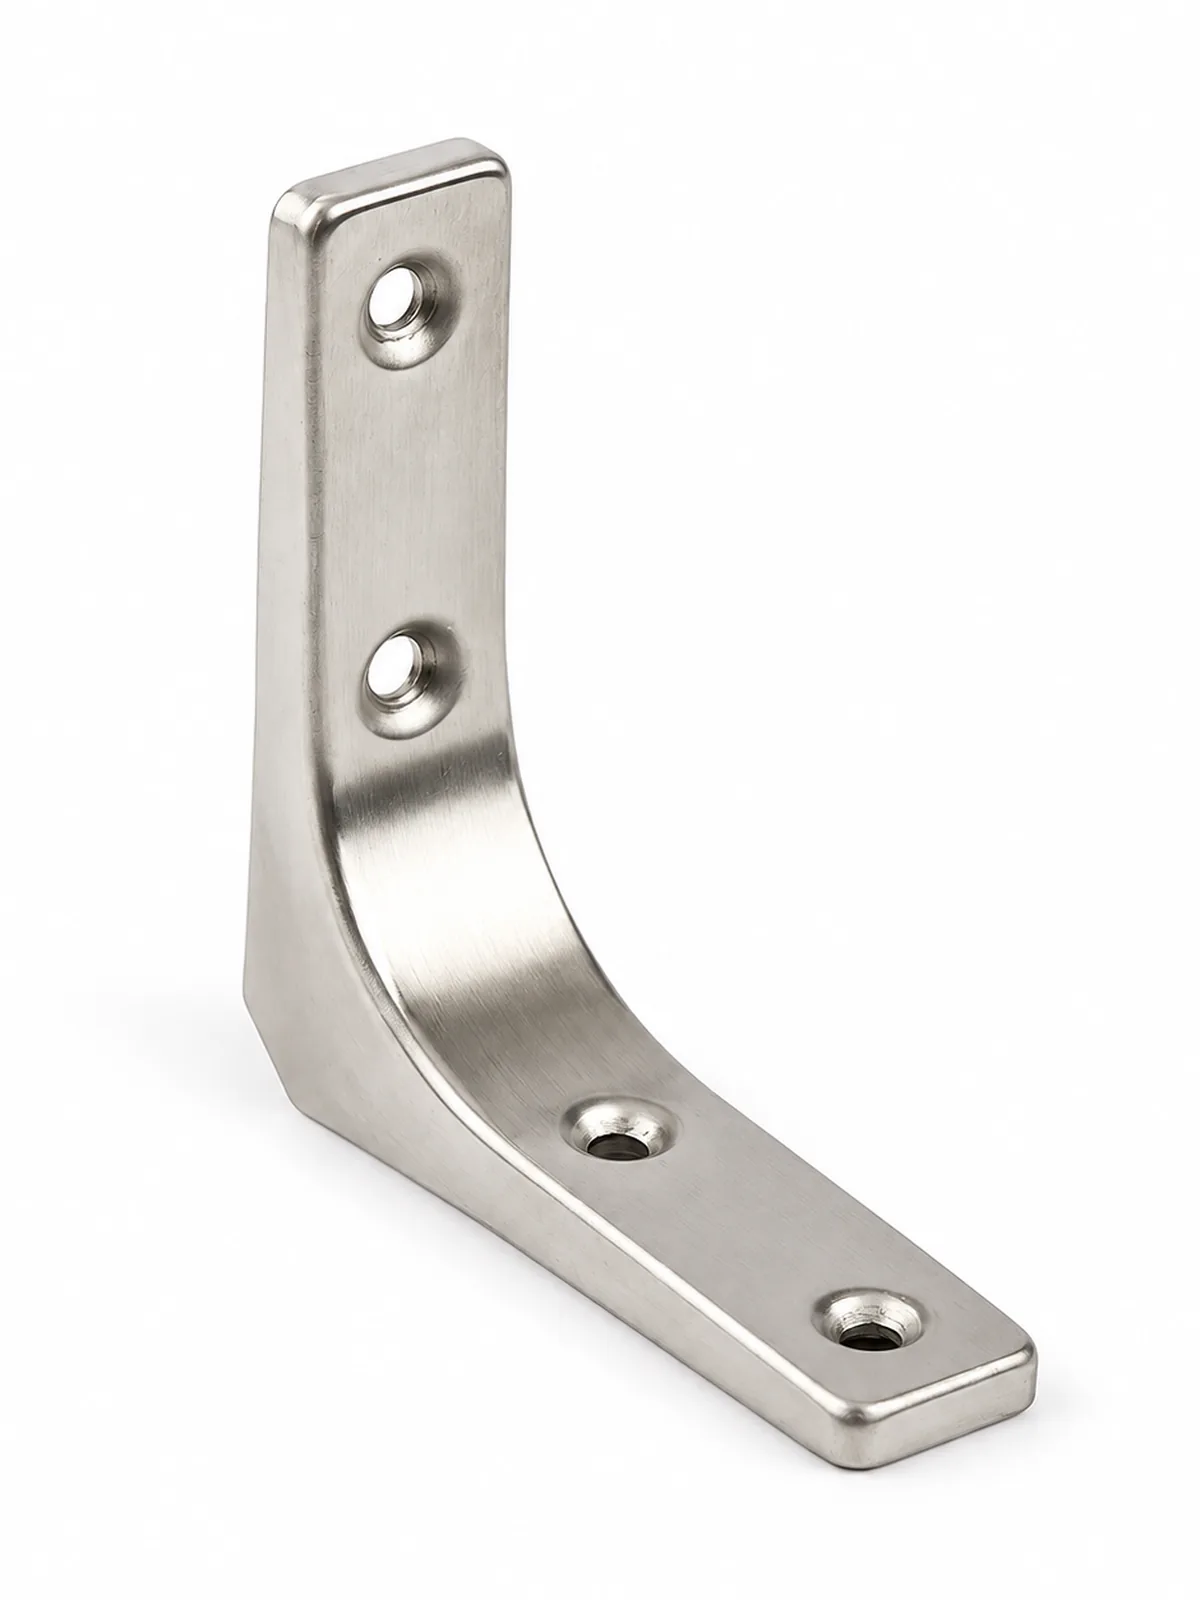
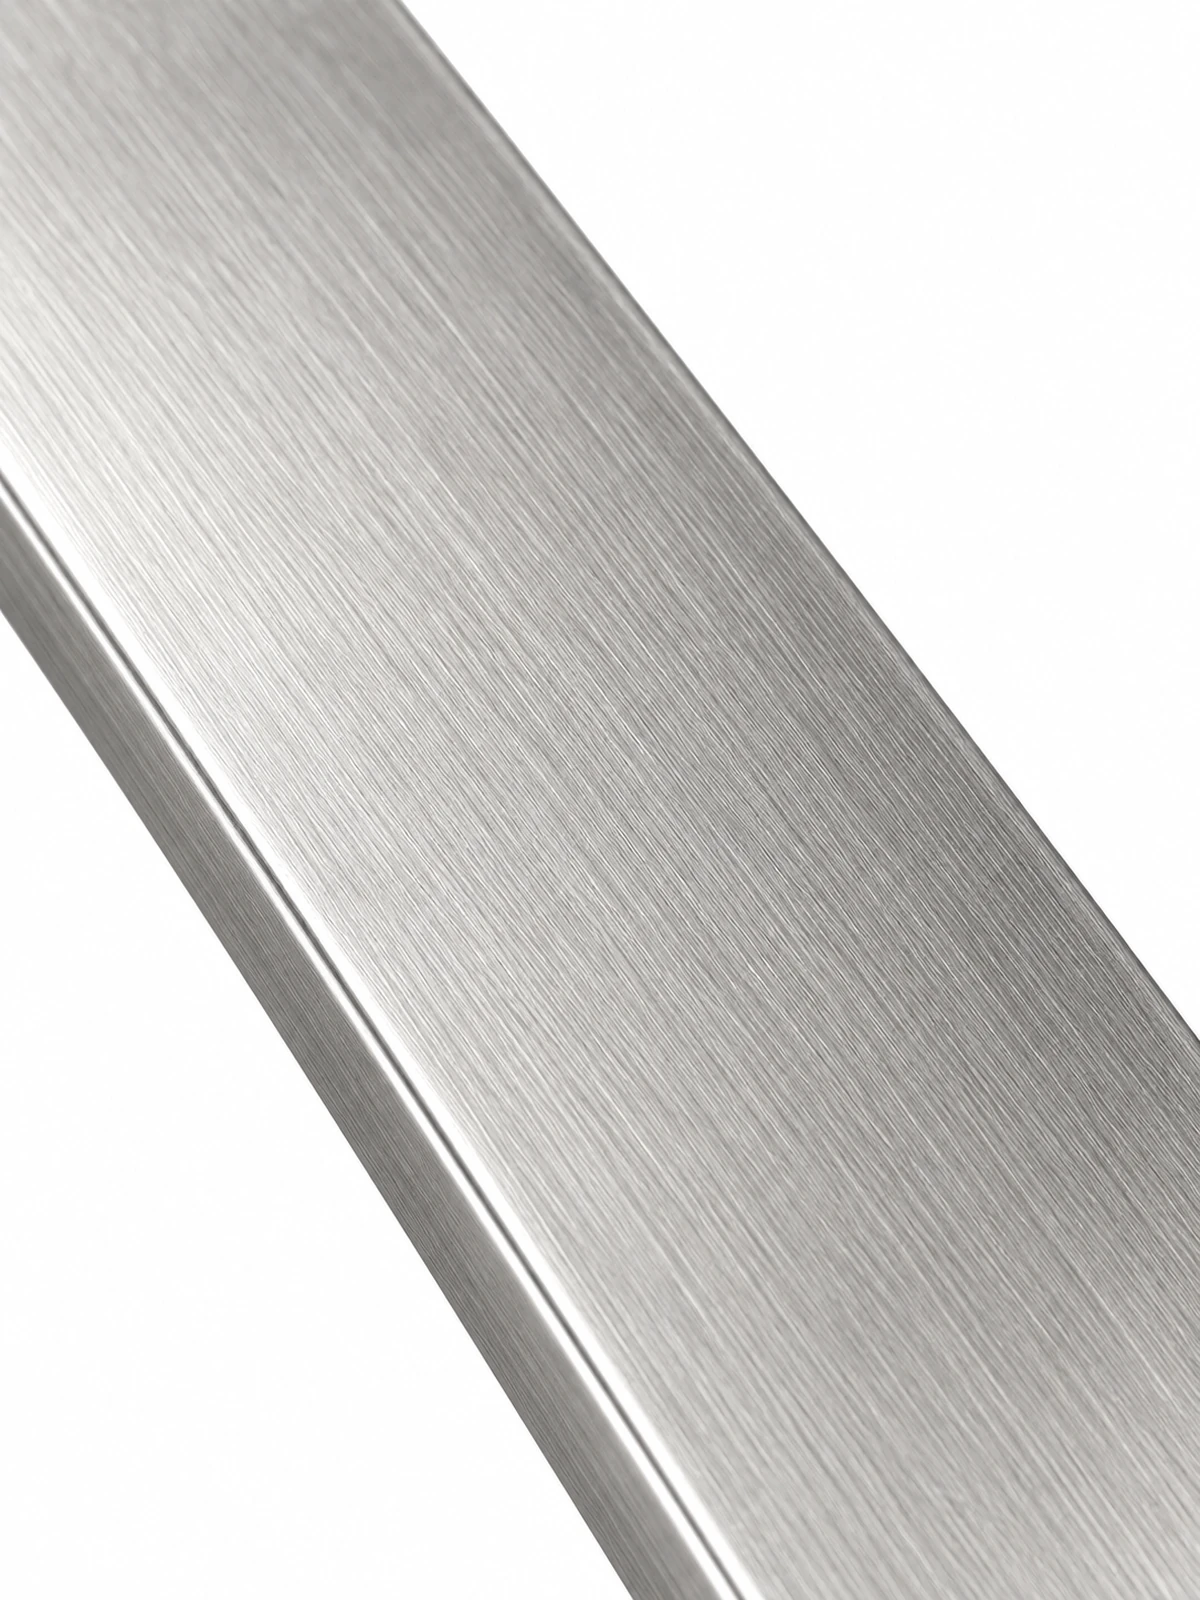
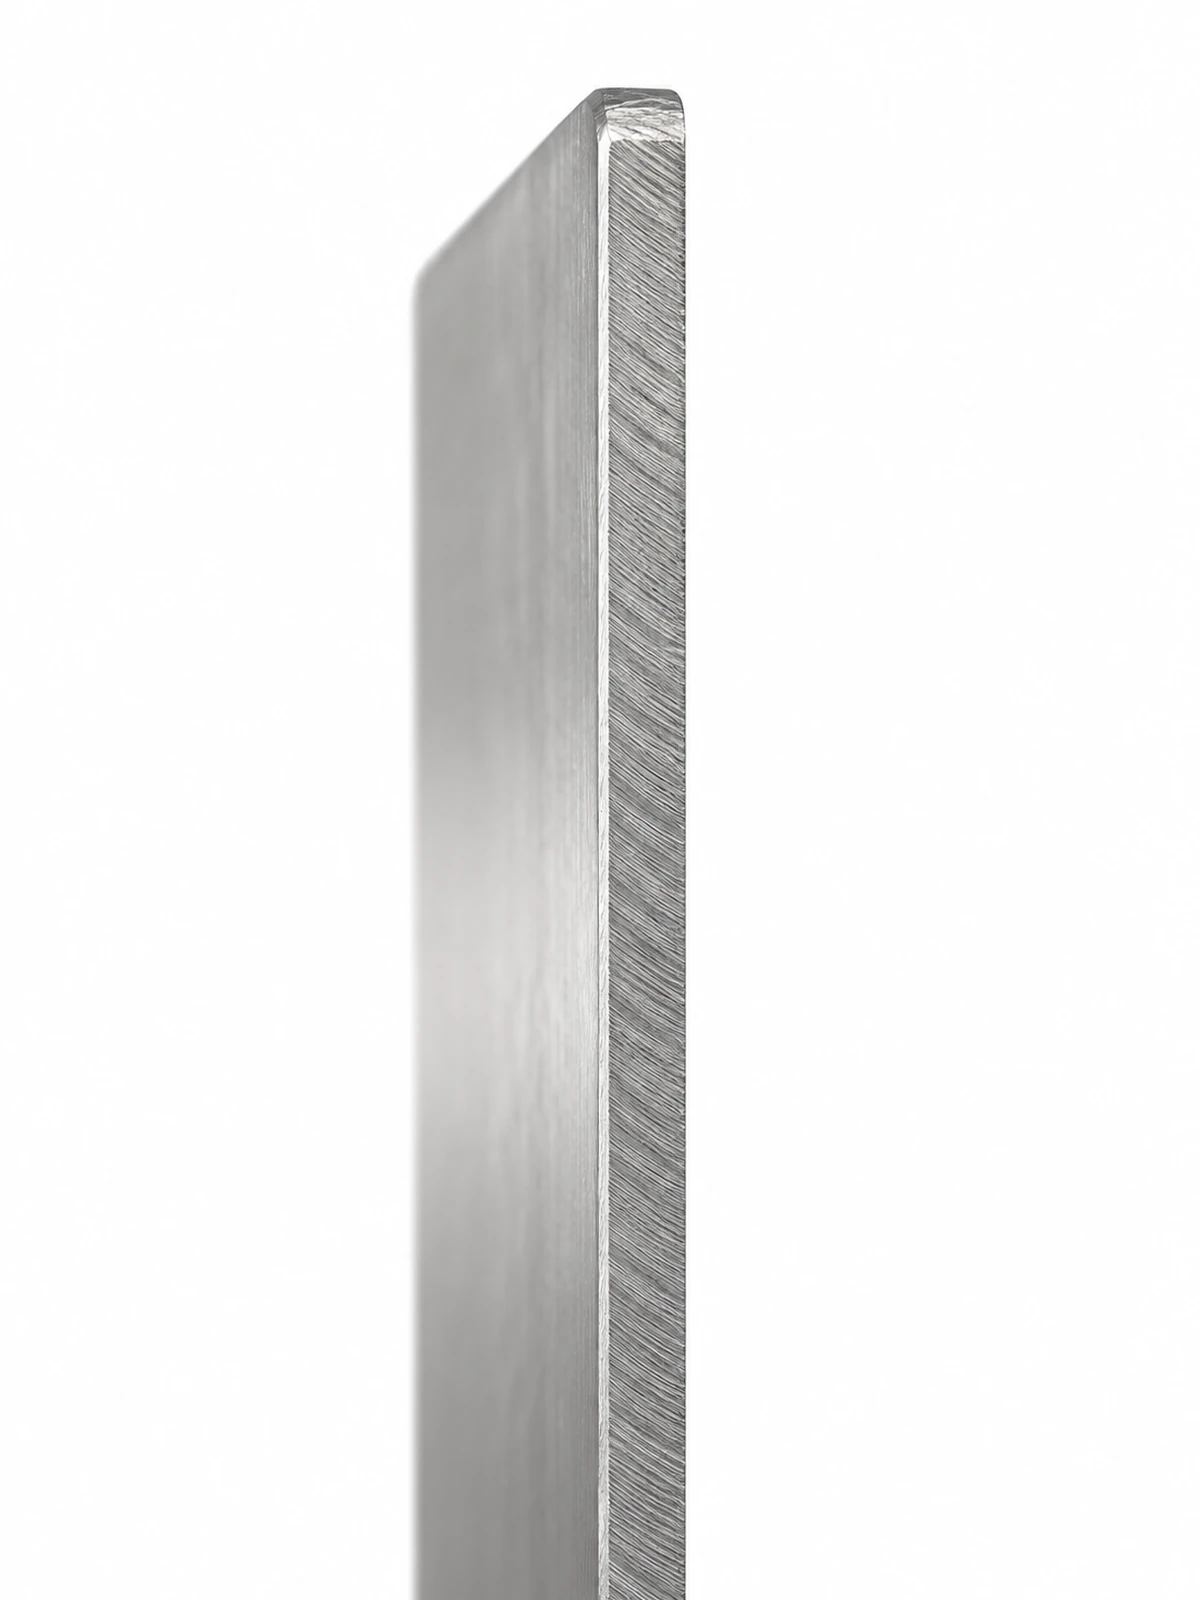
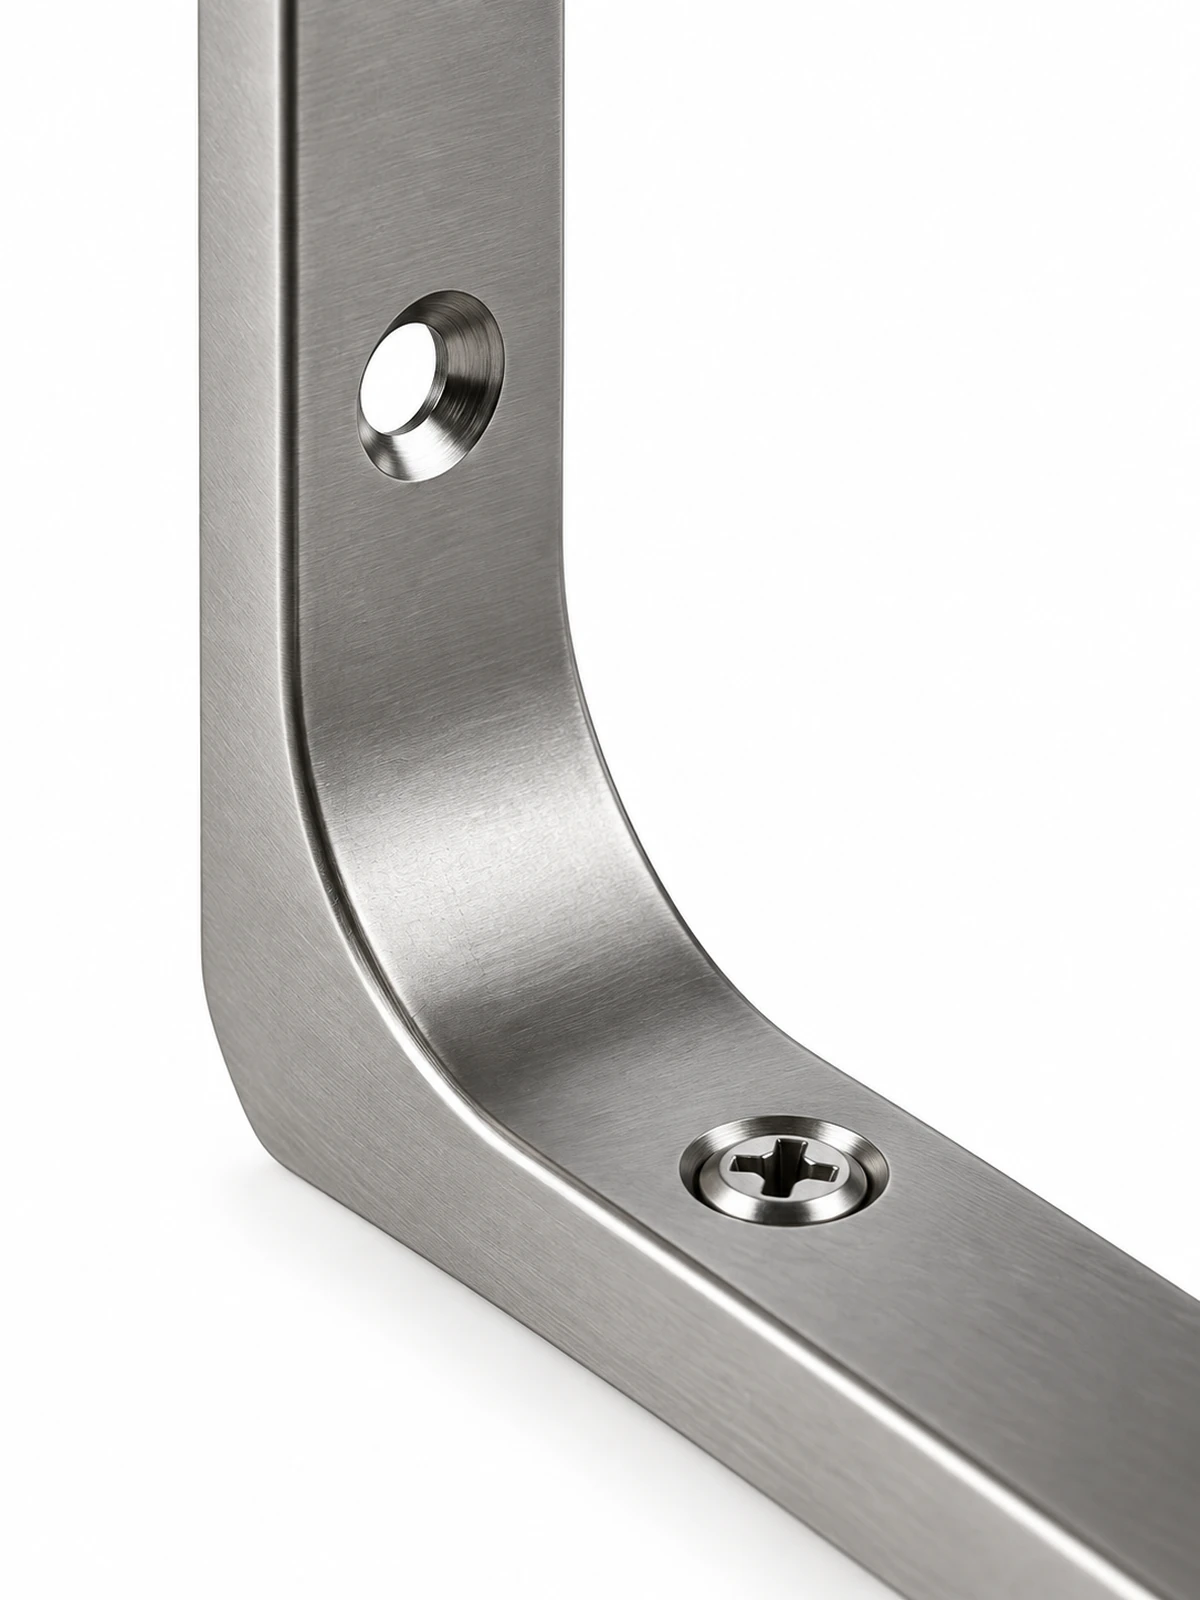
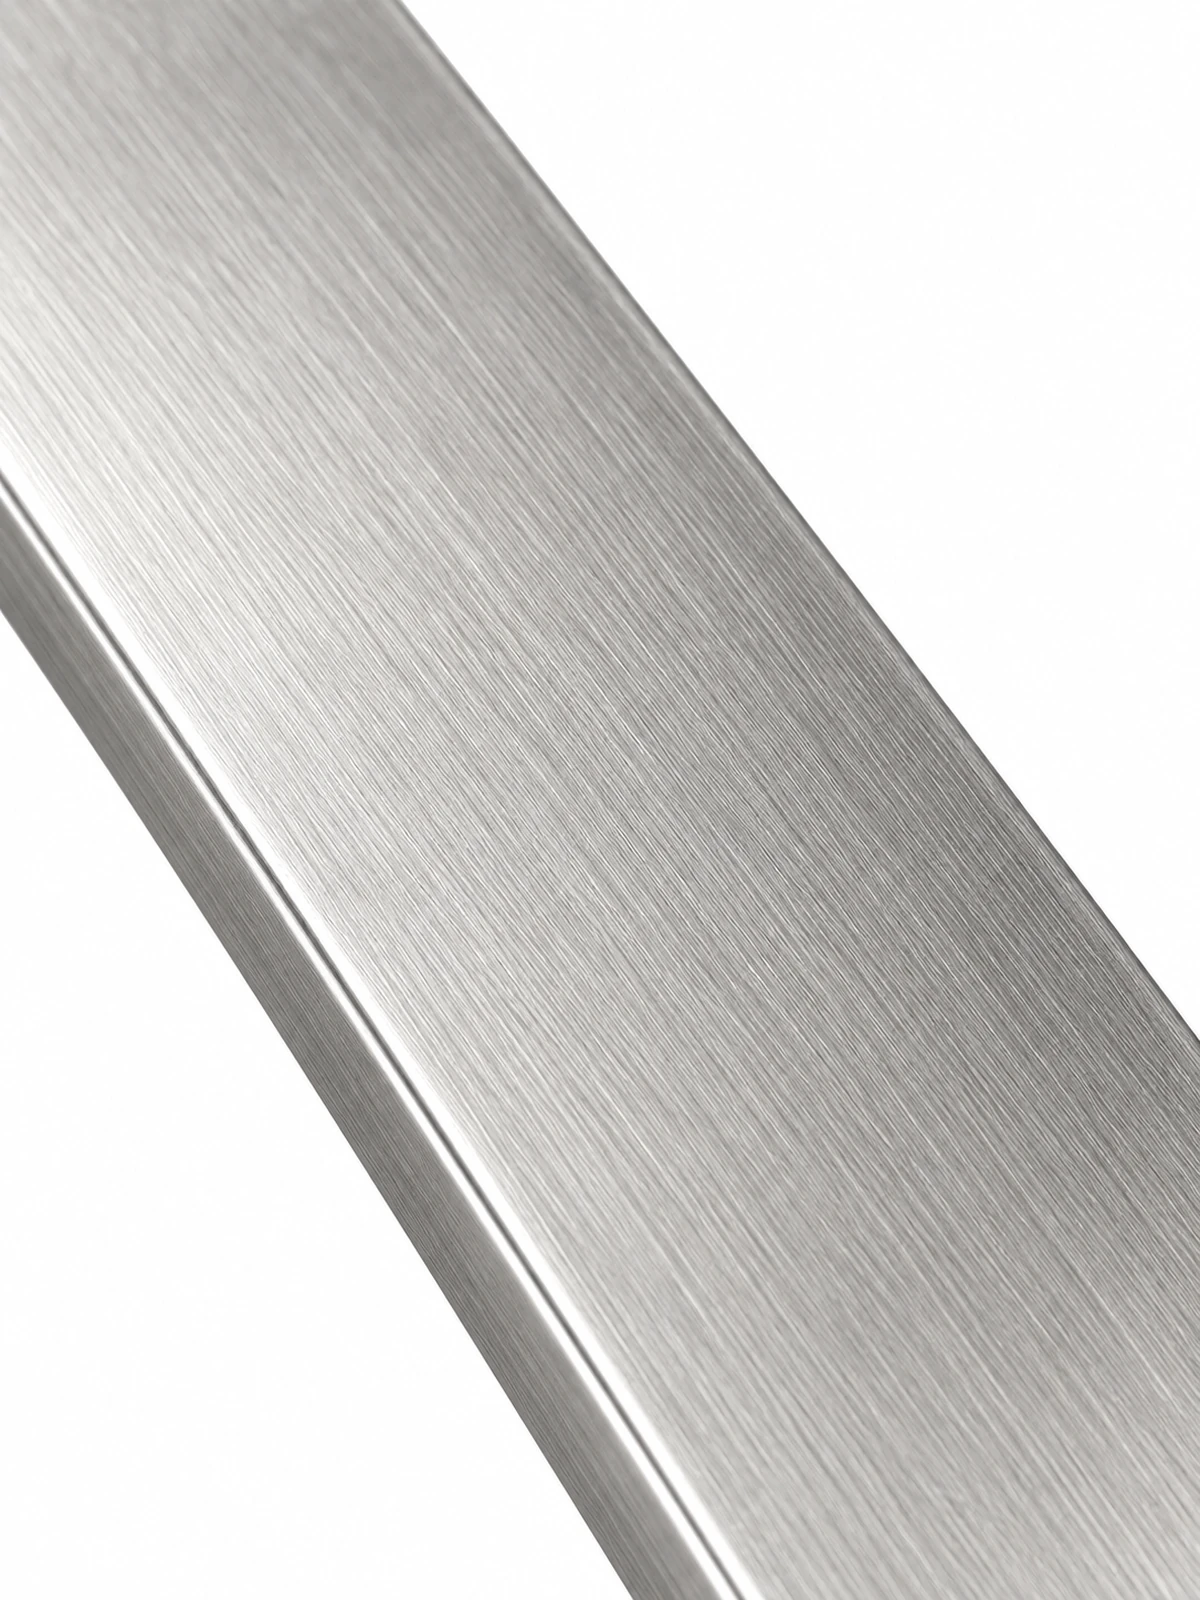
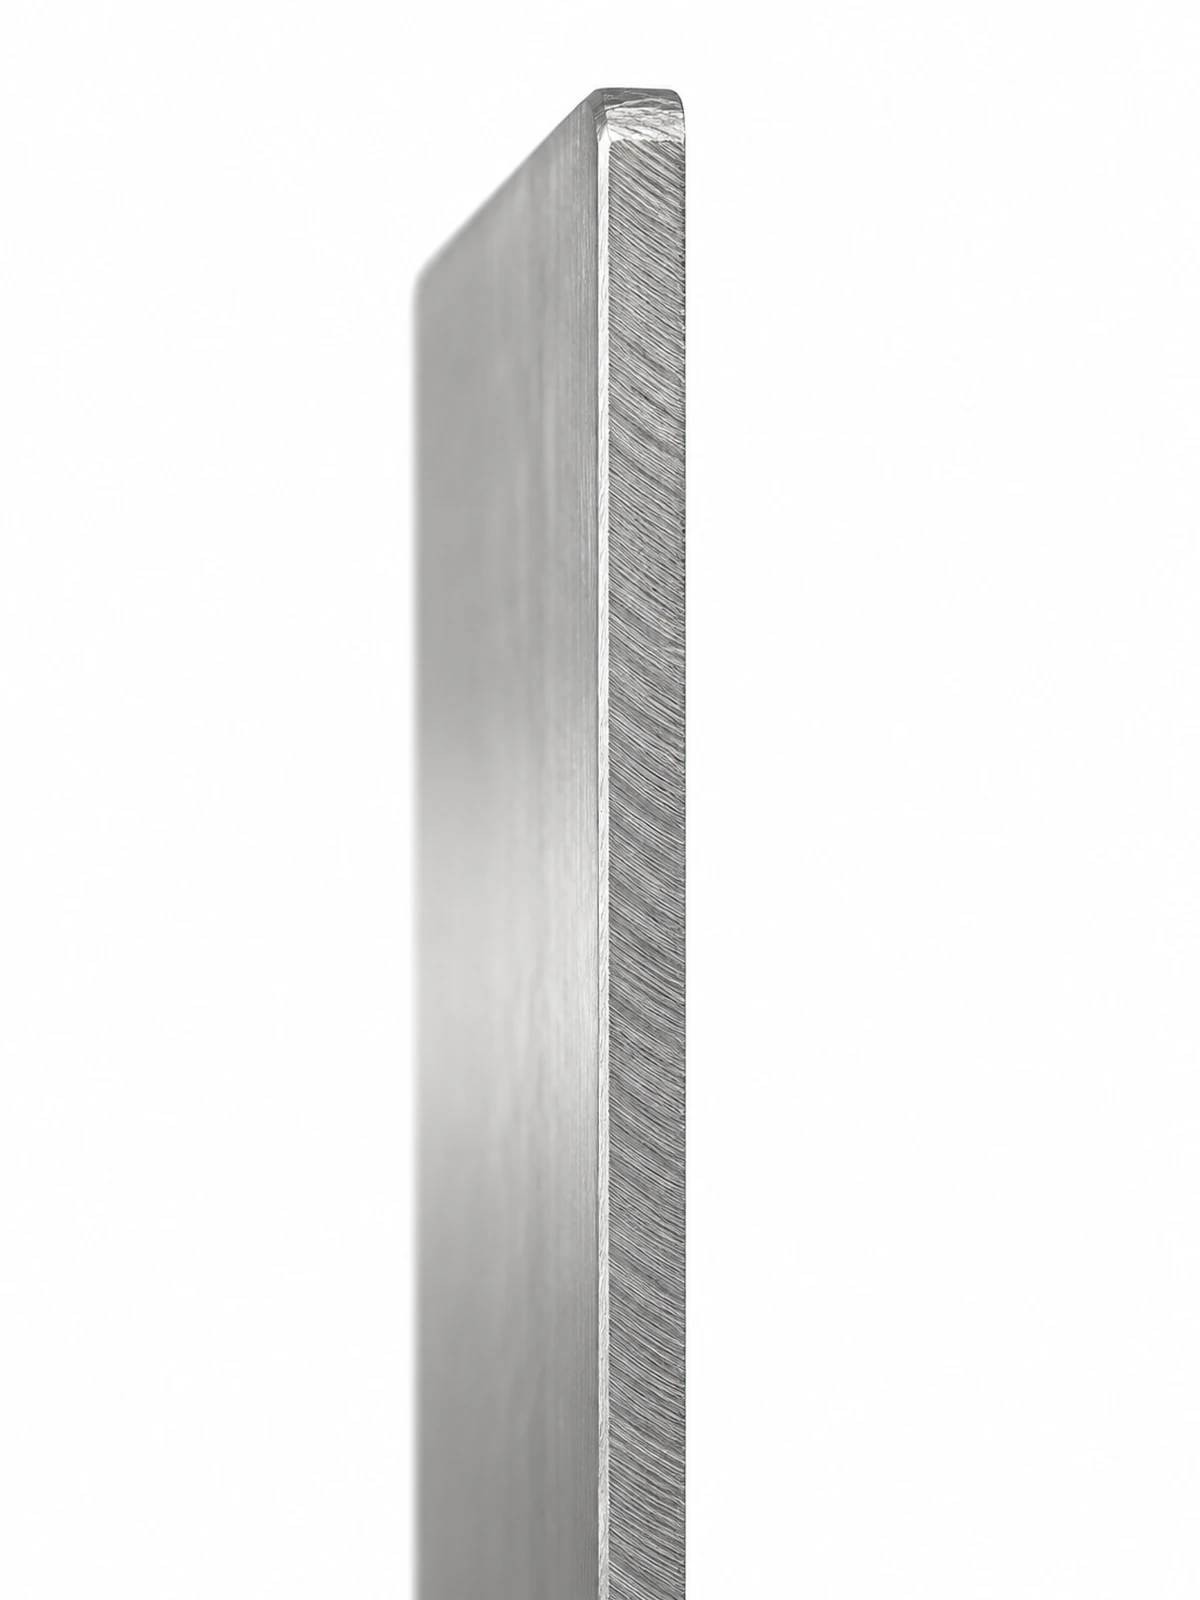
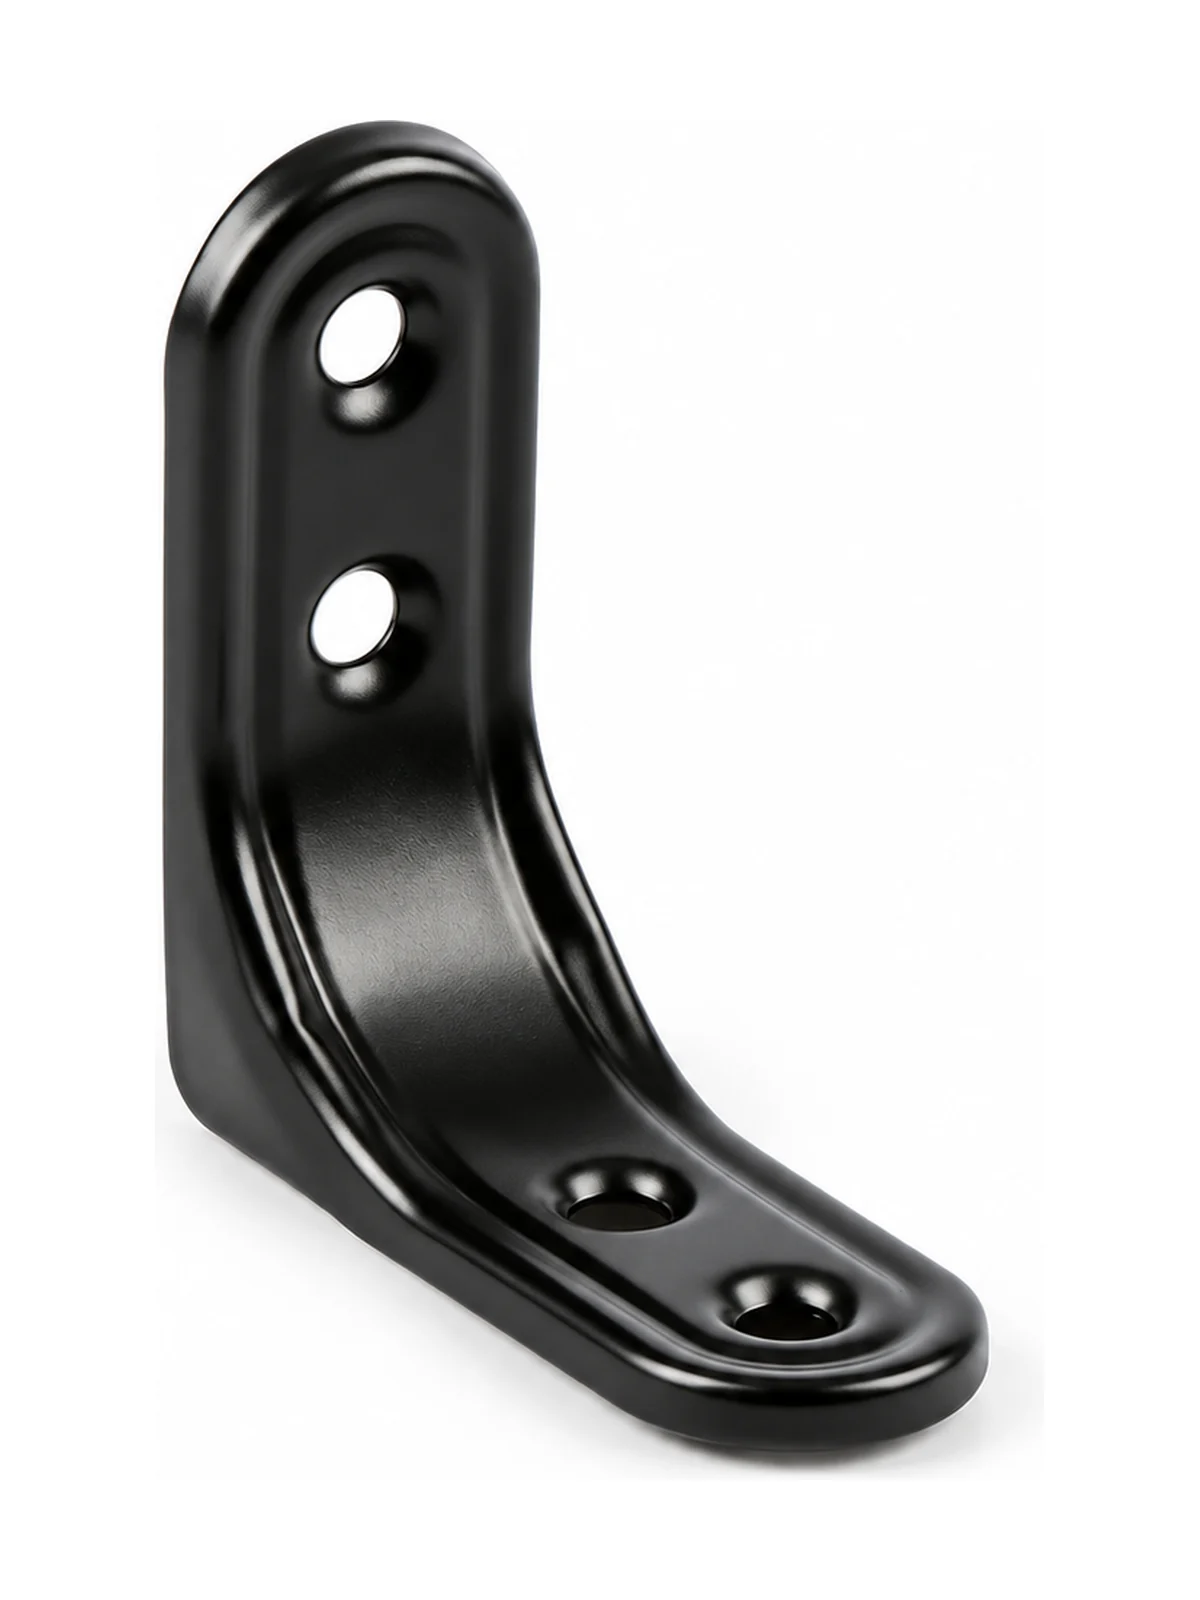
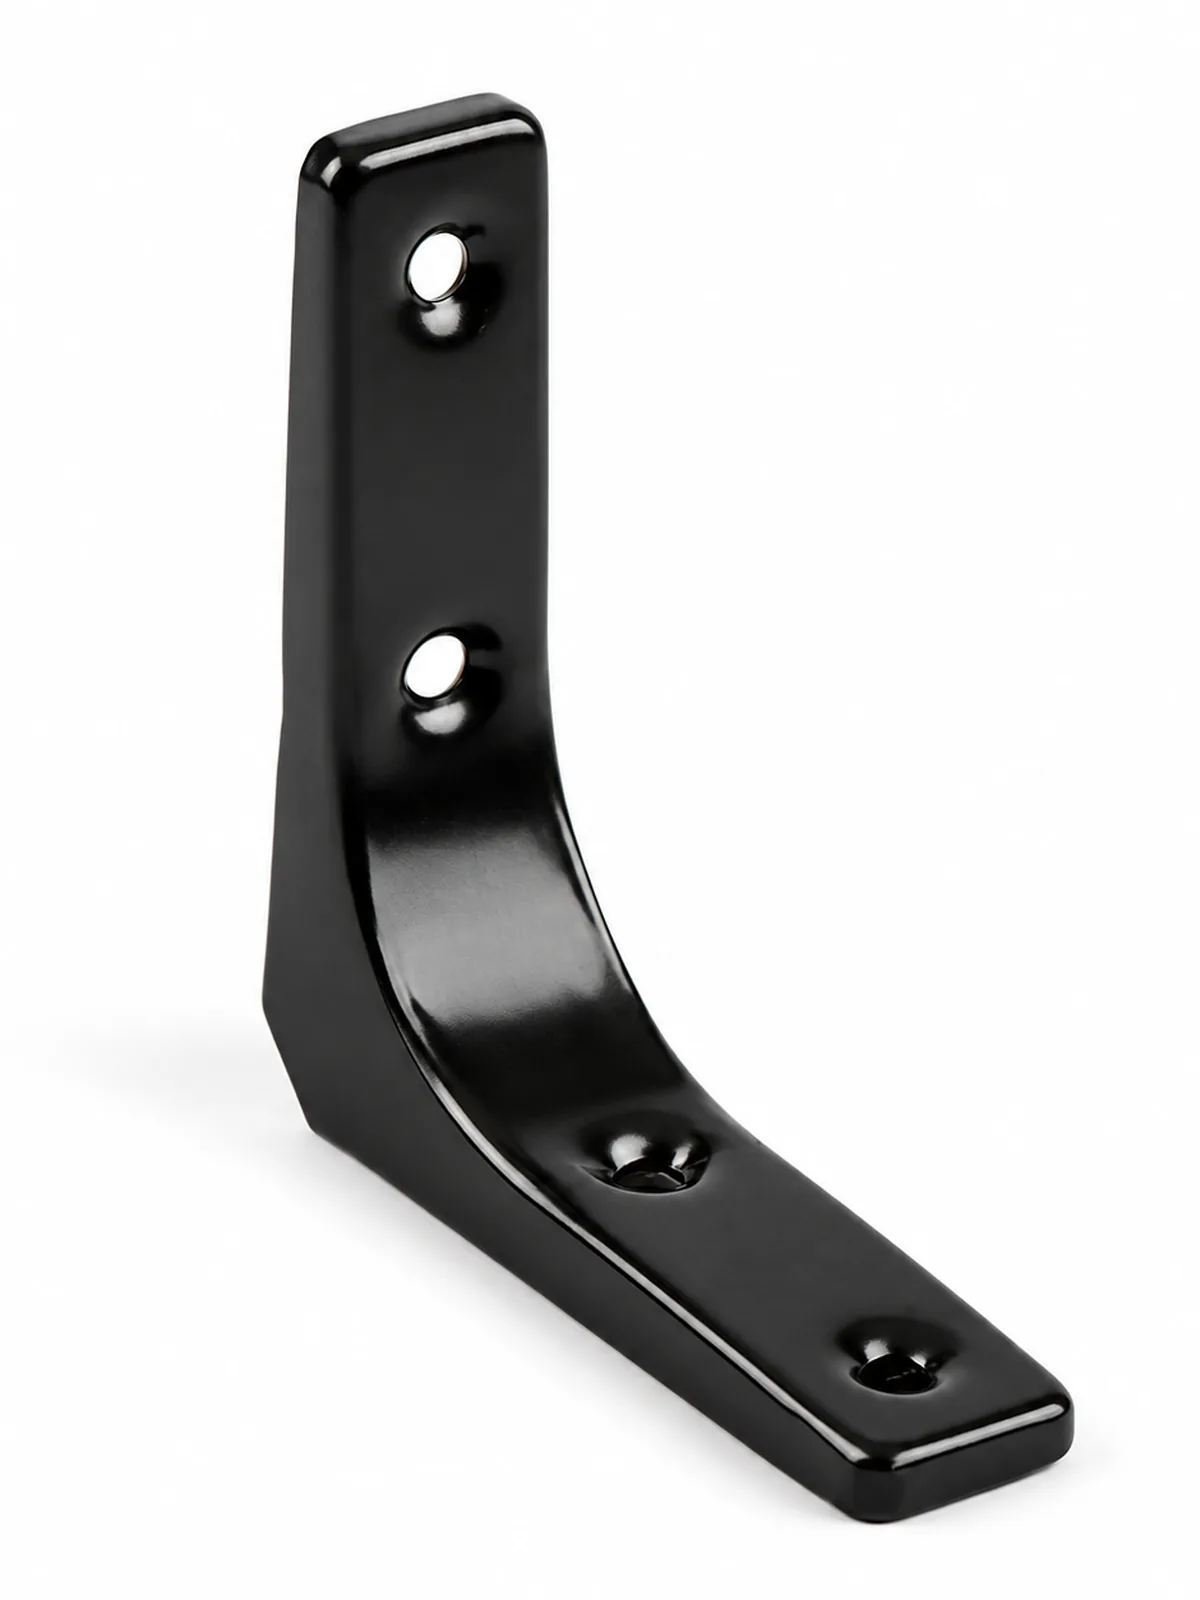
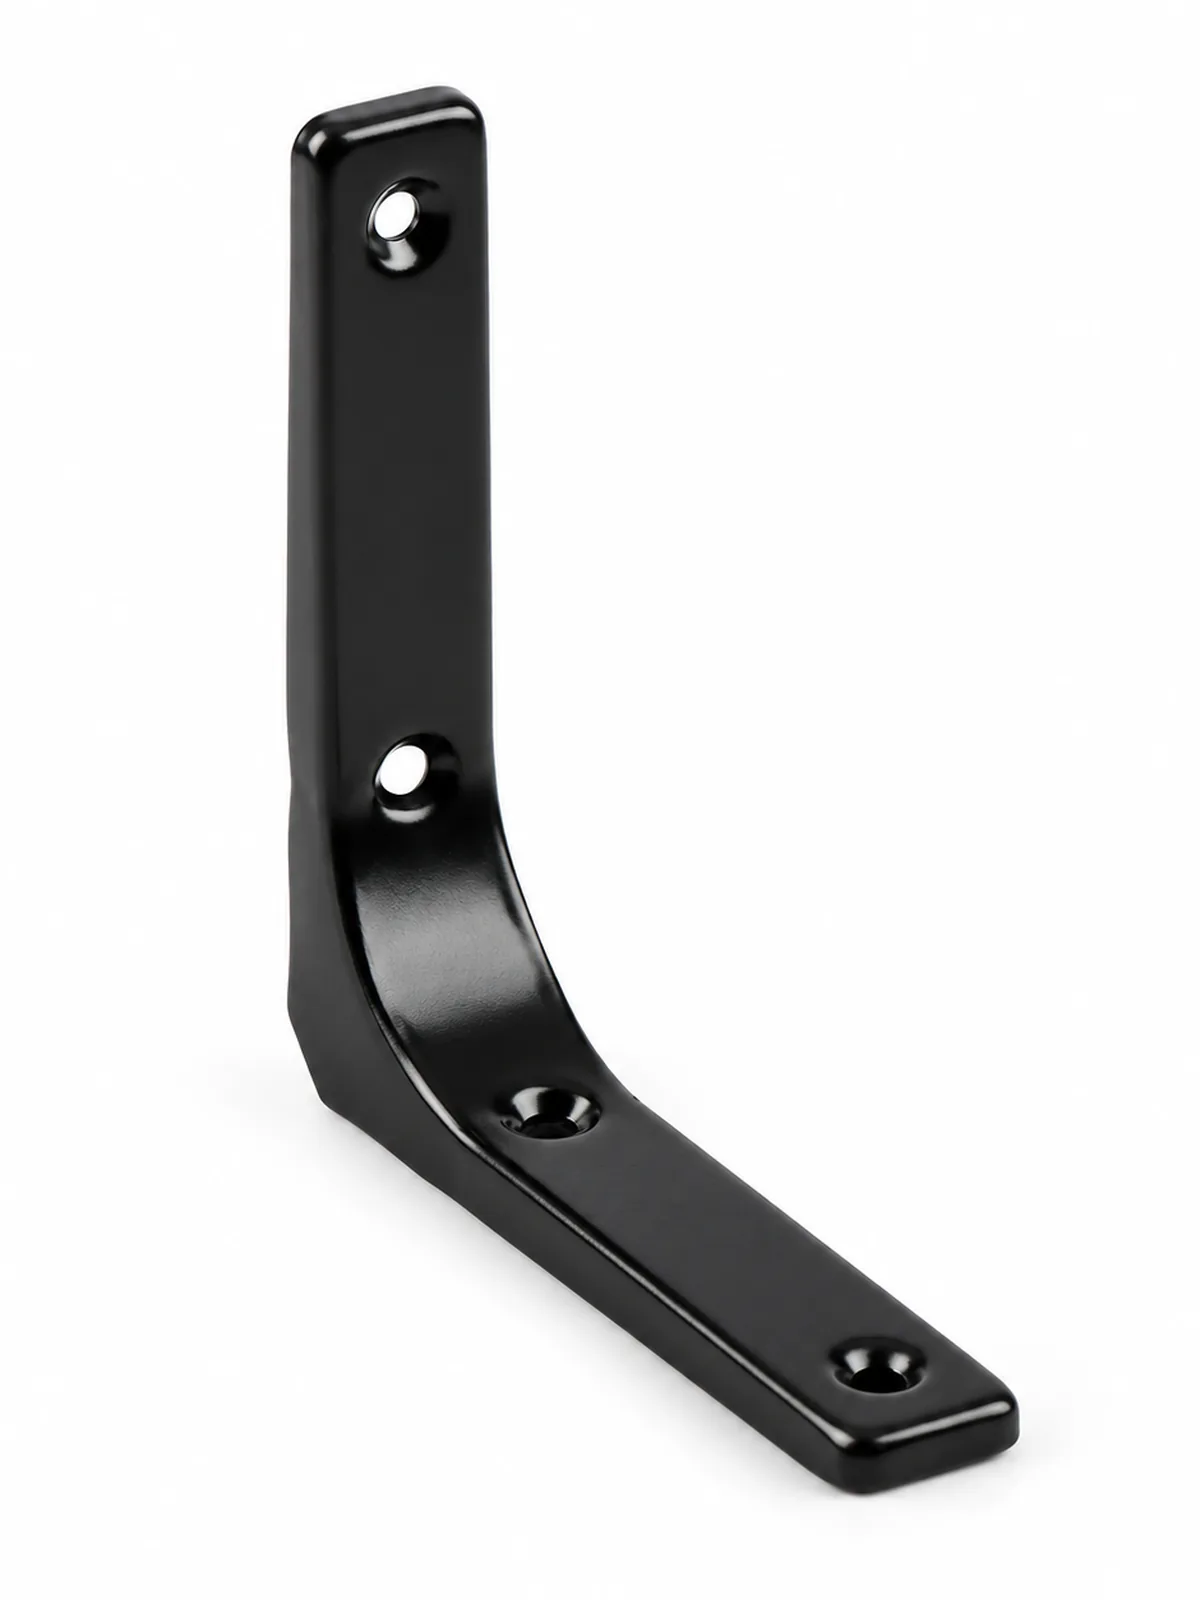
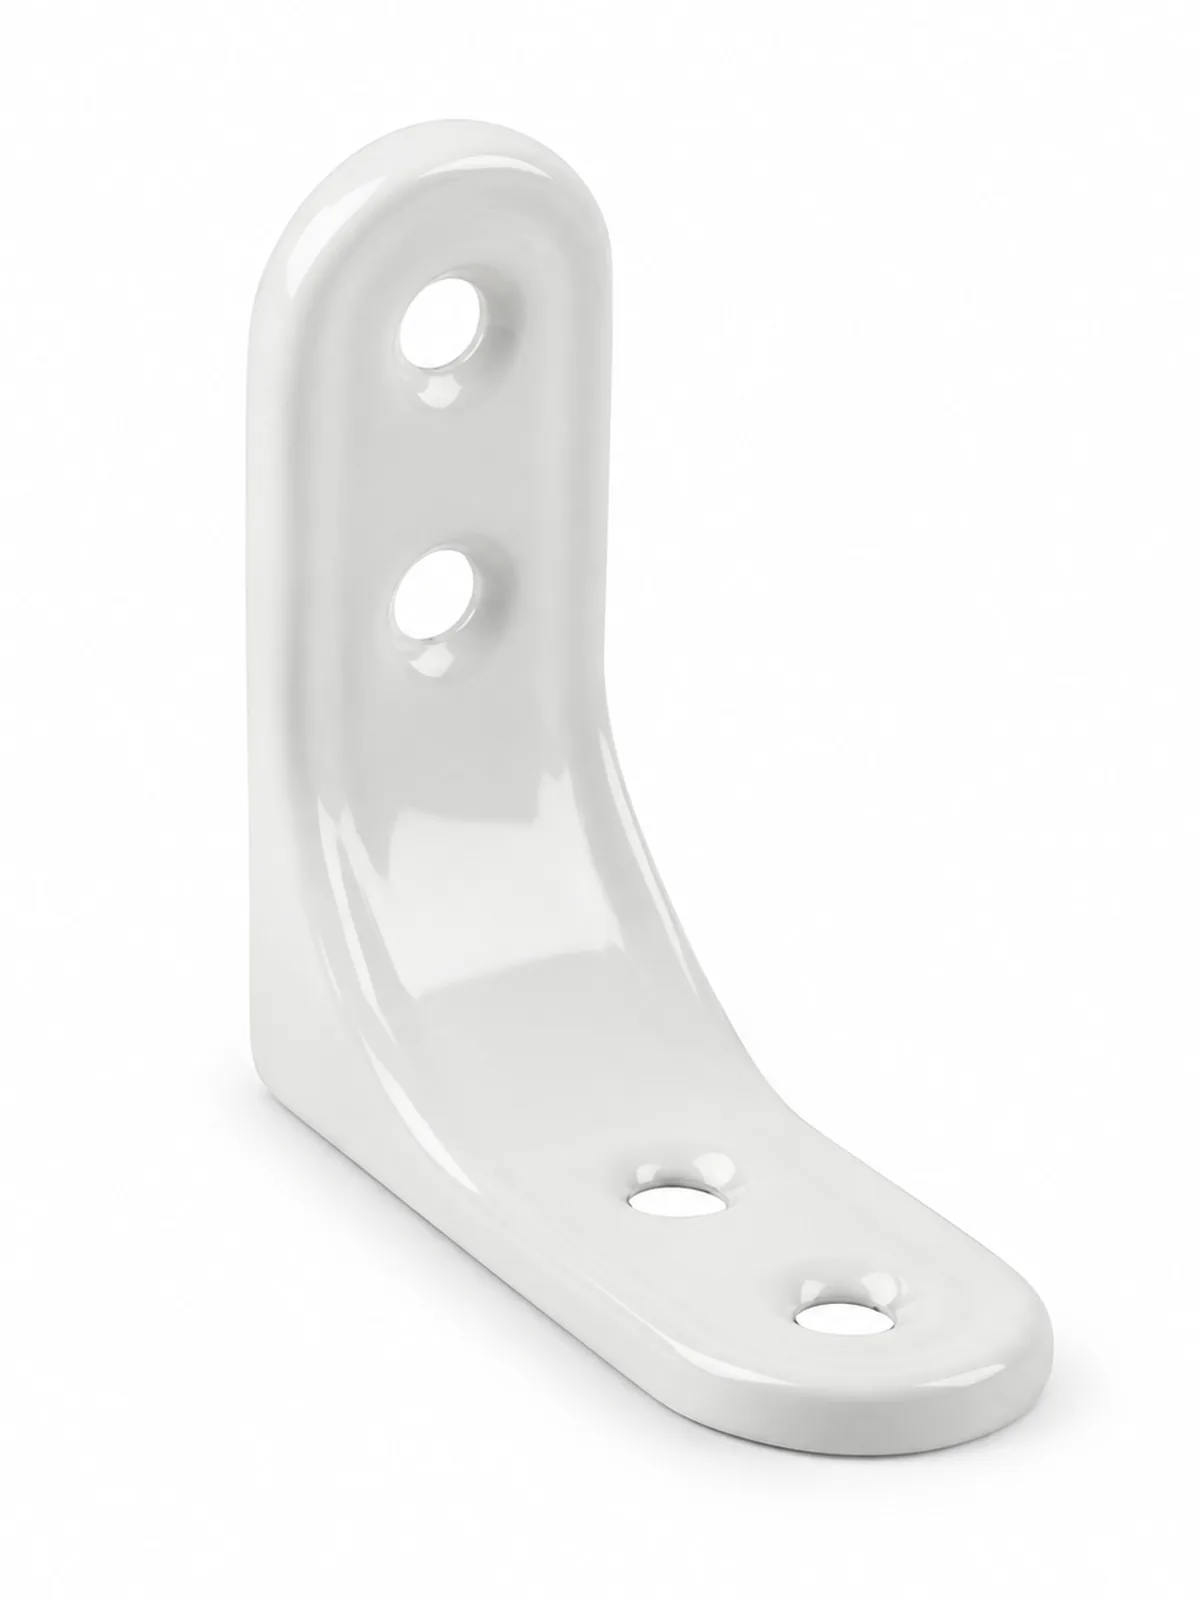
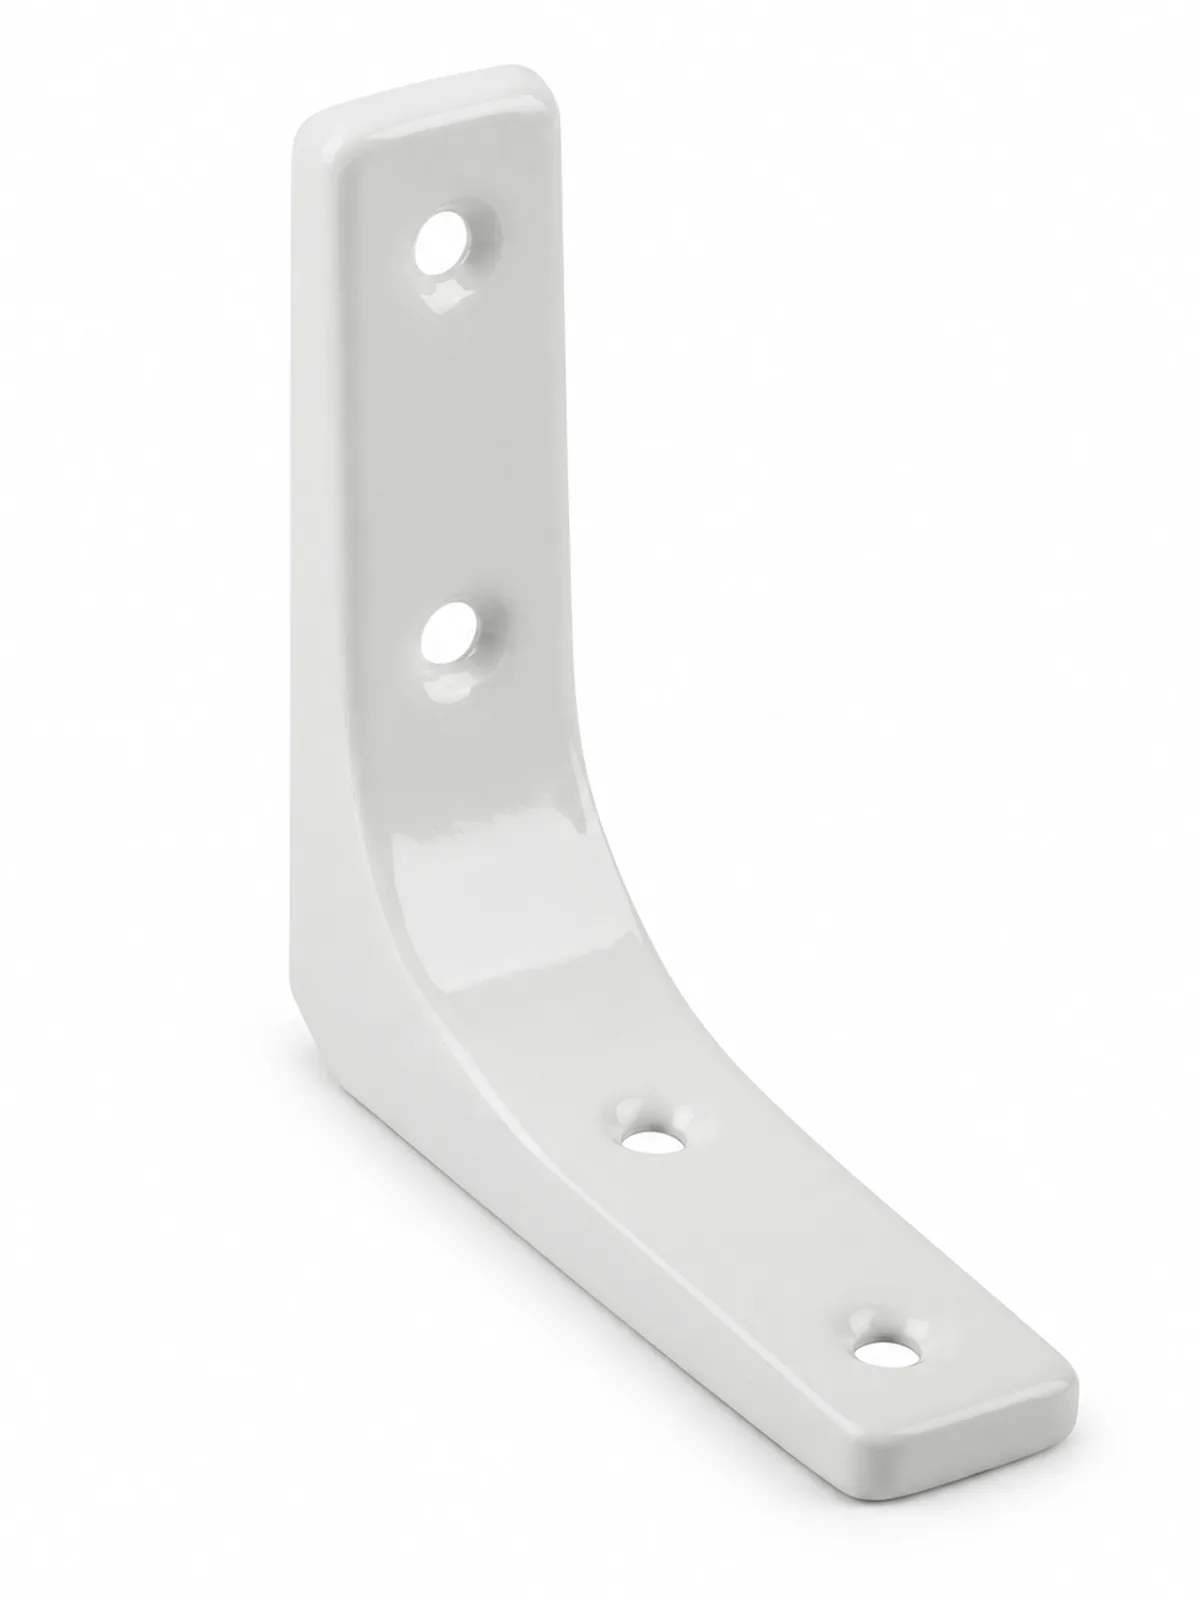
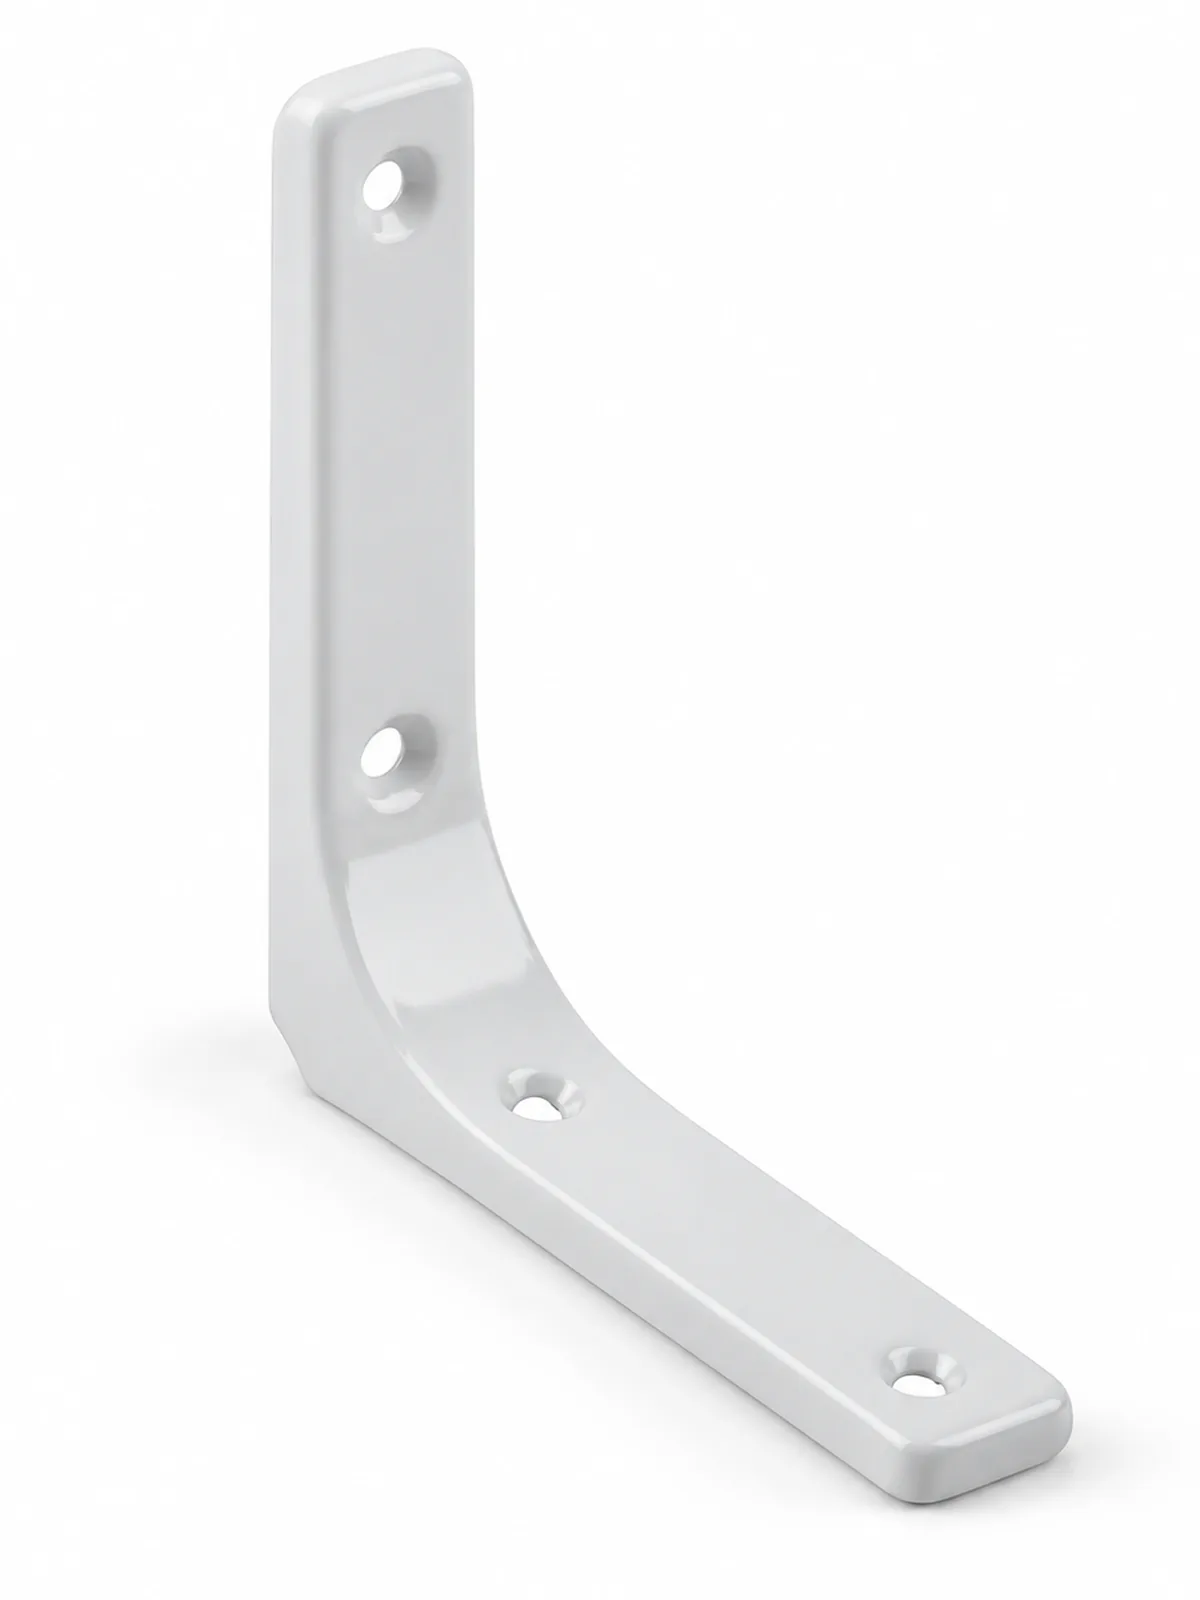
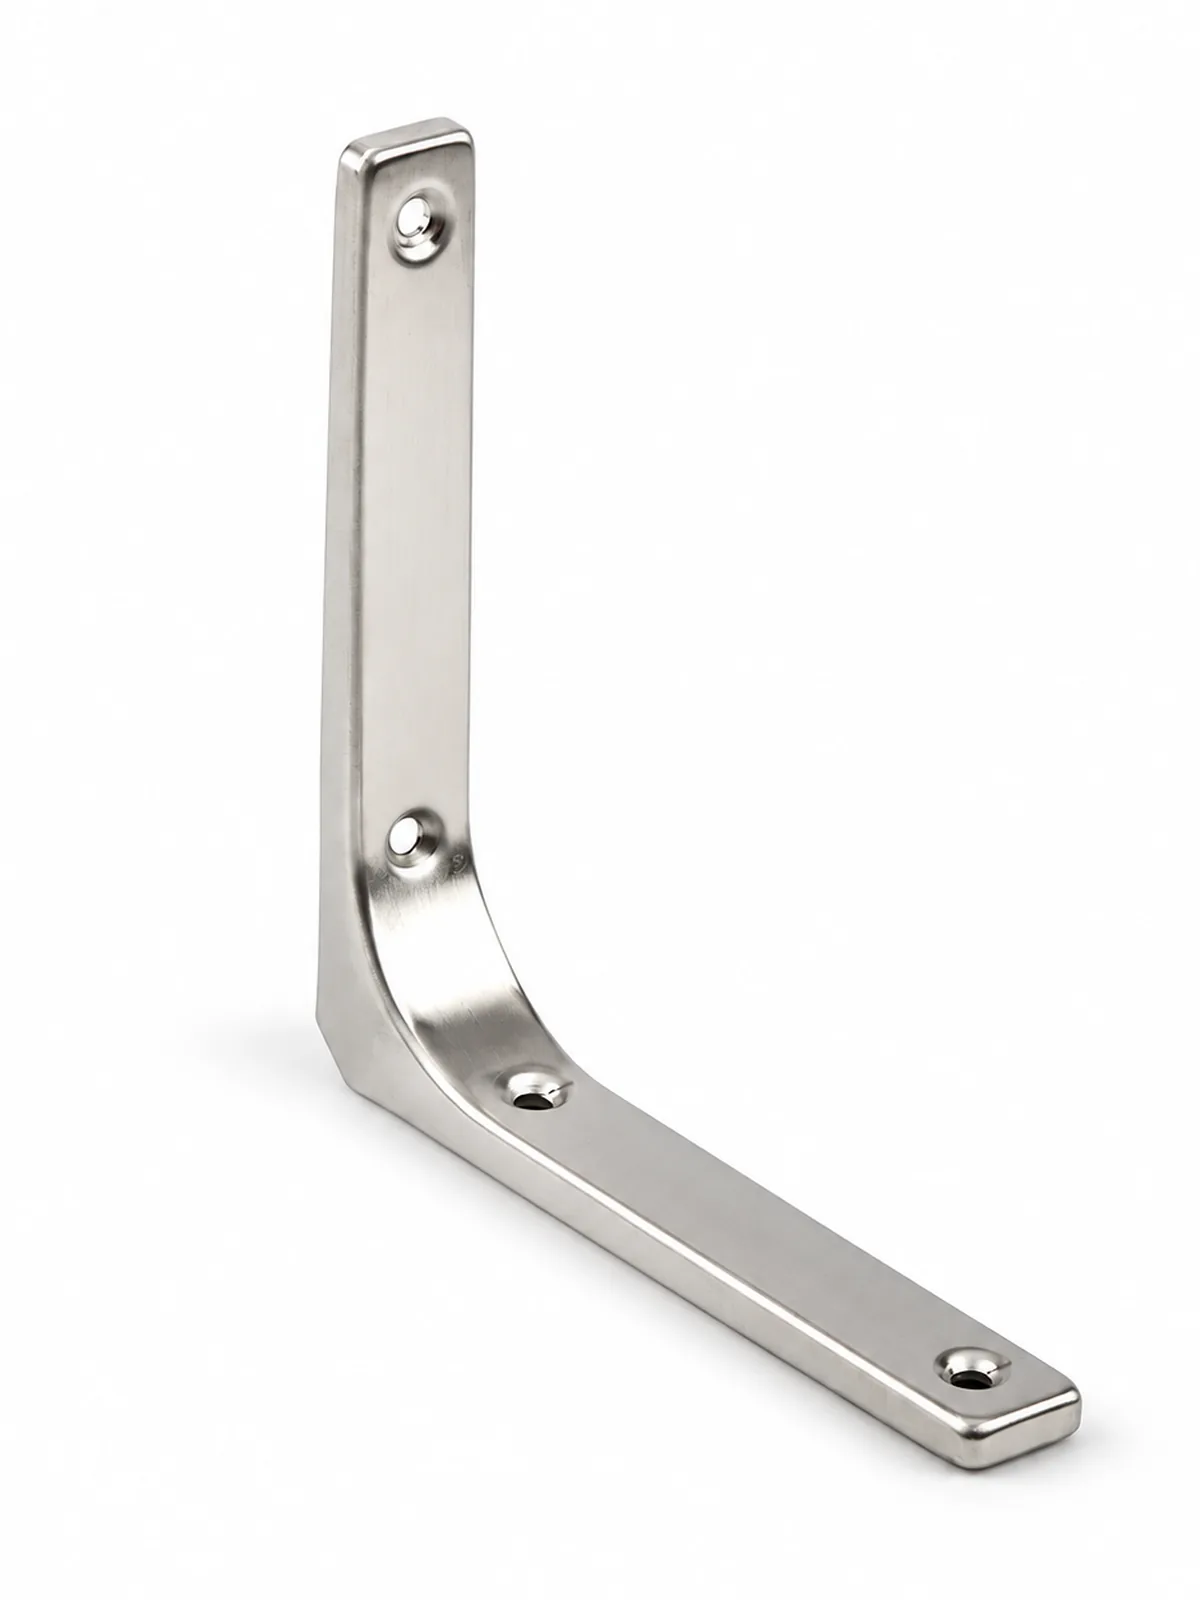
Estes grandes planos mostram uma peça. As outras formas não têm todas as mesmas arestas.
SuperfícieVista geralVista geral
1 / 3 Superfície
1 / 3 Superfície2 / 3 Vista geral3 / 3 Vista geral
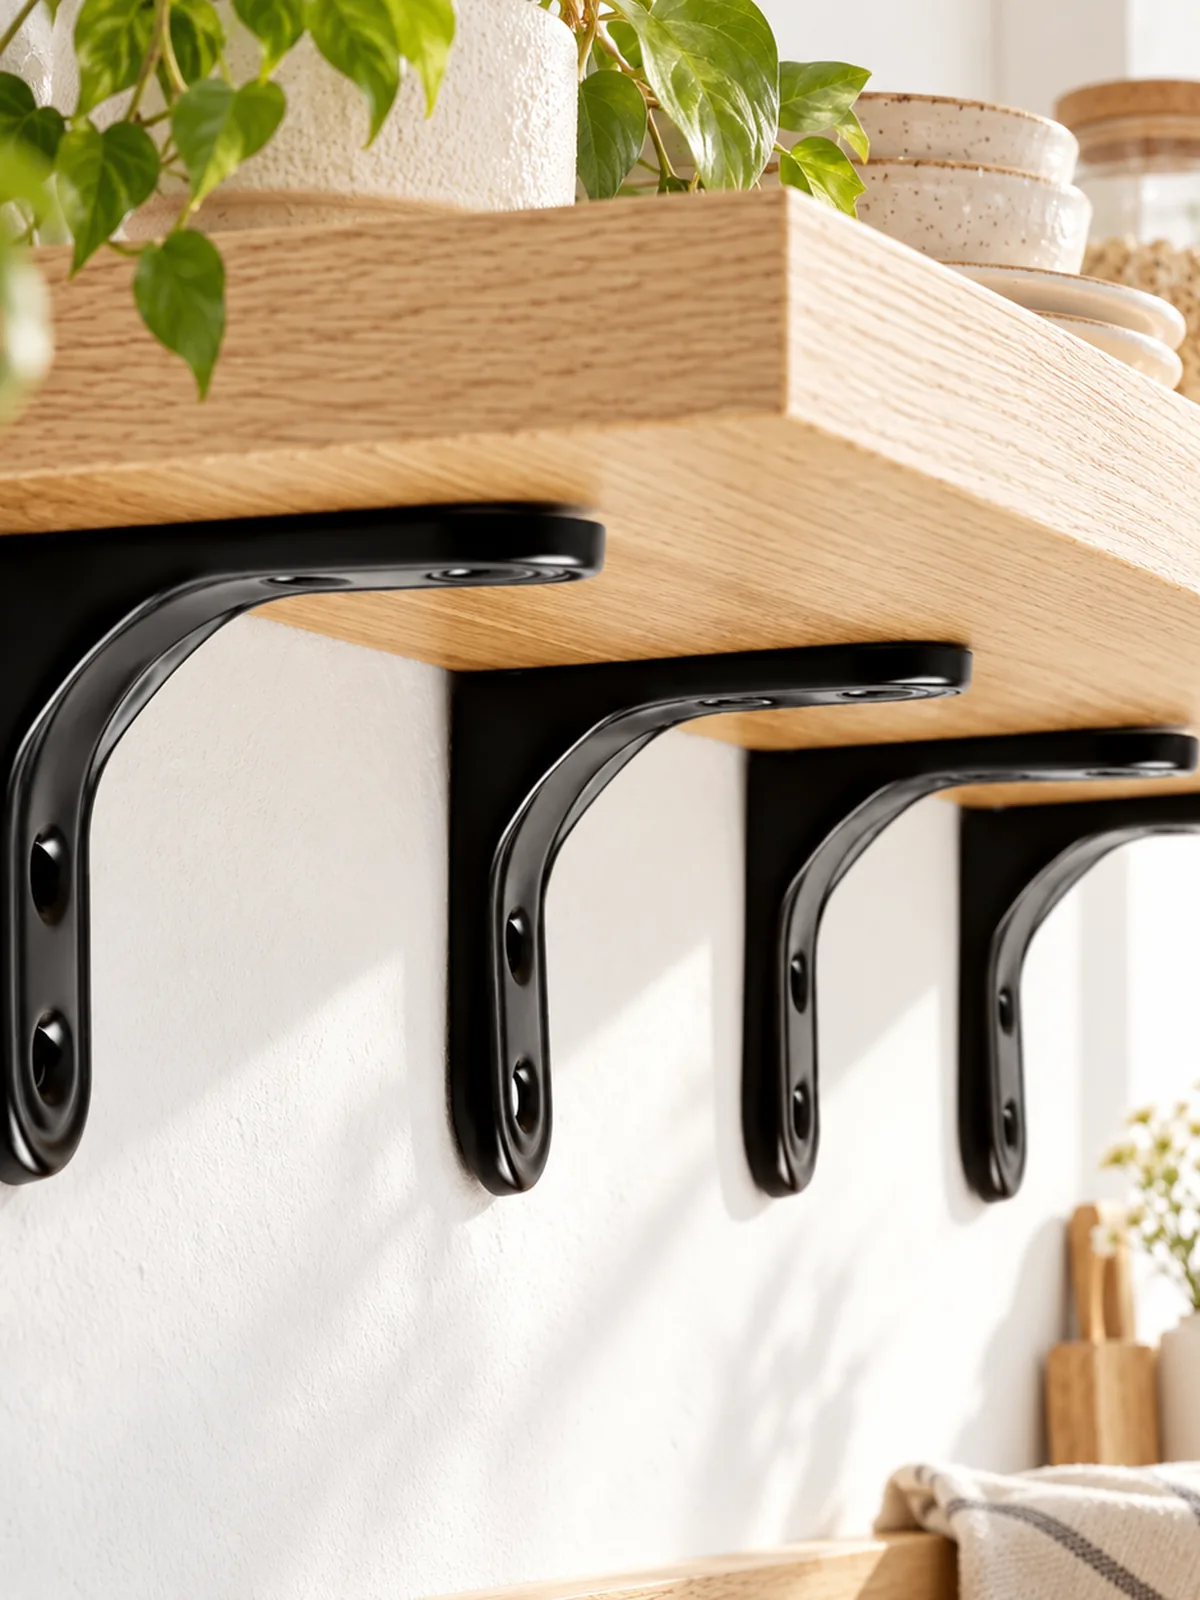
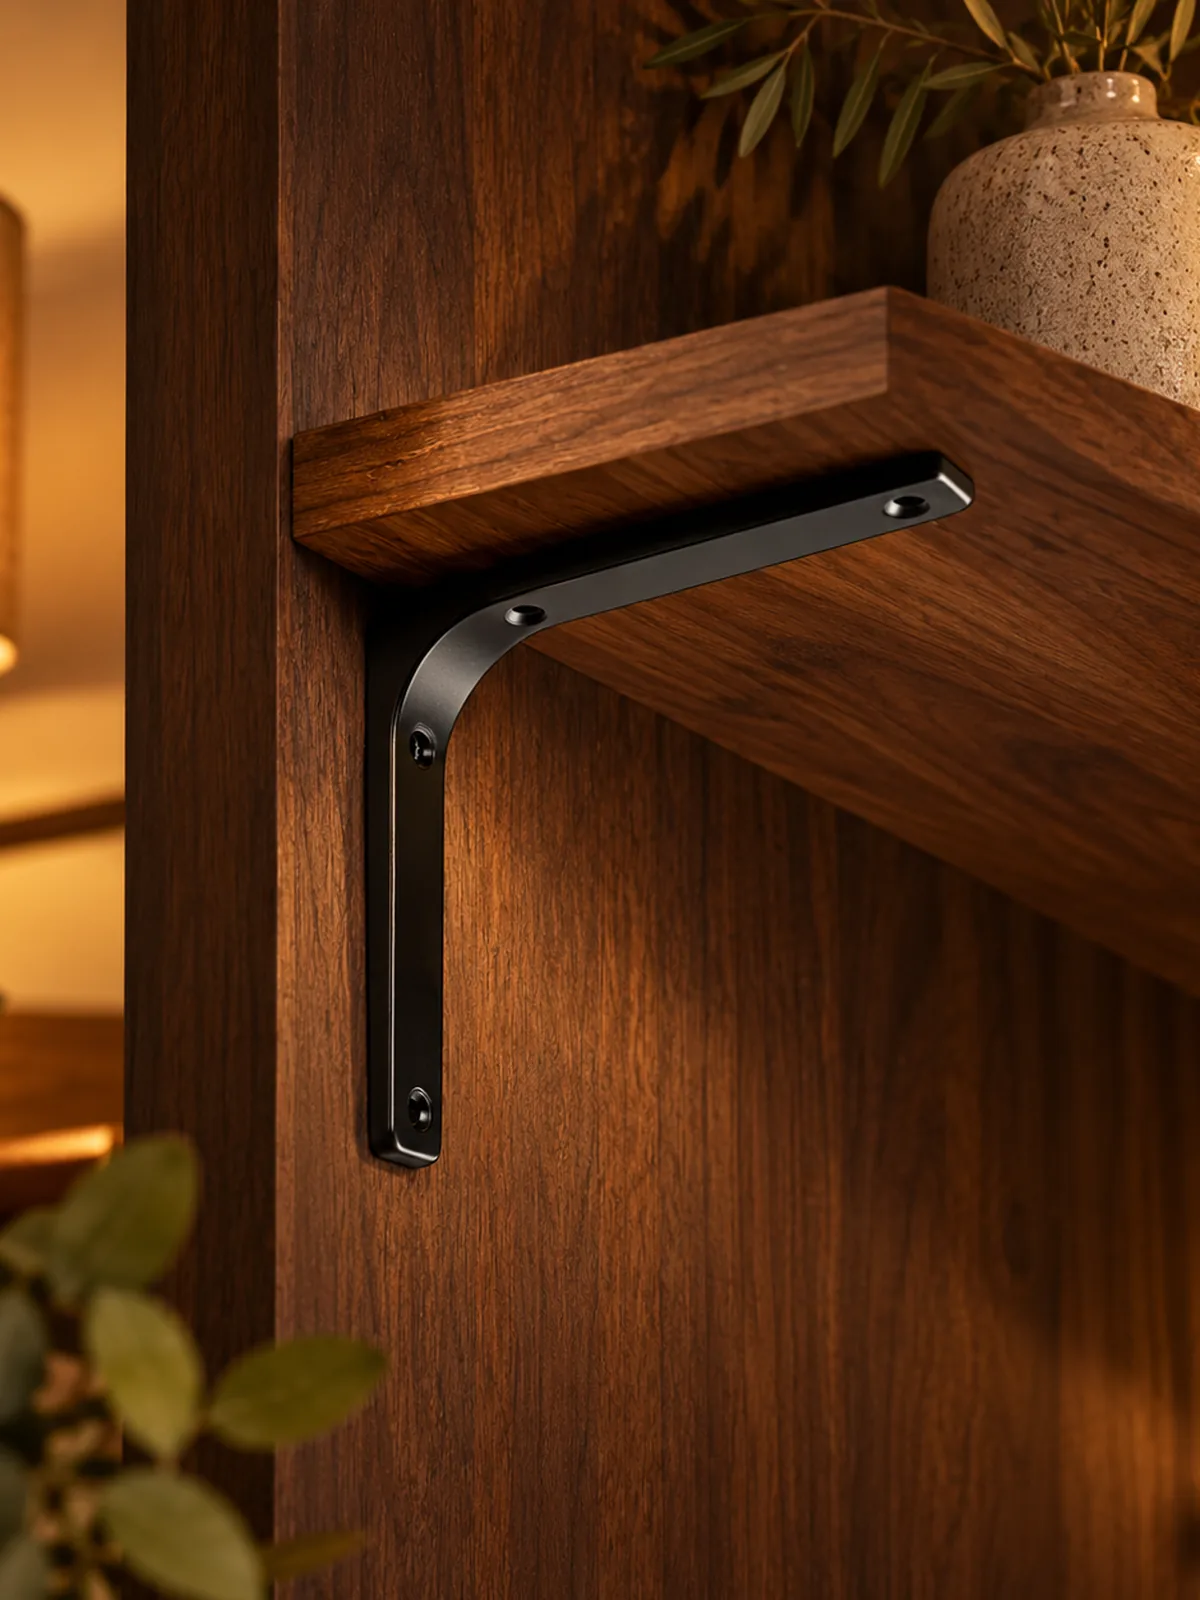
02 No lugar
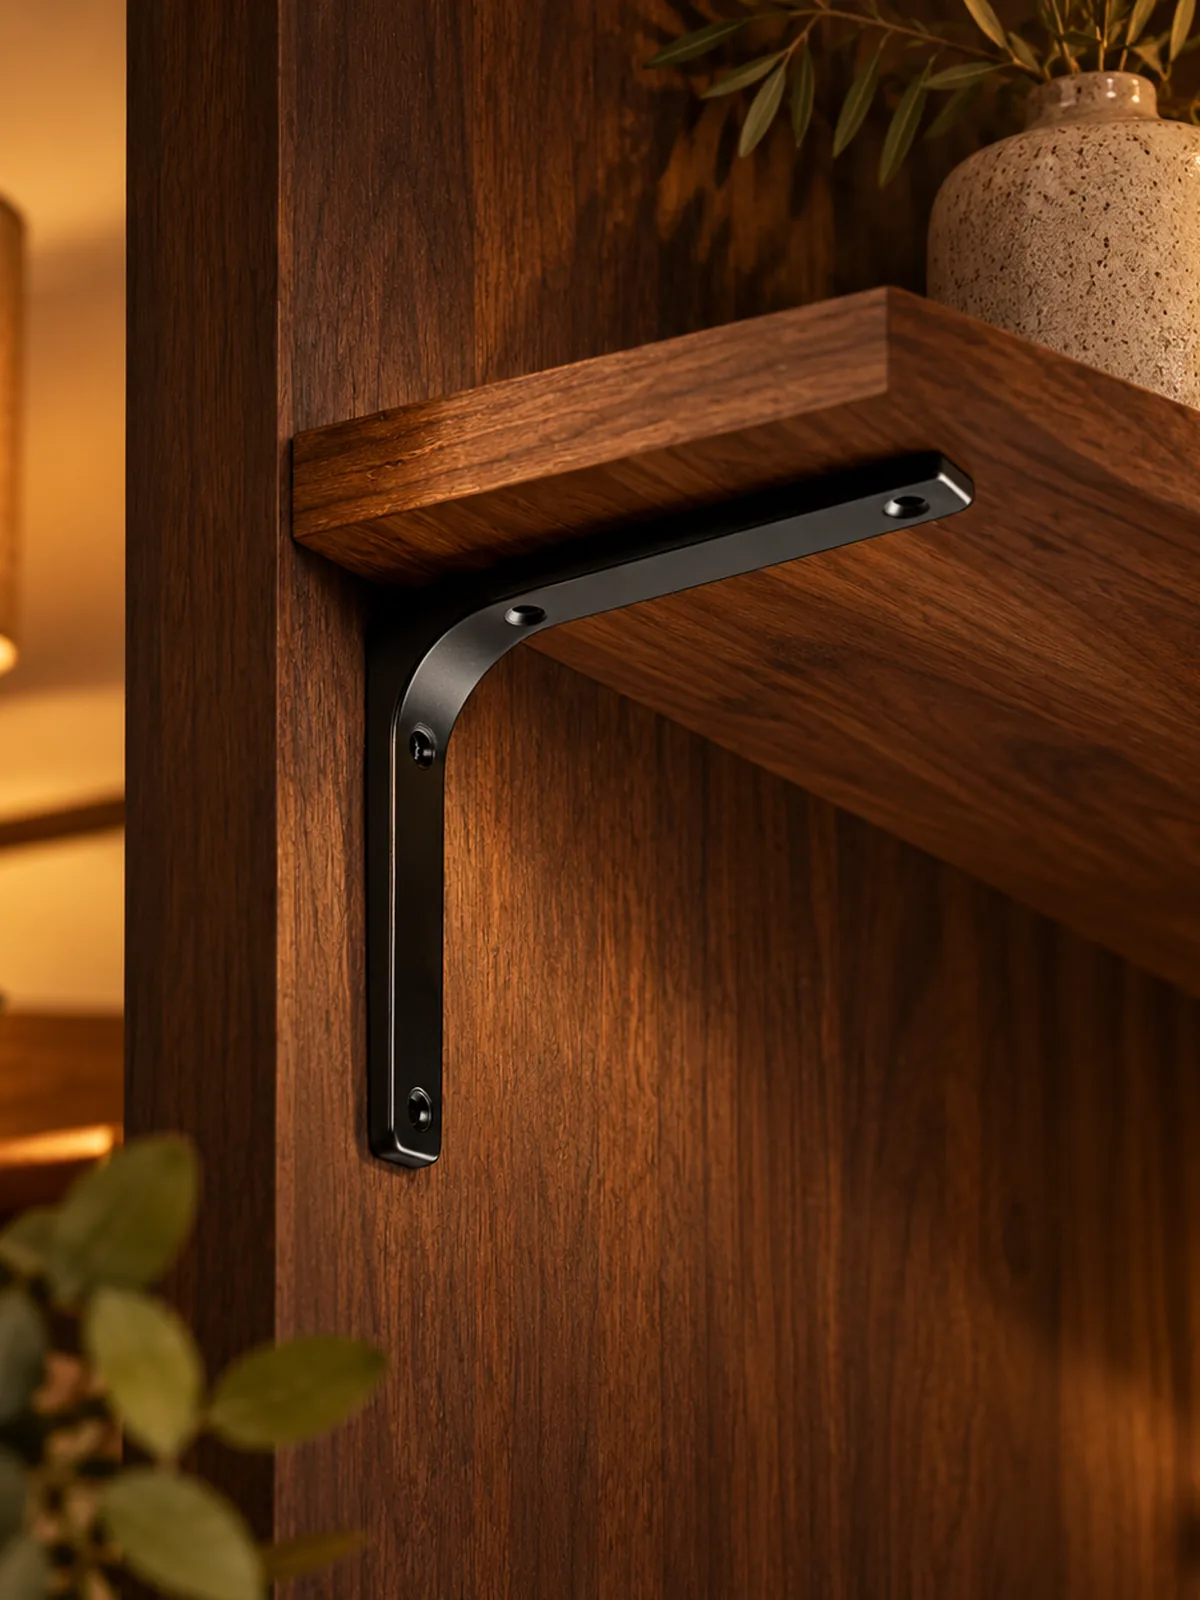
Uma peça na divisão
Esta imagem mostra uma peça no lugar. As outras formas e medidas são opções distintas.
03 Especificações
Material, uso e medida indicada
Cada opção indica a medida no nome.
Produto
Suporte de prateleira em aço inoxidável
Material
Aço inoxidável
Medida
Quando ambas constam, cada opção indica polegadas e milímetros.
1 / 31 Preto / 2.0 x 2.0 x 0.8 in (50 x 50 x 20 mm) / Com parafusos / Suporte de canto
1 / 31 Preto / 2.0 x 2.0 x 0.8 in (50 x 50 x 20 mm) / Com parafusos / Suporte de canto2 / 31 Preto / 3.0 x 3.0 x 0.8 in (75 x 75 x 20 mm) / Com parafusos / Suporte curvo3 / 31 Preto / 3.9 x 3.9 x 0.8 in (100 x 100 x 20 mm) / Com parafusos / Suporte curvo4 / 31 Preto / 4.9 x 4.9 x 0.8 in (125 x 125 x 20 mm) / Com parafusos / Suporte curvo5 / 31 Preto / 5.9 x 4.9 x 0.8 in (150 x 125 x 20 mm) / Com parafusos / Suporte curvo6 / 31 Preto / 7.9 x 5.9 x 1.2 in (200 x 150 x 30 mm) / Com parafusos / Suporte curvo7 / 31 Preto / 9.8 x 7.9 x 1.2 in (250 x 200 x 30 mm) / Com parafusos / Suporte curvo8 / 31 Preto / 11.8 x 9.8 x 1.2 in (300 x 250 x 30 mm) / Com parafusos / Suporte curvo9 / 31 Preto / 15.6 x 12.2 x 1.4 in (395 x 310 x 36 mm) / Com parafusos / Suporte curvo10 / 31 Branco / 2.0 x 2.0 x 0.8 in (50 x 50 x 20 mm) / Com parafusos / Suporte de canto11 / 31 Branco / 3.0 x 3.0 x 0.8 in (75 x 75 x 20 mm) / Com parafusos / Suporte curvo12 / 31 Branco / 3.9 x 3.9 x 0.8 in (100 x 100 x 20 mm) / Com parafusos / Suporte curvo13 / 31 Branco / 4.9 x 4.9 x 0.8 in (125 x 125 x 20 mm) / Com parafusos / Suporte curvo14 / 31 Branco / 5.9 x 4.9 x 0.8 in (150 x 125 x 20 mm) / Com parafusos / Suporte curvo15 / 31 Branco / 7.9 x 5.9 x 1.2 in (200 x 150 x 30 mm) / Com parafusos / Suporte curvo16 / 31 Branco / 9.8 x 7.9 x 1.2 in (250 x 200 x 30 mm) / Com parafusos / Suporte curvo17 / 31 Branco / 11.8 x 9.8 x 1.2 in (300 x 250 x 30 mm) / Com parafusos / Suporte curvo18 / 31 Branco / 15.6 x 12.2 x 1.4 in (395 x 310 x 36 mm) / Com parafusos / Suporte curvo19 / 31 Aço inoxidável / 3.0 x 3.0 x 0.8 in (75 x 75 x 20 mm) / Com parafusos / Suporte curvo20 / 31 Aço inoxidável / 3.9 x 3.9 x 0.8 in (100 x 100 x 20 mm) / Com parafusos / Suporte curvo21 / 31 Aço inoxidável / 4.9 x 4.9 x 0.8 in (125 x 125 x 20 mm) / Com parafusos / Suporte curvo22 / 31 Aço inoxidável / 5.9 x 4.9 x 0.8 in (150 x 125 x 20 mm) / Com parafusos / Suporte curvo23 / 31 Aço inoxidável / 7.9 x 5.9 x 1.2 in (200 x 150 x 30 mm) / Com parafusos / Suporte curvo24 / 31 Aço inoxidável / 9.8 x 7.9 x 1.2 in (250 x 200 x 30 mm) / Com parafusos / Suporte curvo25 / 31 Aço inoxidável / 11.8 x 9.8 x 1.2 in (300 x 250 x 30 mm) / Com parafusos / Suporte curvo26 / 31 Preto / 11.2 in (28.5 cm) / Com parafusos27 / 31 Preto / 15.2 in (38.5 cm) / Com parafusos28 / 31 Preto / 17.1 in (43.5 cm) / Com parafusos29 / 31 Branco / 11.2 in (28.5 cm) / Com parafusos30 / 31 Branco / 15.2 in (38.5 cm) / Com parafusos31 / 31 Branco / 17.1 in (43.5 cm) / Com parafusos
HOZO Installationsanleitung
Planen Sie Ihre Beleuchtung.
Raumweise Startwerte für Leuchtengröße, Montagehöhe, Abstand und Durchgangshöhe. Tippen Sie ein Kapitel an.
01
Esstisch
Größe und Mitte vom Tisch aus festlegen, dann die Sicht von jedem Sitz prüfen.
So messen
Tischlänge und -breite messen. Bei runden Tischen den Durchmesser nehmen.
Startbereich
Runde Leuchten: etwa 1/2 bis 2/3 der Tischbreite. Längliche Leuchten: 1/2 bis 2/3 der Tischlänge.
Platzierung
Die Leuchte über dem Tisch zentrieren, nicht zwingend über dem Raum.
Abstand
76–91 cm über der Tischplatte beginnen.
Bei langen Tischen wirken zwei kleinere Pendel oft natürlicher als eine übergroße Leuchte.
Vor dem Bohren
Eine Papierschablone an die Decke kleben und vom Türrahmen sowie sitzend prüfen.
MessenPlatte bis Unterkante
Hängehöhe76–91 cm
AusrichtenMitte des Tisches
02
Kücheninsel
Die nutzbare Insel messen und die Pendel auf der Mittellinie halten.
So messen
Nutzbare Länge und Breite der Insel messen.
Startbereich
Eine Linienleuchte: 1/2 bis 2/3 der Insel-Länge. Mehrere Pendel: erst den Durchmesser, dann die Anzahl wählen.
Platzierung
Pendelmitten gleichmäßig auf der Insel-Mittellinie.
Abstand
76–91 cm über der Arbeitsplatte. Äußere Pendel nicht an den Inselenden.
Die komplette Reihe mocken, nicht nur ein Pendel.
Vor dem Bohren
Drei Papierkreise über der Insel zeigen Abstandsprobleme schneller als ein einzelnes Muster.
MessenPlatte bis Unterkante
Hängehöhe76–91 cm
AusrichtenGleiche Mitten
03
Raummitte
Länge plus Breite ergibt den Startdurchmesser. Deckenhöhe und visuelle Schwere machen die Entscheidung fertig.
So messen
Raumlänge und -breite in Metern plus fertige Deckenhöhe.
Startbereich
Länge + Breite (m) × 8,3 ergibt einen üblichen Startdurchmesser in cm. Beispiel: 3,7 + 3,0 → ca. 56 cm.
Platzierung
Die architektonische Mitte nur nutzen, wenn sie vom Eingang und vom Möbelplan her Sinn ergibt.
Abstand
Mindestens 2,10 m lichte Höhe unter dem tiefsten Punkt im Laufbereich.