Asociați textul cu o imagine pentru a vă concentra asupra produsului, colecției sau articolului de blog ales. Adăugați detalii despre disponibilitate, stil sau chiar oferiți o recenzie.
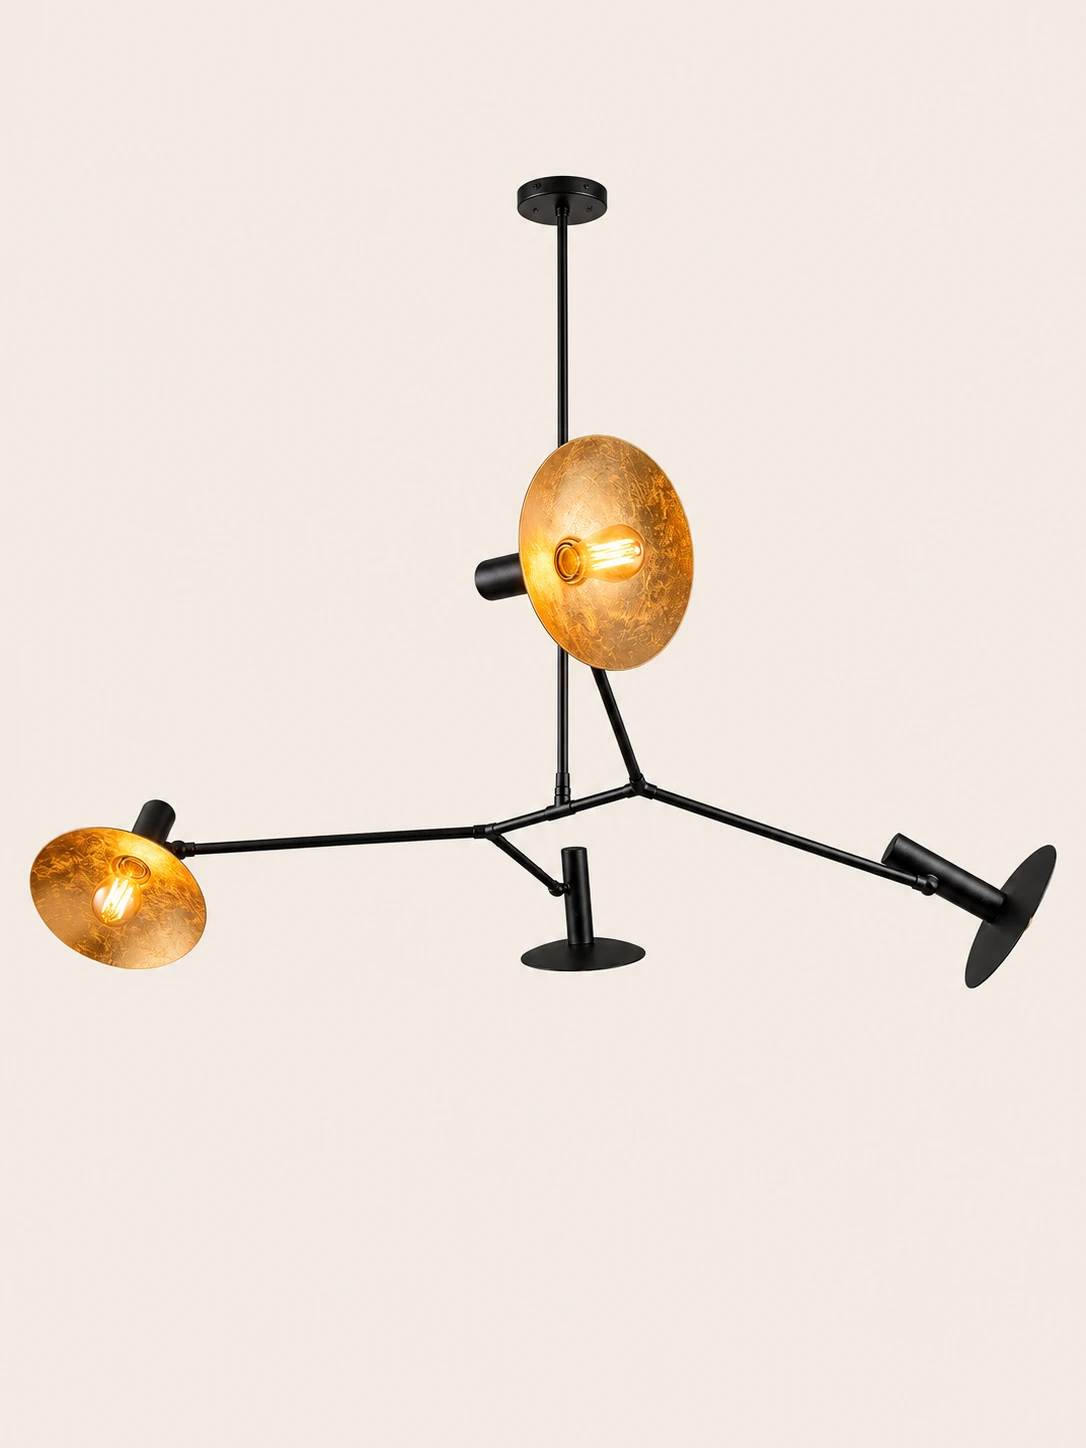
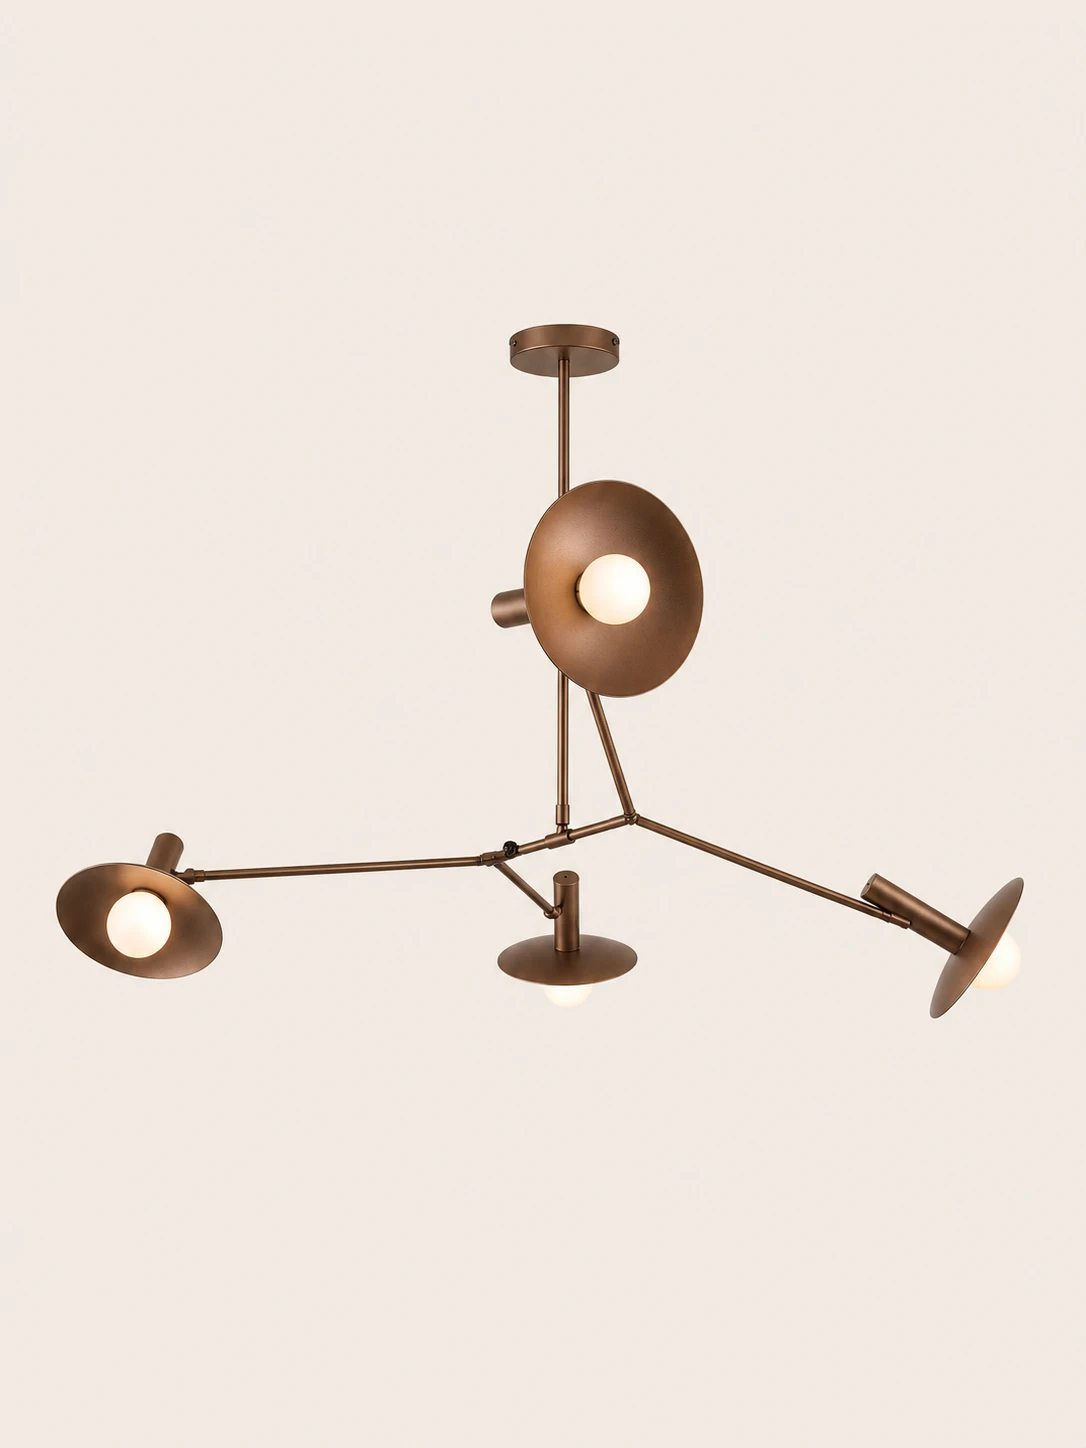
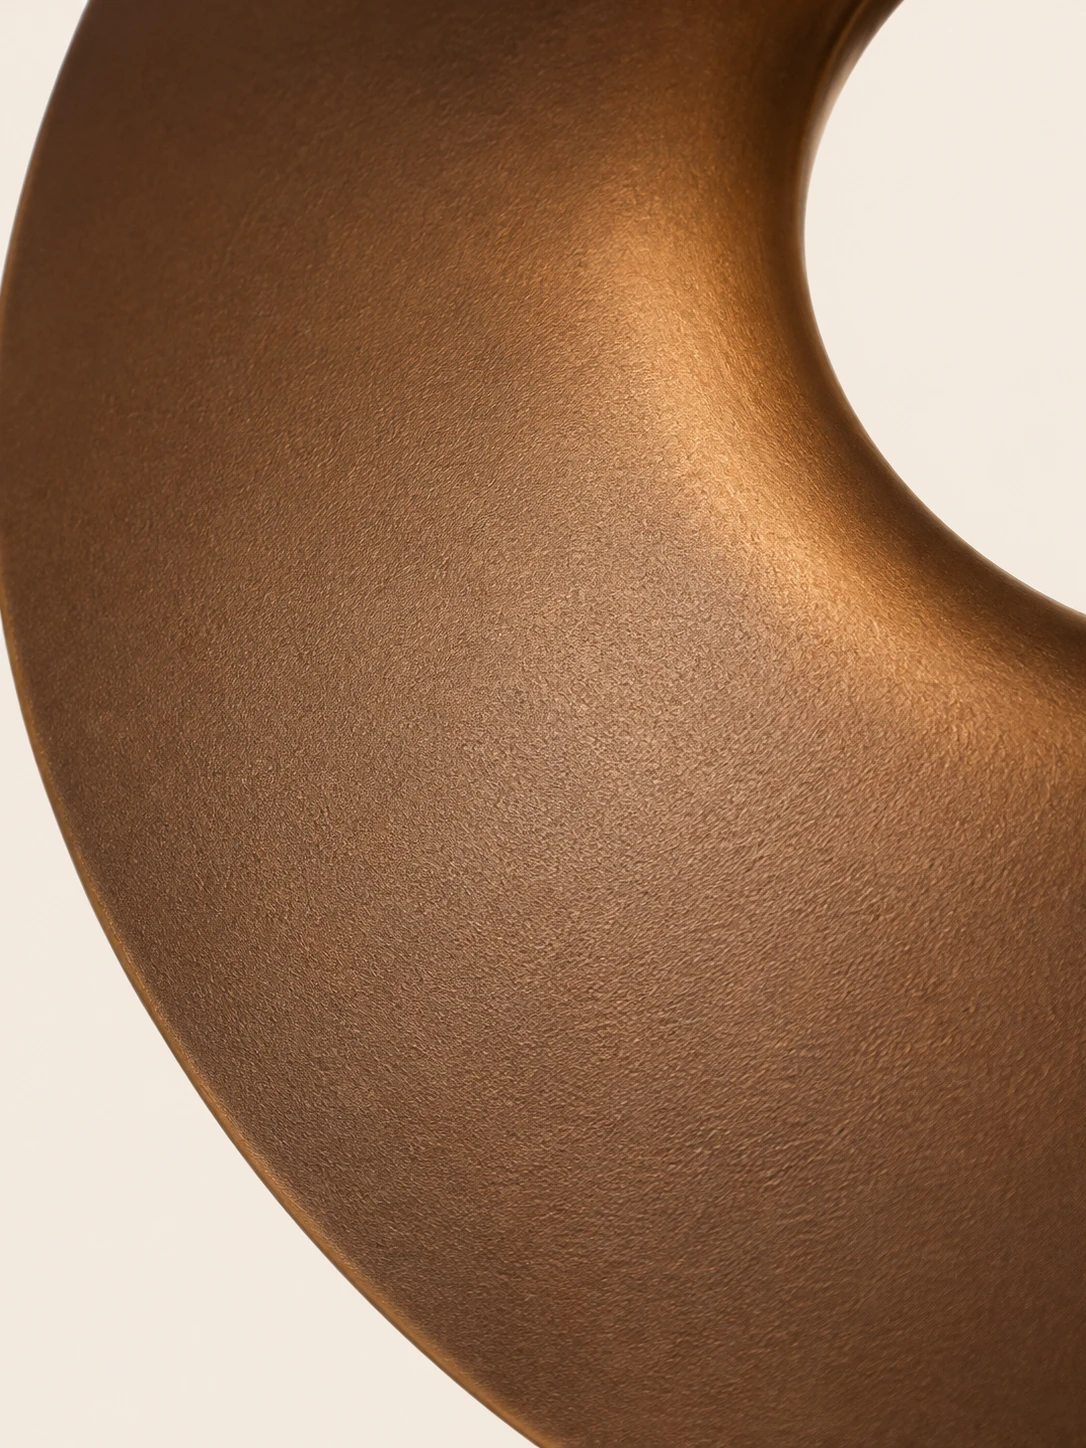
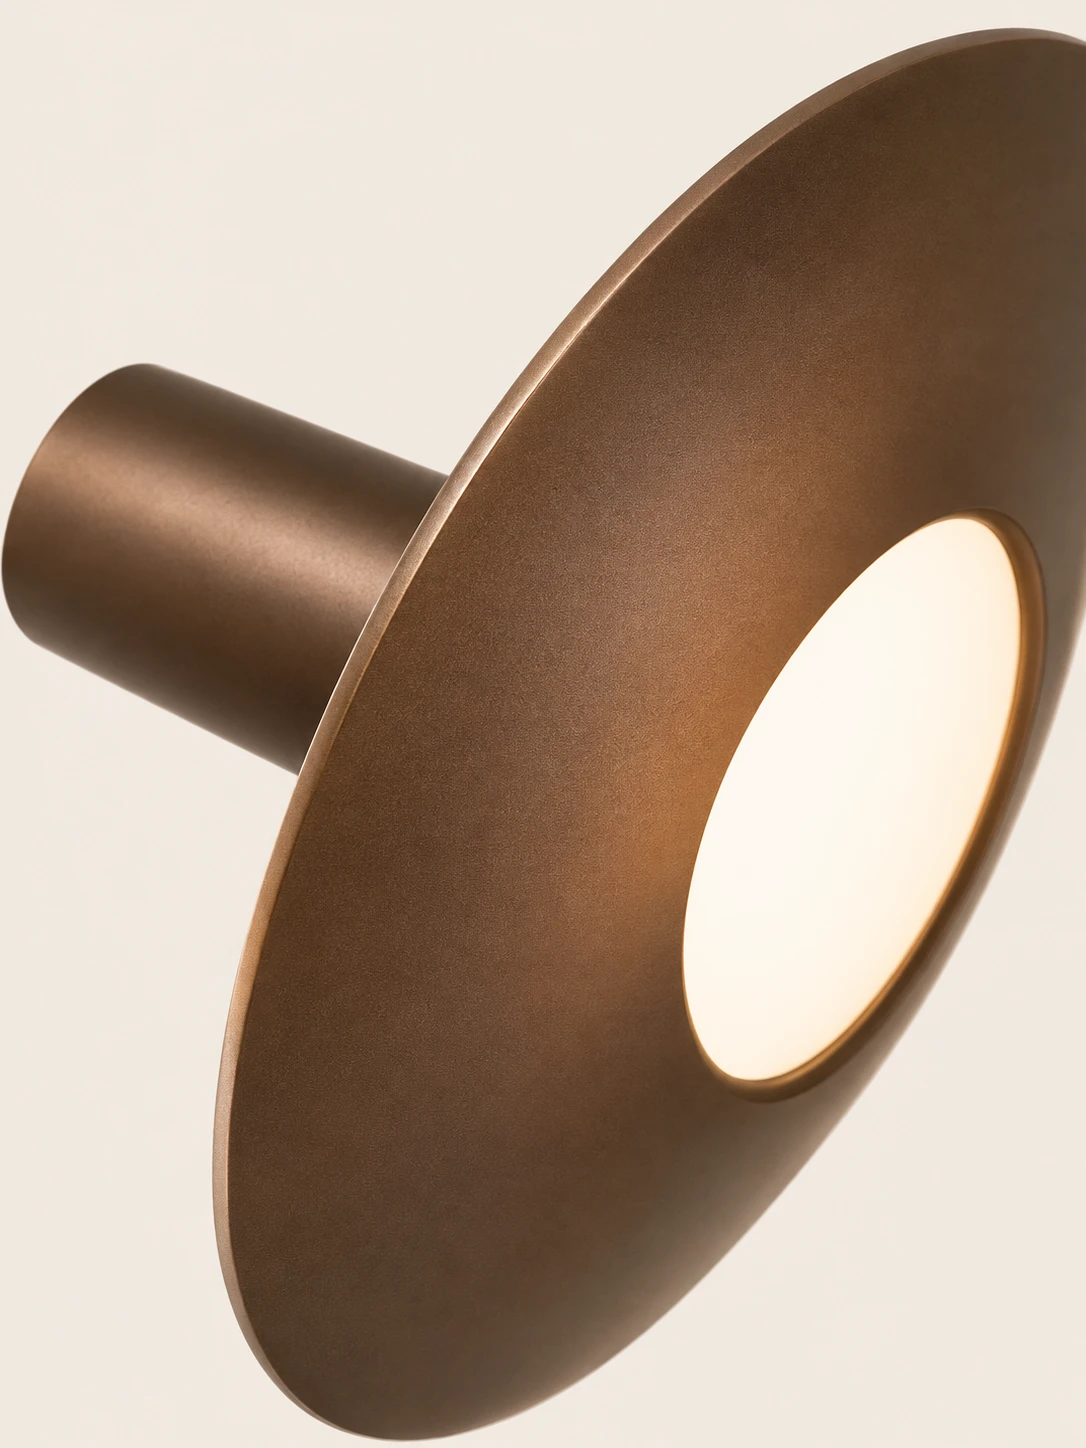
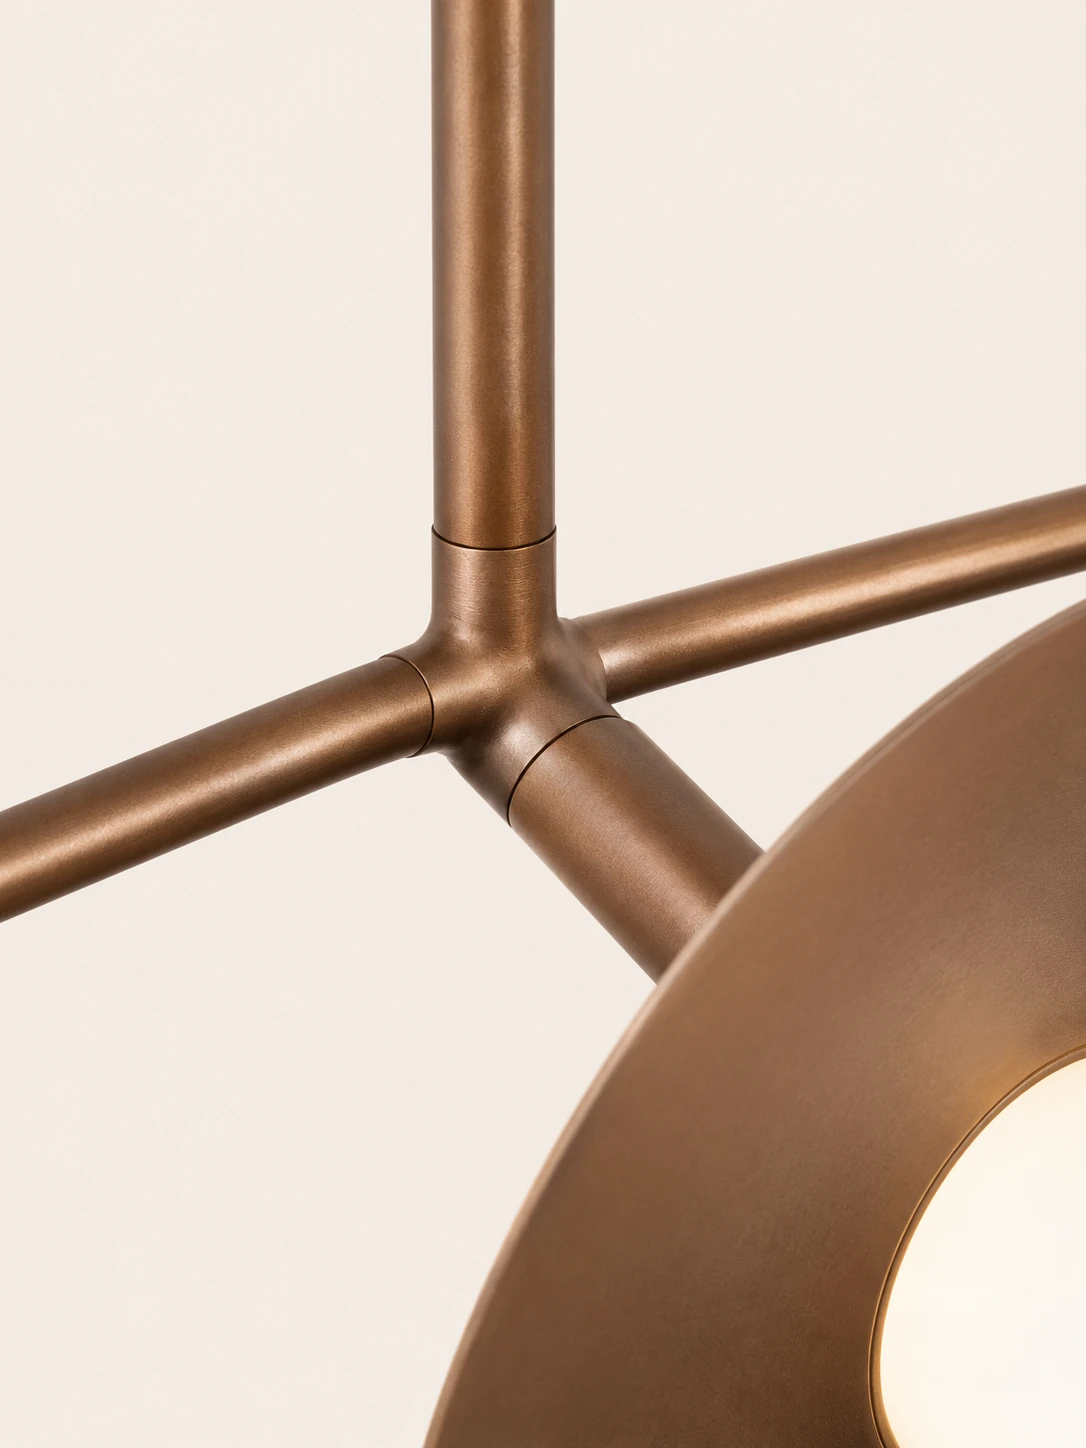
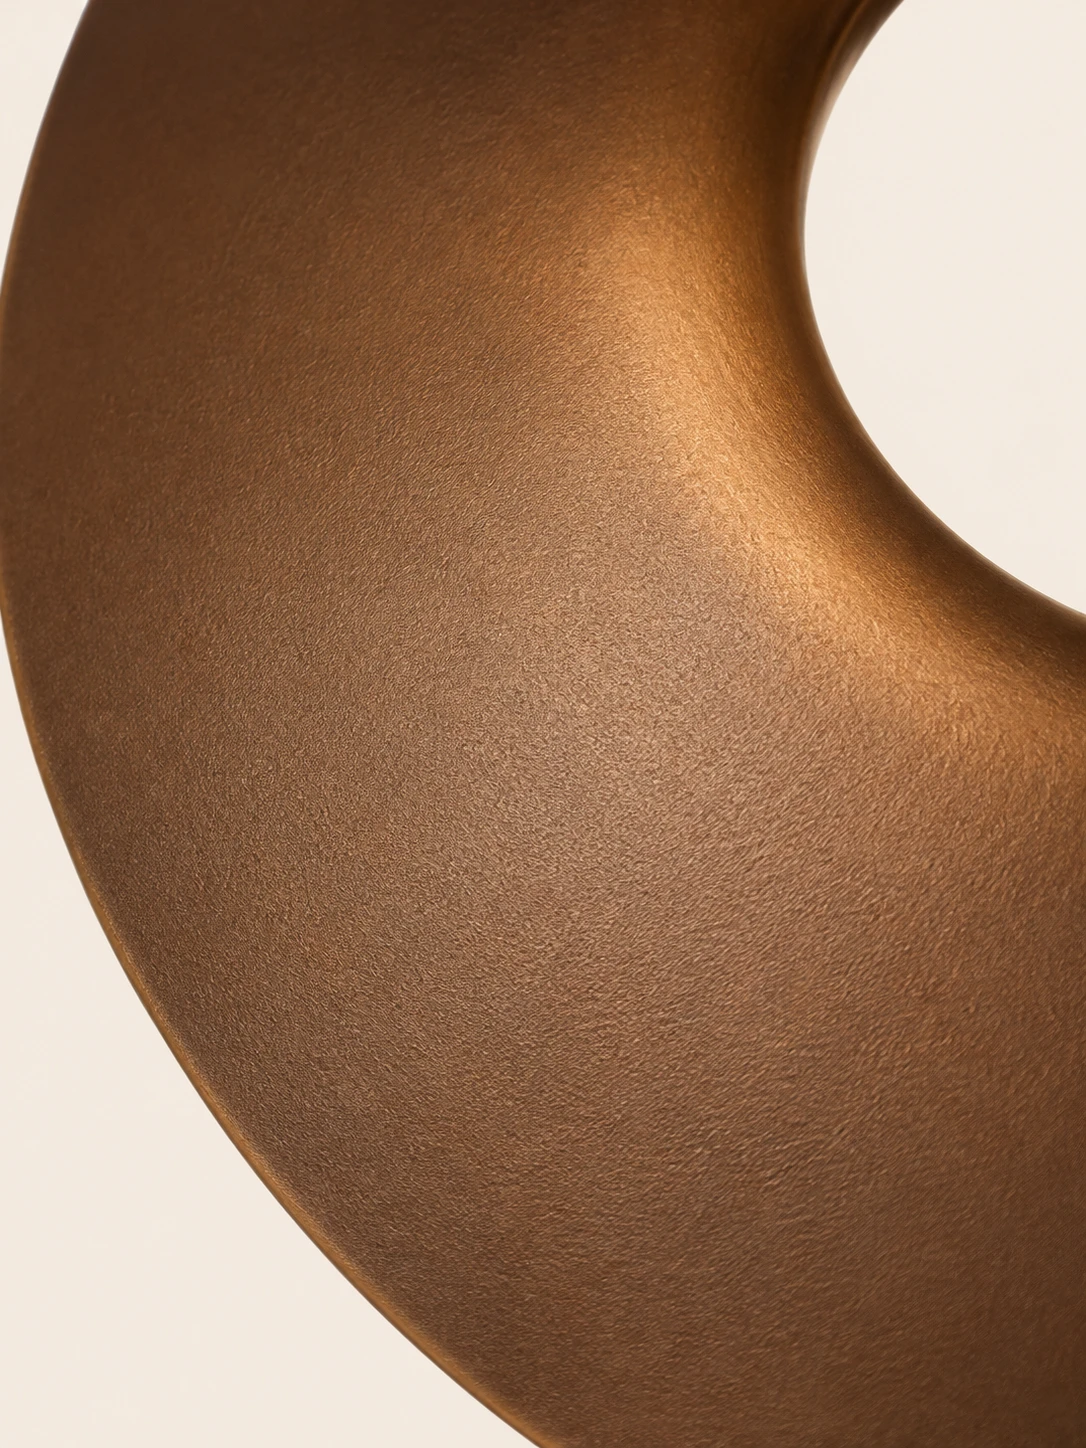
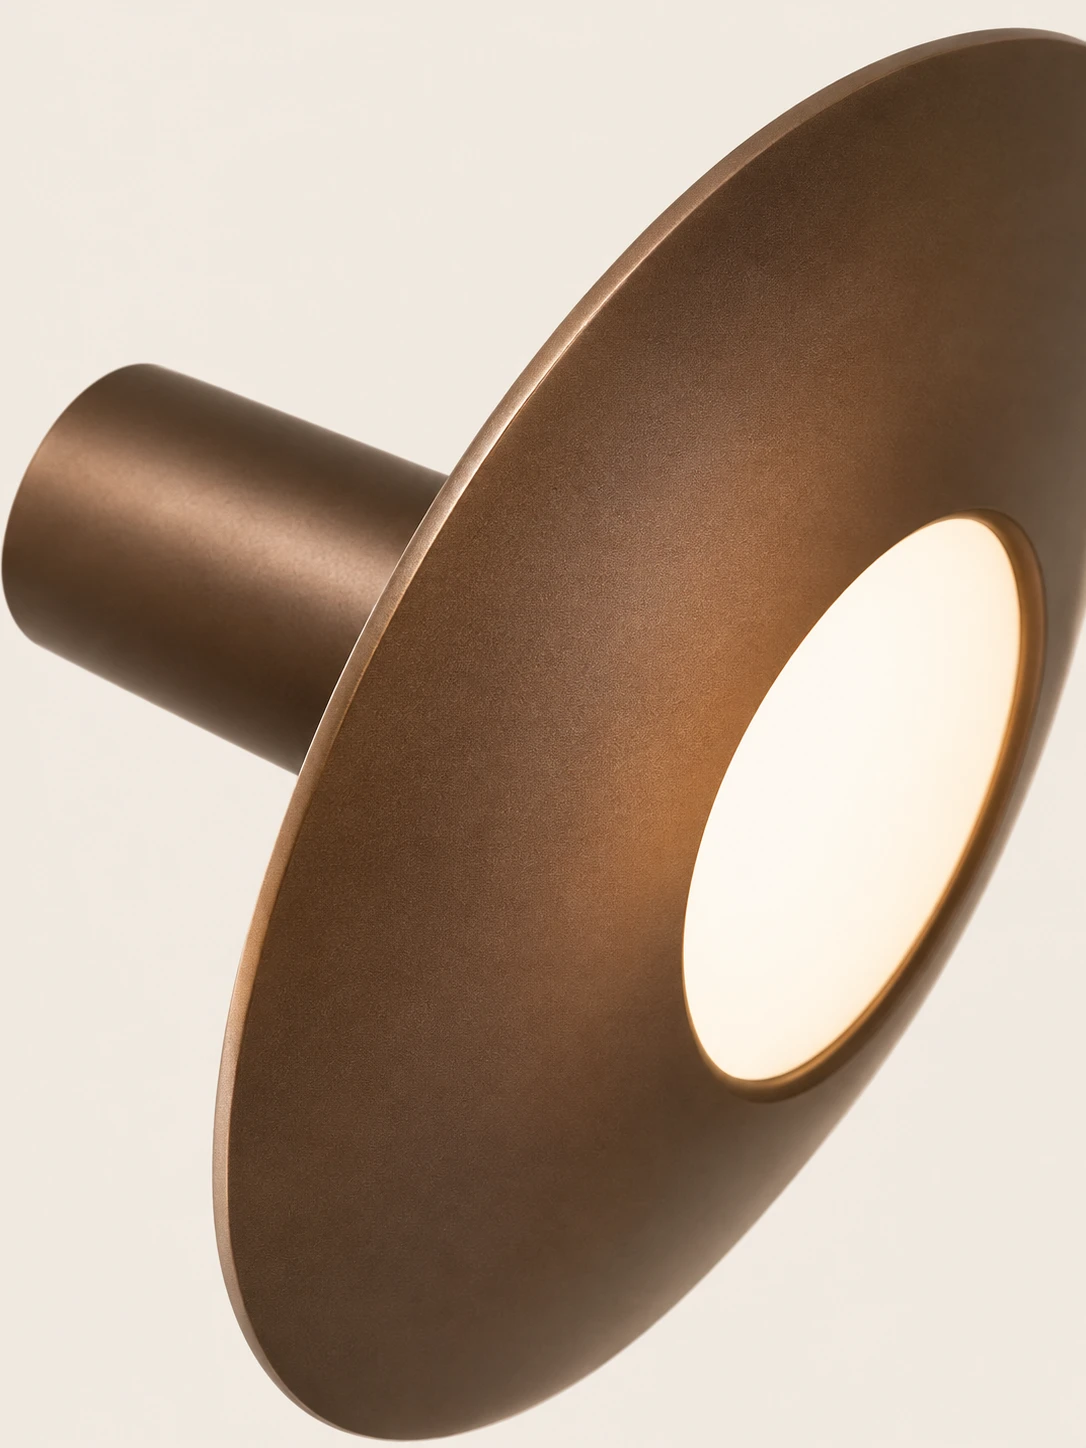
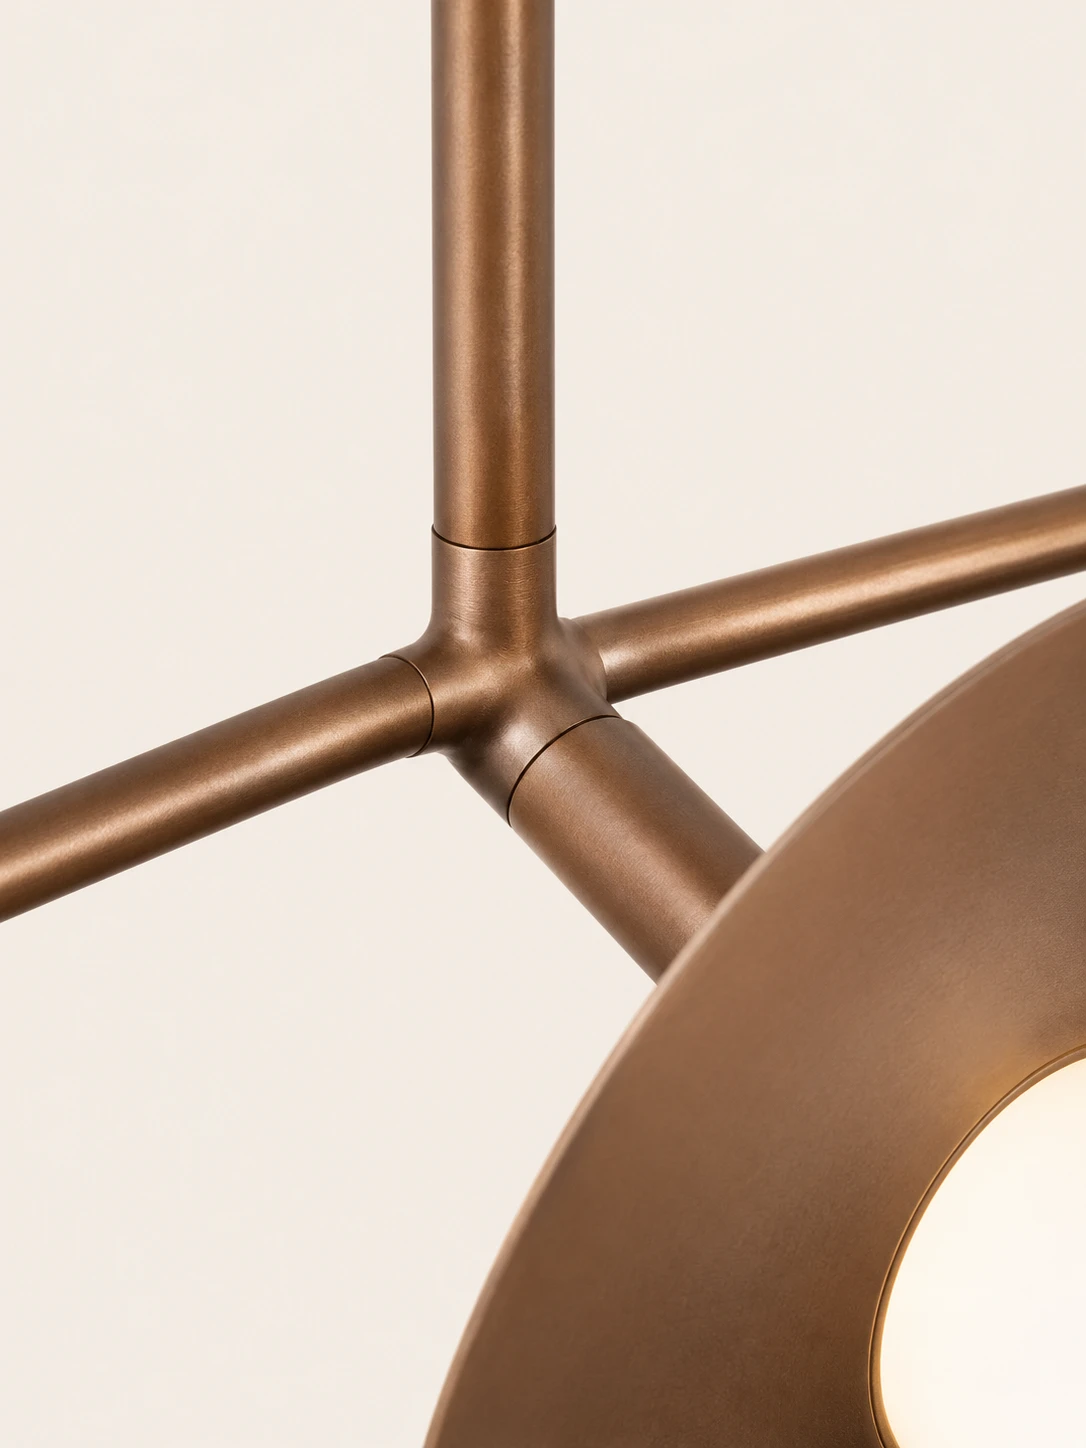
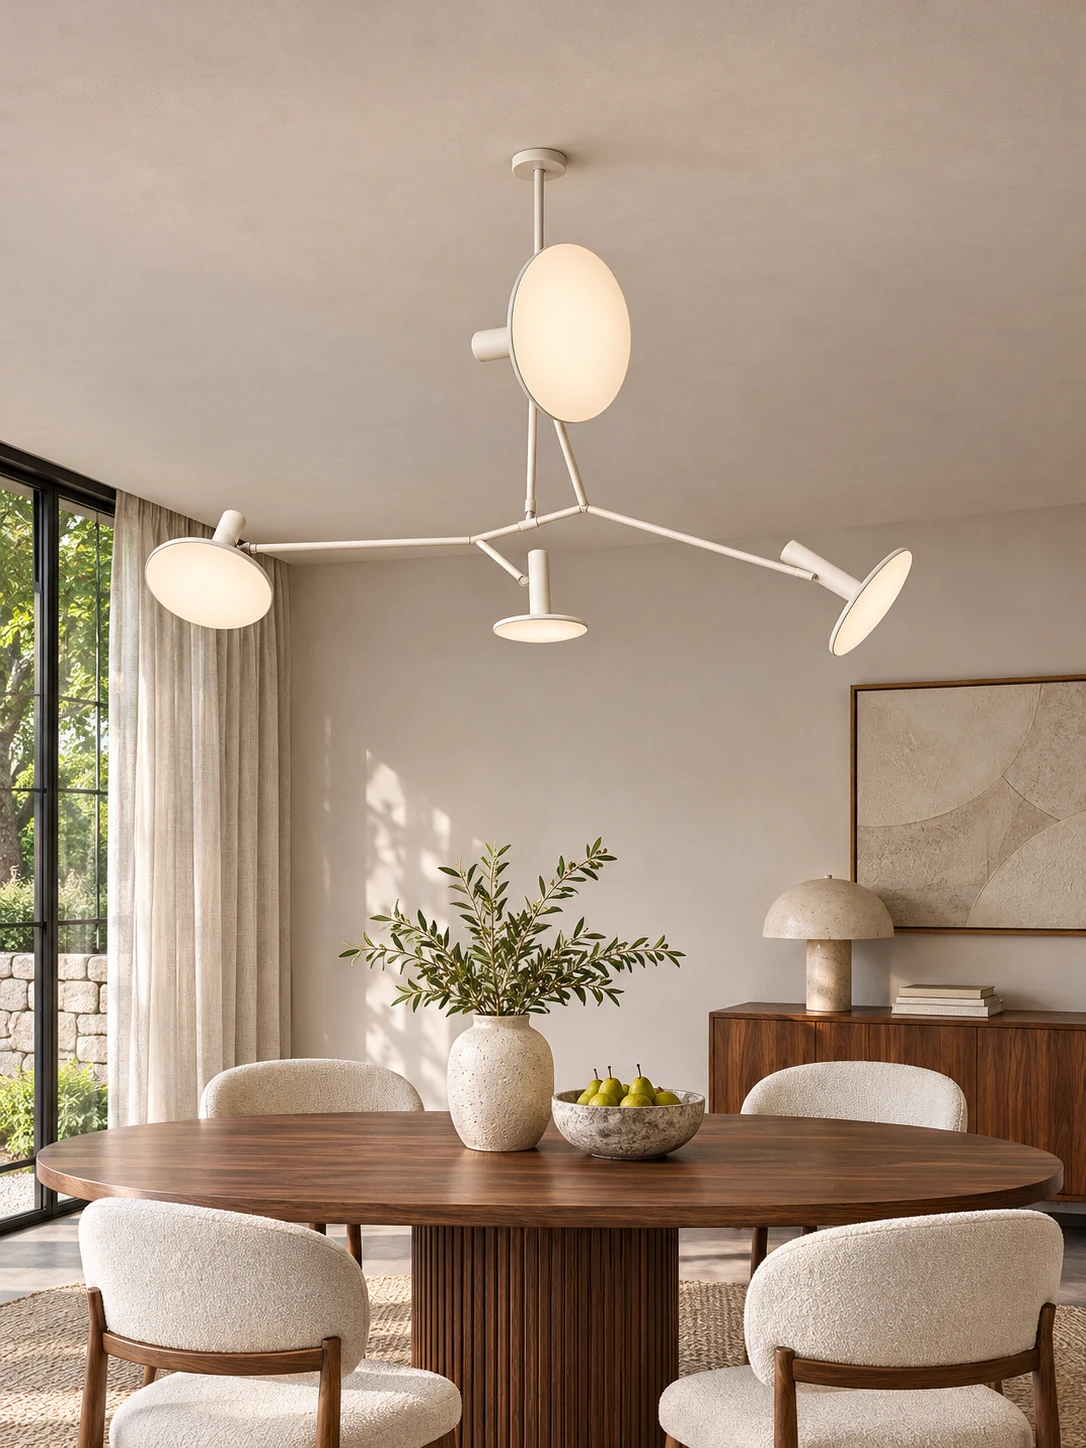
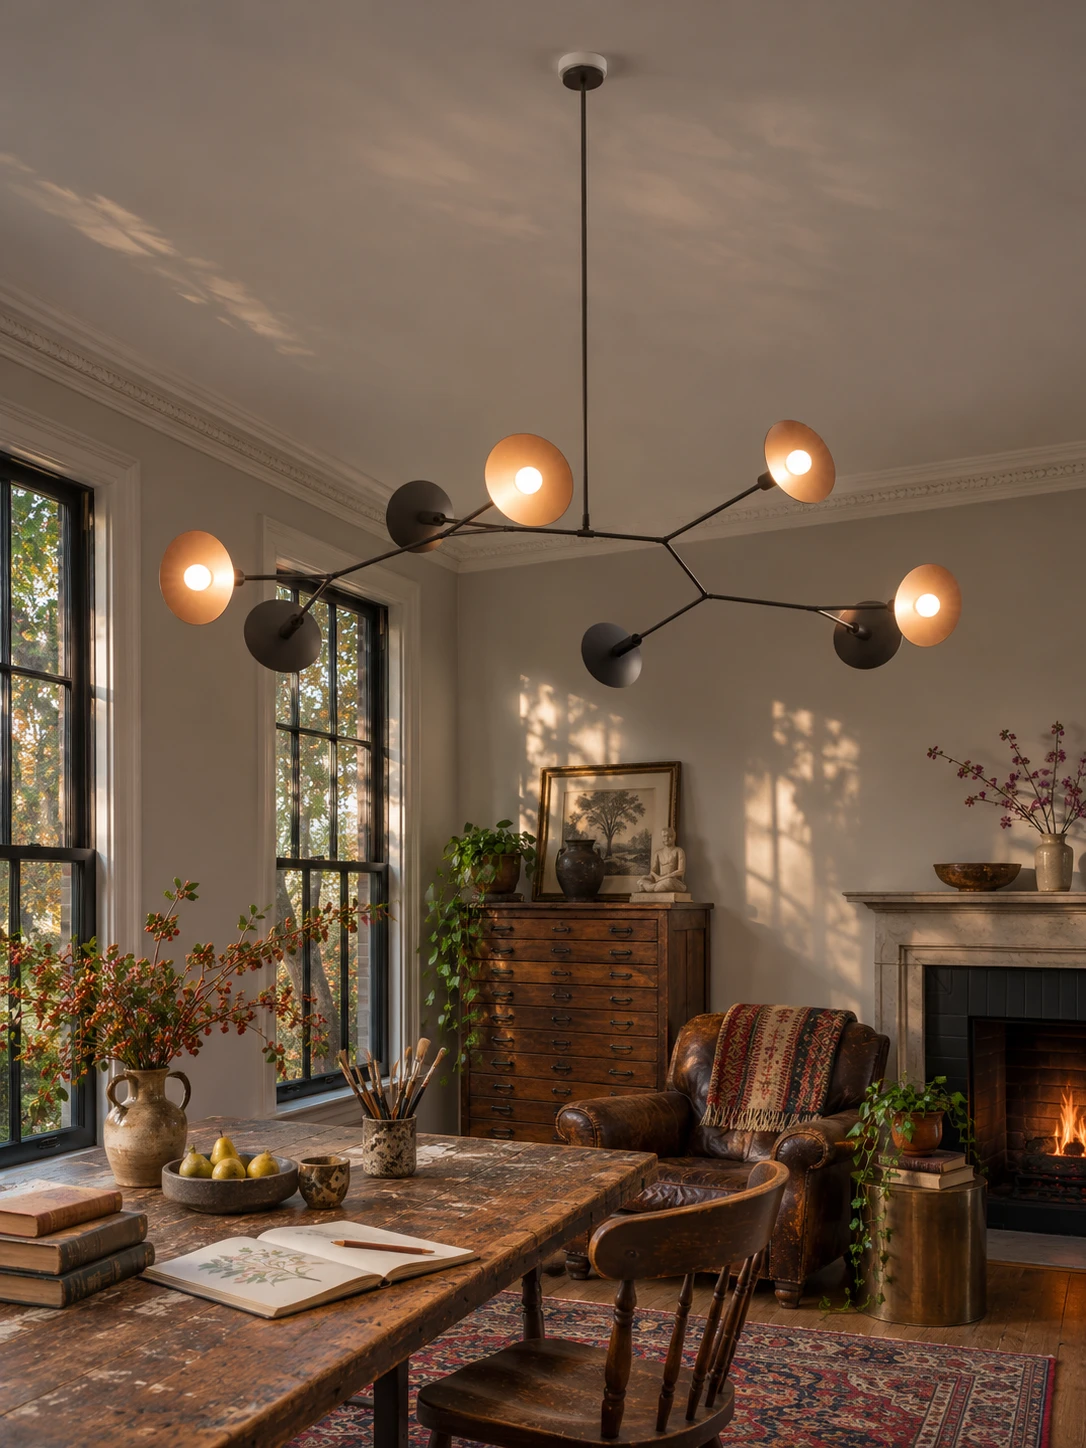
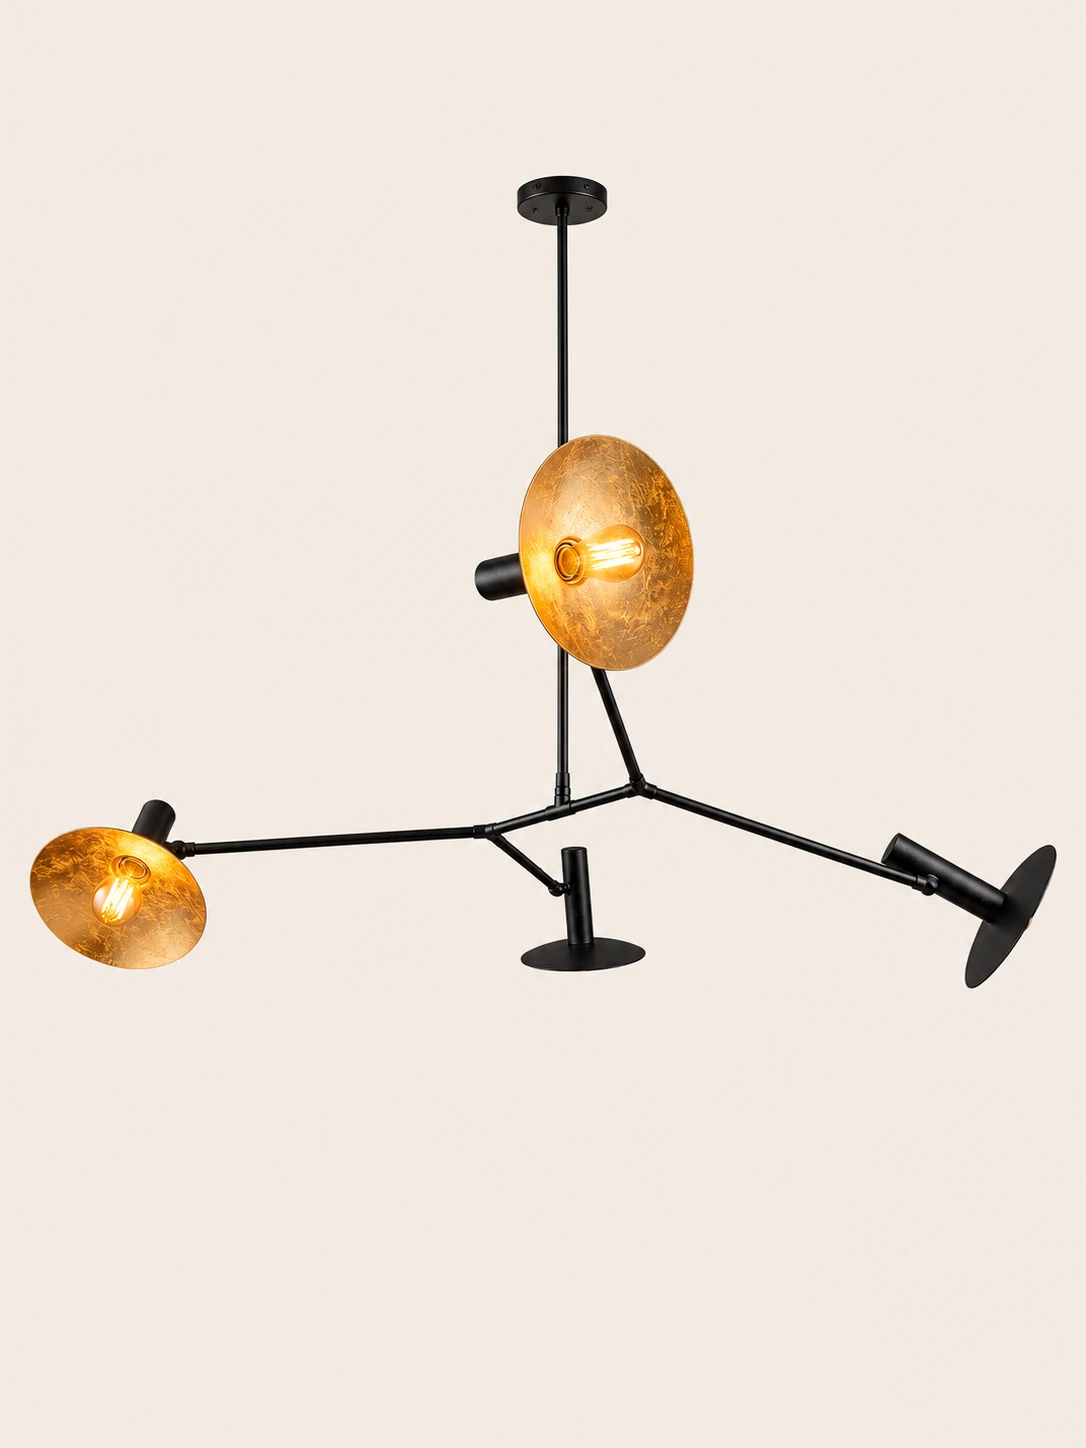
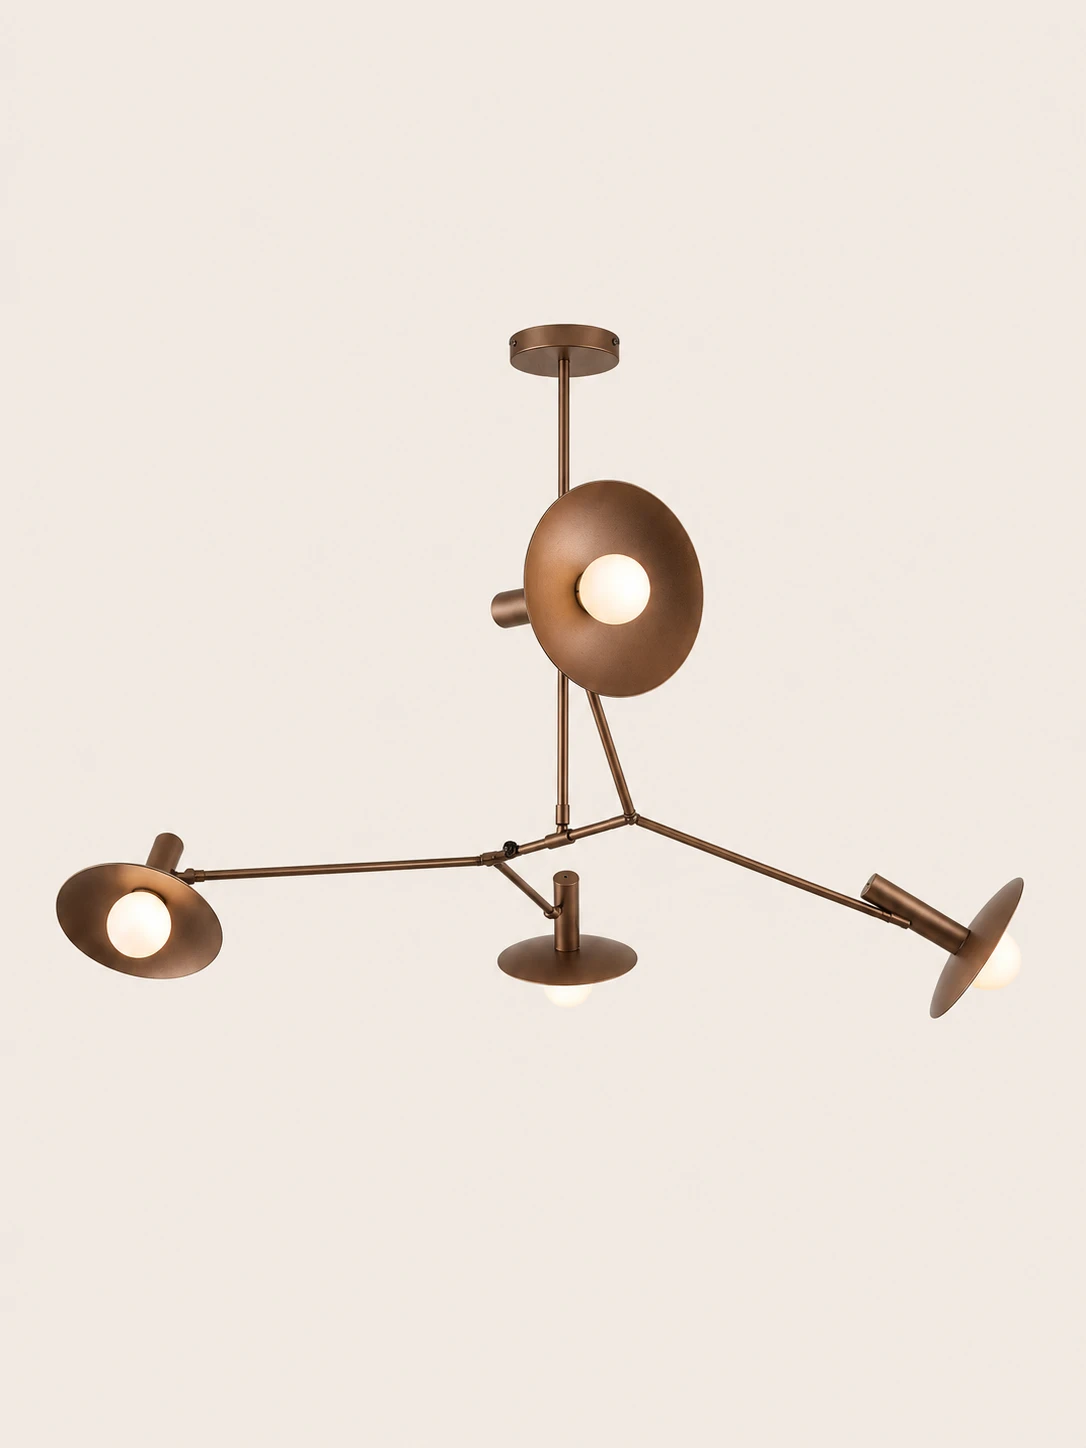
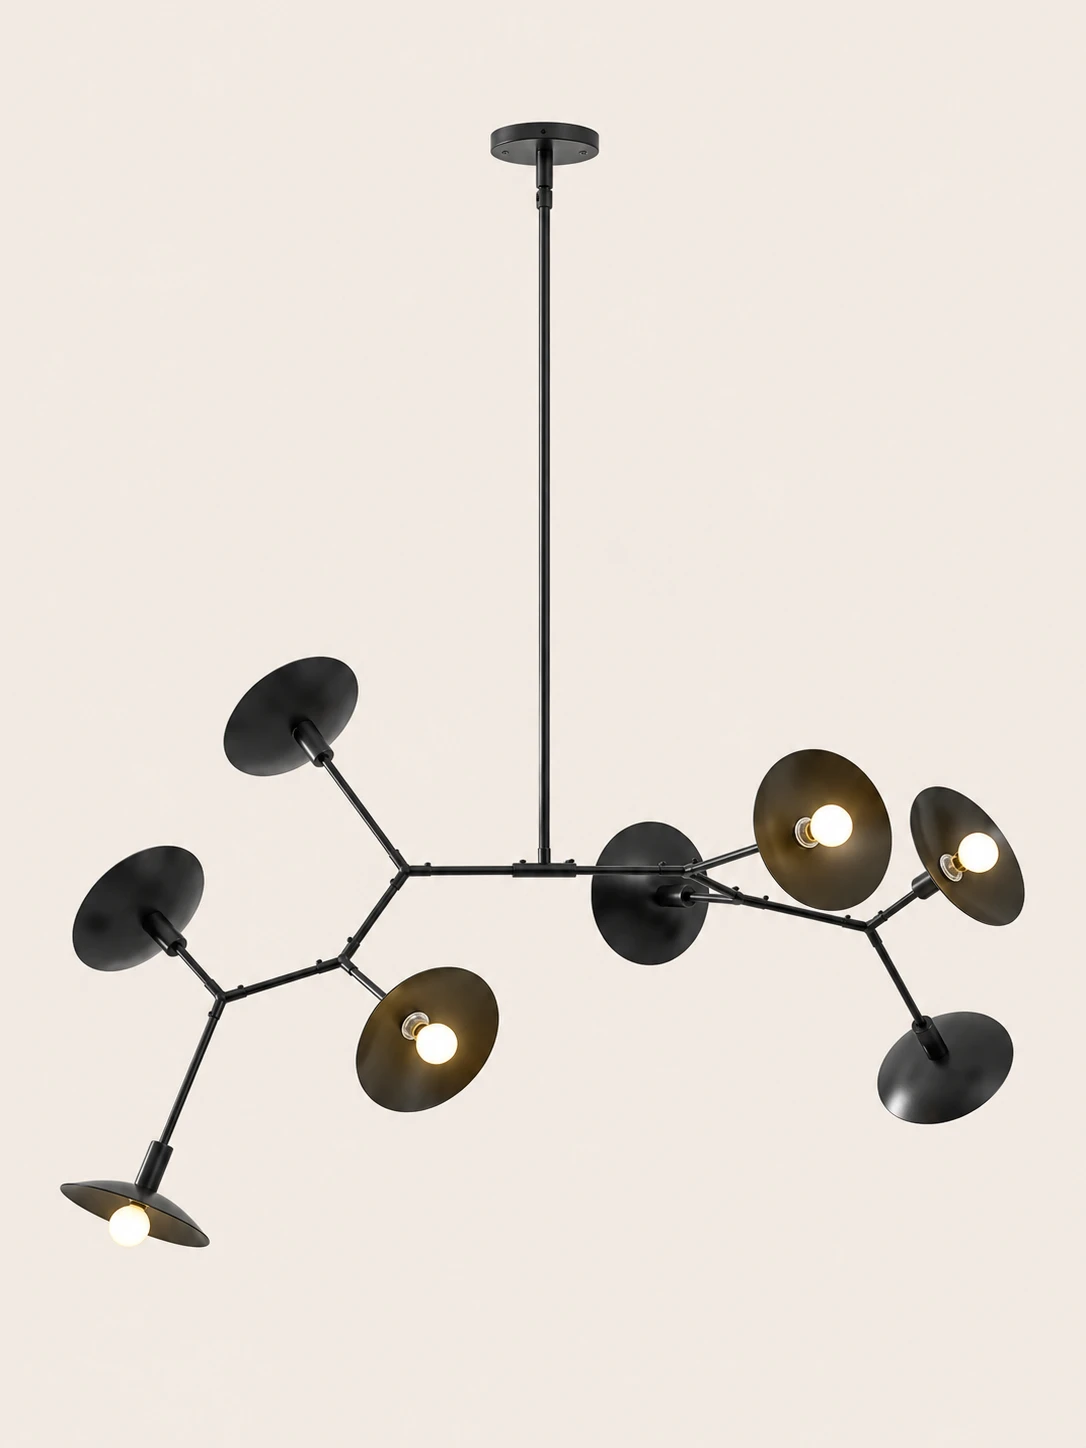
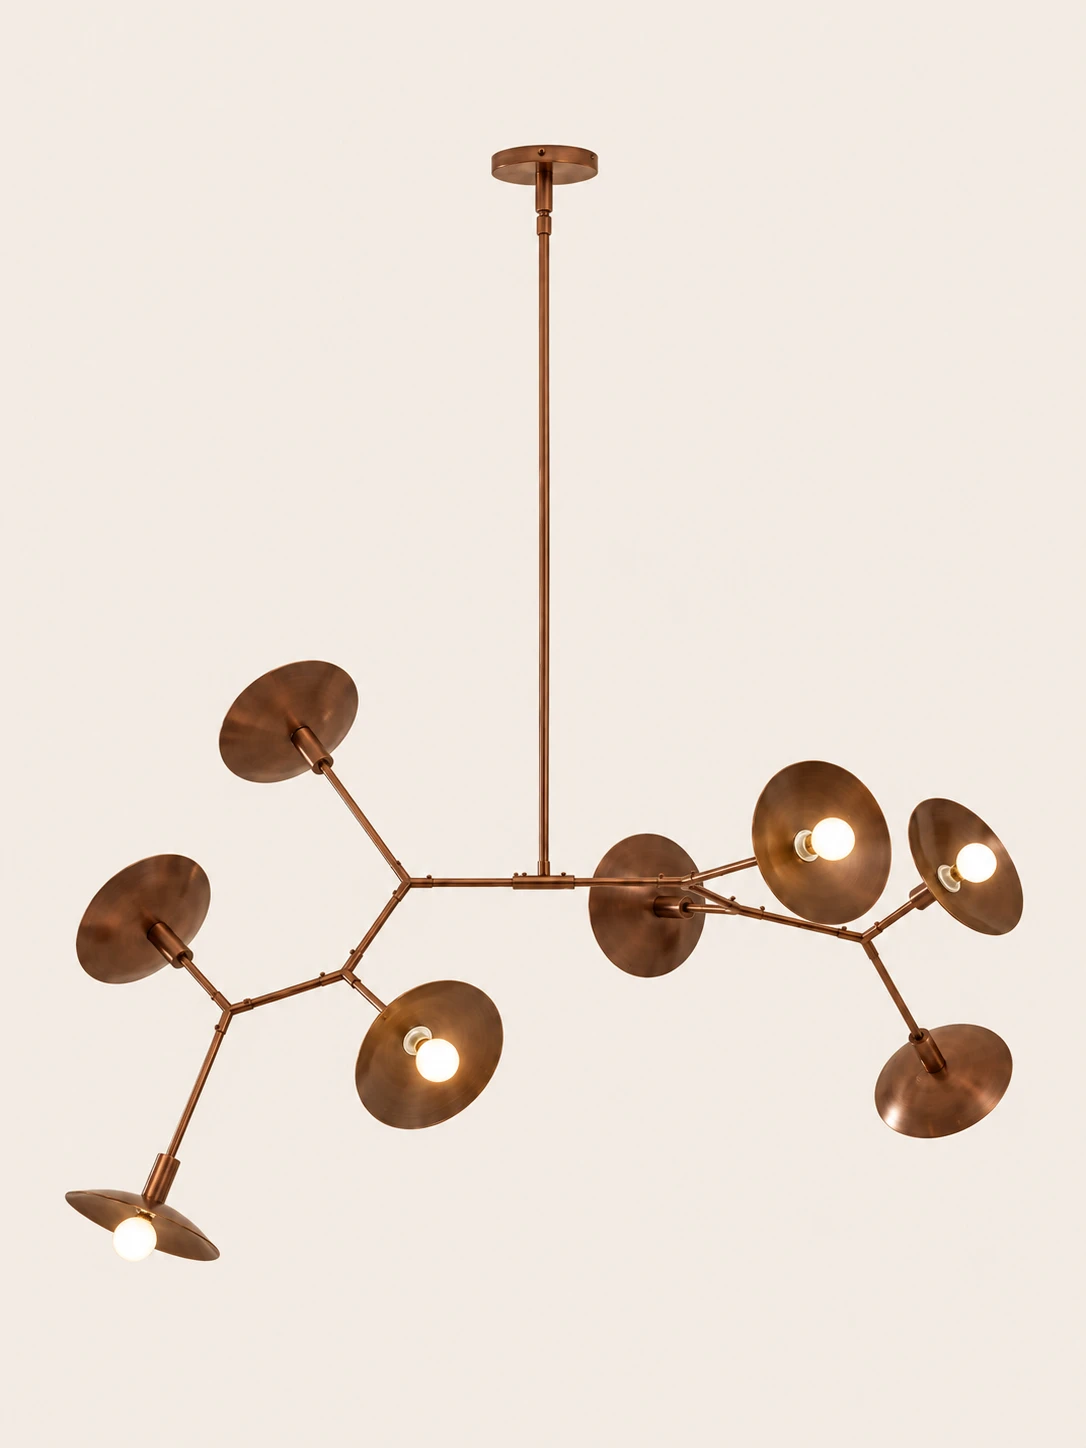
Three tight photographs follow the chandelier’s curved metal, glowing shade, and rod joints
01A broad sweep of matte bronze fills the frame, its finely textured surface catching a warm highlight along the upper curve02A shallow bronze disc frames a bright circular glow, while a cylindrical arm extends from the left toward the shade03Slender bronze rods converge at a small central joint, with one rising straight up and others angling outward beside the edge of a lit shade
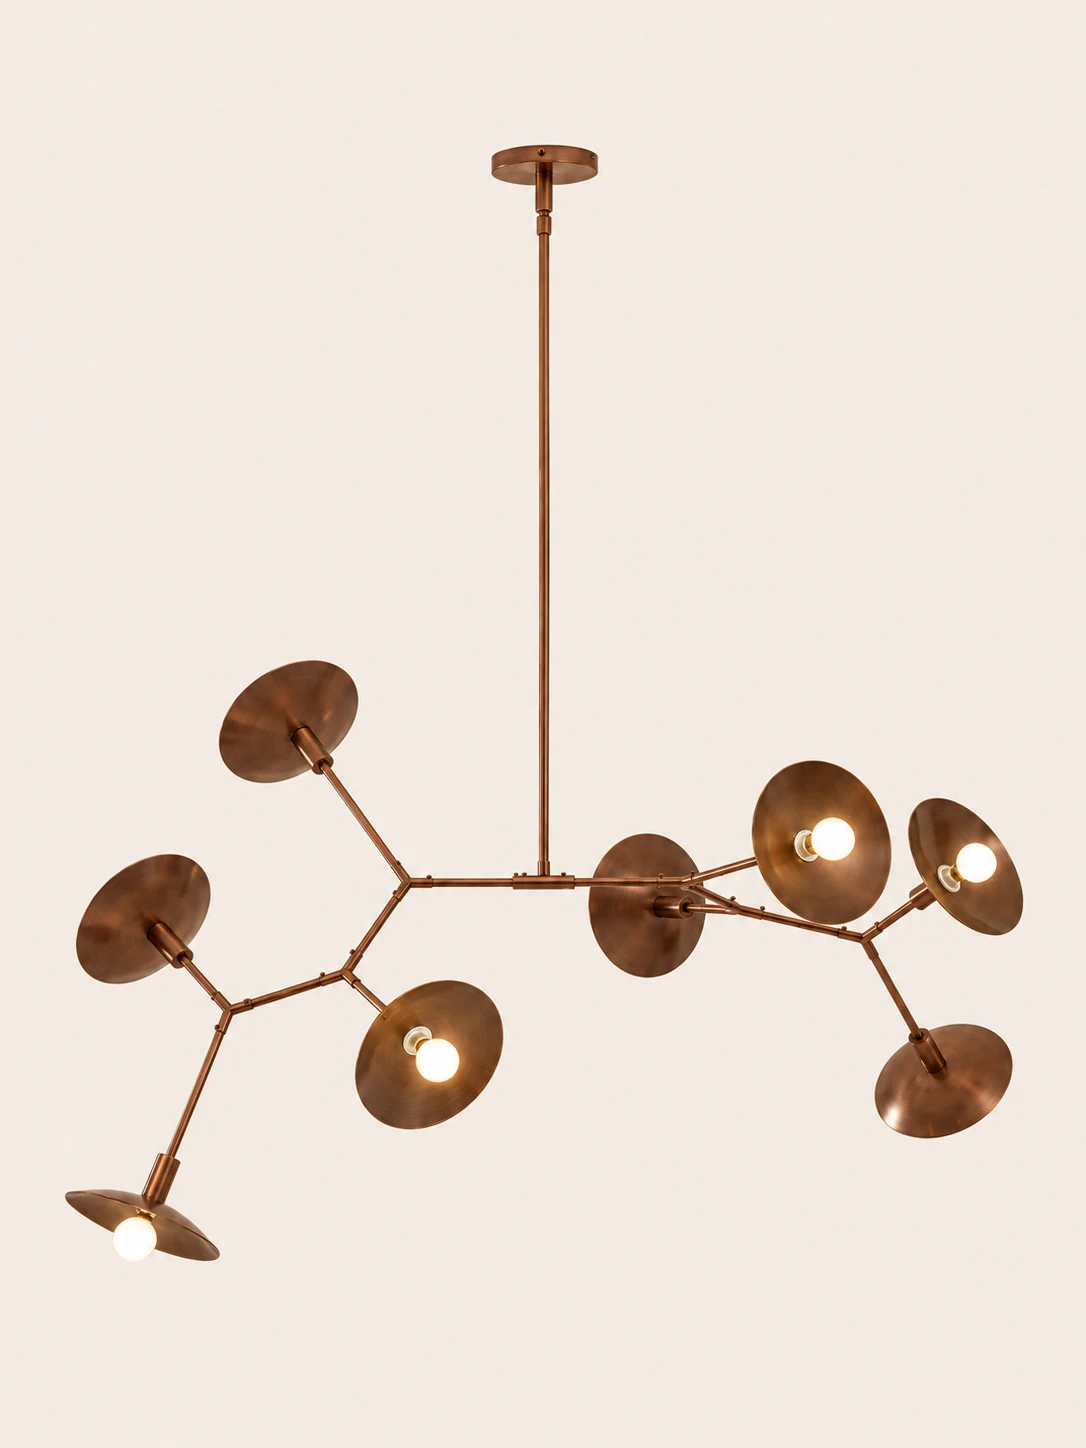
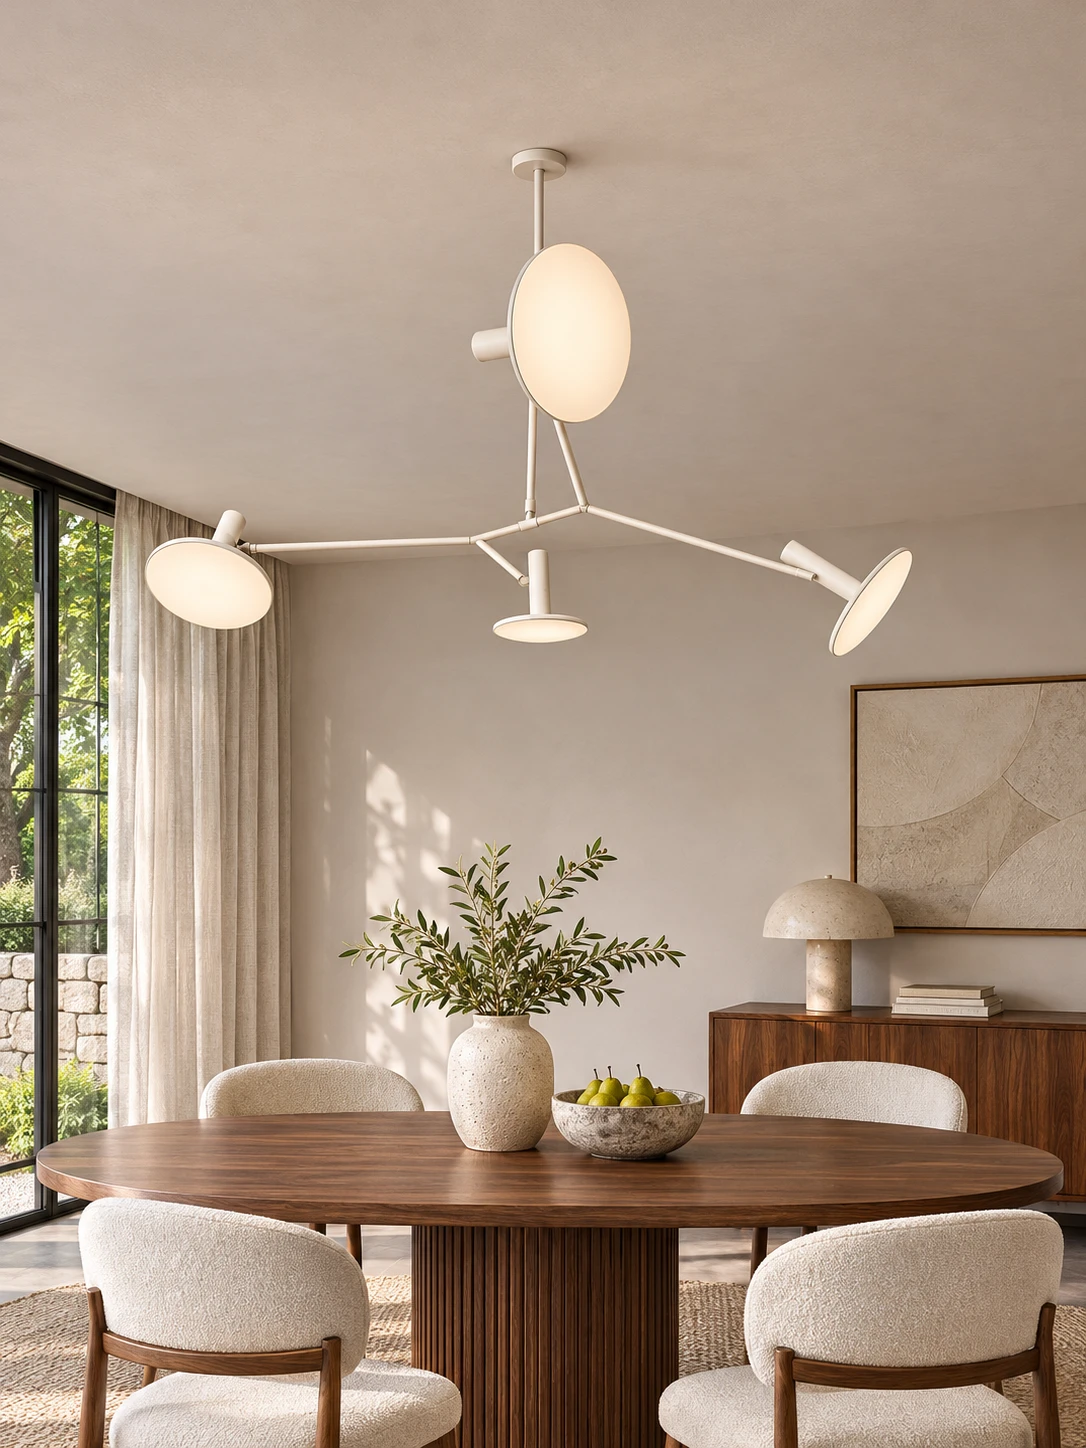
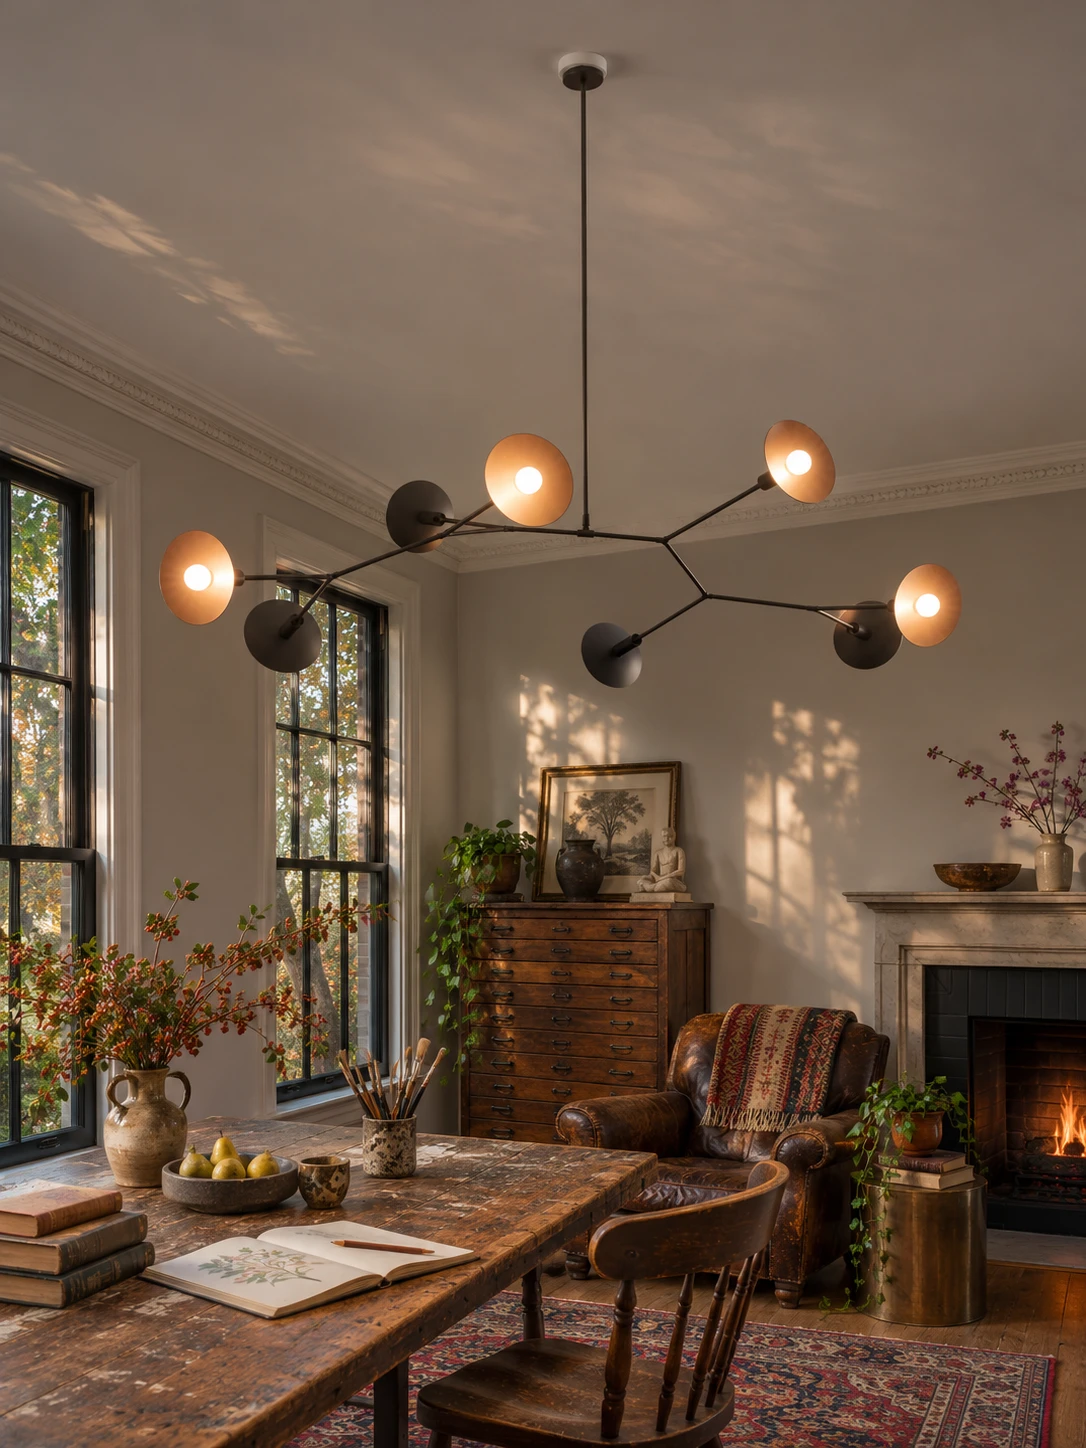
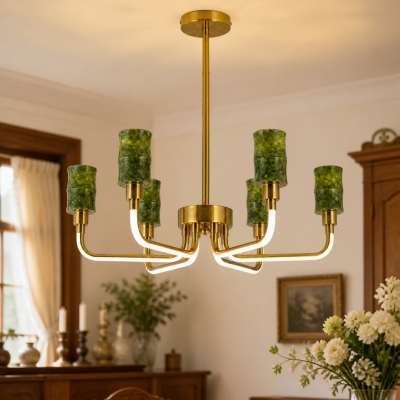
Adjustable brass chandelier
Sculptural brass arms,
movable light
Handcrafted solid brass arms extend from a central body, each crowned with a pair of glass shades and locked by visible screw fasteners at the joints. Top and bottom arms rotate from 0 to 90 degrees, so light can spread across a room or turn toward a table, foyer, or wall. A two-part suspension rod sets how far the chandelier hangs from the ceiling
Highlights
Brass, scale, and light
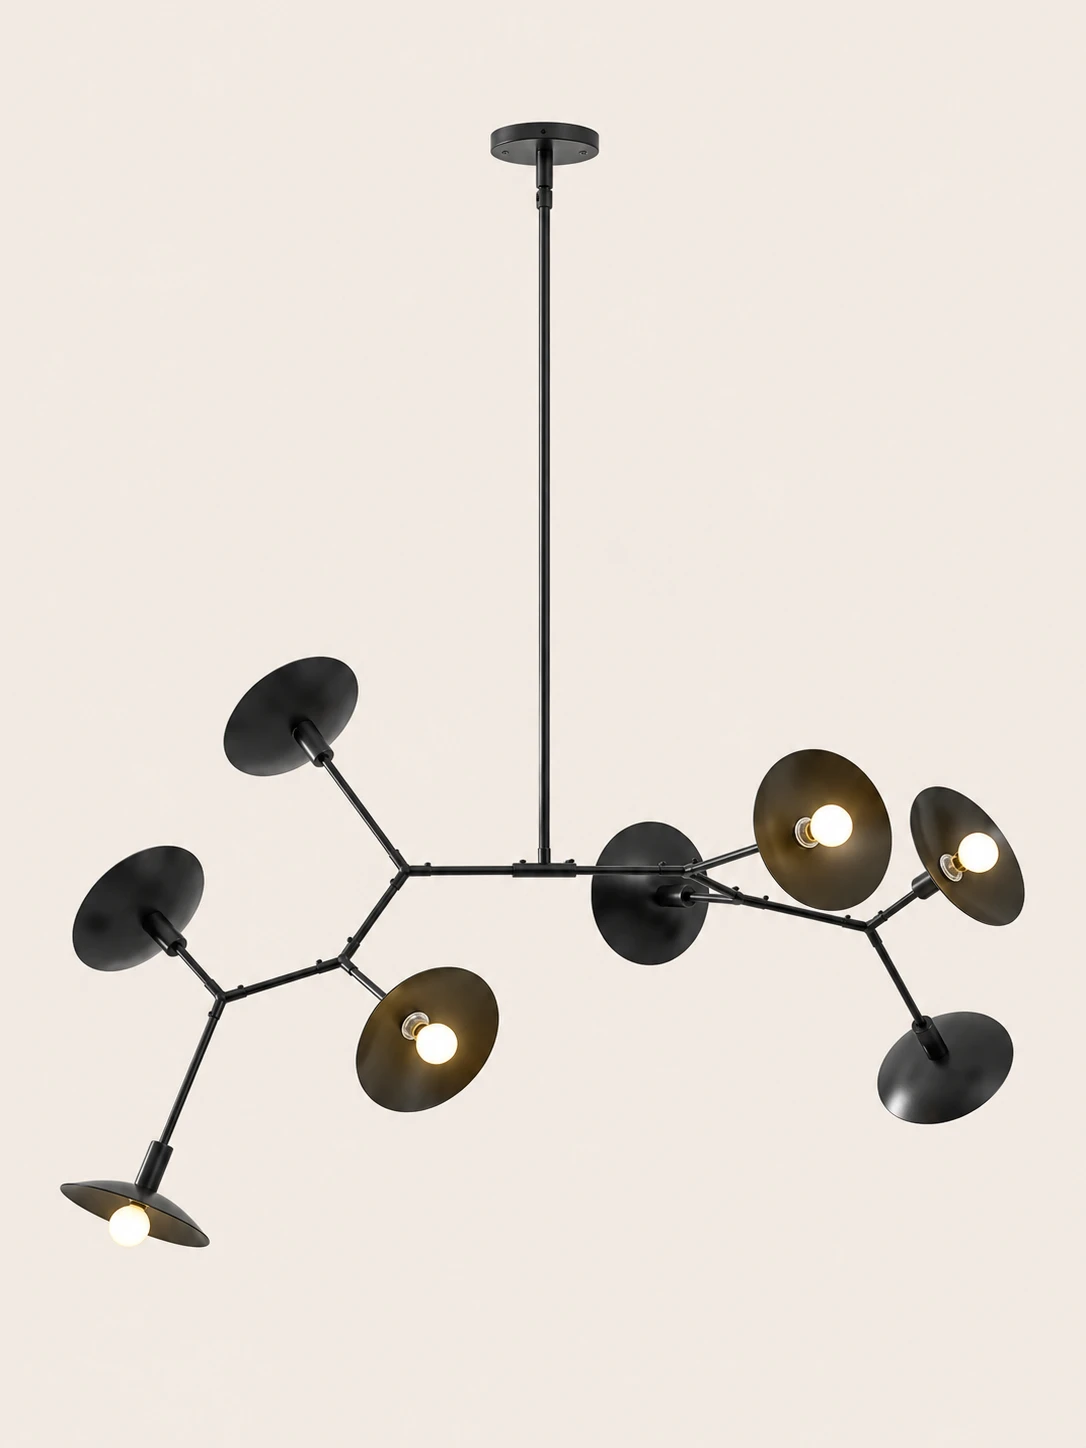
The chandelier is offered in three brass finishes and two head counts, with paired glass shades on rotating arms
01
Solid brass
The body is handcrafted, precision-machined solid brass, with sculptural arms and visible industrial screw fasteners at each adjustable joint
02
Two sizes
The 4-head is L 70 cm × W 70 cm × H 25 cm for intimate spaces and dining tables; the 8-head is L 140 cm × W 140 cm × H 65 cm for foyers, galleries, and statement ceilings
03
Paired glass shades
Each arm has two glass shades and two G9 sockets. The 4-head uses 8 bulbs and the 8-head uses 16; bulbs are sold separately and the fixture dims with dimmable G9 LEDs and a compatible wall dimmer
04
Three finishes
Choose Coffee Copper, Black, or White. Indoors, all three can develop a patina over the years
Specifications
Size and light
4-head
L 70 cm × W 70 cm × H 25 cm (L 27.6″ × W 27.6″ × H 9.8″)
8-head
L 140 cm × W 140 cm × H 65 cm (L 55.1″ × W 55.1″ × H 25.6″)
Suspension rod
11.8″ + 19.7″, adjustable
Socket
G9, one per shade, two per arm
Shades
Paired glass shades on each arm
Bulbs
Not included; 8 G9 for 4-head, 16 G9 for 8-head
Arm rotation
Top and bottom arms, 0–90°
Dimming
Dimmable with dimmable G9 LED bulbs and a compatible wall dimmer
Body
Handcrafted solid brass
Shade
Glass
Finishes
Coffee Copper, Black, White
Black4 heads L 27.6″ x W 27.6″ x H 9.8″
Coffee Copper4 heads L 27.6″ x W 27.6″ x H 9.8″
Black8 heads L 55.1″ x W 55.1″ x H 25.6″
Coffee Copper8 heads L 55.1″ x W 55.1″ x H 25.6″
HOZO Installationsanleitung
Planen Sie Ihre Beleuchtung.
Raumweise Startwerte für Leuchtengröße, Montagehöhe, Abstand und Durchgangshöhe. Tippen Sie ein Kapitel an.
01
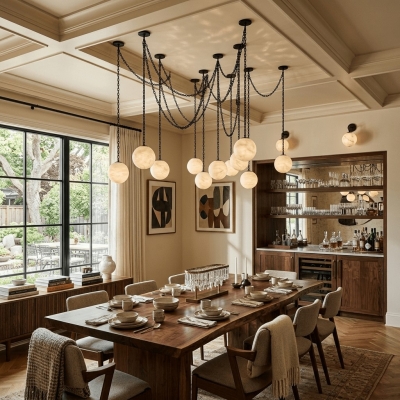
Esstisch
Größe und Mitte vom Tisch aus festlegen, dann die Sicht von jedem Sitz prüfen.
So messen
Tischlänge und -breite messen. Bei runden Tischen den Durchmesser nehmen.
Startbereich
Runde Leuchten: etwa 1/2 bis 2/3 der Tischbreite. Längliche Leuchten: 1/2 bis 2/3 der Tischlänge.
Platzierung
Die Leuchte über dem Tisch zentrieren, nicht zwingend über dem Raum.
Abstand
76–91 cm über der Tischplatte beginnen.
Bei langen Tischen wirken zwei kleinere Pendel oft natürlicher als eine übergroße Leuchte.
Vor dem Bohren
Eine Papierschablone an die Decke kleben und vom Türrahmen sowie sitzend prüfen.
MessenPlatte bis Unterkante
Hängehöhe76–91 cm
AusrichtenMitte des Tisches
02
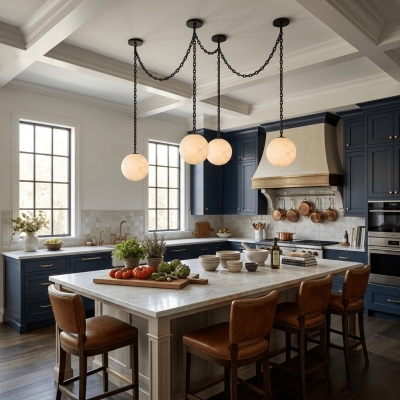
Kücheninsel
Die nutzbare Insel messen und die Pendel auf der Mittellinie halten.
So messen
Nutzbare Länge und Breite der Insel messen.
Startbereich
Eine Linienleuchte: 1/2 bis 2/3 der Insel-Länge. Mehrere Pendel: erst den Durchmesser, dann die Anzahl wählen.
Platzierung
Pendelmitten gleichmäßig auf der Insel-Mittellinie.
Abstand
76–91 cm über der Arbeitsplatte. Äußere Pendel nicht an den Inselenden.
Die komplette Reihe mocken, nicht nur ein Pendel.
Vor dem Bohren
Drei Papierkreise über der Insel zeigen Abstandsprobleme schneller als ein einzelnes Muster.
MessenPlatte bis Unterkante
Hängehöhe76–91 cm
AusrichtenGleiche Mitten
03
Raummitte
Länge plus Breite ergibt den Startdurchmesser. Deckenhöhe und visuelle Schwere machen die Entscheidung fertig.
So messen
Raumlänge und -breite in Metern plus fertige Deckenhöhe.
Startbereich
Länge + Breite (m) × 8,3 ergibt einen üblichen Startdurchmesser in cm. Beispiel: 3,7 + 3,0 → ca. 56 cm.
Platzierung
Die architektonische Mitte nur nutzen, wenn sie vom Eingang und vom Möbelplan her Sinn ergibt.
Abstand
Mindestens 2,10 m lichte Höhe unter dem tiefsten Punkt im Laufbereich.