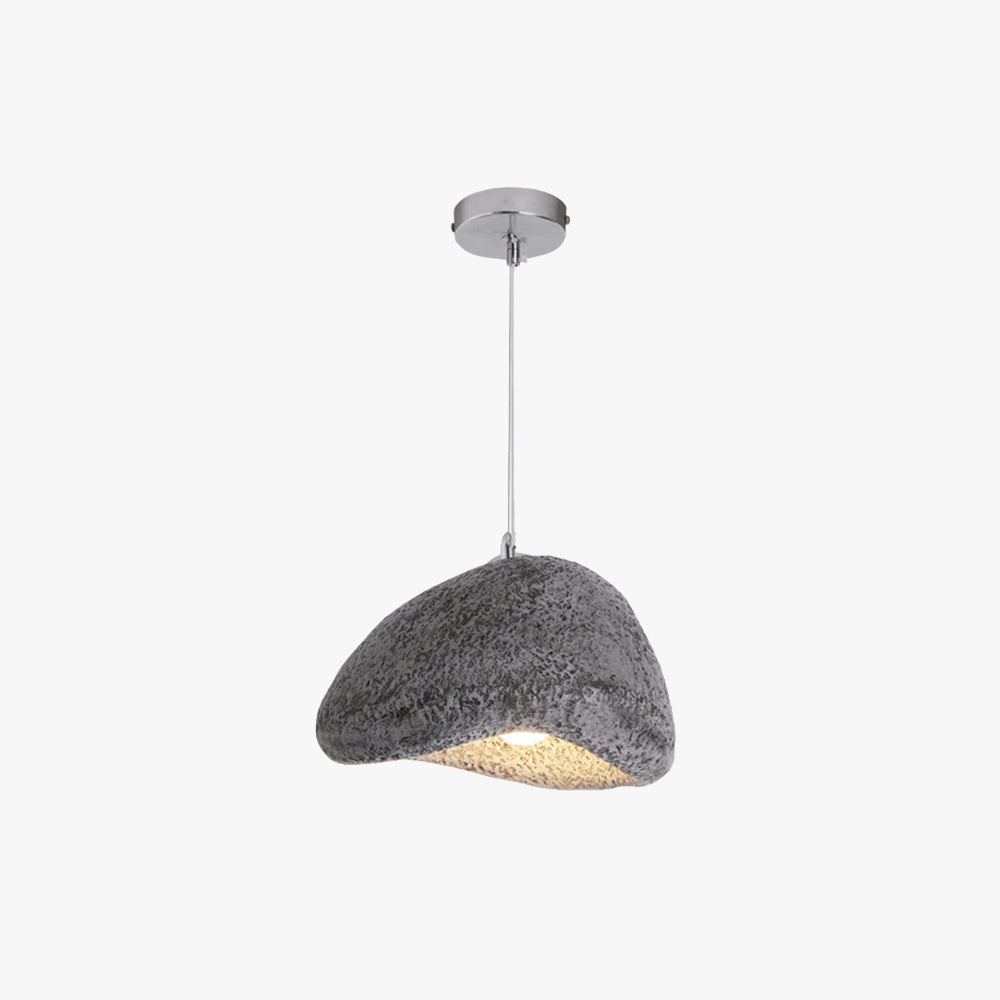
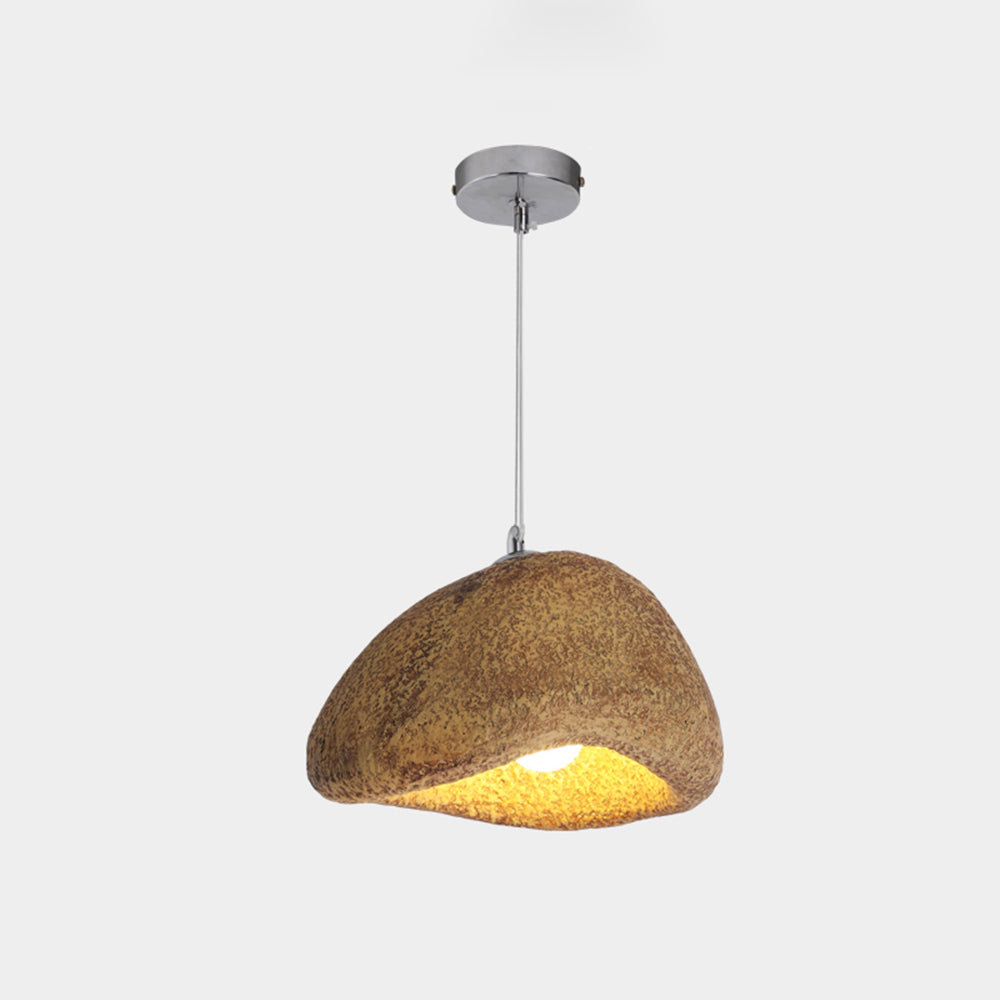
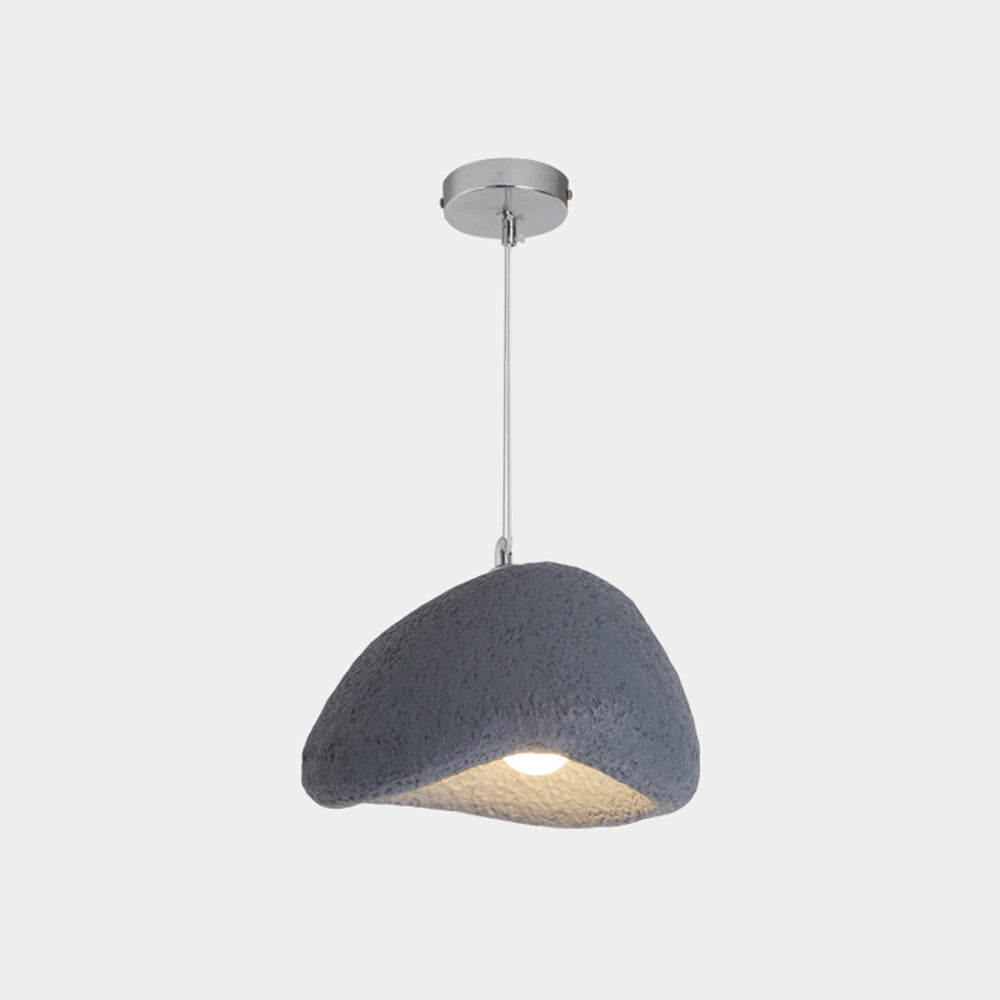
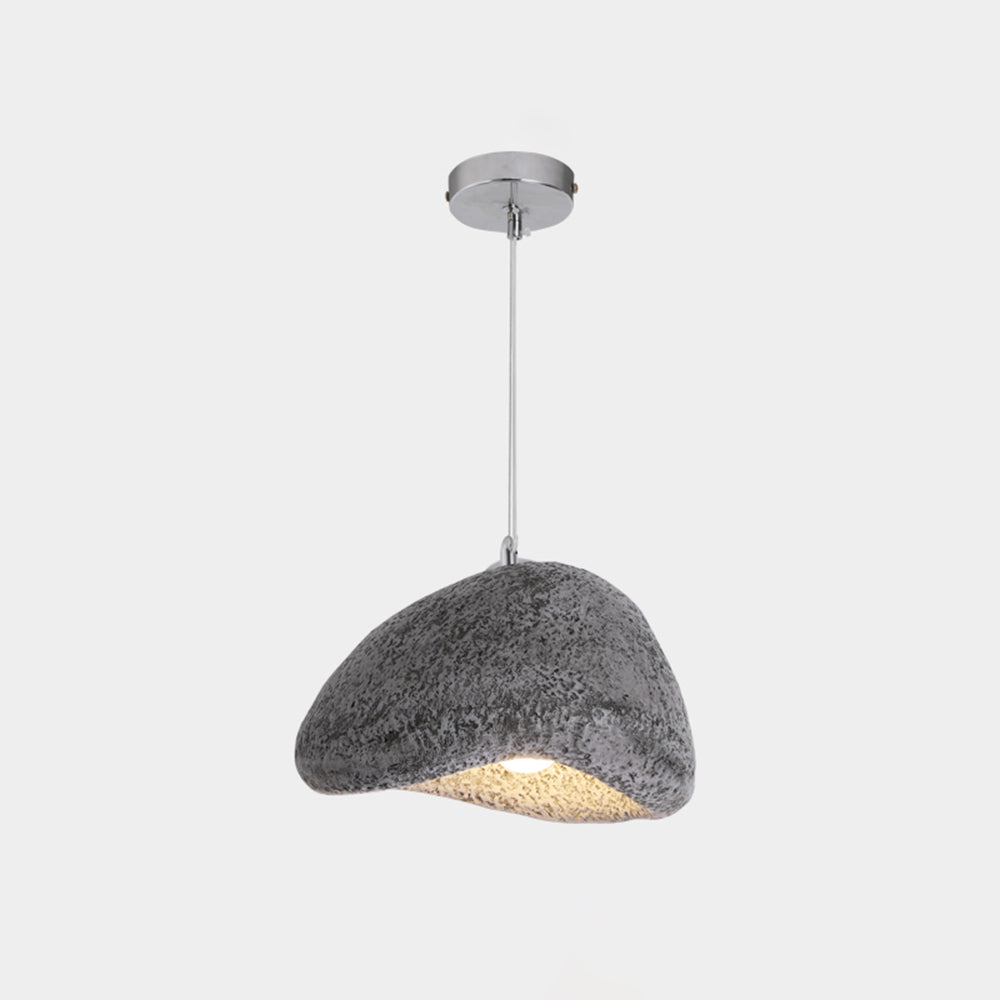
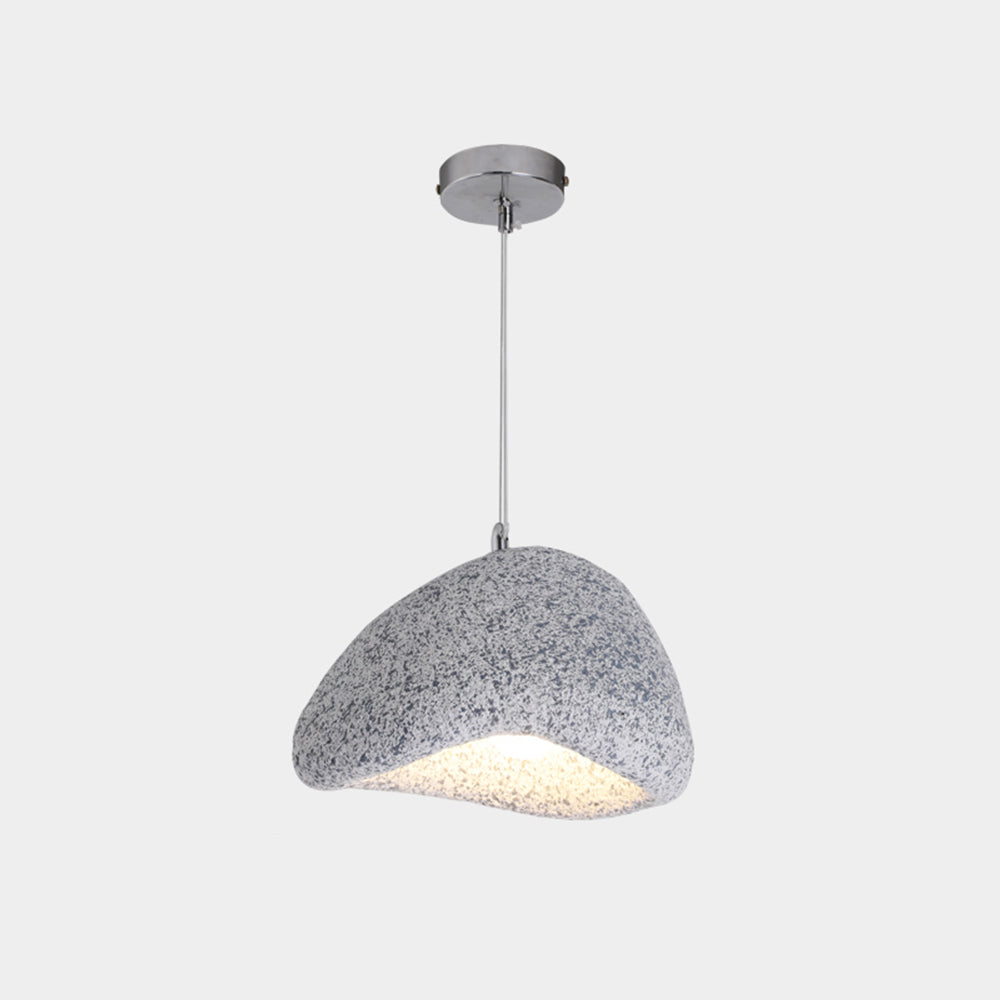
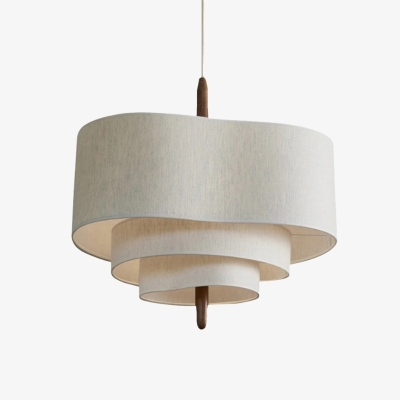
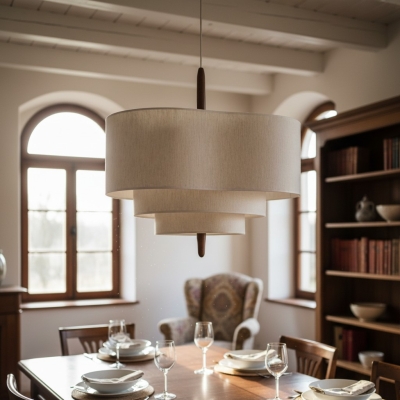
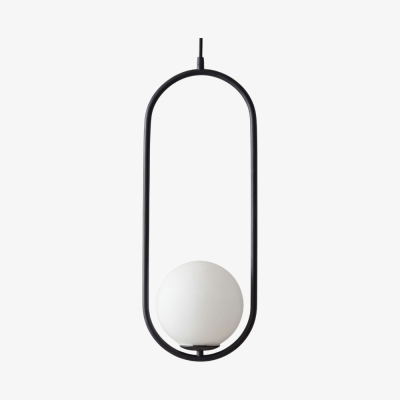
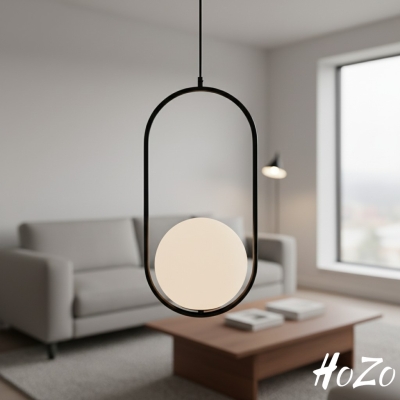
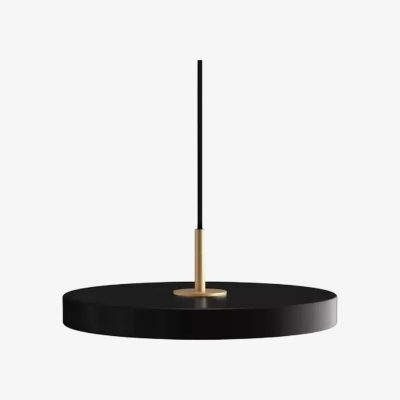
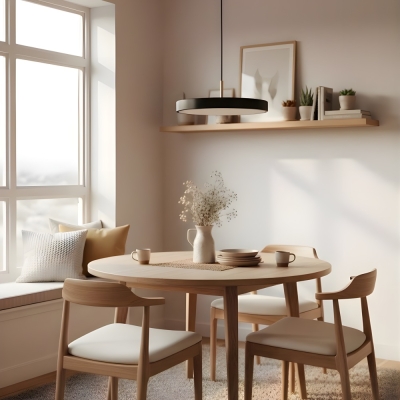
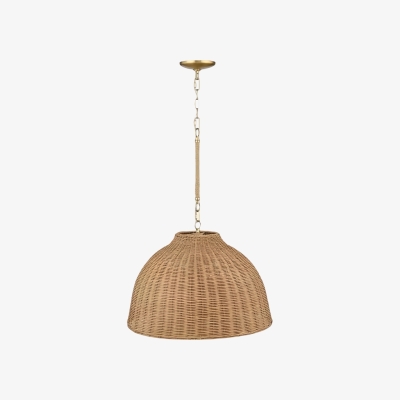
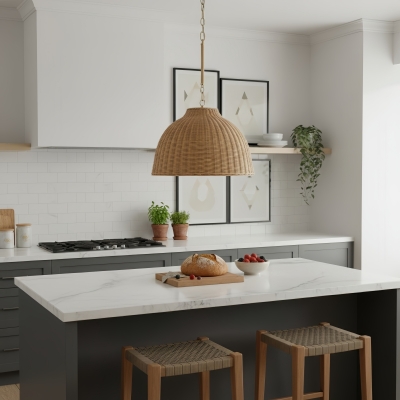
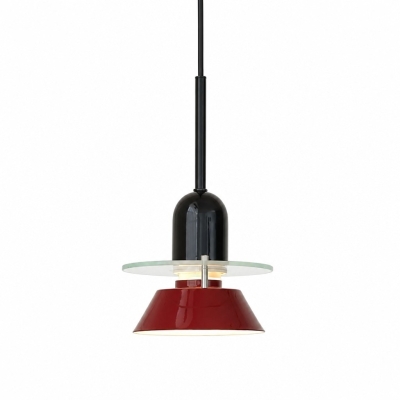
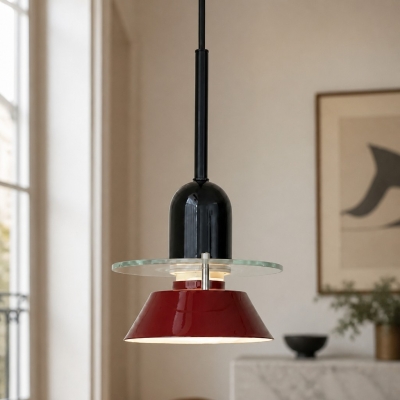
Byers Wabi Sabi Bread Shape Resin Pendant Light Resin 4 Color
Preț obișnuit€276.00
Preț de vânzare€276.00Preț obișnuit€0.00
/
Vorbește despre brandul tău
Asociați textul cu o imagine pentru a vă concentra asupra produsului, colecției sau articolului de blog ales. Adăugați detalii despre disponibilitate, stil sau chiar oferiți o recenzie.
The pendant light made of high-quality metal and resilient resin materials, it ensures a lighting fixture that not only exudes durability but also safety and stability. The robust metal fixture stands as a sentinel against rust, promising longevity and reliability. Meanwhile, the resin lampshade embodies both safety and durability, making it a choice that prioritizes not just style but also practicality.
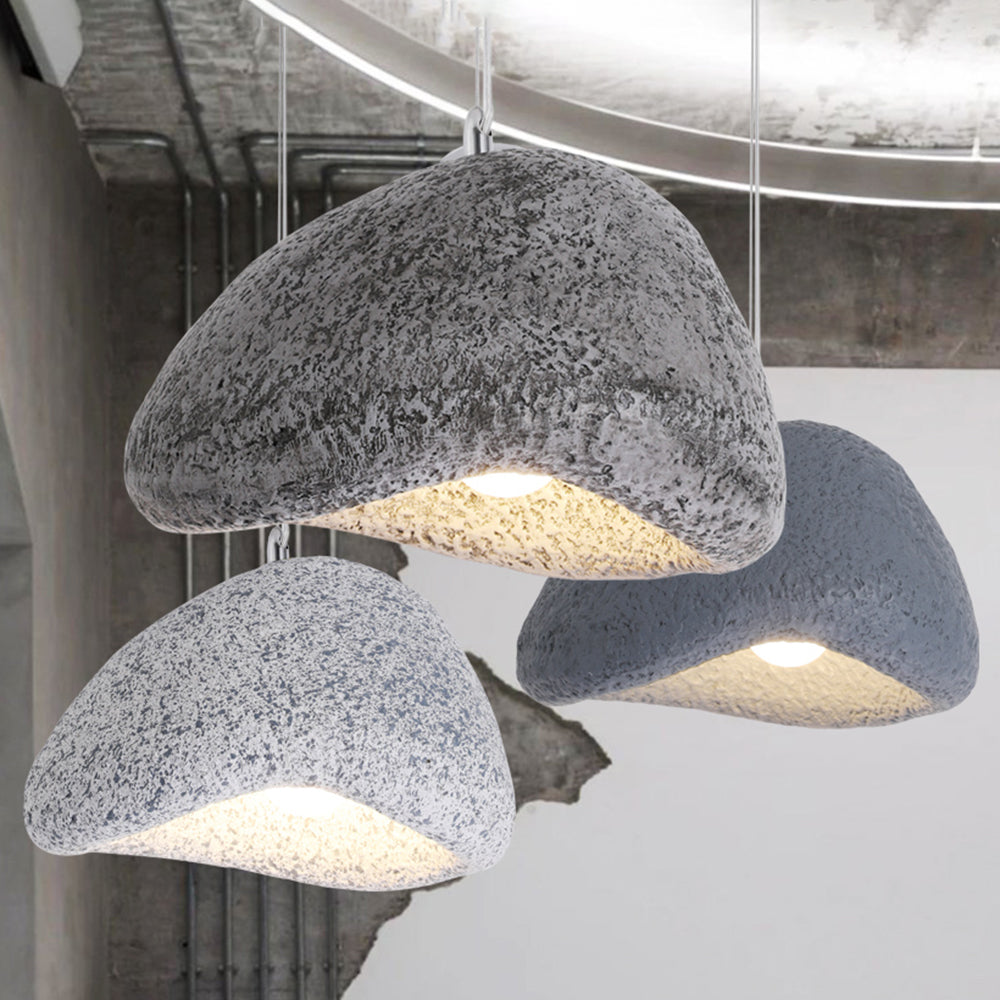
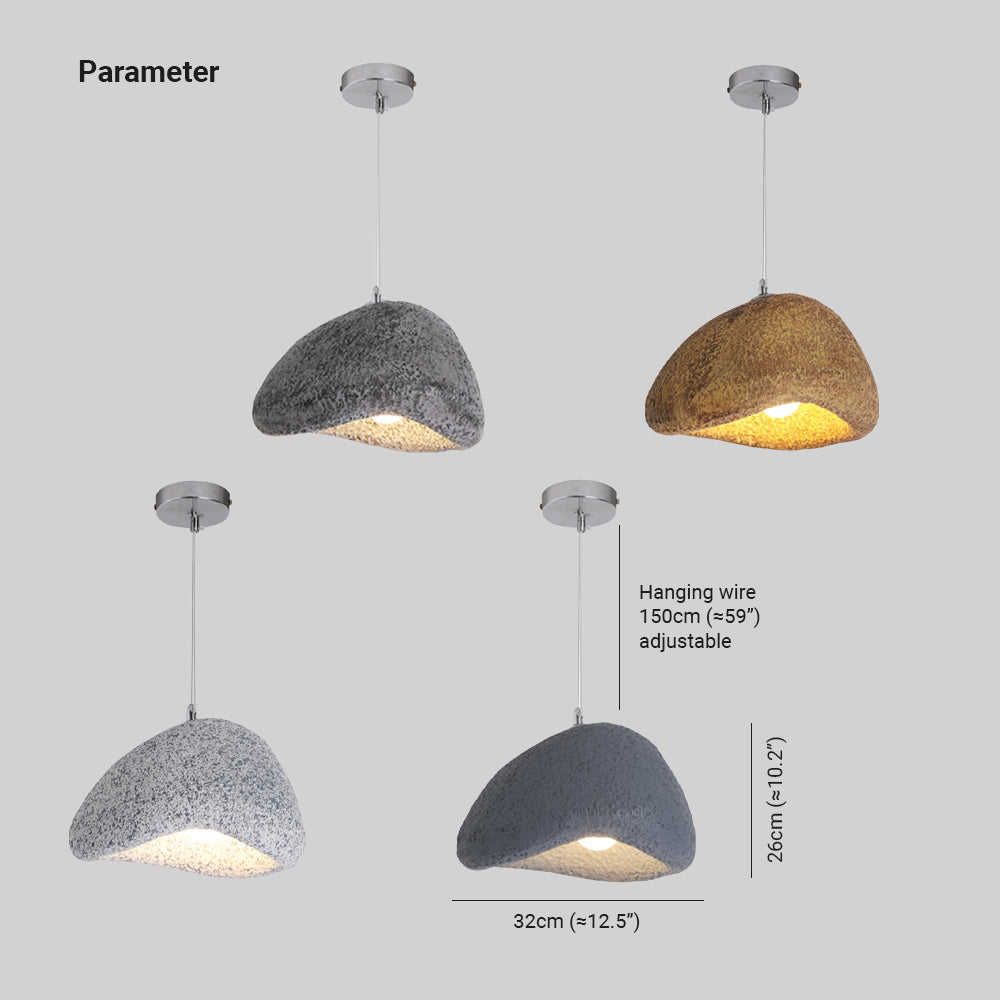
This pendant light offers a palette of four serene colors: blue, wood, white, and black. These plain yet elegant and give a look of simplicity. Whether you opt for the calming blue, the natural warmth of wood, the pristine white, or the timeless black, each color choice creates an environment that resonates with peacefulness, setting the stage for moments of serenity.
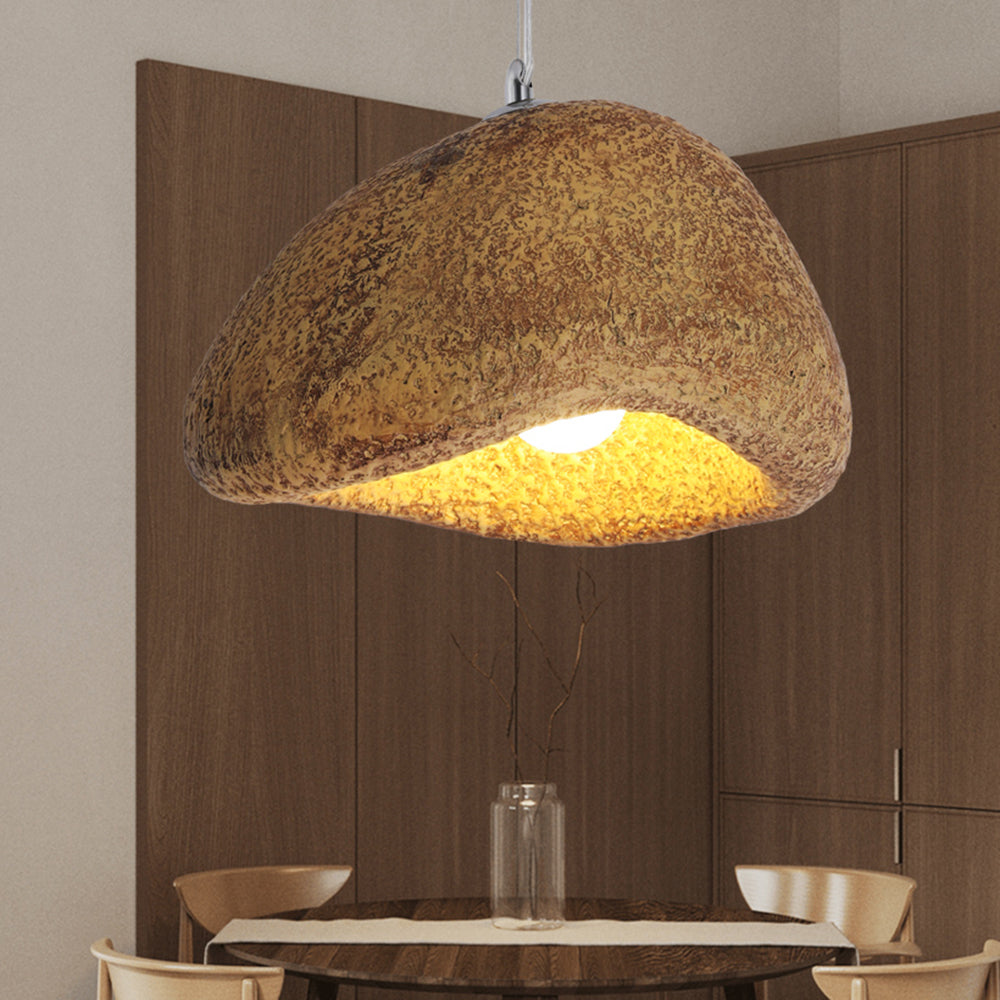
This unique shape adds an element of intrigue and individuality, making it a statement piece that doubles as an art deco in your space. The bread-shaped lampshade imparts a sense of calm and simplicity, creating a serene ambiance that encourages relaxation and contemplation.
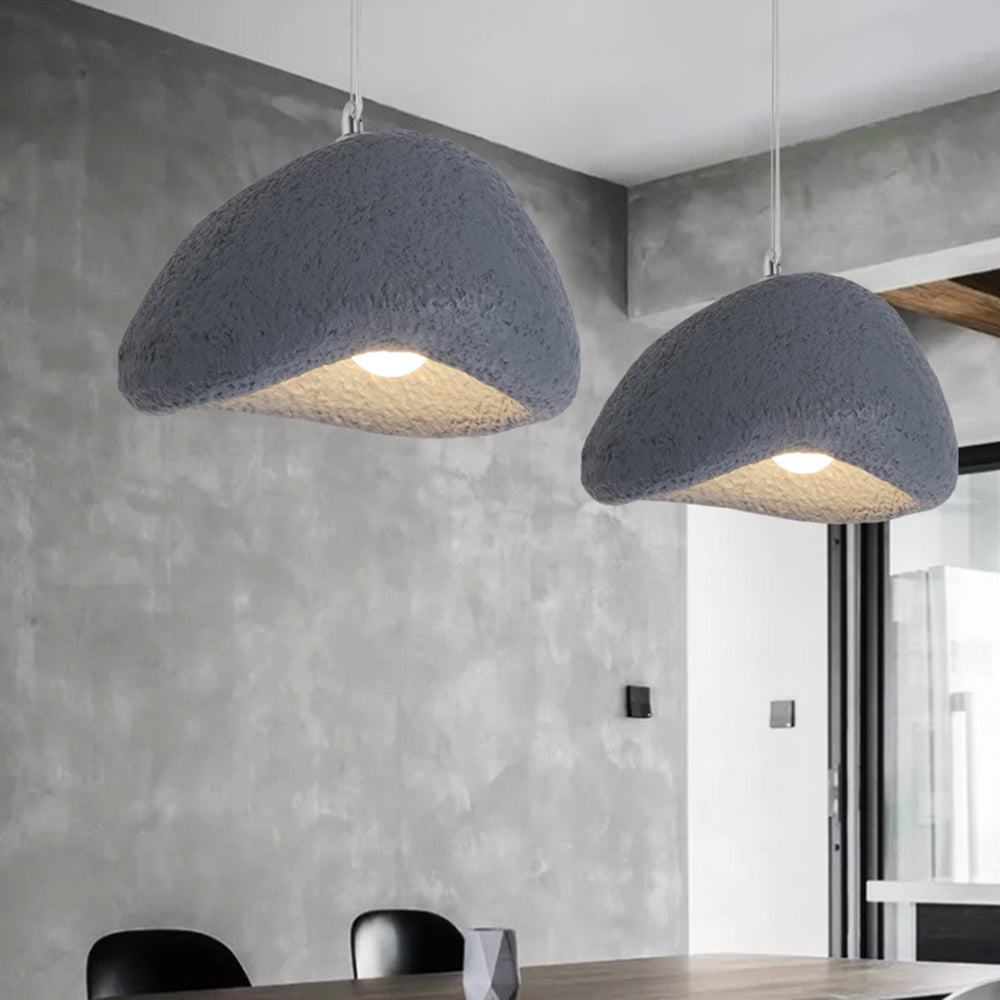
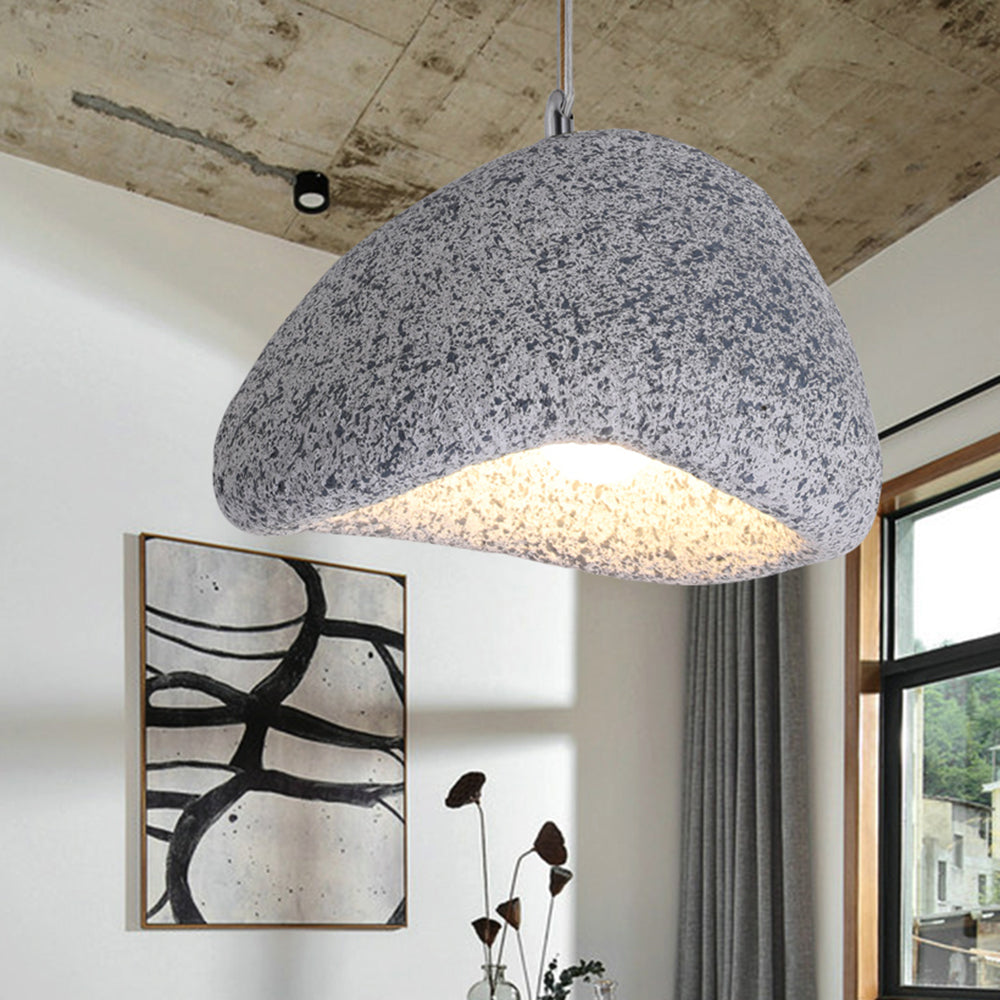
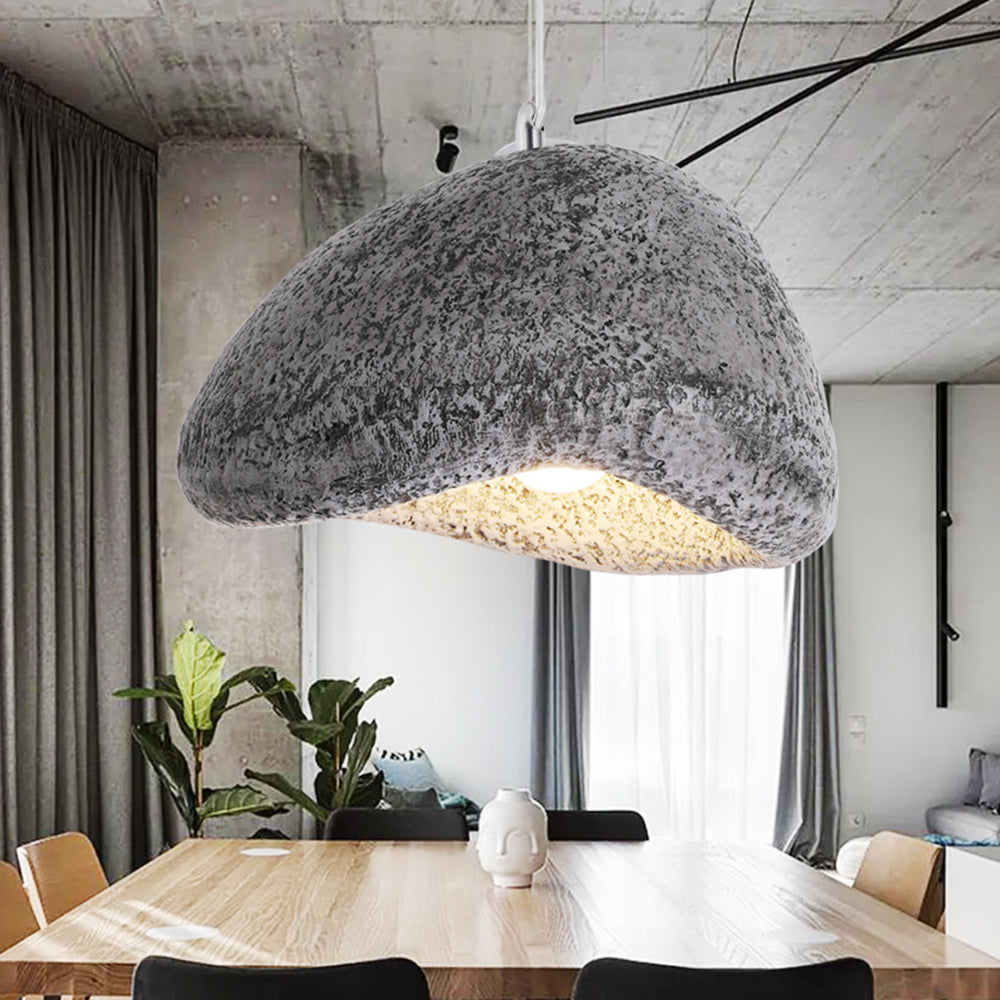
This pendant light isn't just a source of illumination; it's an article of decoration that elevates the aesthetic of your living space. adaptable in the living room, study room, the inviting glow of your dining room, or the cozy intimacy of your bedroom or bedside, it seamlessly integrates into a variety of settings. Its versatile design ensures that it can be more than just a lighting fixture; it can be a piece of art that enhances the style and character of your space.
Product Info
Type
Pendant Light
Style
Byers
Suggested Space Fit
Living Room, Bedroom, Dining Room
Suggested Room Size
5㎡-15㎡
Indoor or Outdoor Use
Indoor
Dimmable
No
Luminous Color
/
Smart Enabled
No
Need Assembly
Yes
IP rate
IP20
Power source
Hardwired
Power Info
Bulb Included
/
Bulb Type
LED/Incandescent/Fluorescent
Bulb Base
E26
Number of Bulb
/
Voltage (V)
110V-240V
Maximum Wattage(W)
60W
Product Material
Primary Product Material
Resin + Metal
Fixture Product Material
Metal
Shade Product Material
Resin
Product Measurements & Weights
Product Weight
2KG
Chain/Cord Adjustable or Not
Yes
Size
See Images
Included Components
1* Pendant Light
Note
Please kindly note that there may be an error of 1-3cm of the size due to manual measurement. The pictures may have slight chromatism due to the light and the monitor. We appreciate your understanding in advance. It's recommended that the installation of the lamp is performed by a professional electrician.
HOZO Installationsanleitung
Planen Sie Ihre Beleuchtung.
Raumweise Startwerte für Leuchtengröße, Montagehöhe, Abstand und Durchgangshöhe. Tippen Sie ein Kapitel an.
01
Esstisch
Größe und Mitte vom Tisch aus festlegen, dann die Sicht von jedem Sitz prüfen.
So messen
Tischlänge und -breite messen. Bei runden Tischen den Durchmesser nehmen.
Startbereich
Runde Leuchten: etwa 1/2 bis 2/3 der Tischbreite. Längliche Leuchten: 1/2 bis 2/3 der Tischlänge.
Platzierung
Die Leuchte über dem Tisch zentrieren, nicht zwingend über dem Raum.
Abstand
76–91 cm über der Tischplatte beginnen.
Bei langen Tischen wirken zwei kleinere Pendel oft natürlicher als eine übergroße Leuchte.
Vor dem Bohren
Eine Papierschablone an die Decke kleben und vom Türrahmen sowie sitzend prüfen.
MessenPlatte bis Unterkante
Hängehöhe76–91 cm
AusrichtenMitte des Tisches
02
Kücheninsel
Die nutzbare Insel messen und die Pendel auf der Mittellinie halten.
So messen
Nutzbare Länge und Breite der Insel messen.
Startbereich
Eine Linienleuchte: 1/2 bis 2/3 der Insel-Länge. Mehrere Pendel: erst den Durchmesser, dann die Anzahl wählen.
Platzierung
Pendelmitten gleichmäßig auf der Insel-Mittellinie.
Abstand
76–91 cm über der Arbeitsplatte. Äußere Pendel nicht an den Inselenden.
Die komplette Reihe mocken, nicht nur ein Pendel.
Vor dem Bohren
Drei Papierkreise über der Insel zeigen Abstandsprobleme schneller als ein einzelnes Muster.
MessenPlatte bis Unterkante
Hängehöhe76–91 cm
AusrichtenGleiche Mitten
03
Raummitte
Länge plus Breite ergibt den Startdurchmesser. Deckenhöhe und visuelle Schwere machen die Entscheidung fertig.
So messen
Raumlänge und -breite in Metern plus fertige Deckenhöhe.
Startbereich
Länge + Breite (m) × 8,3 ergibt einen üblichen Startdurchmesser in cm. Beispiel: 3,7 + 3,0 → ca. 56 cm.
Platzierung
Die architektonische Mitte nur nutzen, wenn sie vom Eingang und vom Möbelplan her Sinn ergibt.
Abstand
Mindestens 2,10 m lichte Höhe unter dem tiefsten Punkt im Laufbereich.