Asociați textul cu o imagine pentru a vă concentra asupra produsului, colecției sau articolului de blog ales. Adăugați detalii despre disponibilitate, stil sau chiar oferiți o recenzie.
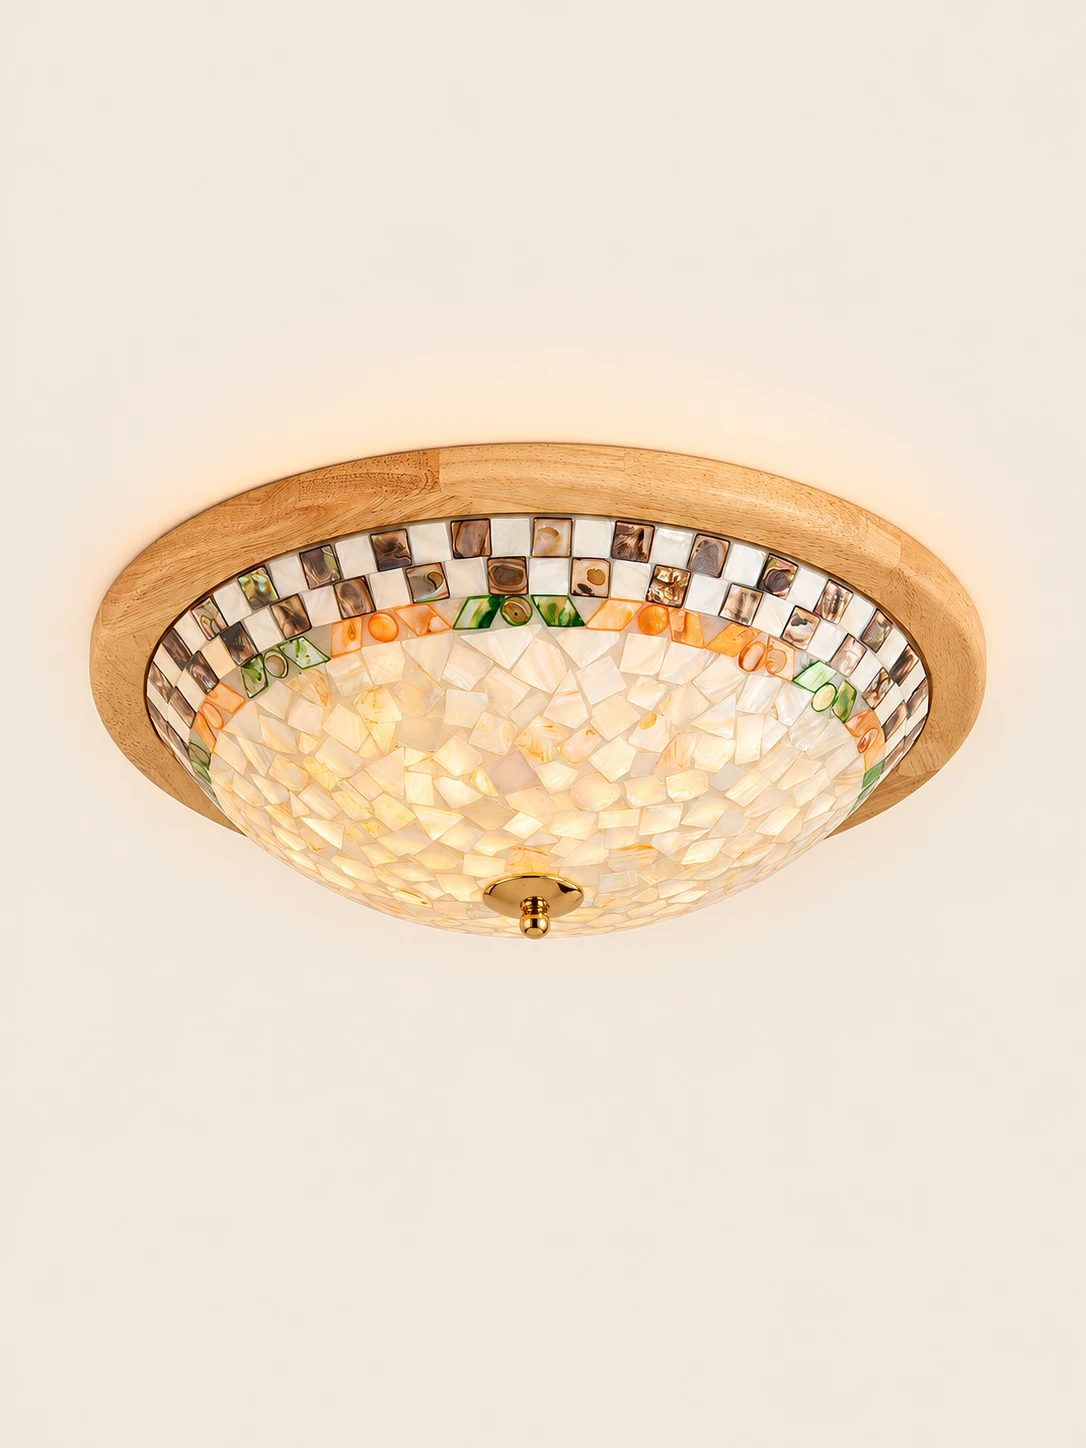
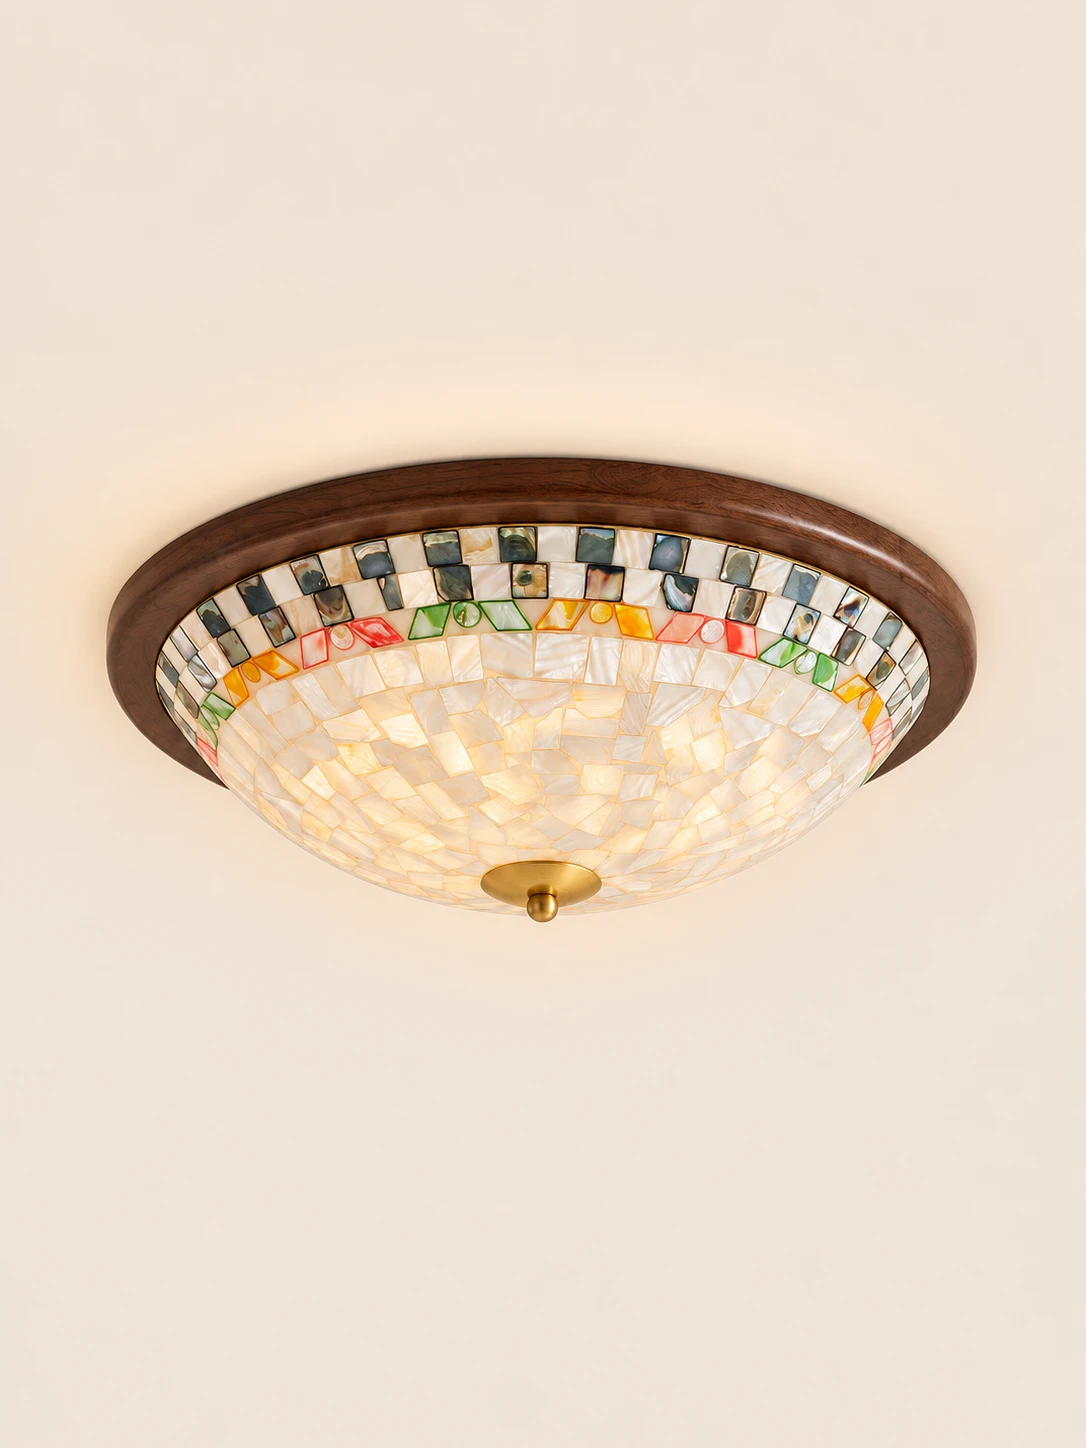
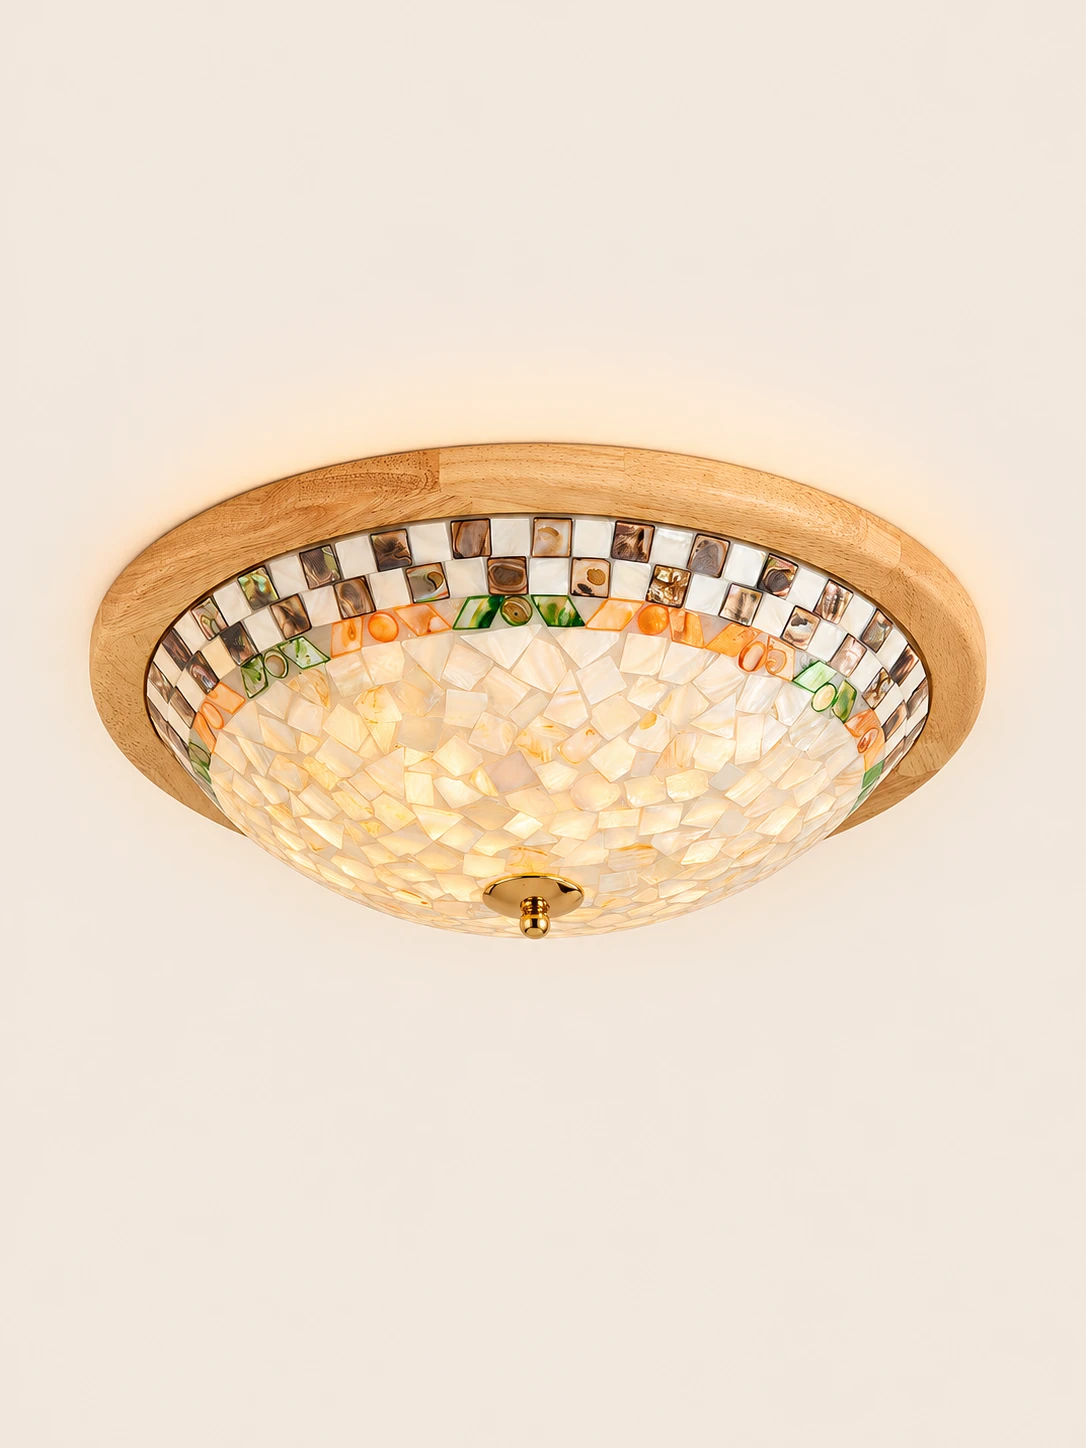
Irregular ivory shell mosaic meets a rubberwood ring, with agate accents and iridescent abalone squares set into the shade
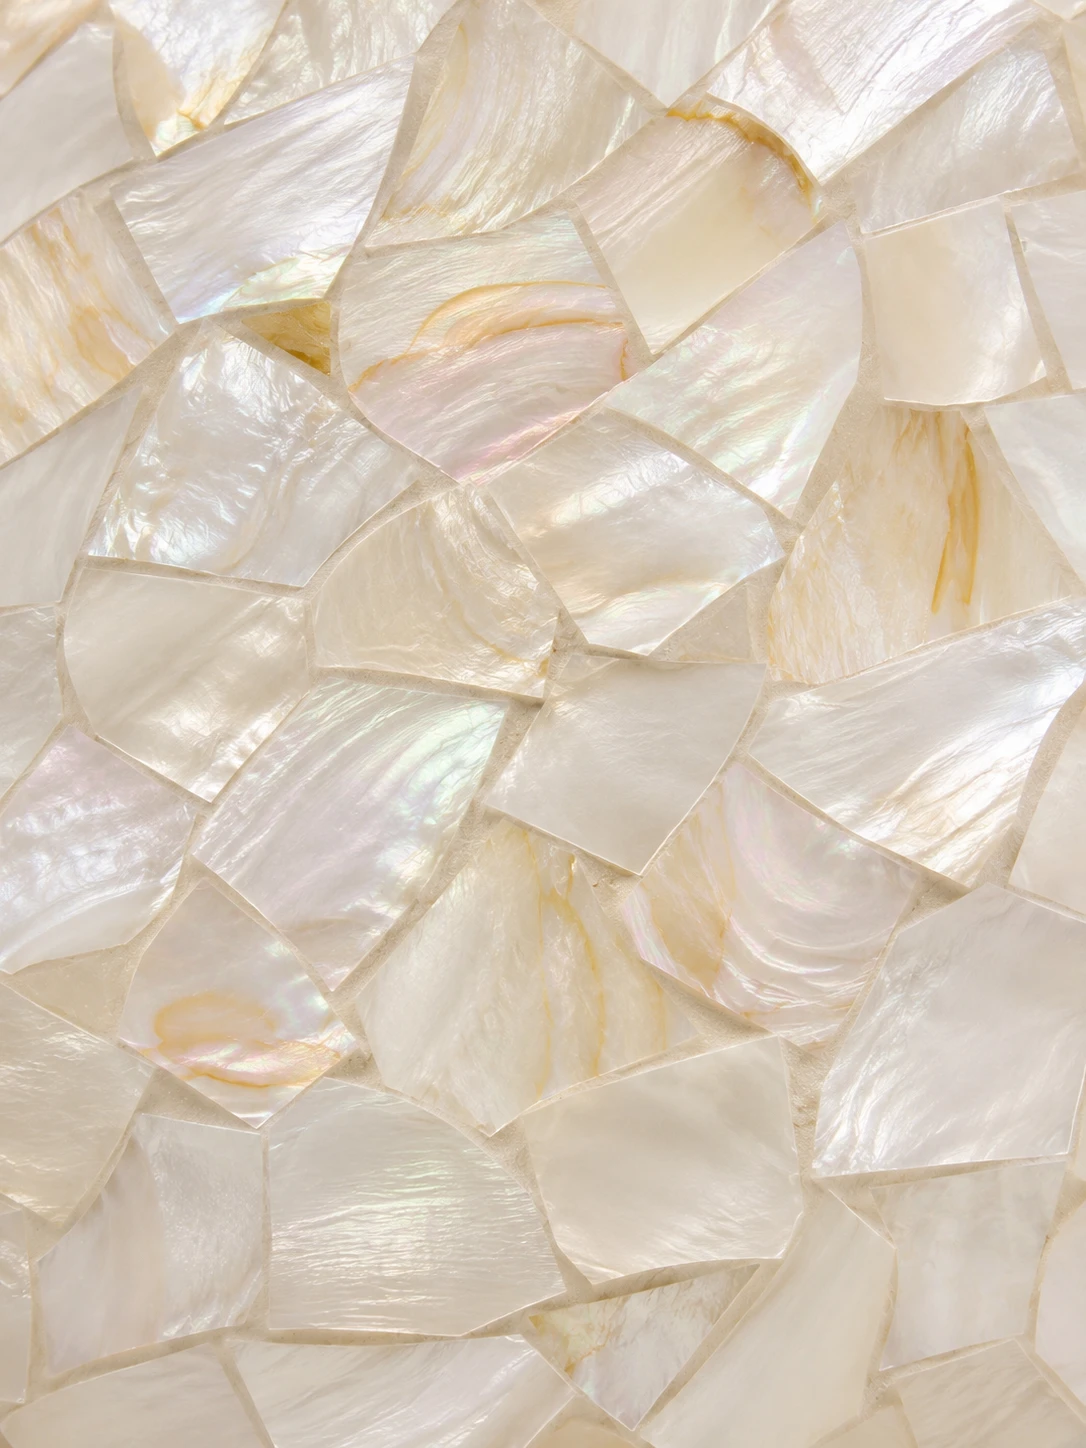
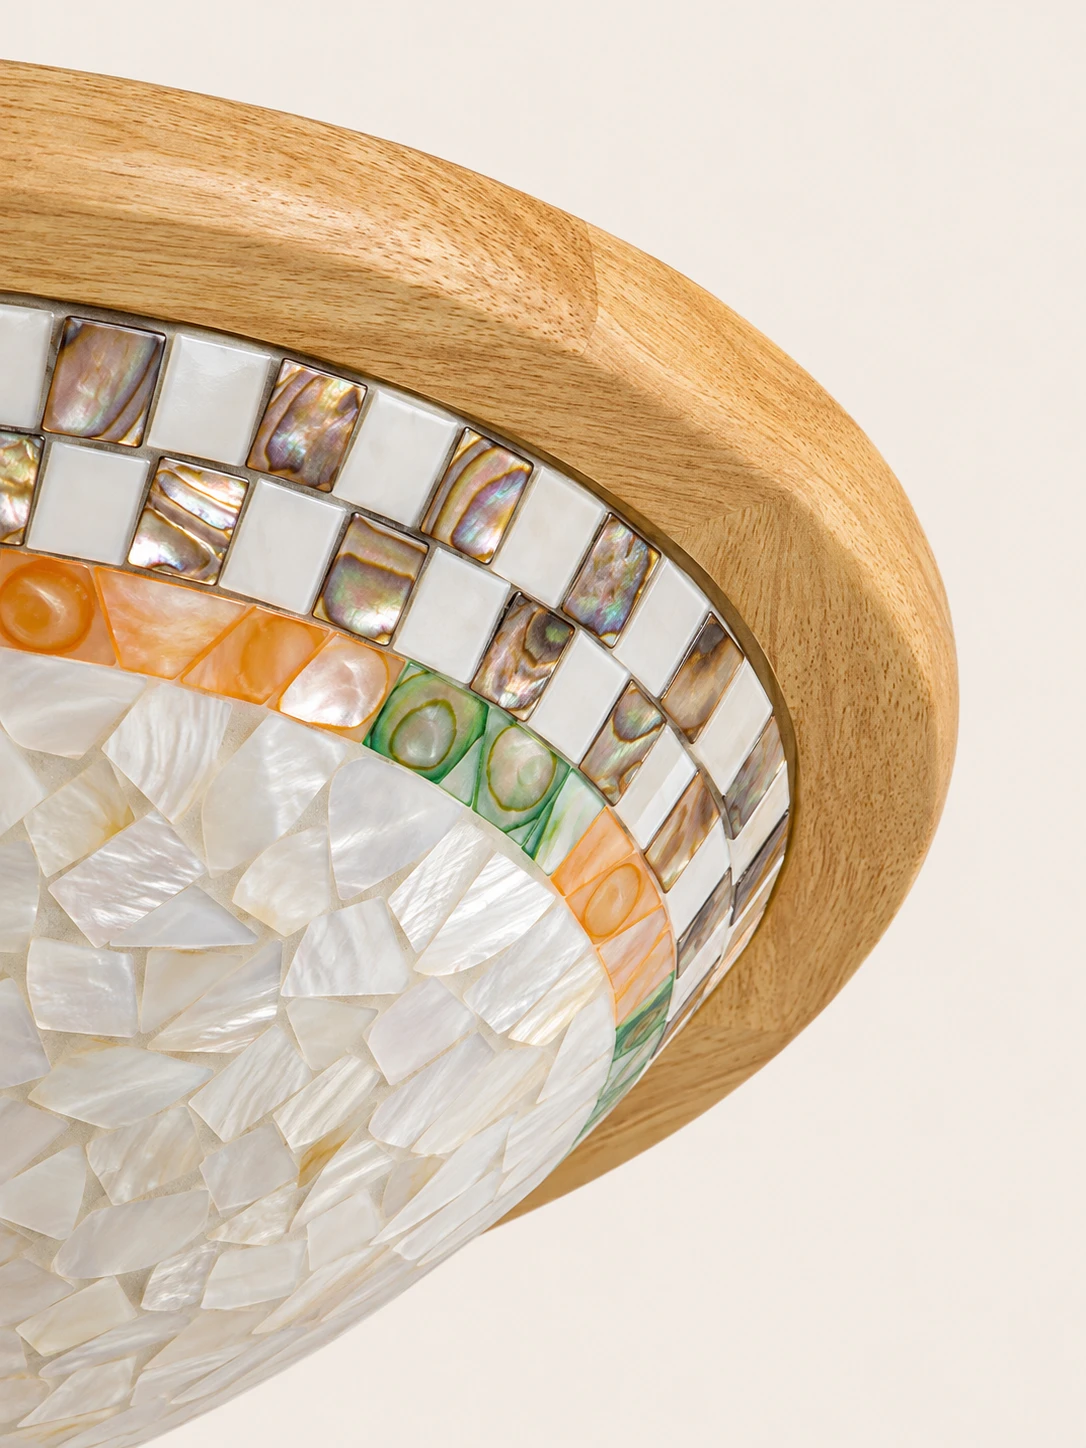
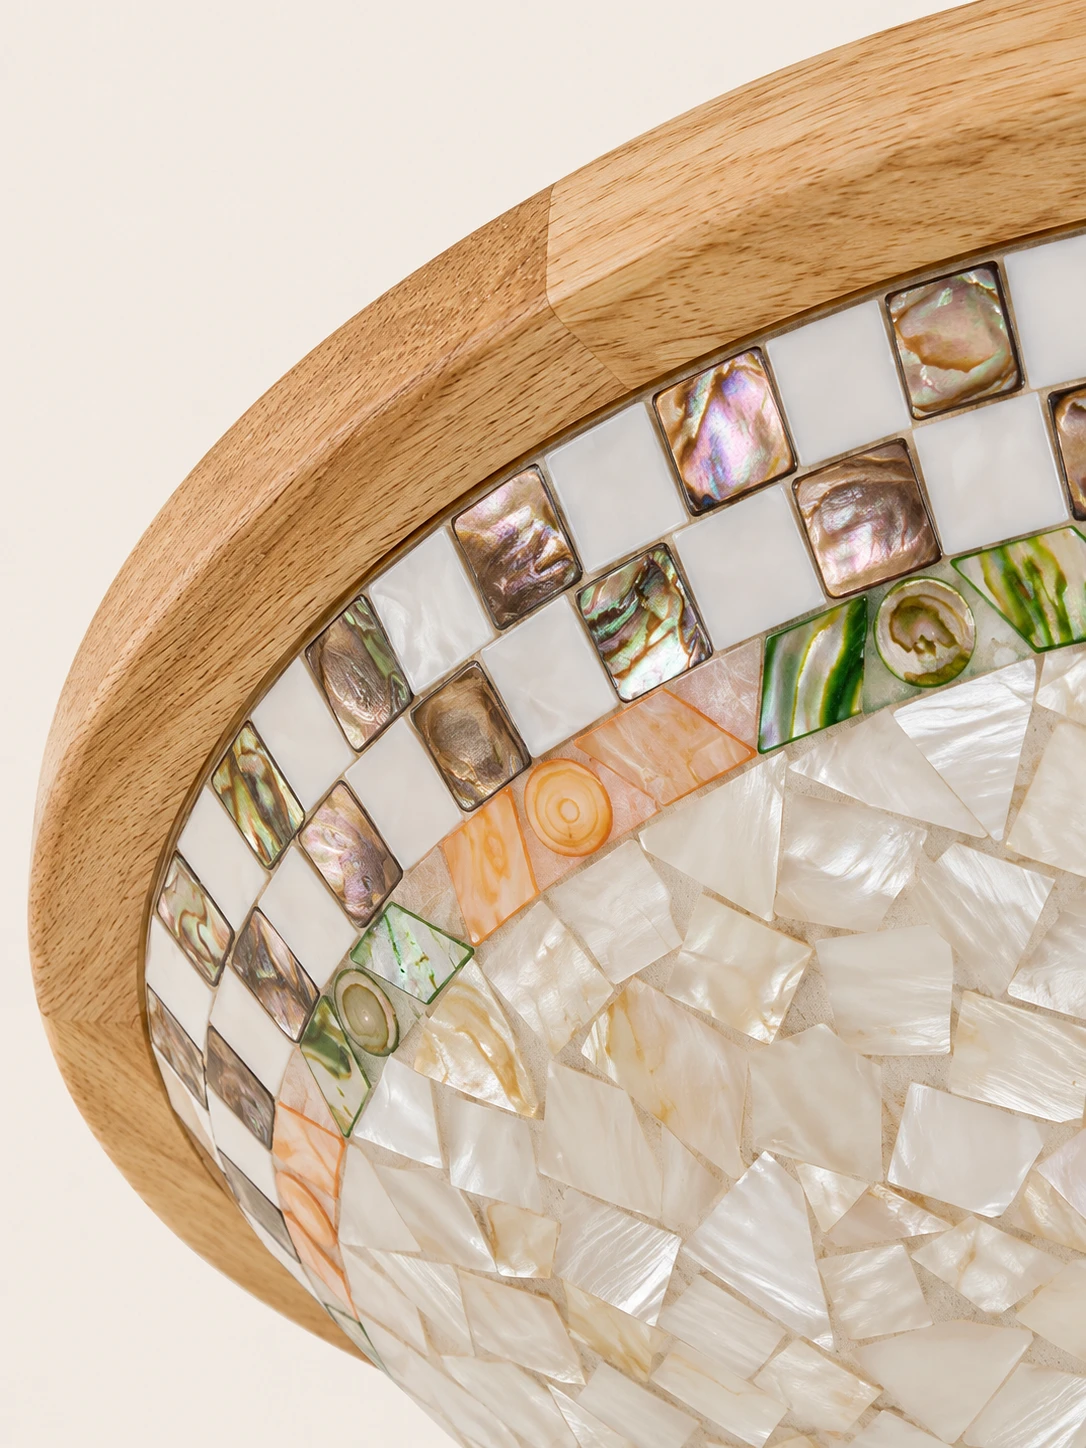
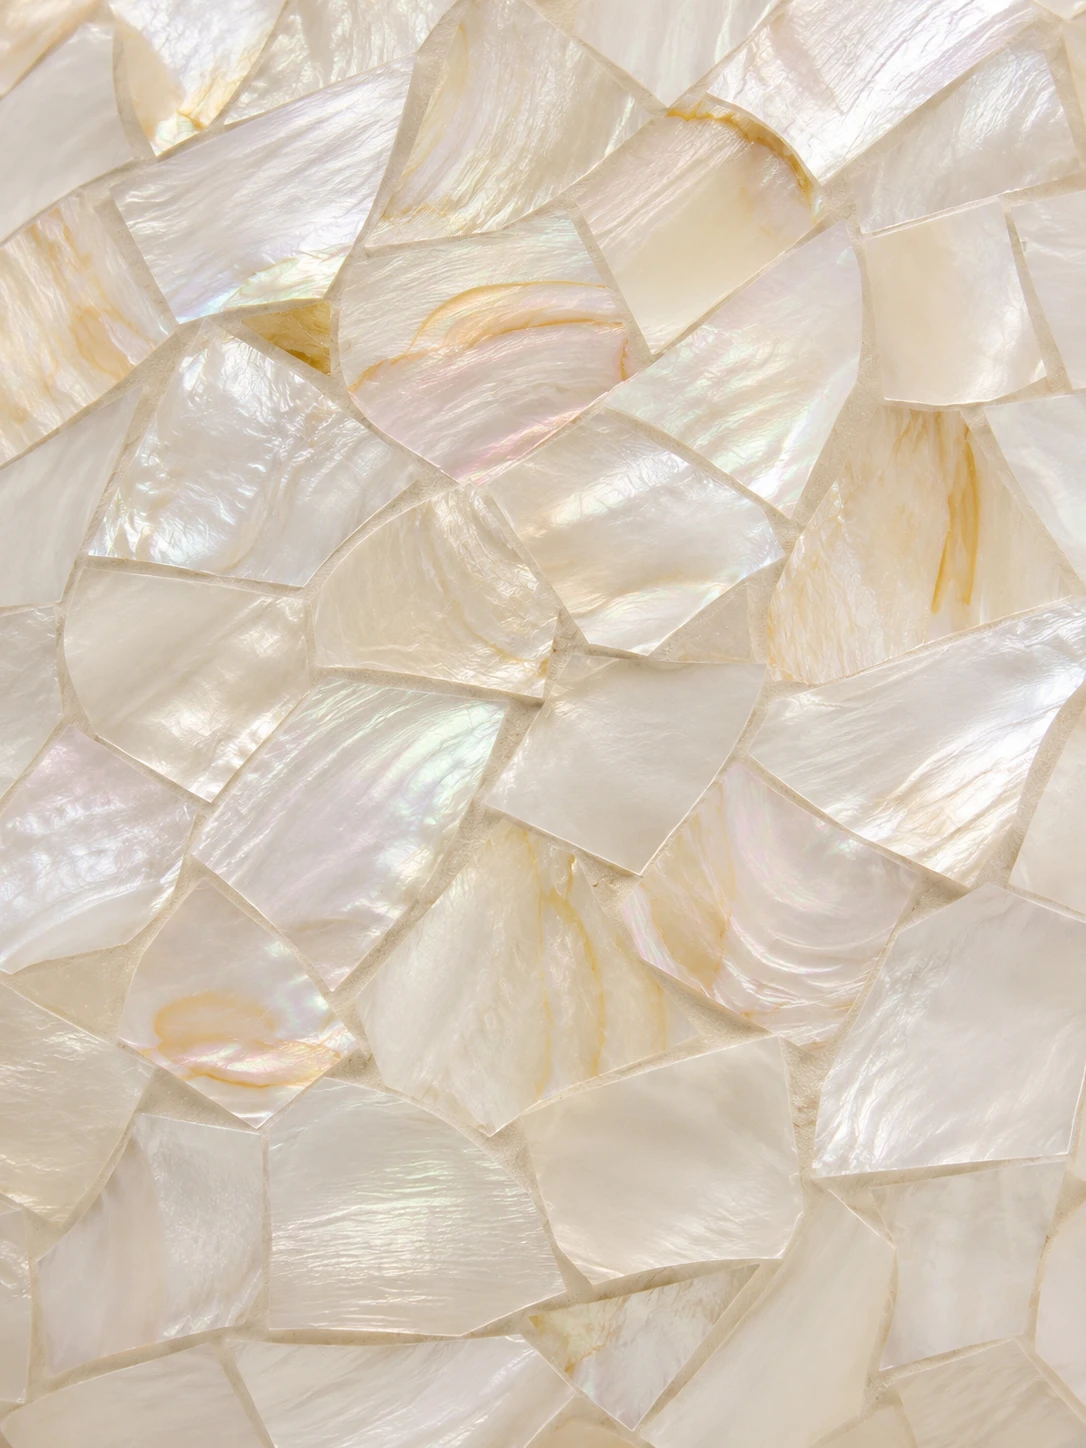
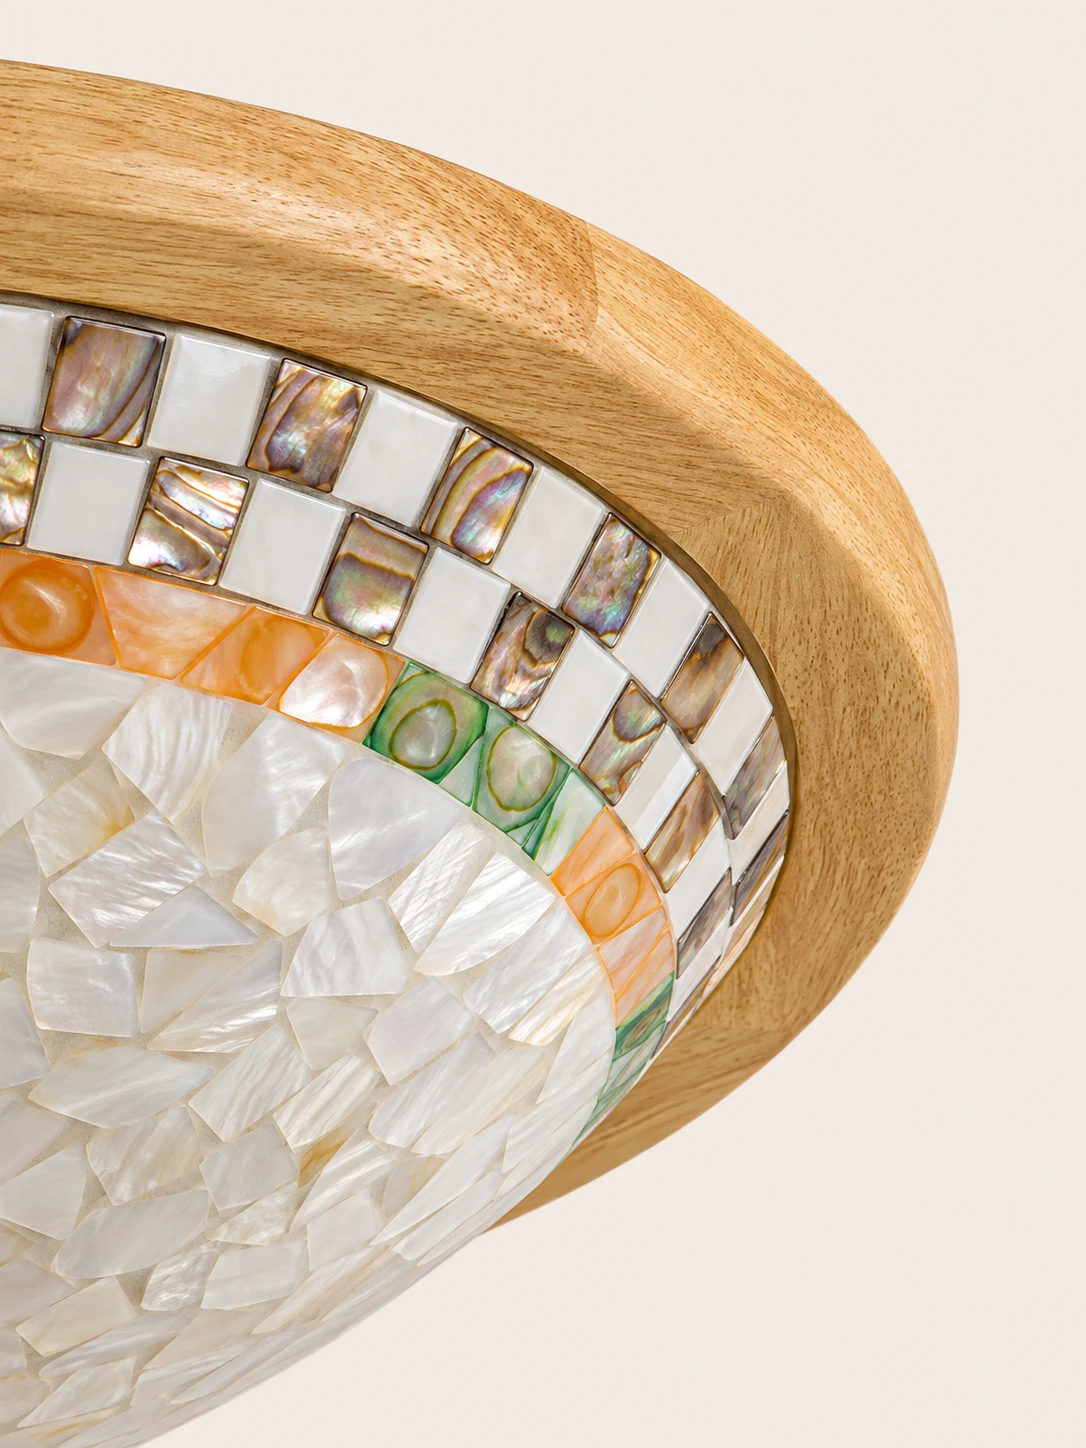
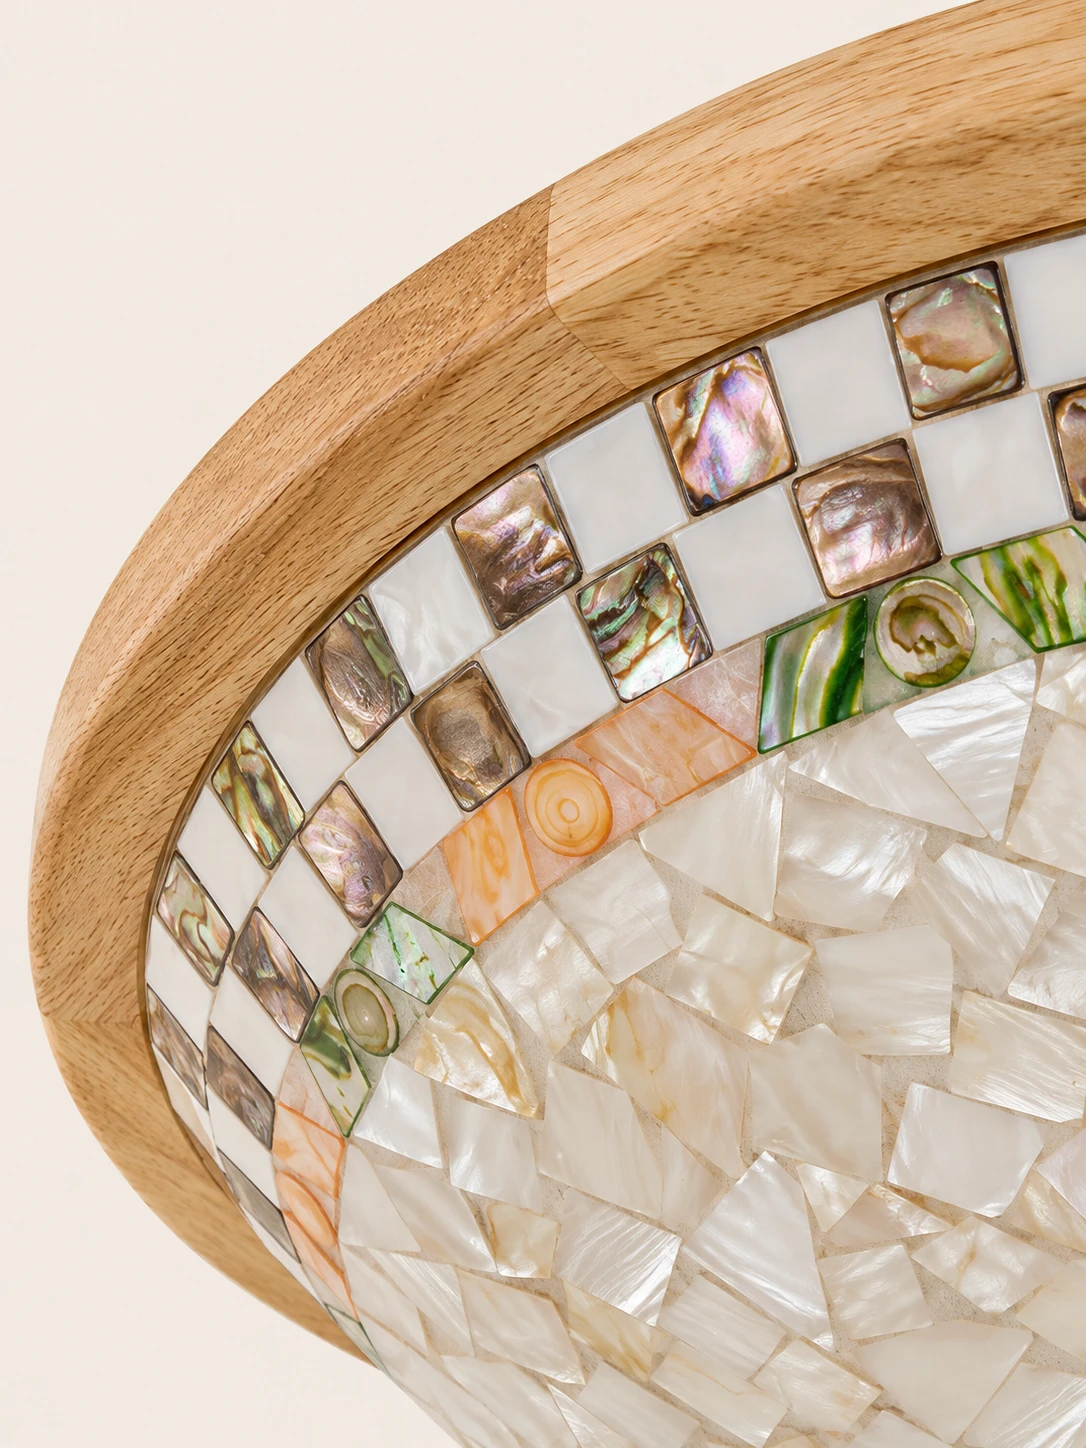
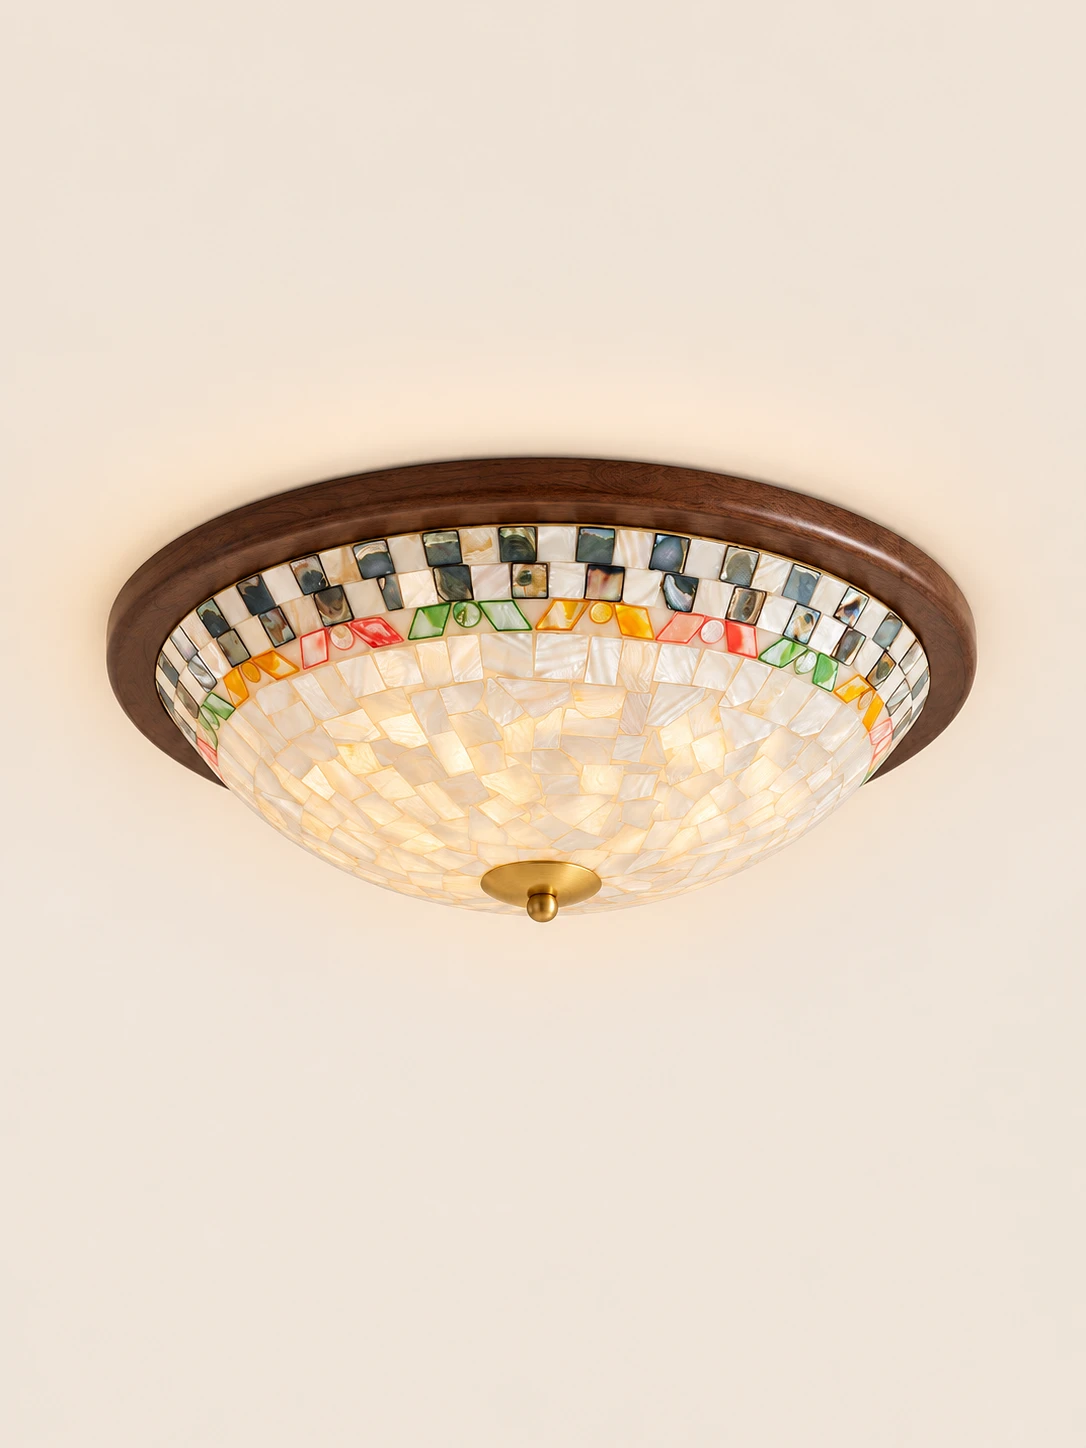
01Irregular ivory shell tiles overlap in a broken mosaic, their surfaces shifting between cream, pale gold, and a soft pearlescent sheen02A warm rubberwood ring curves above a checkerboard of white tiles and iridescent abalone squares, with orange and green agate accents set into the ivory shell below03Abalone squares sit beside pale neighboring tiles under the wood rim, while green-striped and spiral agate pieces meet the surrounding ivory shell mosaic
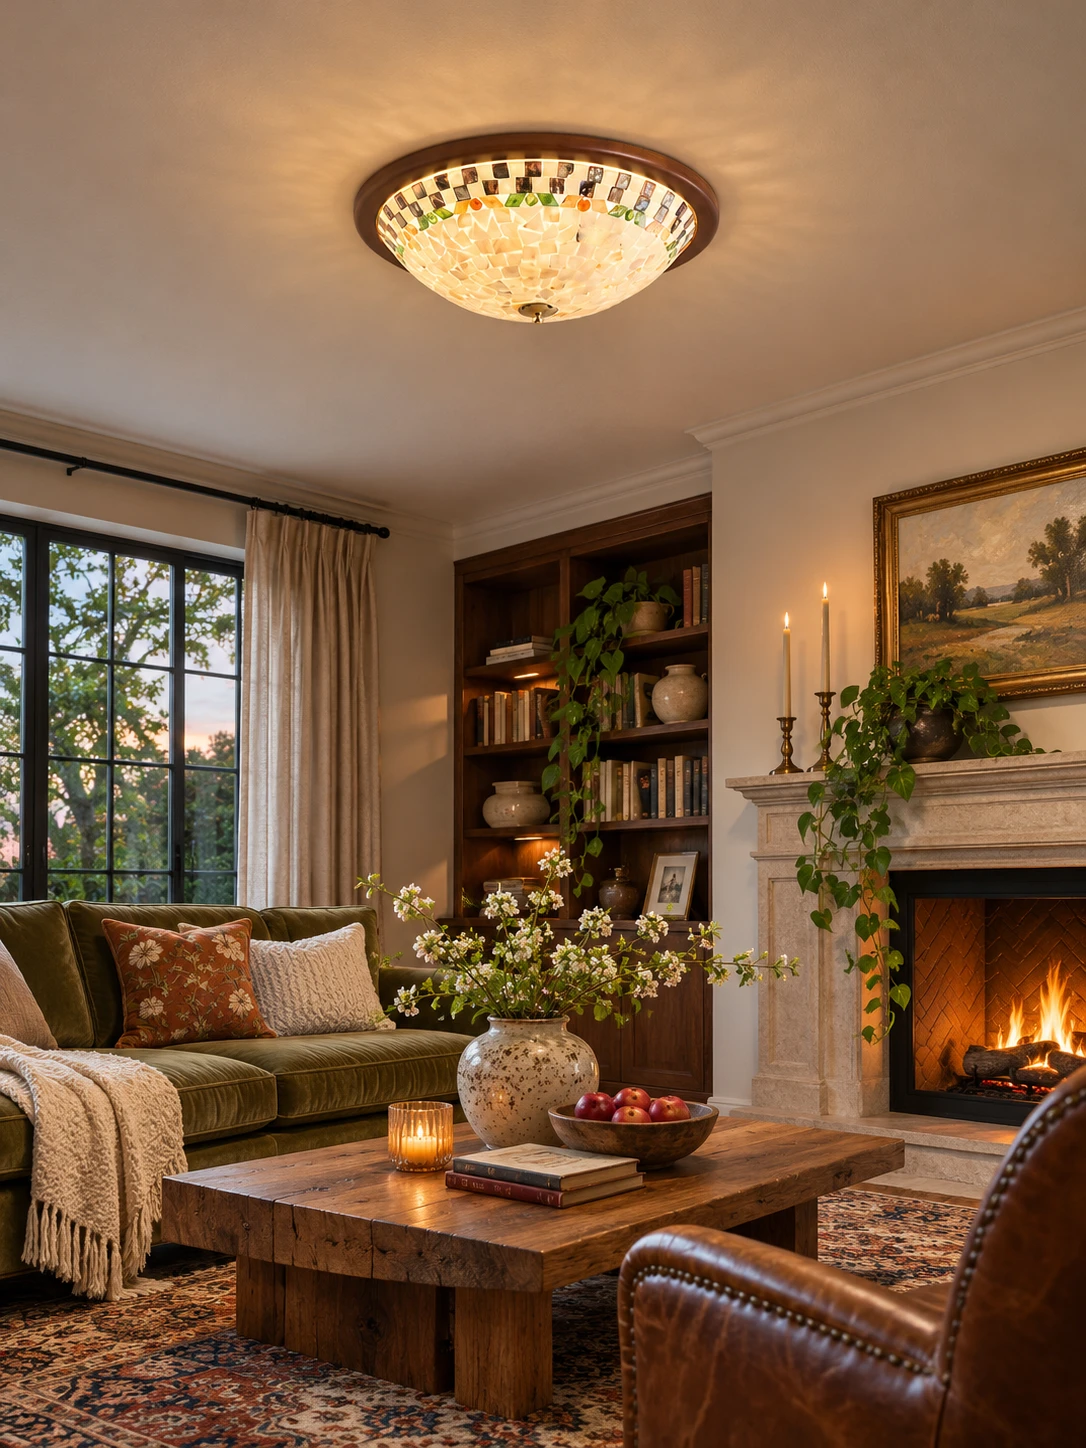
Semi-flush ceiling lamp
Shell Mosaic Bowl
for Low Ceilings
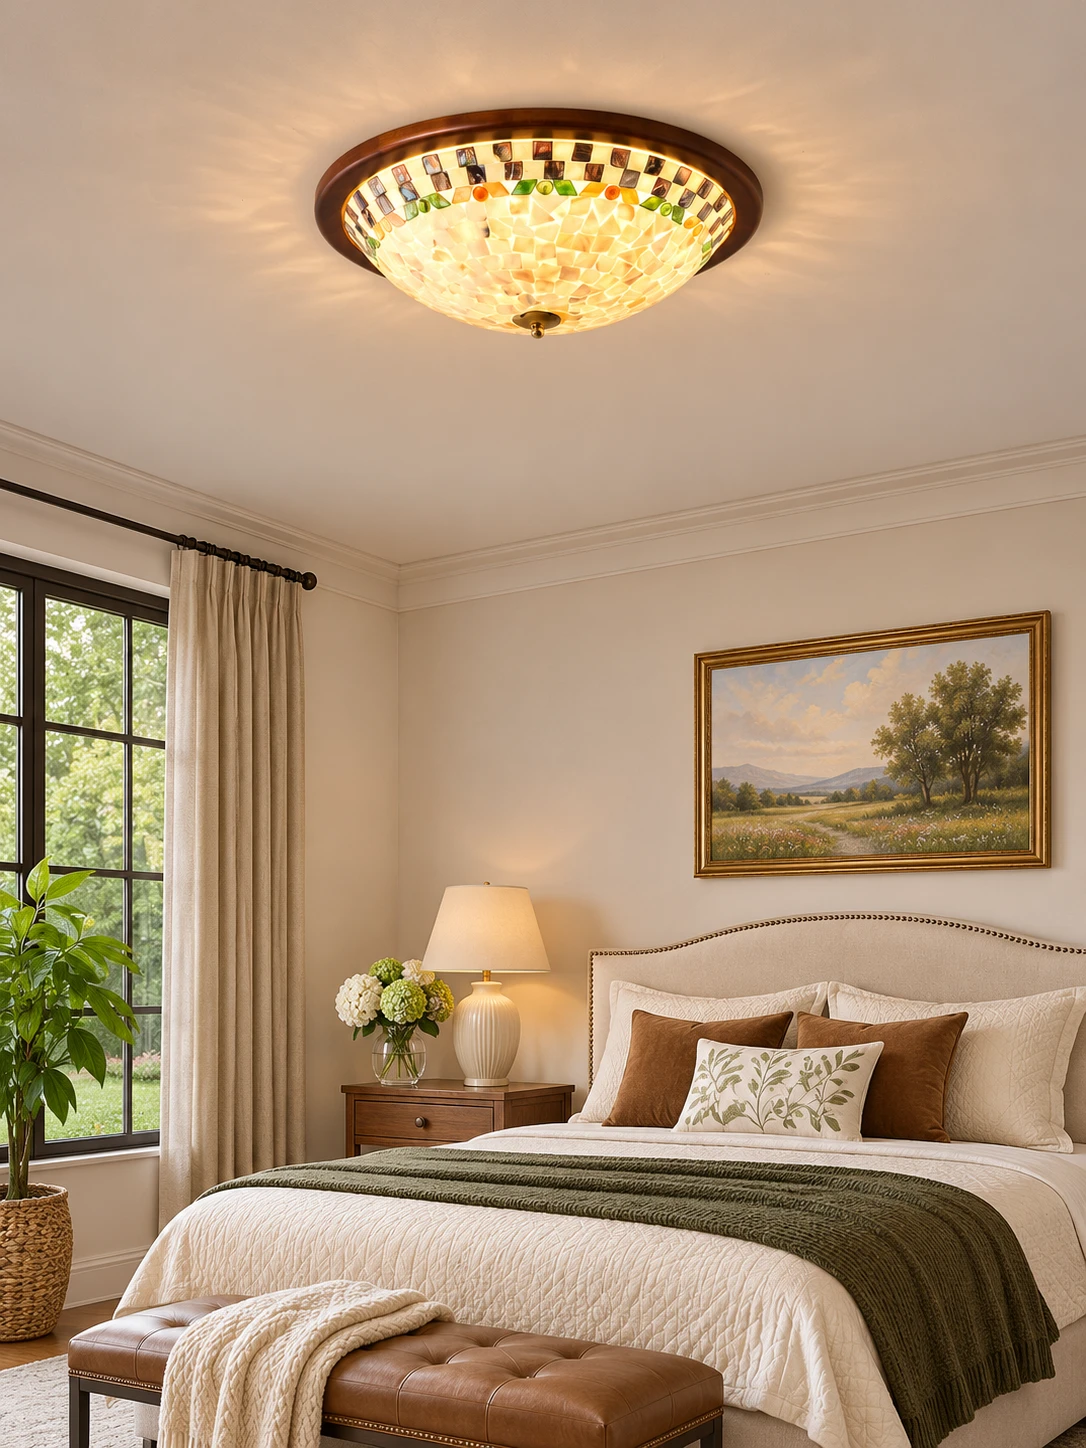
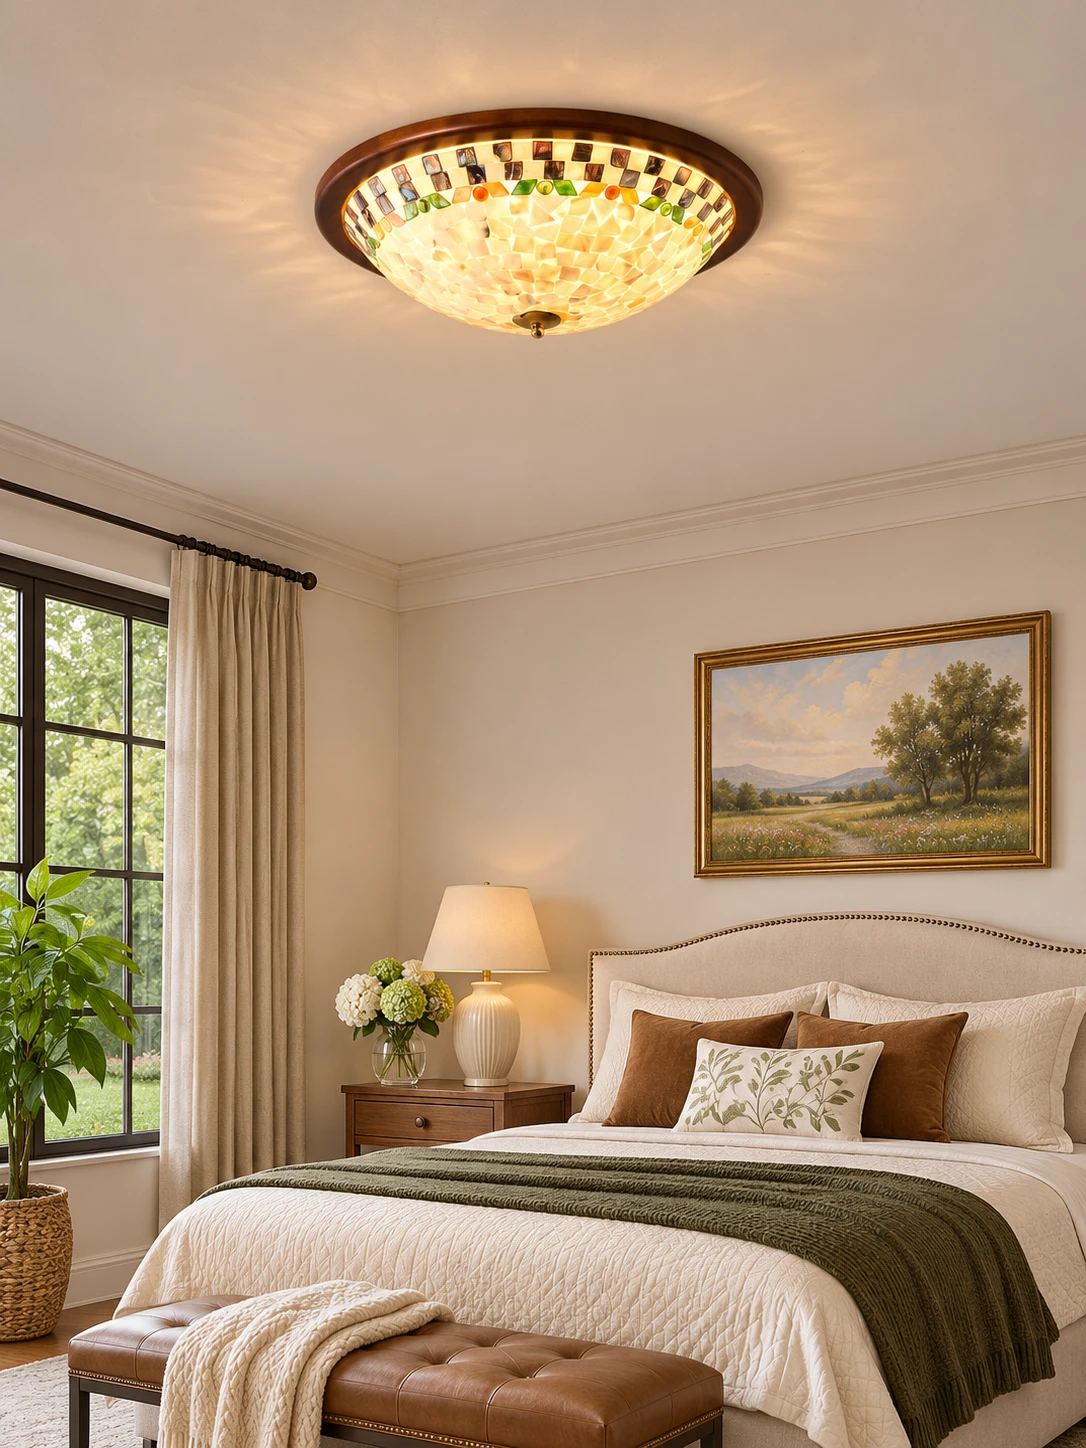
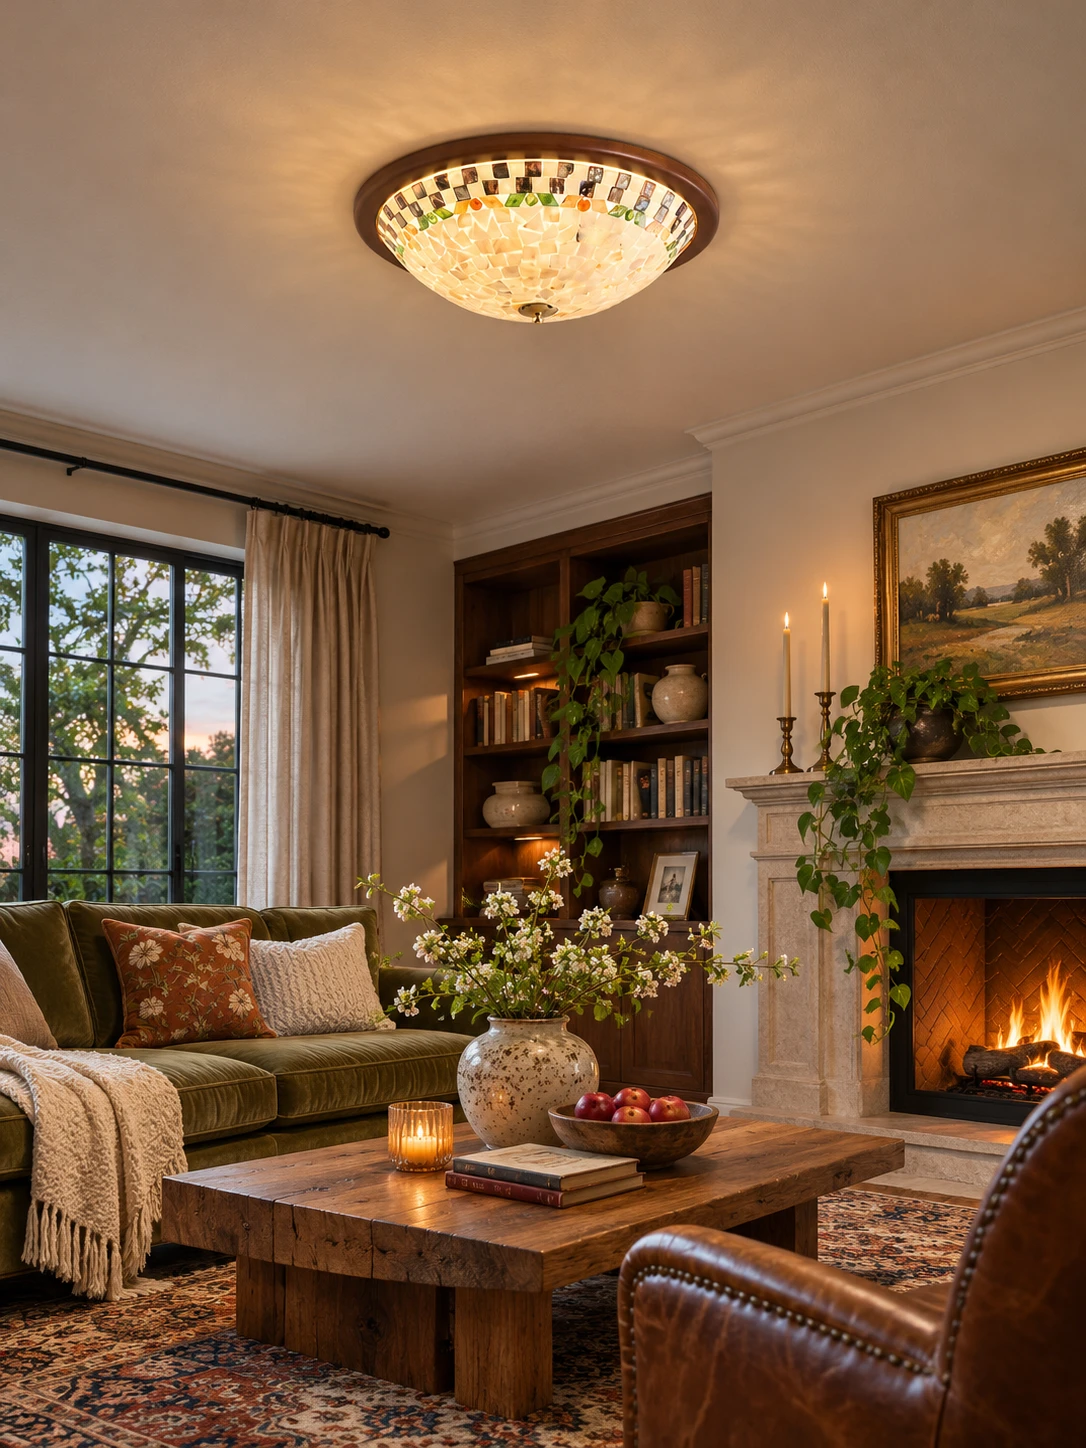
A rubberwood ring, in natural or walnut, holds a low downward-facing bowl covered in a dense mosaic of small irregular ivory shell tiles. Hand-placed agate and abalone squares break the ivory surface with mineral depth and a slight iridescent shift. Integrated LEDs shine downward through the translucent tile gaps, spreading a warm, textured glow on the surface below
Highlights
Frame, mosaic, and scale
A low rubberwood ring carries an ivory shell bowl in two sizes, with built-in LEDs aimed downward
01
Rubberwood ring
The frame is rubberwood, finished in light honey-toned natural wood or a deep walnut stain, and it holds the shell bowl in place
02
Ivory shell mosaic
Small irregular ivory shell tiles are hand-assembled across the shade, with agate stones and abalone shell squares set among them
03
Two low sizes
The smaller fixture is 46 cm across and 12 cm high; the larger is 56 cm across and 15 cm high
04
Integrated LED
Each size uses two built-in LED modules that cannot be replaced by the user, sending light down through the shell bowl
Specifications
Size and light
Small diameter
46 cm · ∅ 18.1″
Small height
12 cm · 4.7″
Large diameter
56 cm · ∅ 22″
Large height
15 cm · 5.9″
Height range
12–15 cm
Small dimensions
∅ 46 × H 12 cm · ∅ 18.1″ × H 4.7″
Large dimensions
∅ 56 × H 15 cm · ∅ 22″ × H 5.9″
Suited ceiling height
Under 2.6 m; standard or lower ceilings 2.3–2.8 m
Small room coverage
Up to approximately 15 m²
Large room coverage
Up to approximately 20 m²
Light source
Integrated LED × 2 · Non-replaceable
Small wattage
~54W × 2
Large wattage
~65W × 2
Voltage
AC 110–240V · Universal
Direction
Downward through the shell bowl
Mounting
Semi-flush ceiling mount · Hardwired · Standard junction box
Natural wood & White · Warm LightD 46cm x H 12cm / ∅ 18.1″ x H 4.7″
Walnut wood & White · Warm LightD 46cm x H 12cm / ∅ 18.1″ x H 4.7″
HOZO Installationsanleitung
Planen Sie Ihre Beleuchtung.
Raumweise Startwerte für Leuchtengröße, Montagehöhe, Abstand und Durchgangshöhe. Tippen Sie ein Kapitel an.
01
Esstisch
Größe und Mitte vom Tisch aus festlegen, dann die Sicht von jedem Sitz prüfen.
So messen
Tischlänge und -breite messen. Bei runden Tischen den Durchmesser nehmen.
Startbereich
Runde Leuchten: etwa 1/2 bis 2/3 der Tischbreite. Längliche Leuchten: 1/2 bis 2/3 der Tischlänge.
Platzierung
Die Leuchte über dem Tisch zentrieren, nicht zwingend über dem Raum.
Abstand
76–91 cm über der Tischplatte beginnen.
Bei langen Tischen wirken zwei kleinere Pendel oft natürlicher als eine übergroße Leuchte.
Vor dem Bohren
Eine Papierschablone an die Decke kleben und vom Türrahmen sowie sitzend prüfen.
MessenPlatte bis Unterkante
Hängehöhe76–91 cm
AusrichtenMitte des Tisches
02
Kücheninsel
Die nutzbare Insel messen und die Pendel auf der Mittellinie halten.
So messen
Nutzbare Länge und Breite der Insel messen.
Startbereich
Eine Linienleuchte: 1/2 bis 2/3 der Insel-Länge. Mehrere Pendel: erst den Durchmesser, dann die Anzahl wählen.
Platzierung
Pendelmitten gleichmäßig auf der Insel-Mittellinie.
Abstand
76–91 cm über der Arbeitsplatte. Äußere Pendel nicht an den Inselenden.
Die komplette Reihe mocken, nicht nur ein Pendel.
Vor dem Bohren
Drei Papierkreise über der Insel zeigen Abstandsprobleme schneller als ein einzelnes Muster.
MessenPlatte bis Unterkante
Hängehöhe76–91 cm
AusrichtenGleiche Mitten
03
Raummitte
Länge plus Breite ergibt den Startdurchmesser. Deckenhöhe und visuelle Schwere machen die Entscheidung fertig.
So messen
Raumlänge und -breite in Metern plus fertige Deckenhöhe.
Startbereich
Länge + Breite (m) × 8,3 ergibt einen üblichen Startdurchmesser in cm. Beispiel: 3,7 + 3,0 → ca. 56 cm.
Platzierung
Die architektonische Mitte nur nutzen, wenn sie vom Eingang und vom Möbelplan her Sinn ergibt.
Abstand
Mindestens 2,10 m lichte Höhe unter dem tiefsten Punkt im Laufbereich.