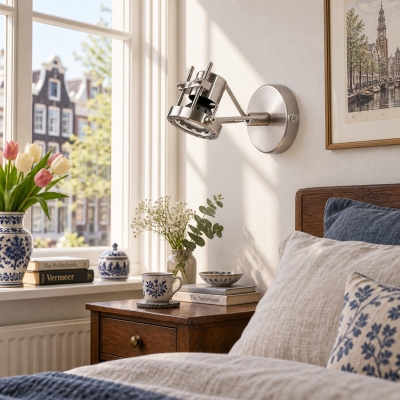
Compact Warm Mineral Glow Wall Sconce – Veined Stone and Metal Style – Hallway Bedroom Living Space
Preț obișnuit€260.00
Preț de vânzare€260.00Preț obișnuit€280.00
/
Vorbește despre brandul tău
Asociați textul cu o imagine pentru a vă concentra asupra produsului, colecției sau articolului de blog ales. Adăugați detalii despre disponibilitate, stil sau chiar oferiți o recenzie.
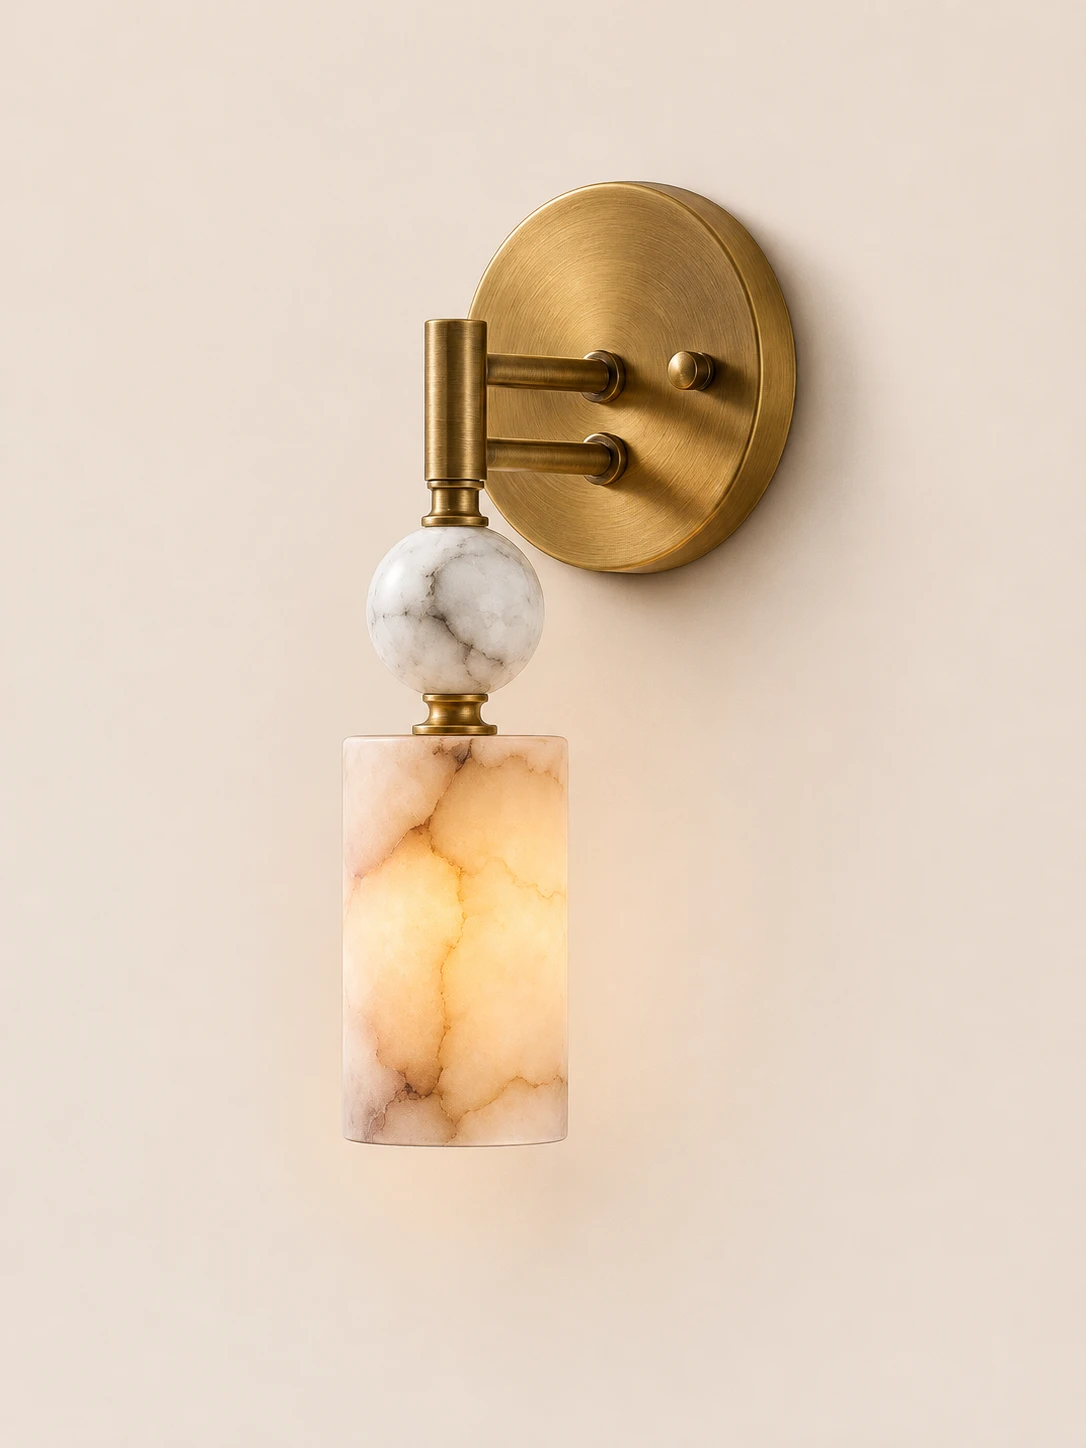
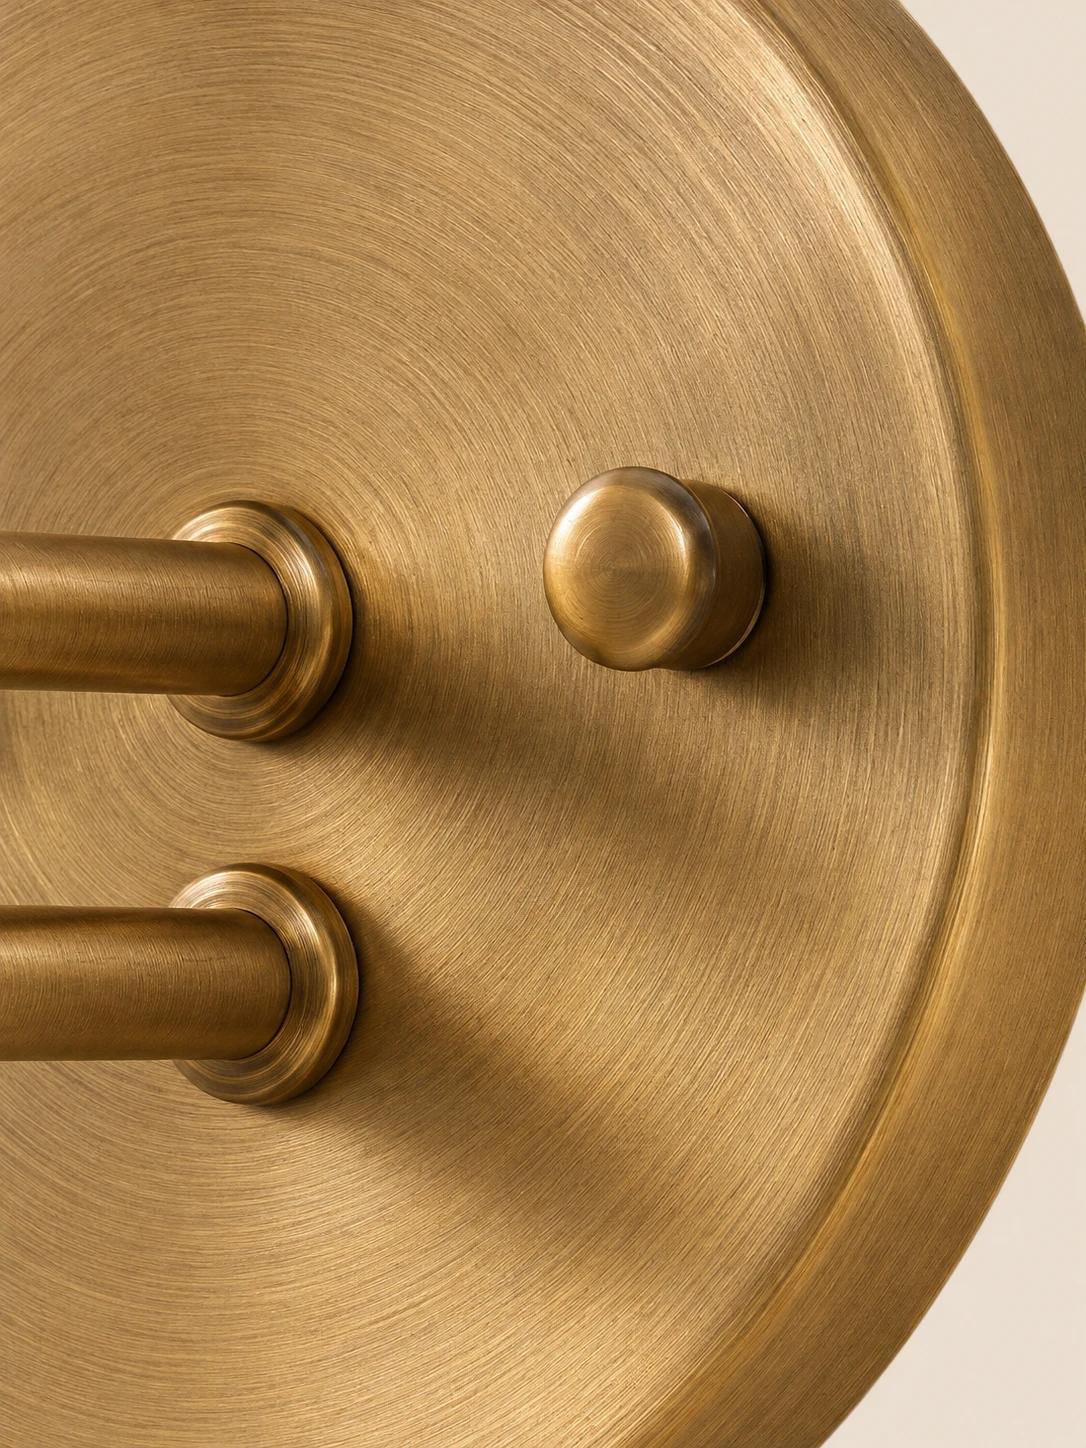
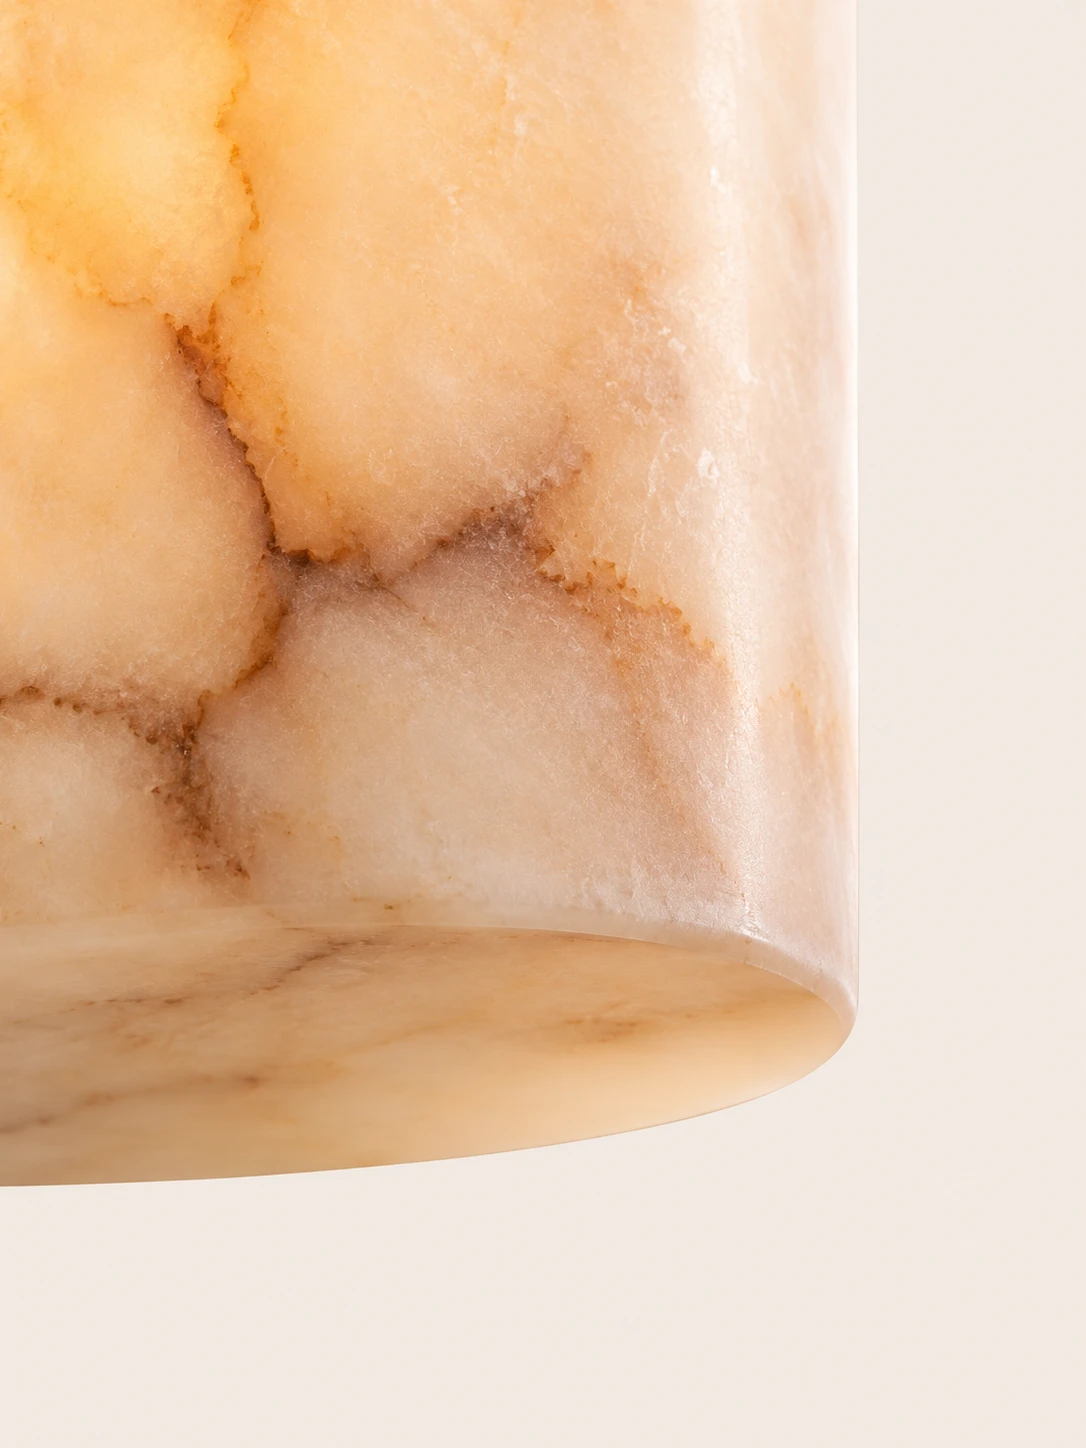
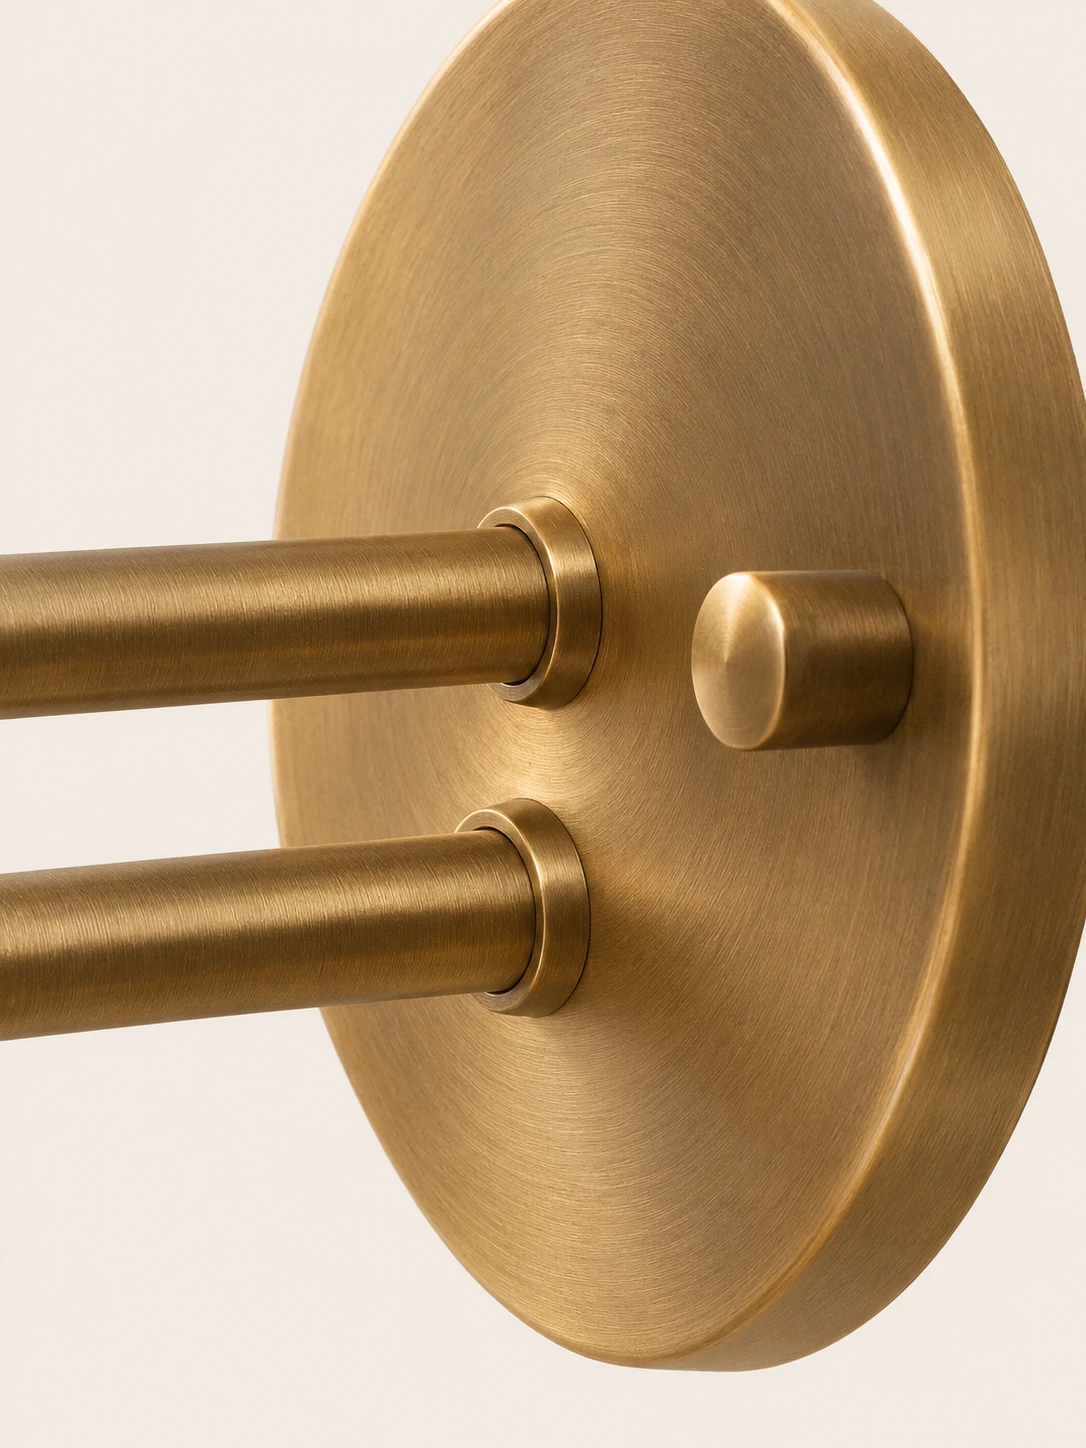
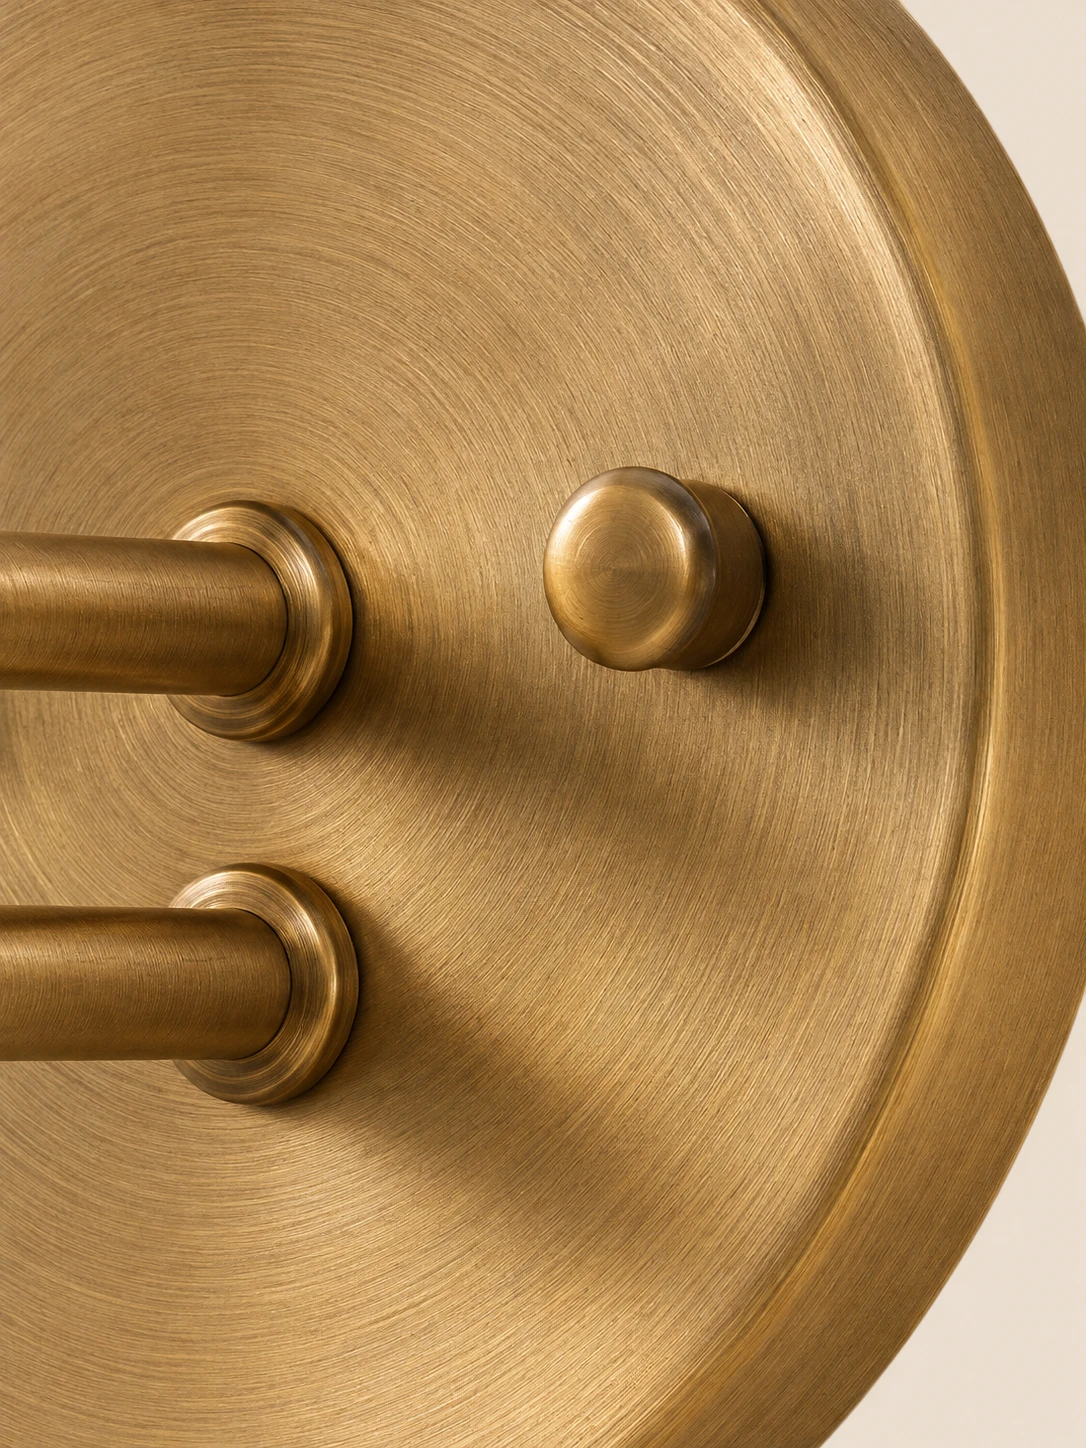
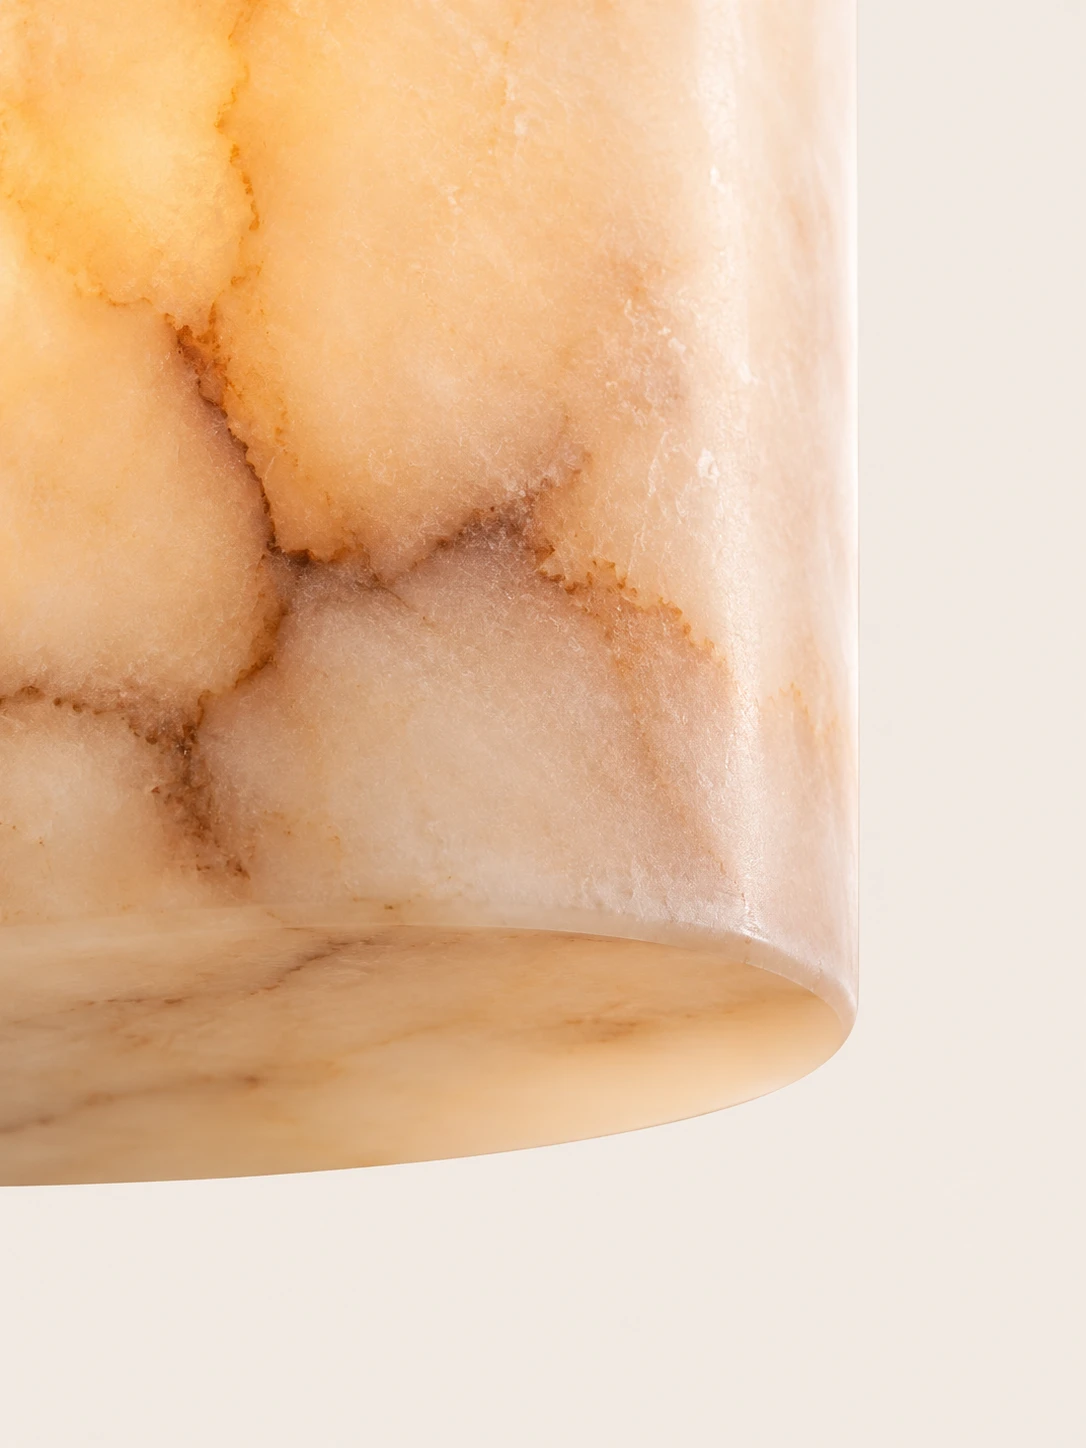
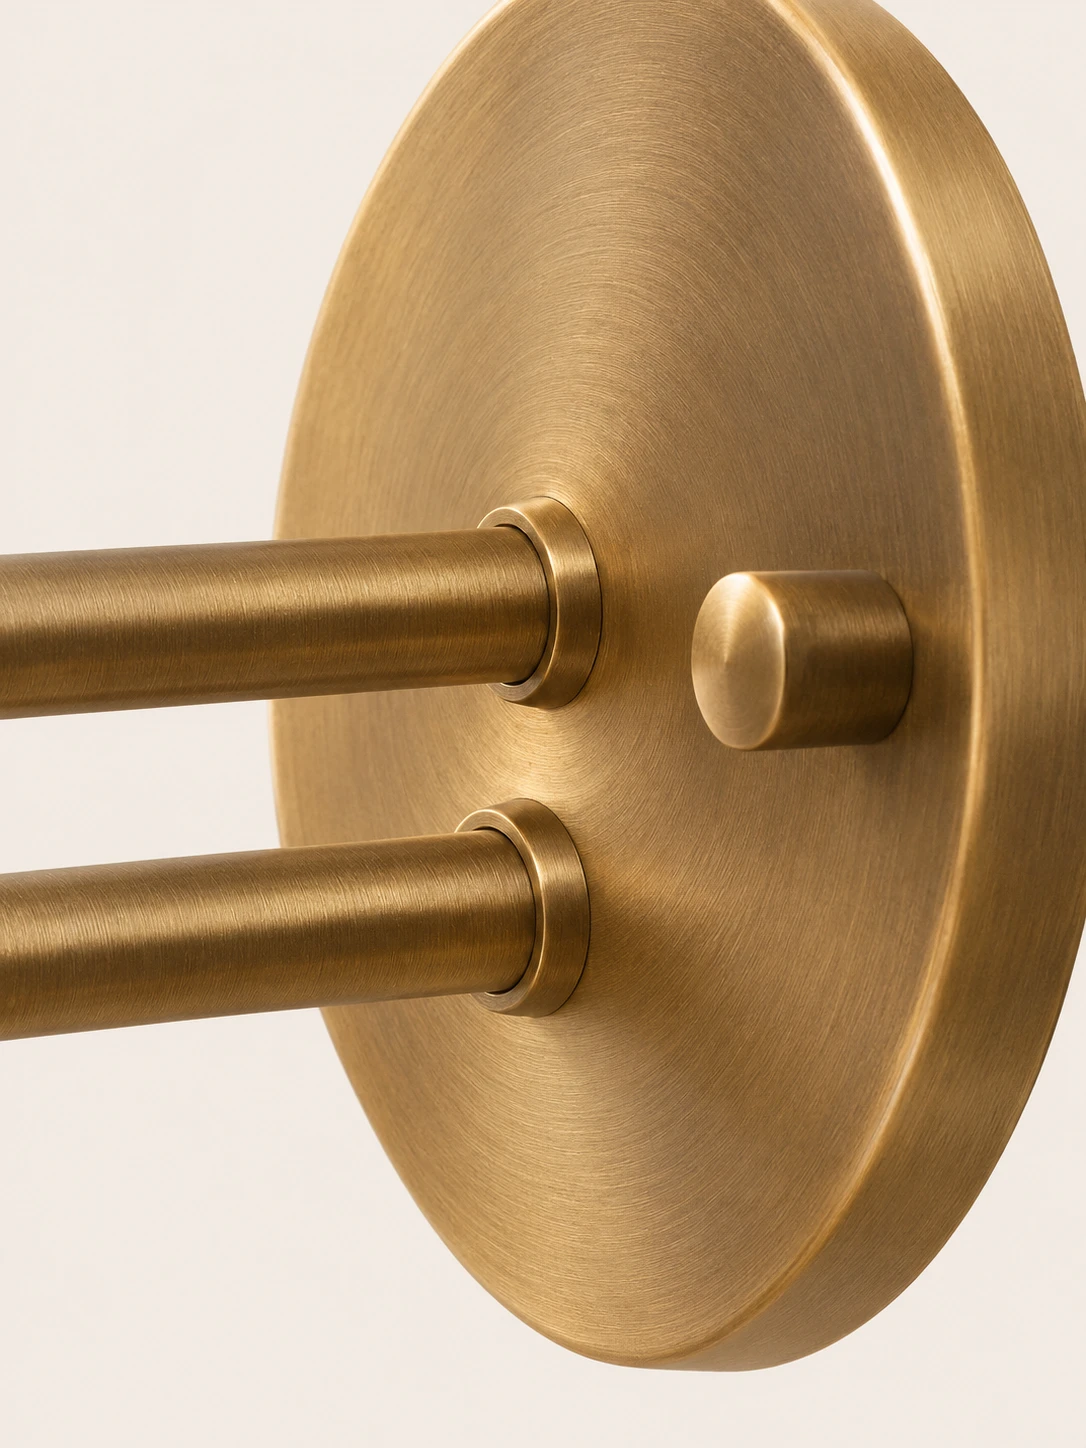
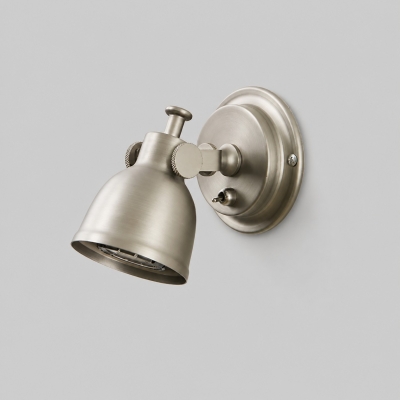
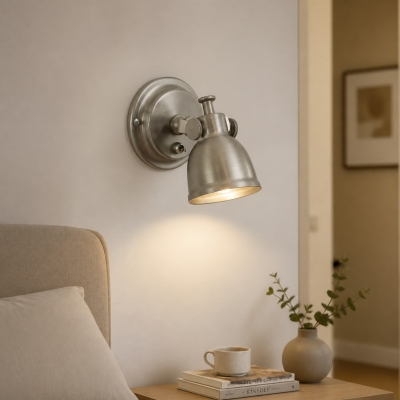
Close views show the brushed metal plate, its hardware, and the translucent shade
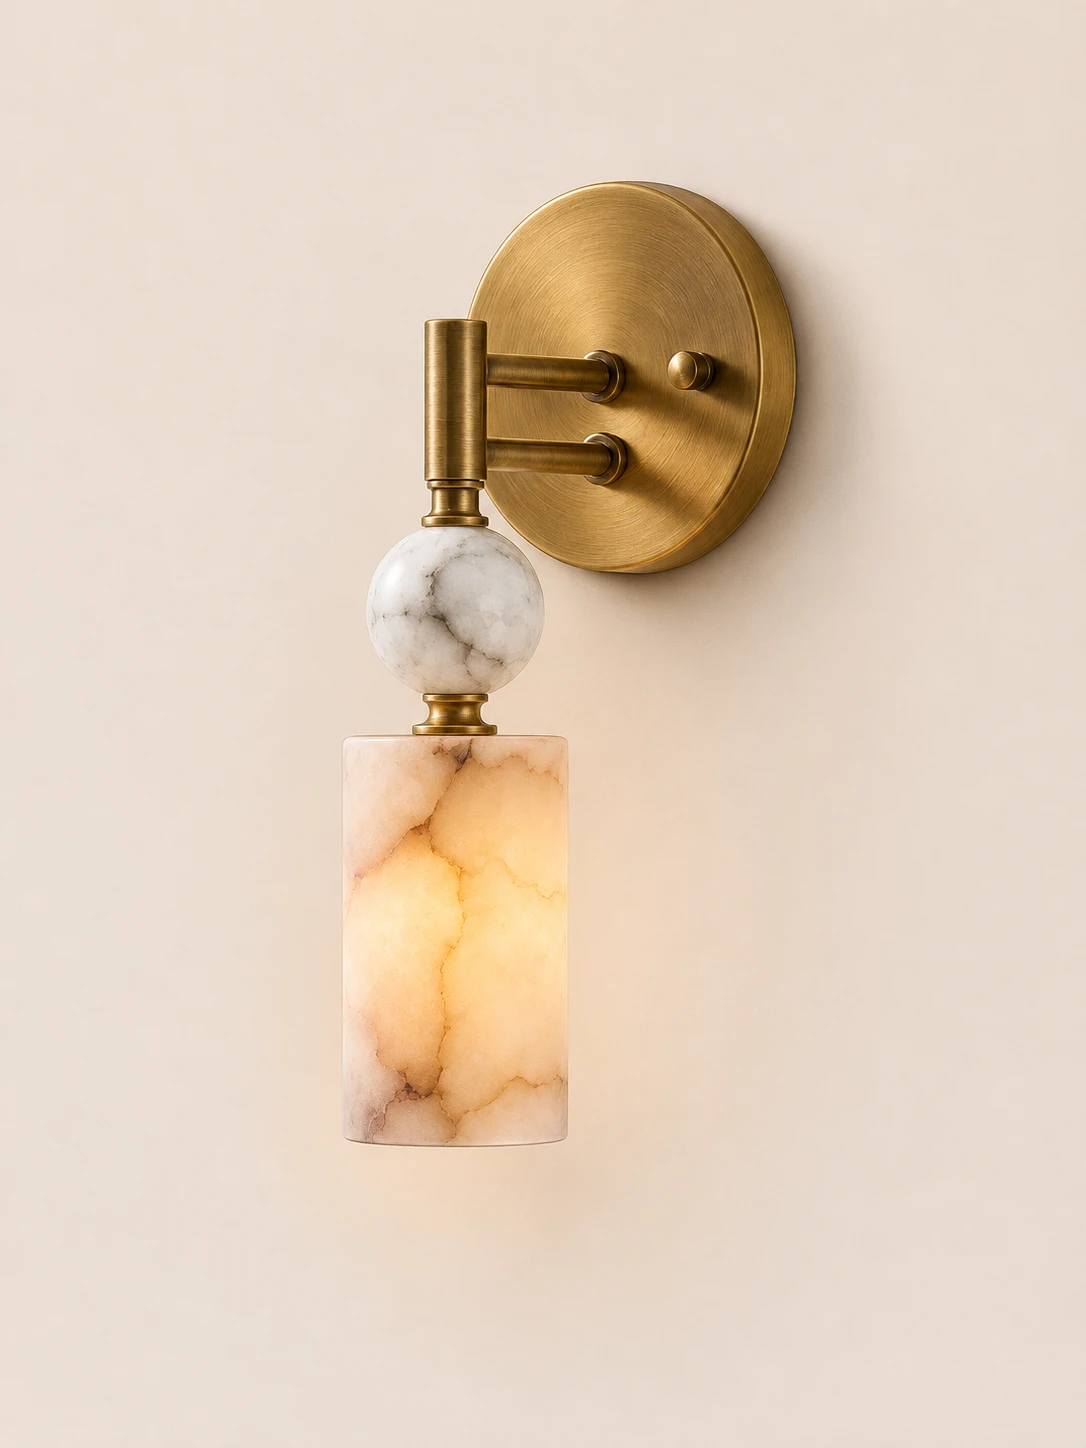
01A circular brushed-brass plate holds two horizontal arms, each set in a raised collar, with a small domed fitting beside them02The shade is thick, translucent stone in warm cream, marked by amber and gray veins and finished with a softly rounded lower lip03Seen from another angle, the brass plate shows its curved rim, the paired arms, and a short cylindrical knob on its face
Wall Sconce
Warm Alabaster Glow
Close to the Wall
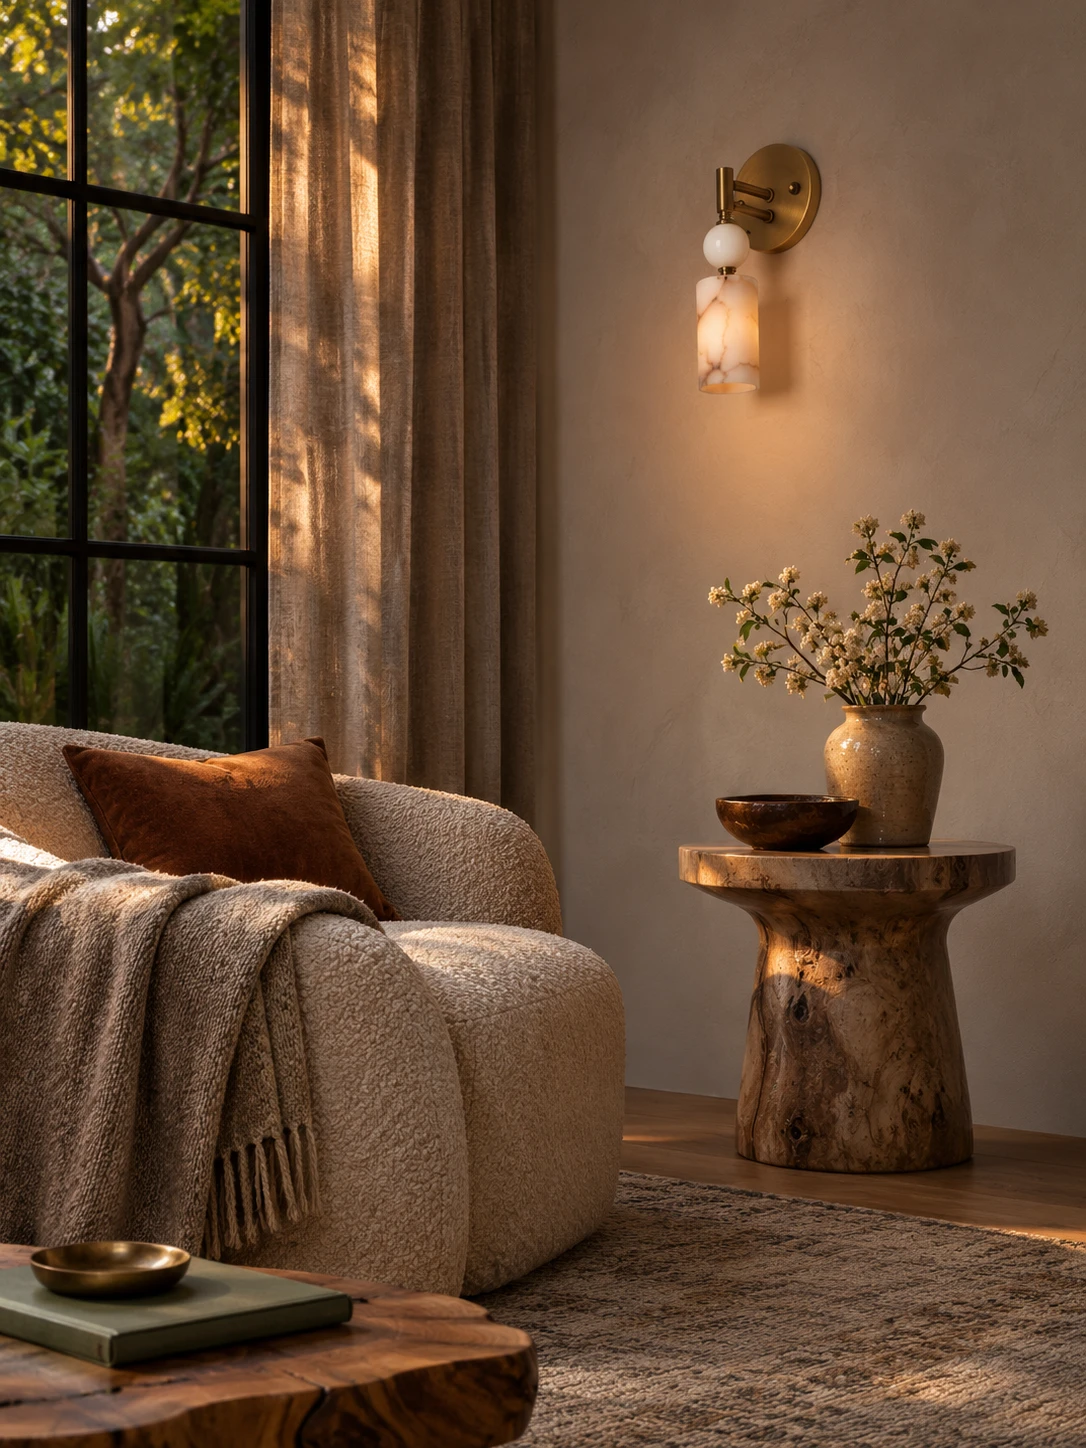
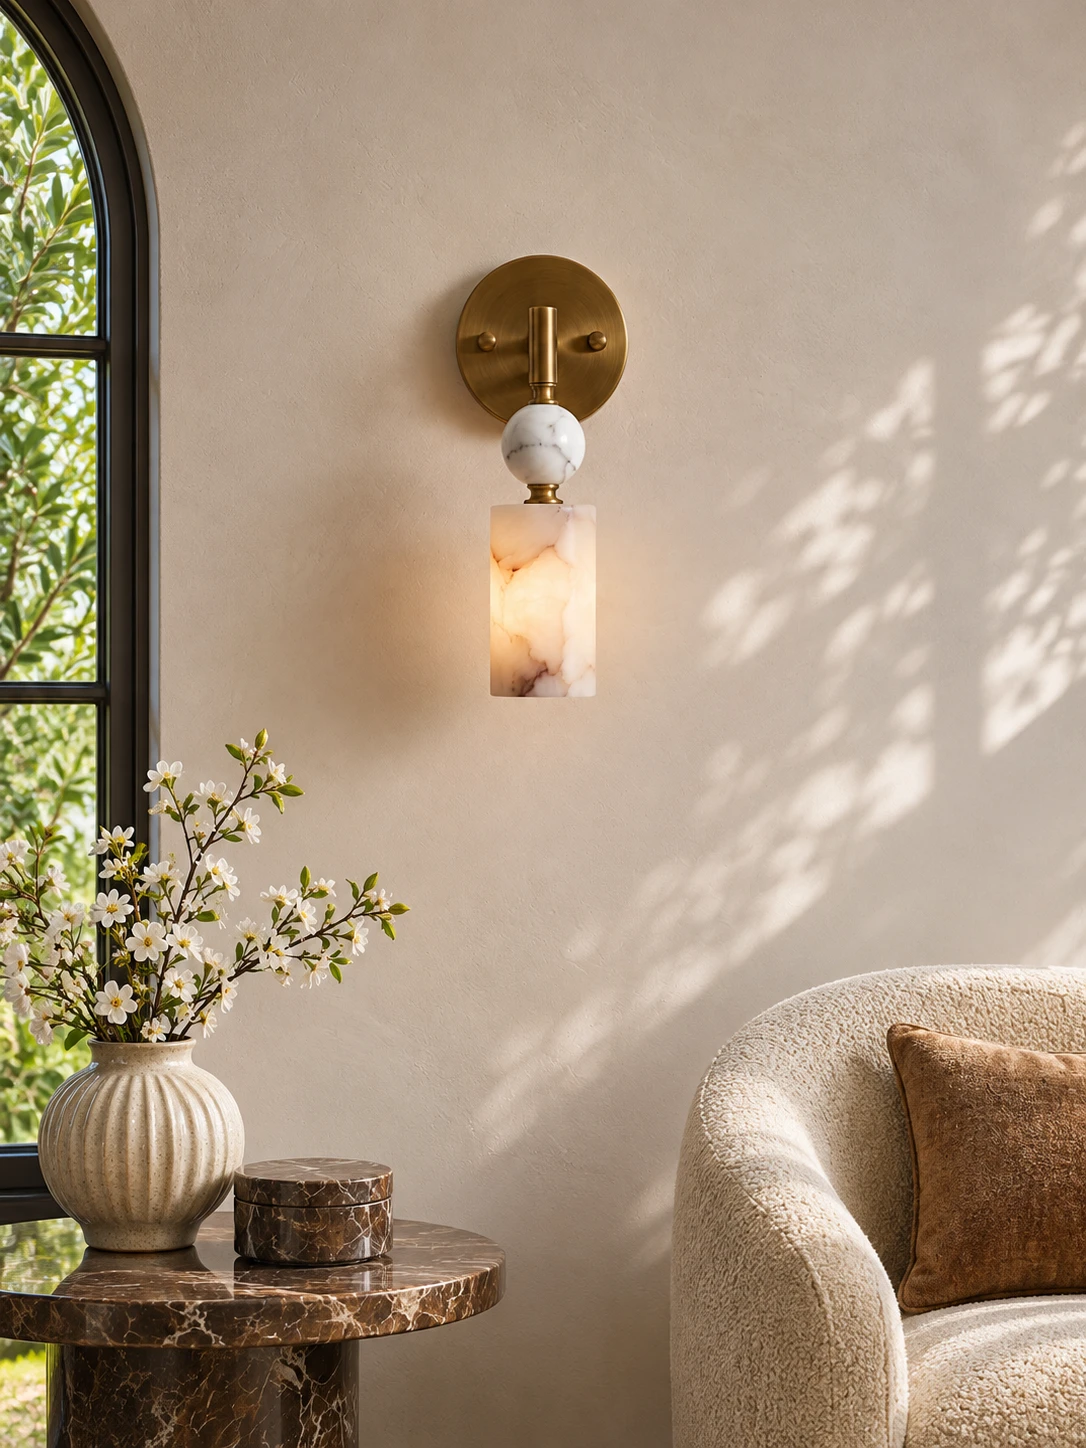
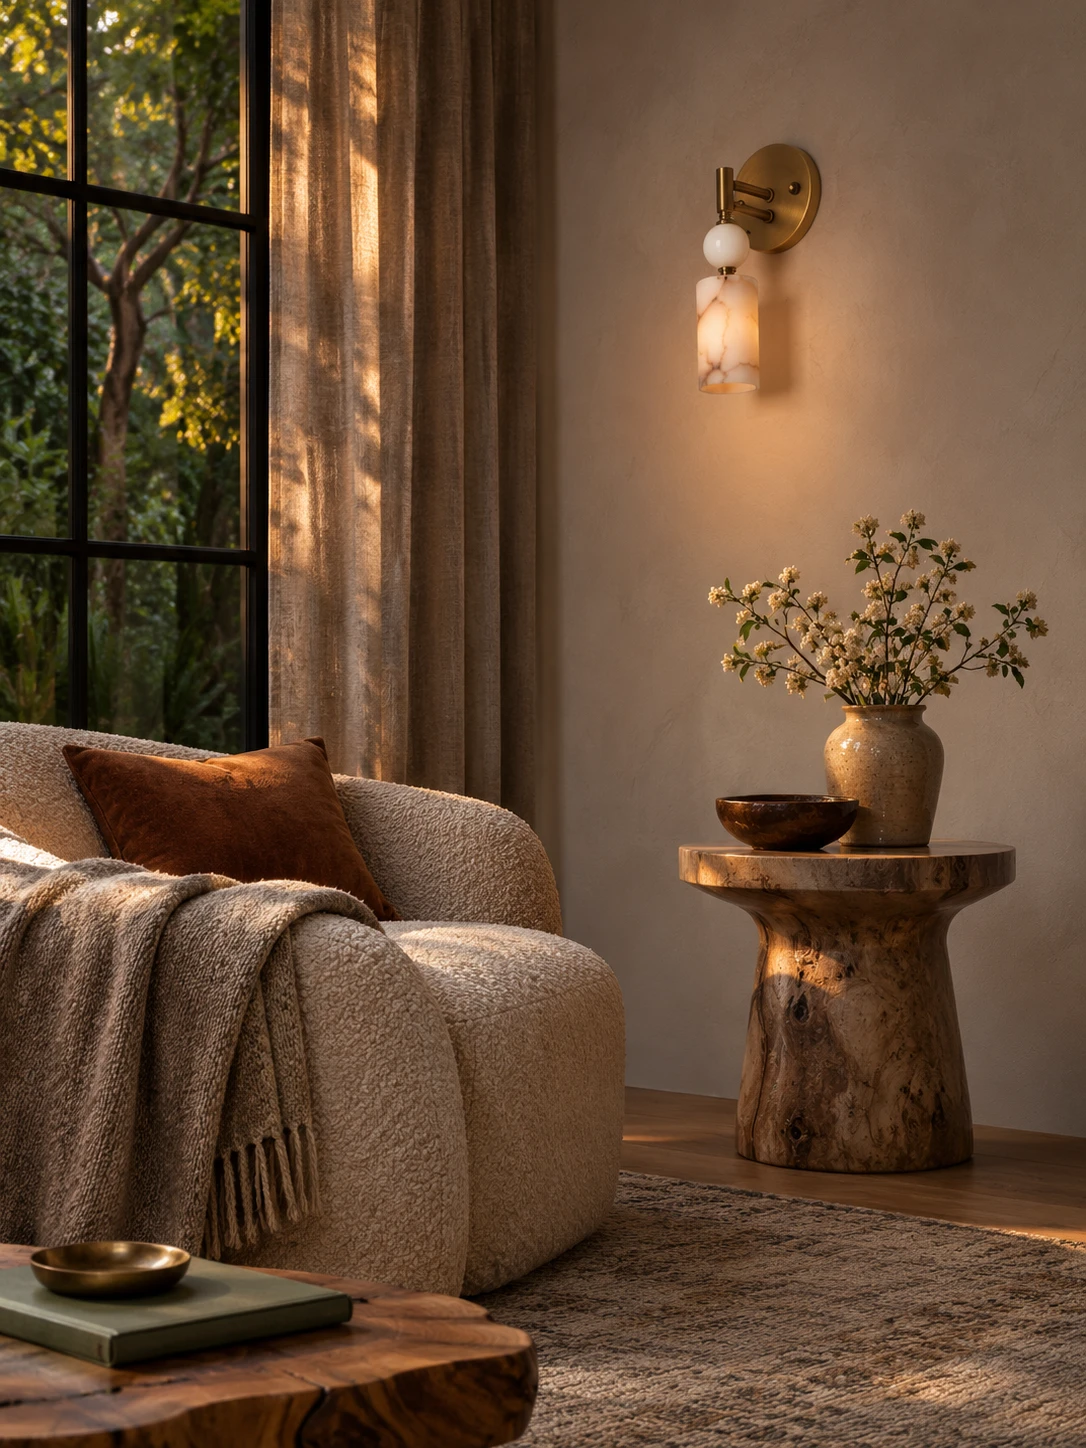
An antique brass body carries a shade of white Spanish alabaster, a fine-grained stone with natural veining and a warm white character. When the source is on, light passes through the stone so the shade glows from within, casting a warm, mineral-diffused light across the wall. The brass has the depth of aged metal, and the compact form sits close to the surface
Highlights
Stone, Brass, and a Soft Glow
A compact wall sconce in fixed antique brass with a naturally veined alabaster shade
01
Spanish Alabaster Shade
The shade is white Spanish alabaster, a fine-grained translucent stone. Veining and tone vary from piece to piece, while the overall warm white character remains
02
Antique Brass Body
The brass body has a fixed antiqued finish, warm and complex like aged metal rather than the brightness of polished brass
03
Compact on the Wall
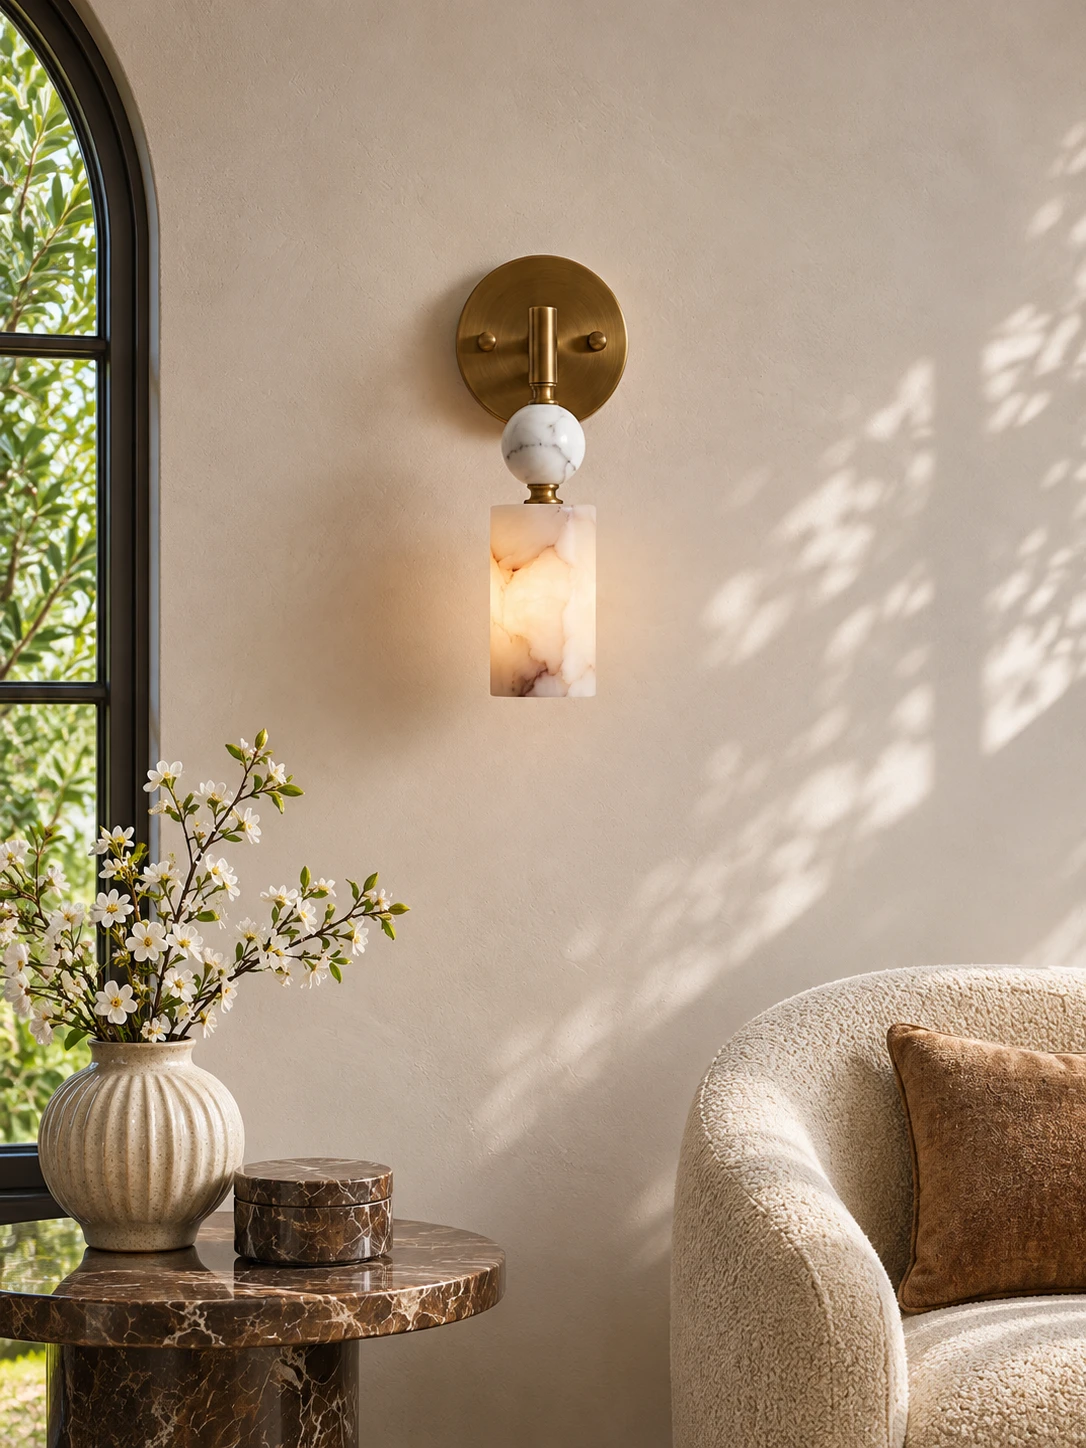
It measures 34 cm tall, 14.5 cm wide, and 8 cm deep, with a 15 cm circular back panel for a clean mount close to the wall
04
E12 or E14 Source
The user-replaceable socket takes an E12 or E14 candelabra bulb, not included. A 2–4W LED at 2700K warm white with frosted or opal glass is recommended
Specifications
Size and light
Height
D 8 × W 14.5 × · × ×: 34 cm
Depth
D 8 × W 14.5 × · × ×: 3.1 ″
Width
D 8 × W 14.5 × · × ×: 5.7 ″
Height
D 8 × W 14.5 × · × ×: 13.4 ″
Diameter
15 cm
Back Panel
∅ 15 cm / ∅ 5.9″
Socket
E12 / E14 candelabra
Bulbs
Not included; user-replaceable
Recommended Bulb
2–4W LED candelabra, 2700K warm white, frosted or opal glass
Voltage
AC 110–240V
Dimming
With a dimmable E12/E14 LED and a compatible TRIAC wall dimmer, both sold separately
Mounting
Hardwired wall mount, standard backplate
Body Finish
Antiqued brass, fixed
Shade
White Spanish alabaster, fixed, with unique natural veining
Kingston Marble Wall Lamp
HOZO Installationsanleitung
Planen Sie Ihre Beleuchtung.
Raumweise Startwerte für Leuchtengröße, Montagehöhe, Abstand und Durchgangshöhe. Tippen Sie ein Kapitel an.
01
Esstisch
Größe und Mitte vom Tisch aus festlegen, dann die Sicht von jedem Sitz prüfen.
So messen
Tischlänge und -breite messen. Bei runden Tischen den Durchmesser nehmen.
Startbereich
Runde Leuchten: etwa 1/2 bis 2/3 der Tischbreite. Längliche Leuchten: 1/2 bis 2/3 der Tischlänge.
Platzierung
Die Leuchte über dem Tisch zentrieren, nicht zwingend über dem Raum.
Abstand
76–91 cm über der Tischplatte beginnen.
Bei langen Tischen wirken zwei kleinere Pendel oft natürlicher als eine übergroße Leuchte.
Vor dem Bohren
Eine Papierschablone an die Decke kleben und vom Türrahmen sowie sitzend prüfen.
MessenPlatte bis Unterkante
Hängehöhe76–91 cm
AusrichtenMitte des Tisches
02
Kücheninsel
Die nutzbare Insel messen und die Pendel auf der Mittellinie halten.
So messen
Nutzbare Länge und Breite der Insel messen.
Startbereich
Eine Linienleuchte: 1/2 bis 2/3 der Insel-Länge. Mehrere Pendel: erst den Durchmesser, dann die Anzahl wählen.
Platzierung
Pendelmitten gleichmäßig auf der Insel-Mittellinie.
Abstand
76–91 cm über der Arbeitsplatte. Äußere Pendel nicht an den Inselenden.
Die komplette Reihe mocken, nicht nur ein Pendel.
Vor dem Bohren
Drei Papierkreise über der Insel zeigen Abstandsprobleme schneller als ein einzelnes Muster.
MessenPlatte bis Unterkante
Hängehöhe76–91 cm
AusrichtenGleiche Mitten
03
Raummitte
Länge plus Breite ergibt den Startdurchmesser. Deckenhöhe und visuelle Schwere machen die Entscheidung fertig.
So messen
Raumlänge und -breite in Metern plus fertige Deckenhöhe.
Startbereich
Länge + Breite (m) × 8,3 ergibt einen üblichen Startdurchmesser in cm. Beispiel: 3,7 + 3,0 → ca. 56 cm.
Platzierung
Die architektonische Mitte nur nutzen, wenn sie vom Eingang und vom Möbelplan her Sinn ergibt.
Abstand
Mindestens 2,10 m lichte Höhe unter dem tiefsten Punkt im Laufbereich.