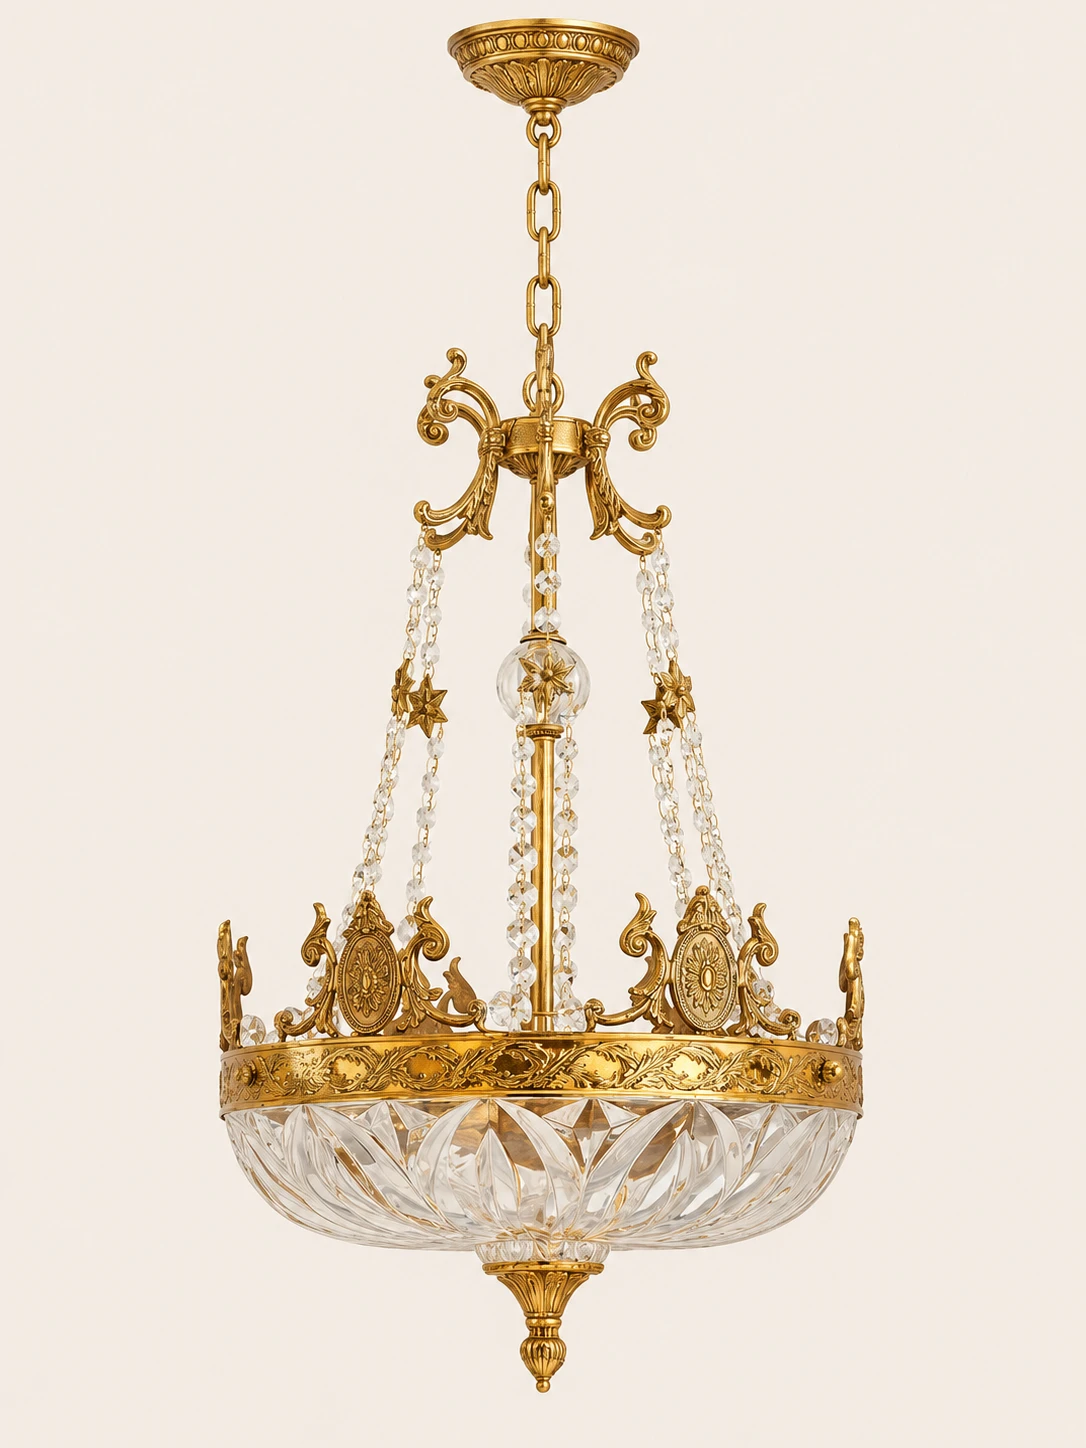
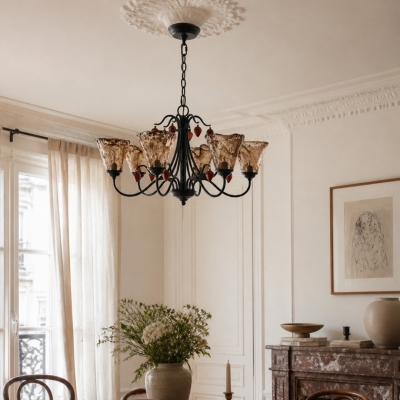
French Empire Chandelier With Acanthus Crown and Crystal Swags – Brass and Cut Glass – Formal Dining Rooms
Preț obișnuit€978.00
Preț de vânzare€978.00Preț obișnuit€1,995.00
/
Vorbește despre brandul tău
Asociați textul cu o imagine pentru a vă concentra asupra produsului, colecției sau articolului de blog ales. Adăugați detalii despre disponibilitate, stil sau chiar oferiți o recenzie.
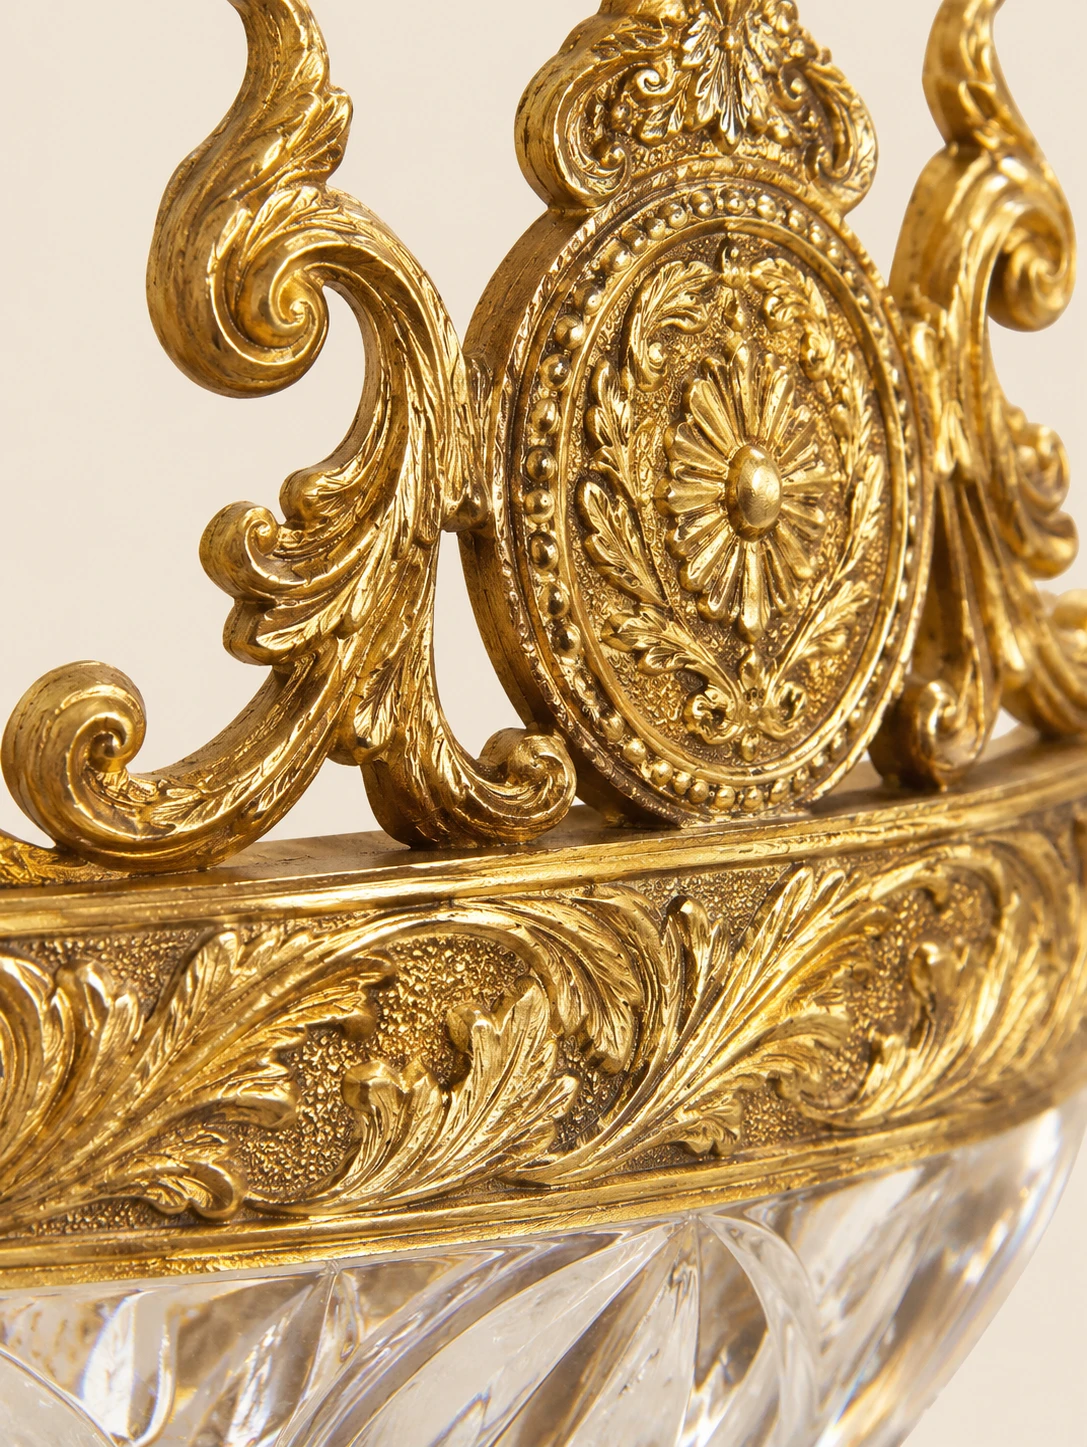
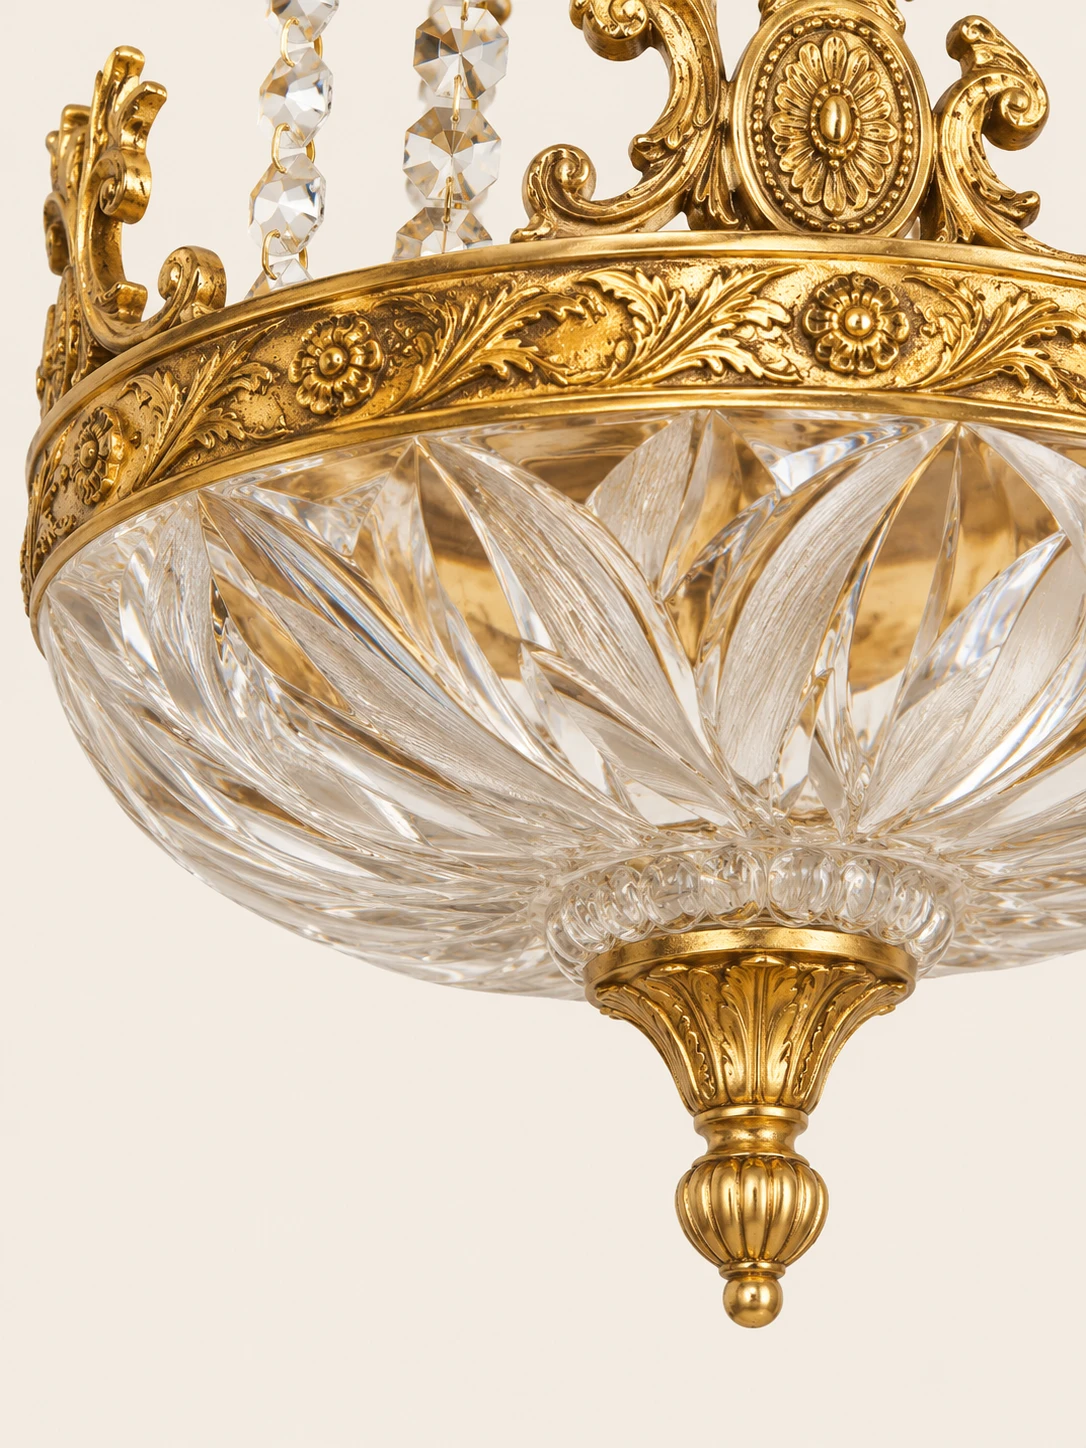
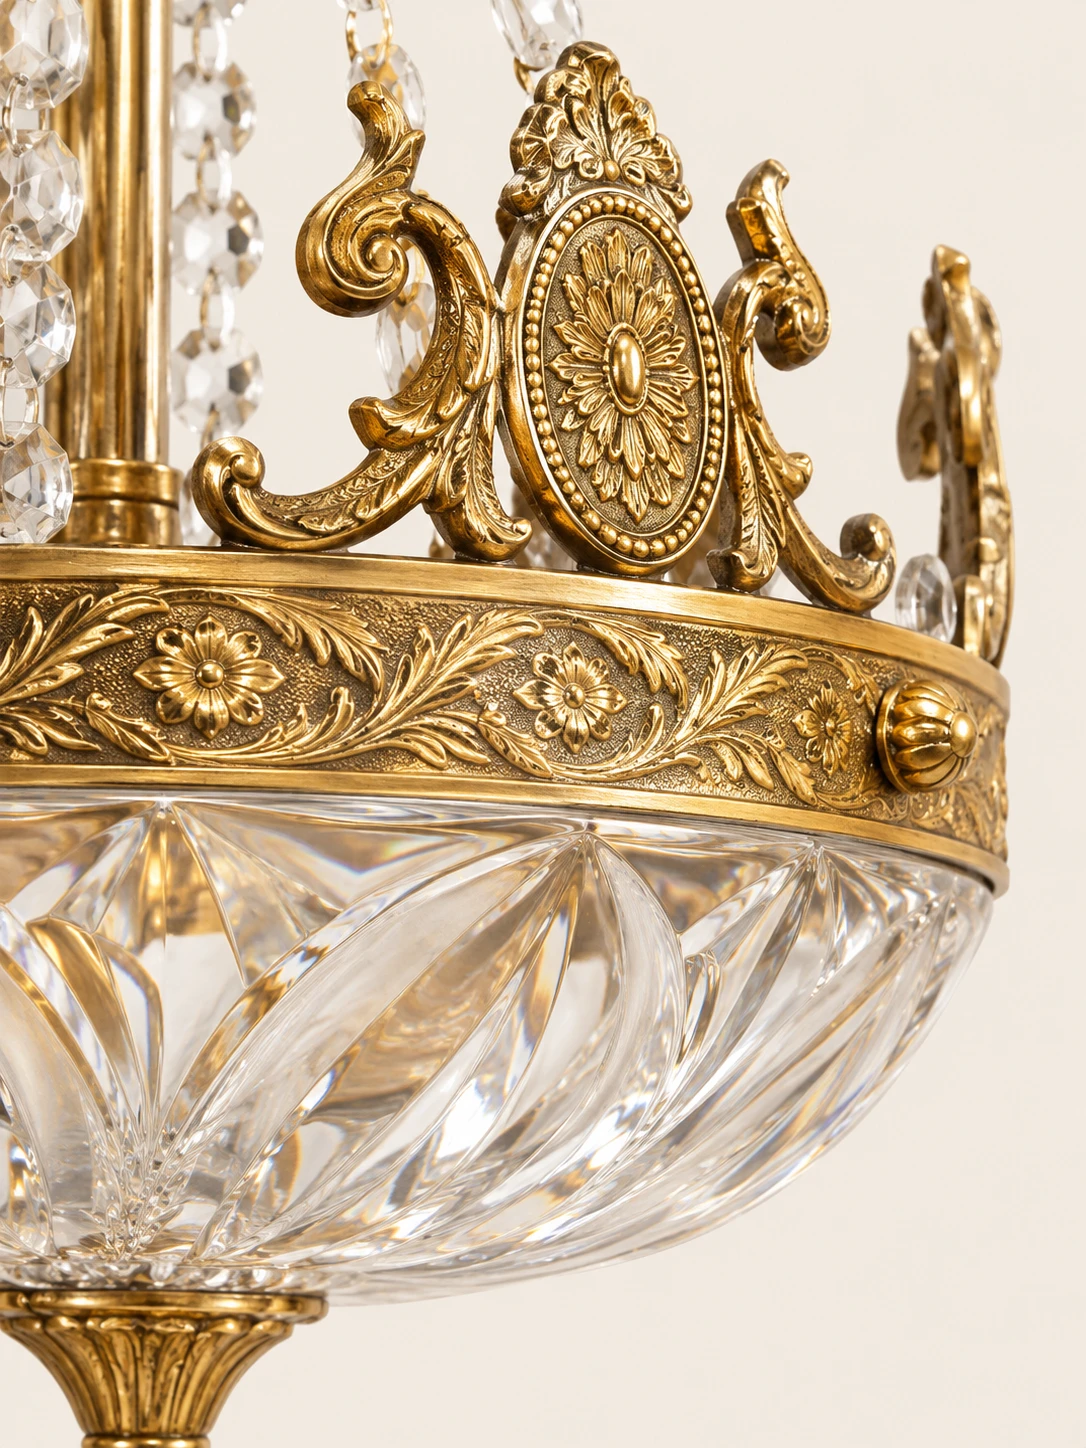
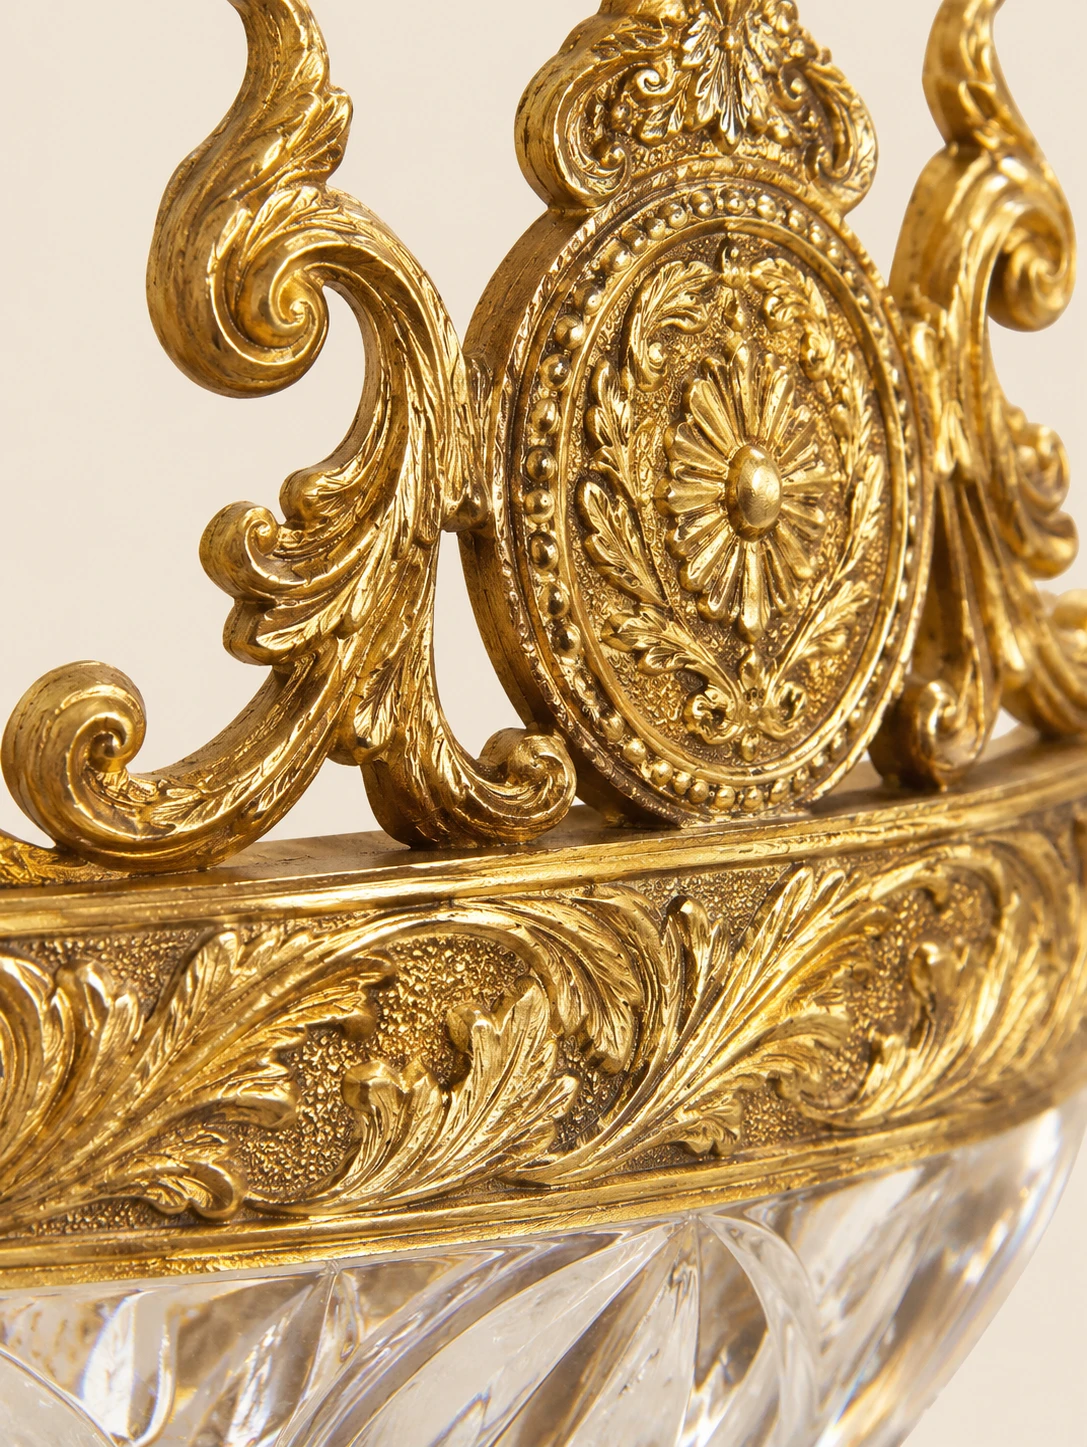
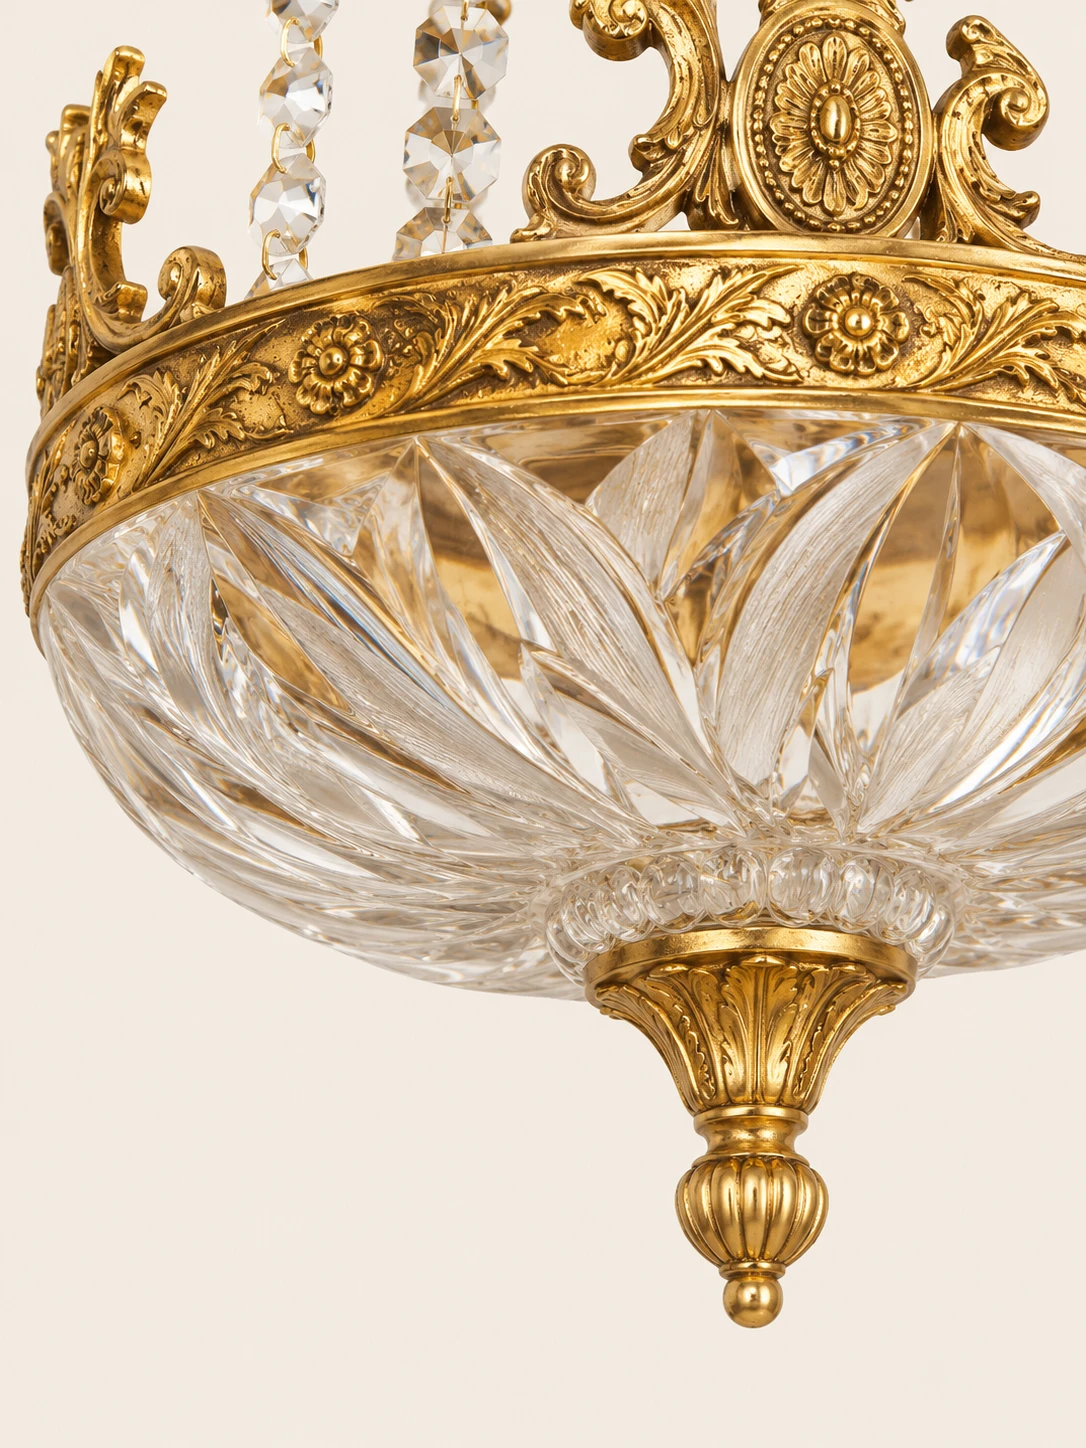
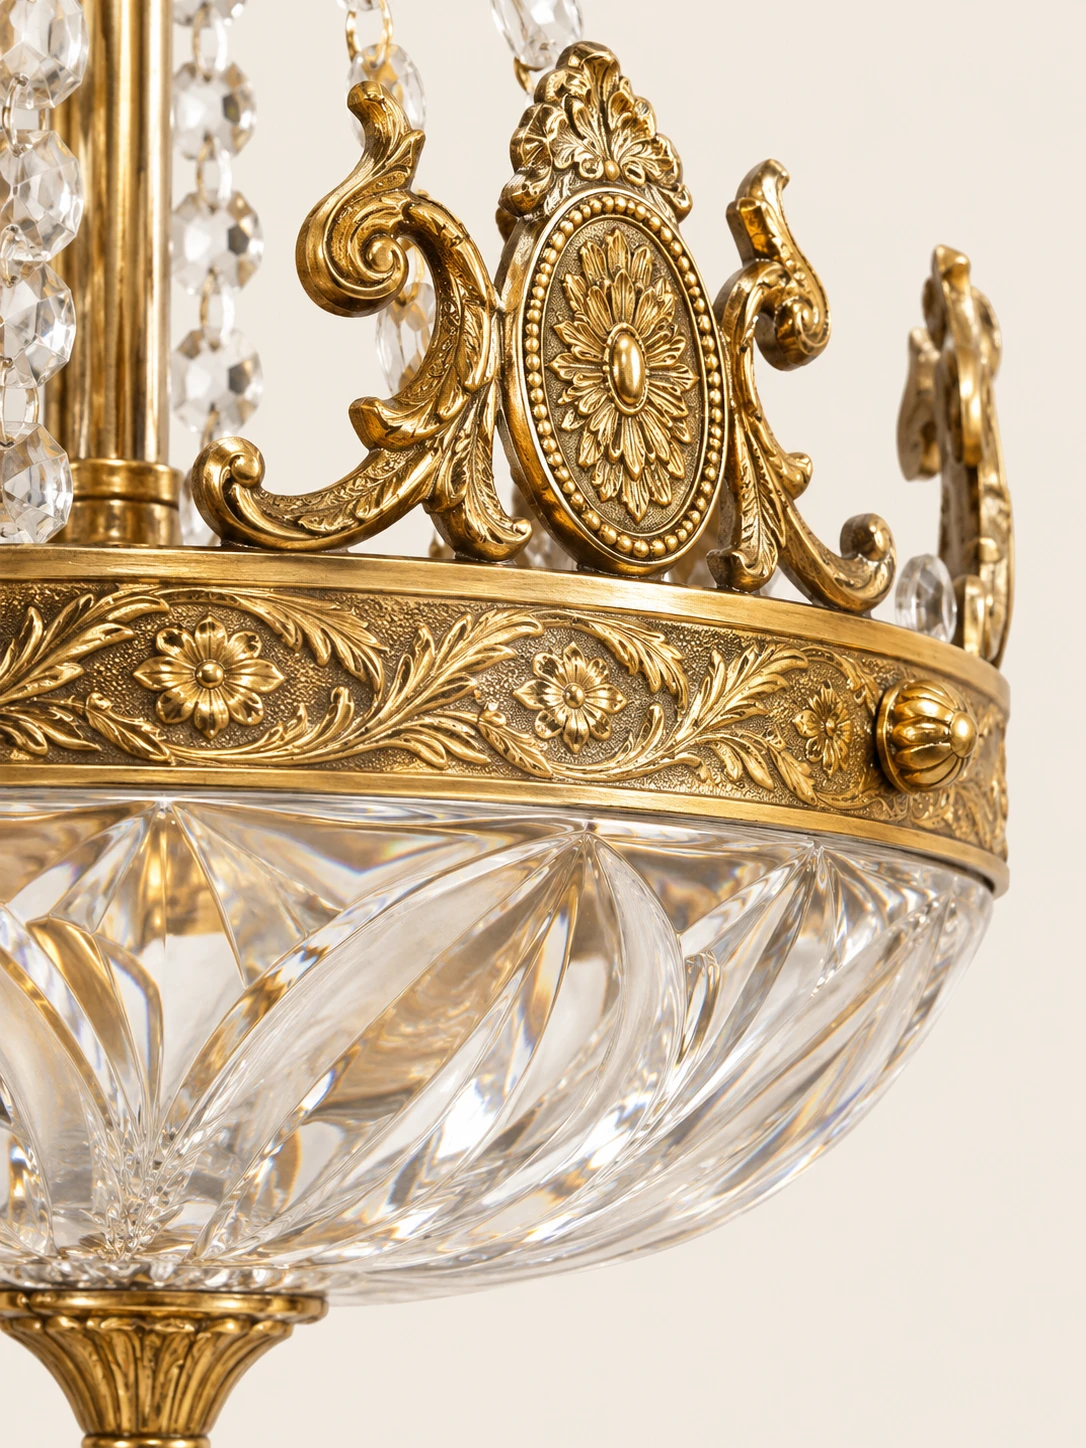
Three close views follow the crown, the bowl ring, and the glass where carved metal and faceted crystal meet
01Gilded C-scrolls frame a round medallion with a raised flower and a beaded rim, set above a continuous band of overlapping acanthus leaves. A narrow edge of cut crystal shows along the bottom02Deep, curving cuts turn the clear bowl into radiating petals where it meets a gilt ring chased with leaves and small blossoms. A fluted brass finial ending in a small ball hangs from the center03Strands of round crystal beads hang beside the crown, next to scrolled leaves and a floral cartouche. Beneath them, a gilt band of leaves and flowers borders the faceted glass bowl
French Empire chandelier
Brass Crown and
Crystal Swags
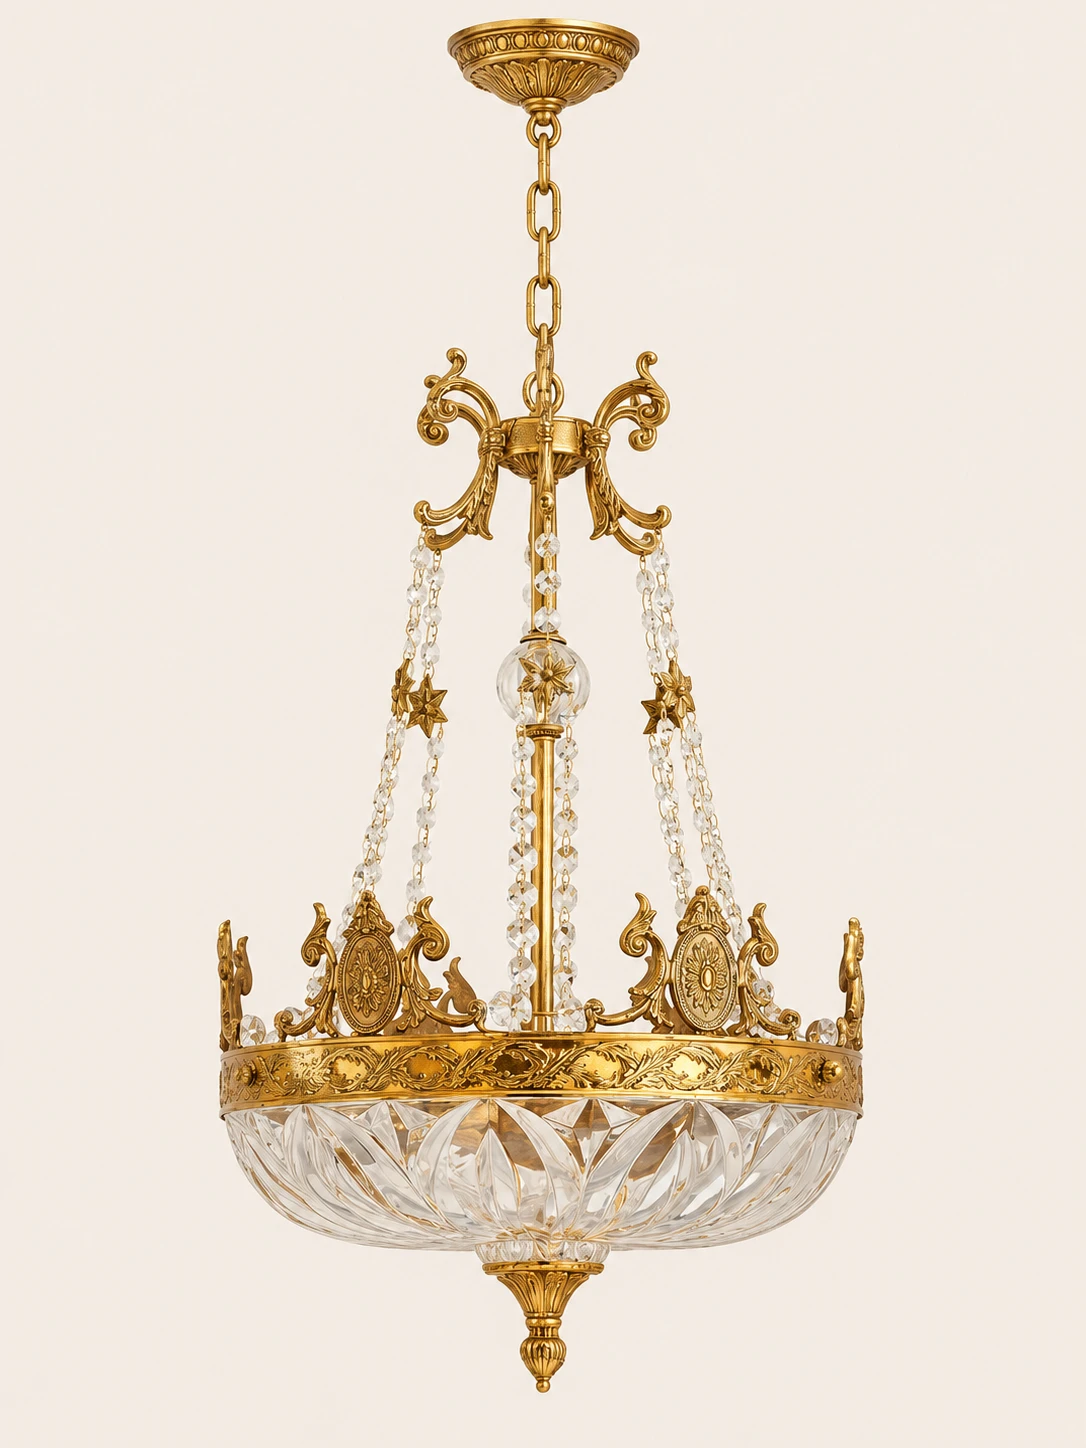
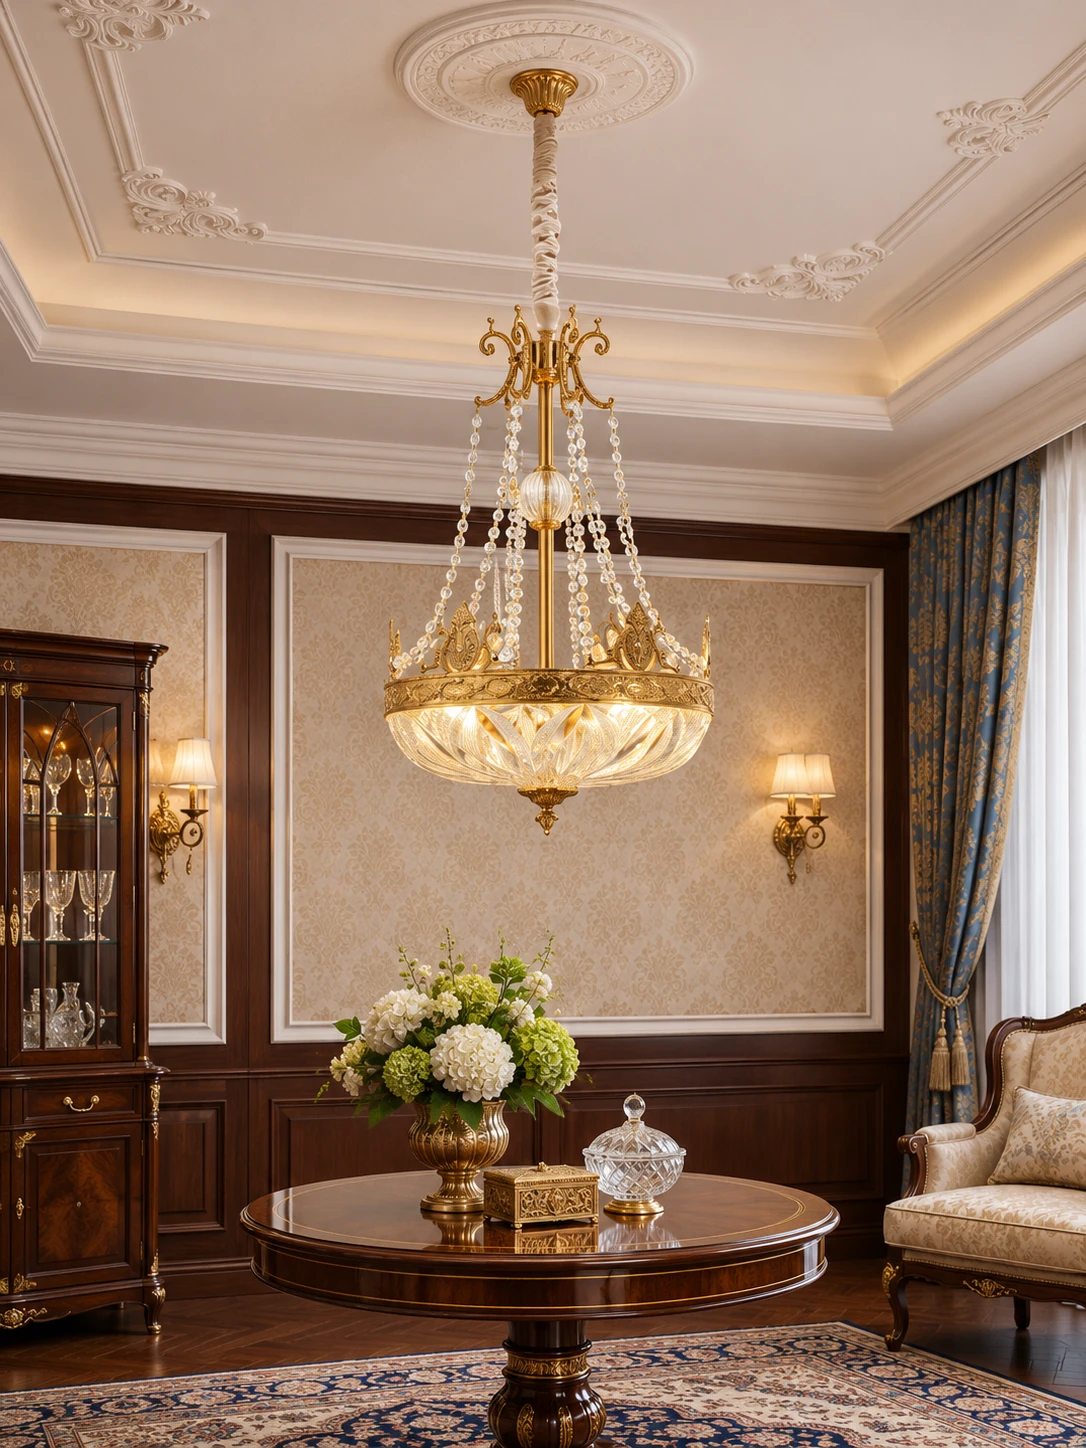
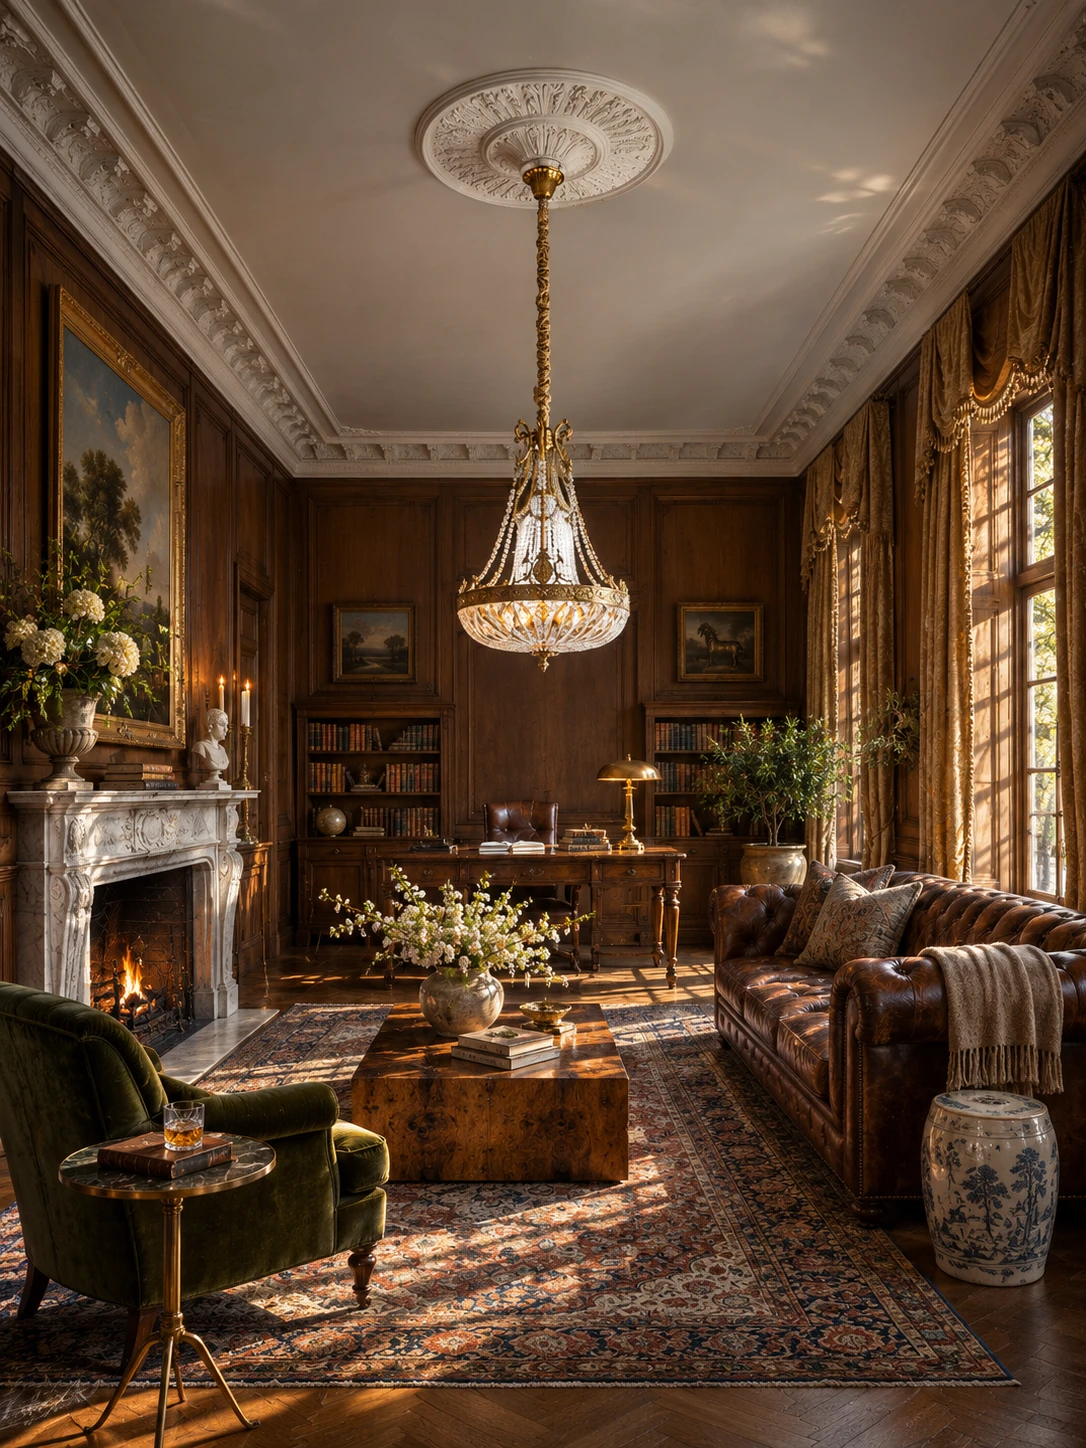
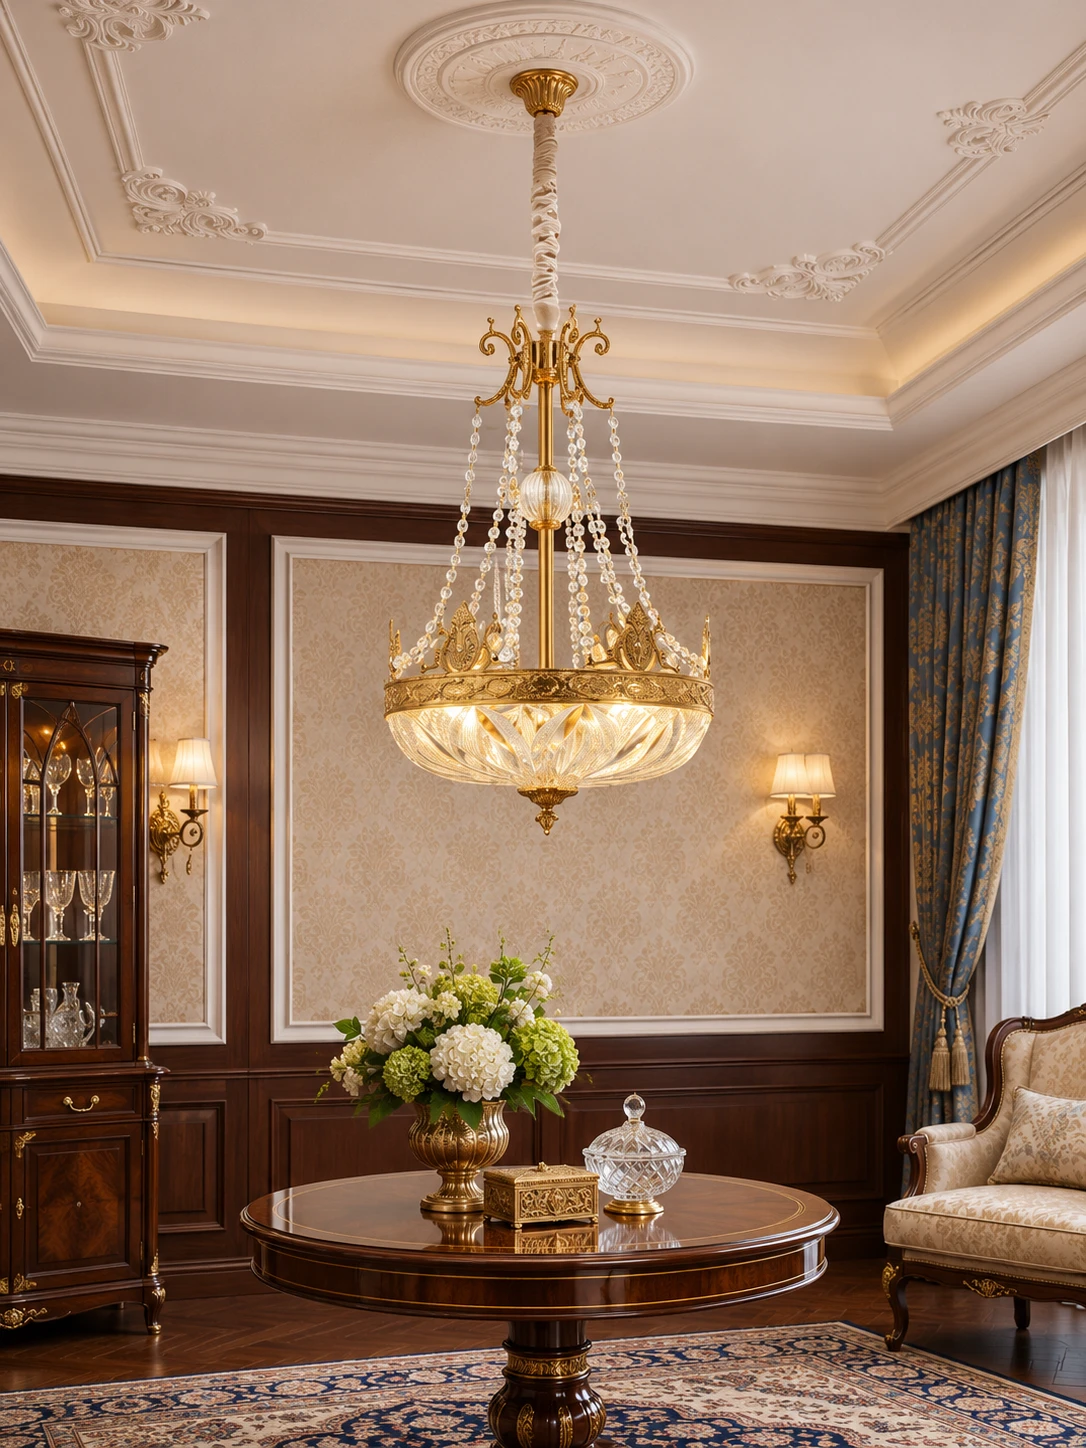
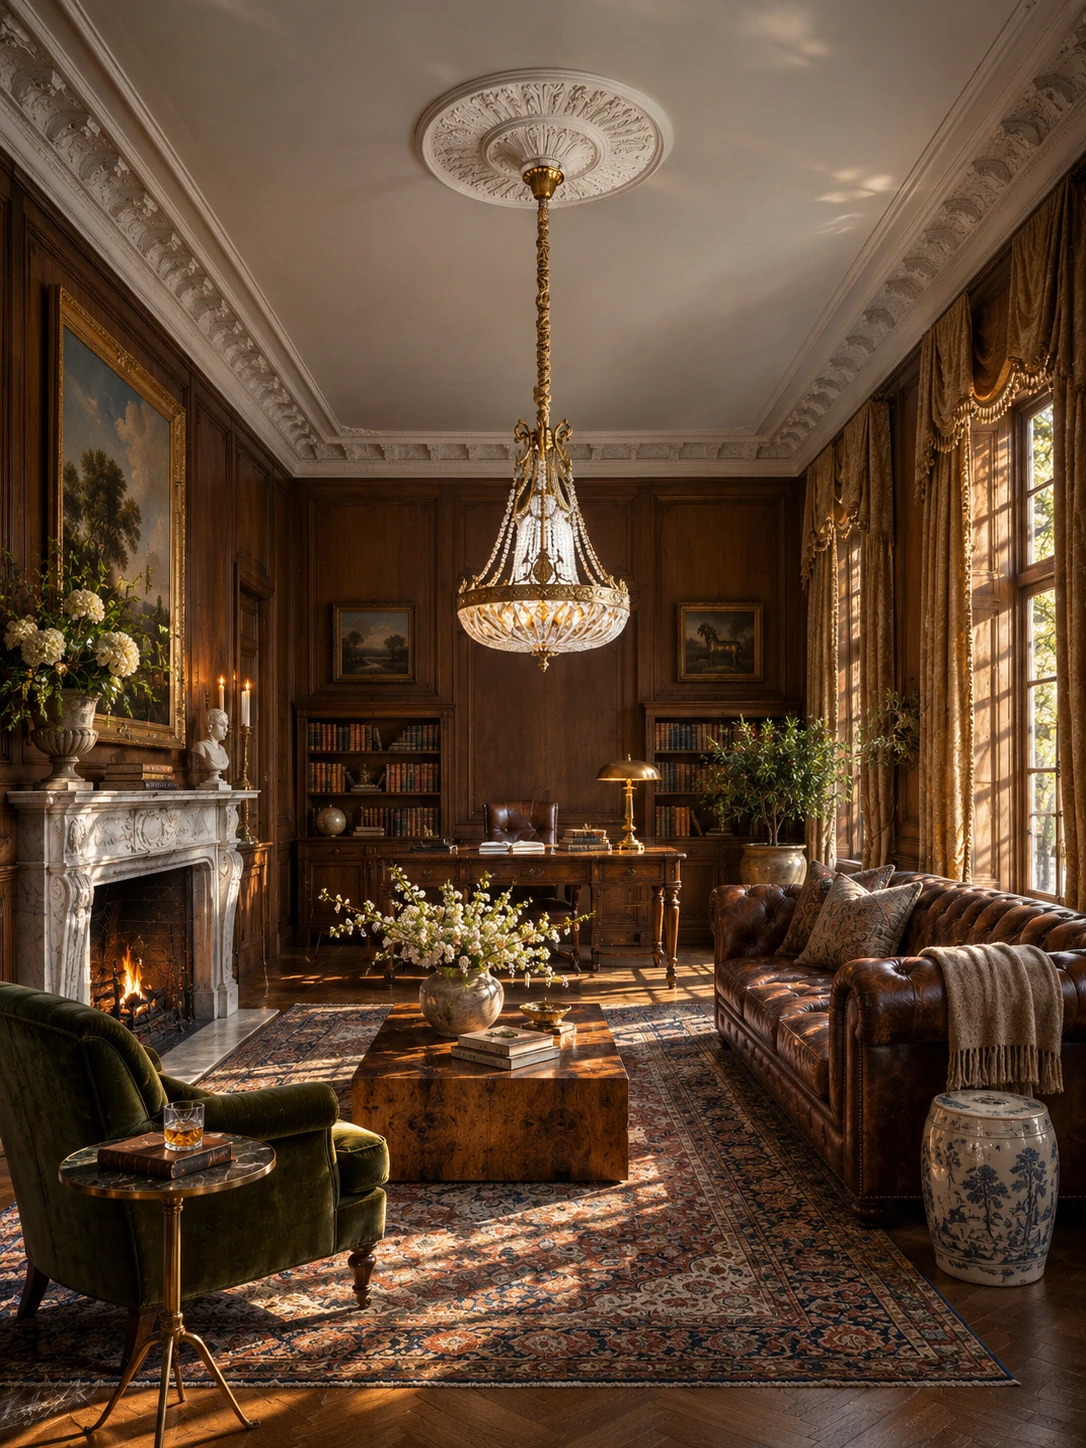
A French Empire-style chandelier is built around a cast-brass crown of acanthus cresting and scrolled cartouches, with beaded crystal swags draped between the crown points. Beneath the crown, a faceted pineapple-cut glass bowl catches the light. Three candelabra sockets light the bowl from within, sending light upward through the swags and downward through the cut-glass facets so refracted patterns fall across the ceiling and floor
Highlights
Brass, Crystal, and Cut Glass
Cast brass, clear crystal swags, and a cut-glass bowl shape both the silhouette and the light
01
Cast Brass
The crown, arms, and bowl ring are hand-finished cast brass with a warm patina and French Empire acanthus cresting and scrolled cartouches
02
Crystal Swags
Clear cut-crystal beaded swags drape between the crown points and refract light across the room
03
Cut-Glass Bowl
A clear faceted pineapple-cut bowl casts patterned, refracted light onto the ceiling and floor
04
Three Candelabra Sockets
Three user-replaceable E12 or E14 candelabra sockets take bulbs up to 25W each; warm white 3000K flame-tip LEDs are recommended, and bulbs are not included
Specifications
Size and light
Bowl diameter
∅ 40 cm / 15.7"
Total height
H 70 cm / 27.6"
Hanging chain
50 cm / 19.7", adjustable on installation
Sockets
E12 / E14 candelabra × 3
Bulbs
Not included; user-replaceable
Recommended bulb
LED E12/E14 candelabra, max 25W per socket; warm white 3000K; flame-tip shape
Color temperature
Determined by the chosen bulbs; warm white 3000K recommended
Dimming
Compatible with dimmable bulbs and a TRIAC dimmer
Voltage
AC 110–240V
Marselle Chandelier
HOZO Installationsanleitung
Planen Sie Ihre Beleuchtung.
Raumweise Startwerte für Leuchtengröße, Montagehöhe, Abstand und Durchgangshöhe. Tippen Sie ein Kapitel an.
01
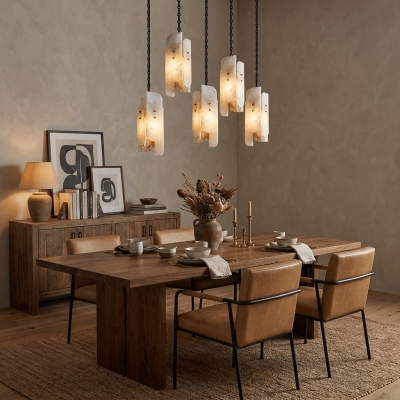
Esstisch
Größe und Mitte vom Tisch aus festlegen, dann die Sicht von jedem Sitz prüfen.
So messen
Tischlänge und -breite messen. Bei runden Tischen den Durchmesser nehmen.
Startbereich
Runde Leuchten: etwa 1/2 bis 2/3 der Tischbreite. Längliche Leuchten: 1/2 bis 2/3 der Tischlänge.
Platzierung
Die Leuchte über dem Tisch zentrieren, nicht zwingend über dem Raum.
Abstand
76–91 cm über der Tischplatte beginnen.
Bei langen Tischen wirken zwei kleinere Pendel oft natürlicher als eine übergroße Leuchte.
Vor dem Bohren
Eine Papierschablone an die Decke kleben und vom Türrahmen sowie sitzend prüfen.
MessenPlatte bis Unterkante
Hängehöhe76–91 cm
AusrichtenMitte des Tisches
02
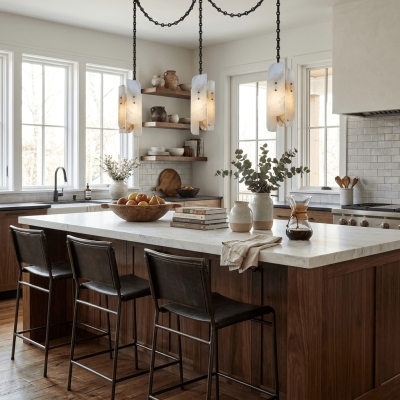
Kücheninsel
Die nutzbare Insel messen und die Pendel auf der Mittellinie halten.
So messen
Nutzbare Länge und Breite der Insel messen.
Startbereich
Eine Linienleuchte: 1/2 bis 2/3 der Insel-Länge. Mehrere Pendel: erst den Durchmesser, dann die Anzahl wählen.
Platzierung
Pendelmitten gleichmäßig auf der Insel-Mittellinie.
Abstand
76–91 cm über der Arbeitsplatte. Äußere Pendel nicht an den Inselenden.
Die komplette Reihe mocken, nicht nur ein Pendel.
Vor dem Bohren
Drei Papierkreise über der Insel zeigen Abstandsprobleme schneller als ein einzelnes Muster.
MessenPlatte bis Unterkante
Hängehöhe76–91 cm
AusrichtenGleiche Mitten
03
Raummitte
Länge plus Breite ergibt den Startdurchmesser. Deckenhöhe und visuelle Schwere machen die Entscheidung fertig.
So messen
Raumlänge und -breite in Metern plus fertige Deckenhöhe.
Startbereich
Länge + Breite (m) × 8,3 ergibt einen üblichen Startdurchmesser in cm. Beispiel: 3,7 + 3,0 → ca. 56 cm.
Platzierung
Die architektonische Mitte nur nutzen, wenn sie vom Eingang und vom Möbelplan her Sinn ergibt.
Abstand
Mindestens 2,10 m lichte Höhe unter dem tiefsten Punkt im Laufbereich.